
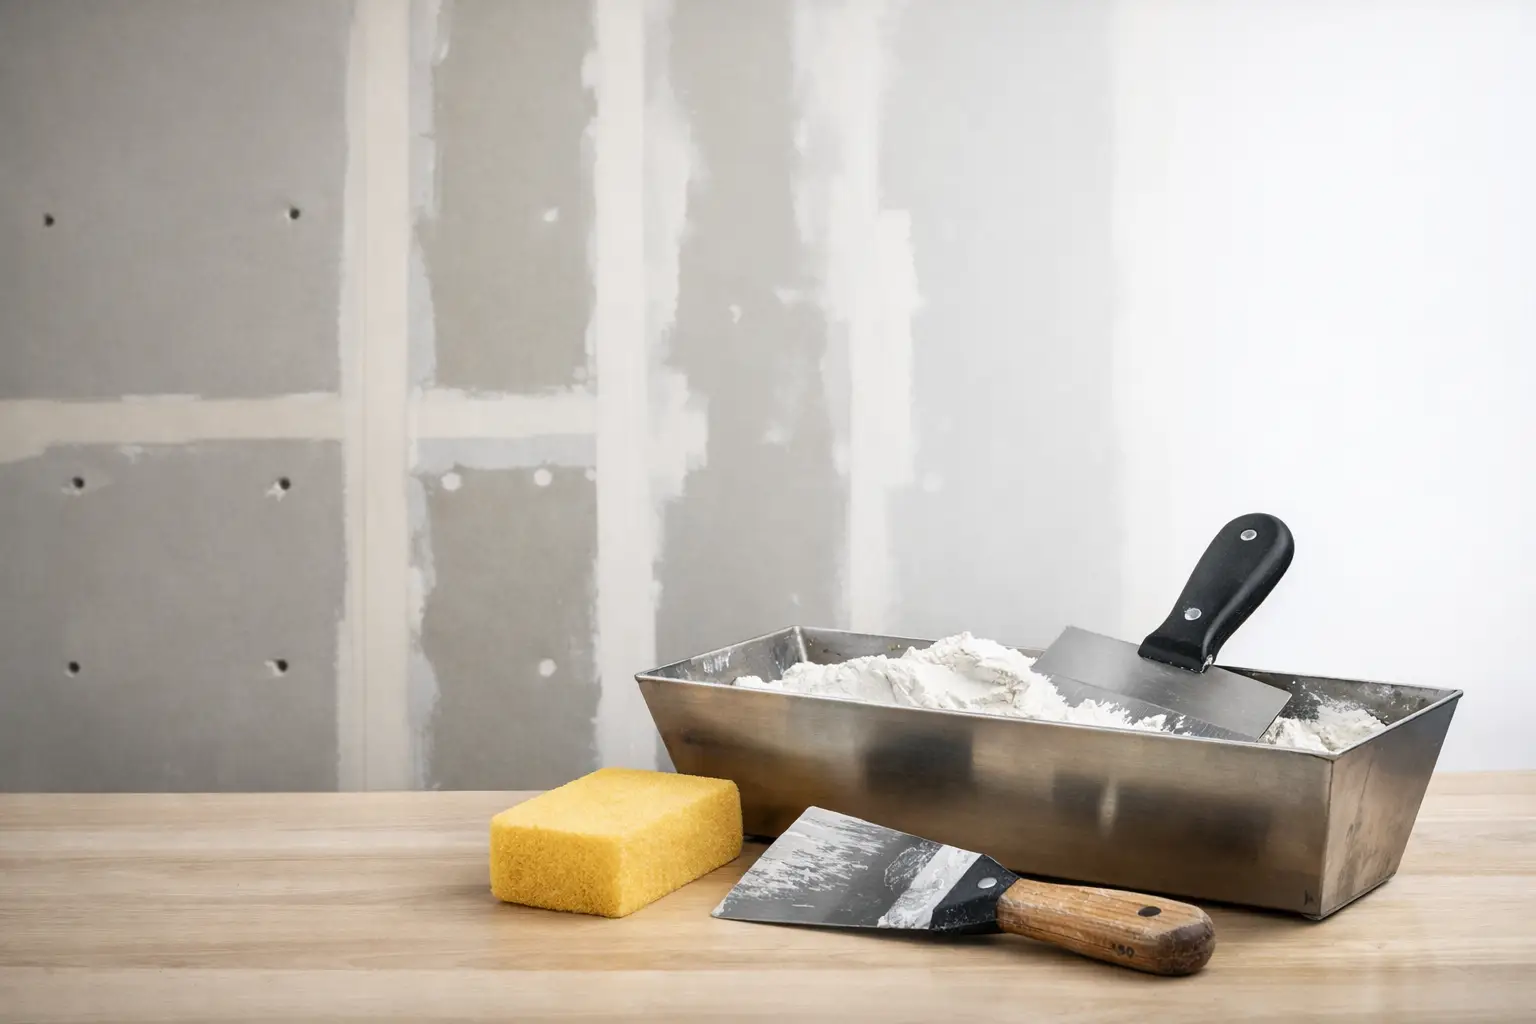
A wall can look perfectly fine until morning sunlight hits it from the side or a fresh coat of paint goes on. That is when uneven joints, fastener marks, and poor sanding become hard to ignore. Drywall finishing levels explained in plain terms help homeowners, builders, and property managers choose the right standard before work begins – not after the room is painted.
The five recognized finish levels describe how much taping, joint compound, sanding, and surface preparation a drywall installation receives. A higher number generally means a smoother, more paint-ready result, but it also requires more labor and material. The best choice depends on the room, the final wall covering, the lighting, and the condition you expect when the job is complete.
Why Drywall Finish Levels Matter
Drywall panels are only the base layer. Seams between boards, inside corners, screw heads, and repairs all need to be concealed with tape and joint compound. The finishing level sets the standard for how thoroughly that work is done.
Choosing too low a finish level can lead to visible seams or patches under paint. Choosing Level 5 everywhere may not be necessary when a heavy texture or tile will cover the surface. A good drywall contractor matches the finish to the project instead of treating every wall exactly the same.
This is especially relevant in Southeast Michigan homes, where older plaster walls, additions, water damage repairs, and remodeled basements often meet existing surfaces with different textures and lighting conditions. The goal is not simply to cover a repair. It is to leave a clean, durable surface that blends naturally once painted or textured.
Drywall Finishing Levels Explained: Level 0 Through Level 5
Level 0: Unfinished Drywall
Level 0 means drywall panels may be installed, but no taping, mudding, or finishing has been completed. Joints and fasteners remain exposed.
This level is generally used when the final finish has not been selected yet or when a temporary construction condition calls for installed board without finishing. It is not appropriate for occupied rooms, painted walls, or areas where the drywall will remain visible.
Level 1: Basic Fire-Taping
At Level 1, joint tape is embedded in compound at the seams. The surface is left rough, and tool marks or ridges are acceptable. Fastener heads and accessories do not receive the refined finish needed for a visible wall.
Level 1 is often used above ceilings, in mechanical areas, or in spaces that are permanently concealed from view. It may meet a basic fire-taping requirement where a rated assembly is needed, but it is not a finish for a garage wall, finished basement, office, or living space where appearance matters.
Level 2: A Utility-Grade Finish
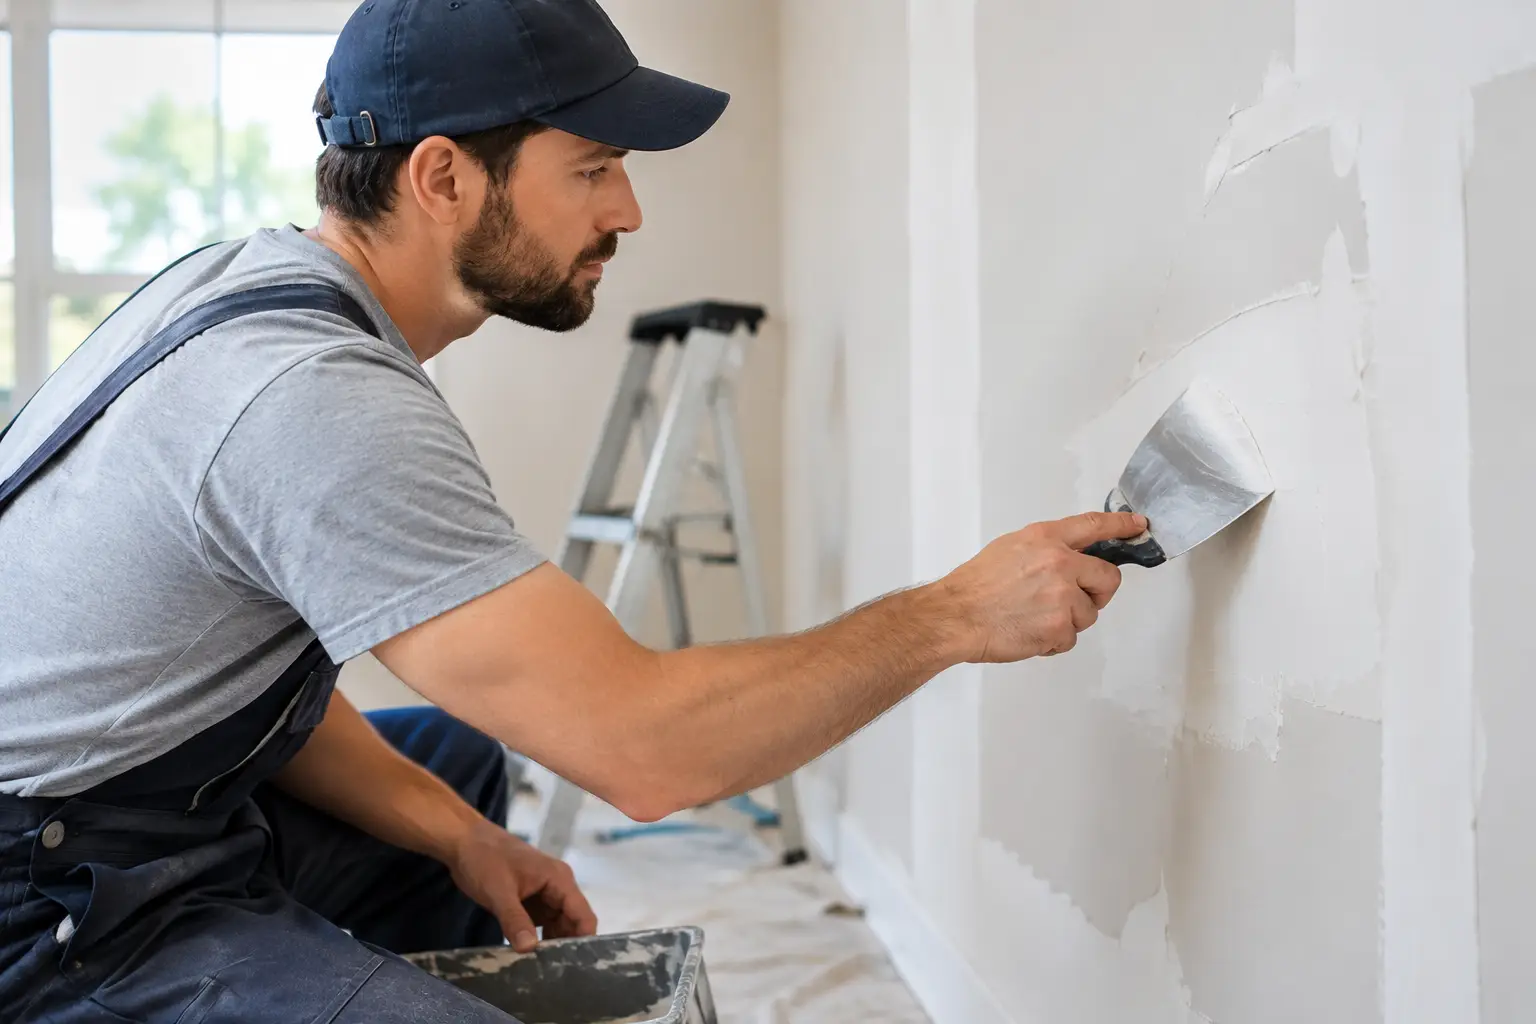
Level 2 includes tape embedded in compound, plus a separate coat of compound over the joints and fasteners. The surface still is not intended to look smooth under paint. Minor ridges, tool marks, and other imperfections may remain.
This level can work behind tile, inside utility rooms, or in unfinished garages where the wall will not receive a decorative painted finish. It can also be appropriate where another material will fully cover the drywall. If a homeowner plans to paint the surface, Level 2 is usually a poor place to save money. Paint, especially satin or semi-gloss paint, tends to reveal every inconsistency.
Level 3: Prepared for Heavy Texture
Level 3 receives an additional coat of compound over joints and fasteners, creating a more even surface than Level 2. It is typically intended for walls and ceilings that will receive a heavy spray texture or a substantial hand-applied texture.
A common misunderstanding is that Level 3 is suitable for smooth painted walls because it has multiple coats of mud. It is not. A smooth or lightly textured painted wall can show sanding marks, joint lines, and other imperfections that Level 3 does not fully address. If the finish will be a pronounced texture, however, Level 3 can be an efficient and appropriate choice.
Level 4: The Standard Paint-Ready Finish
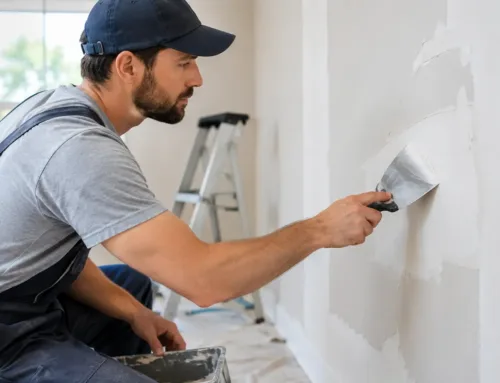
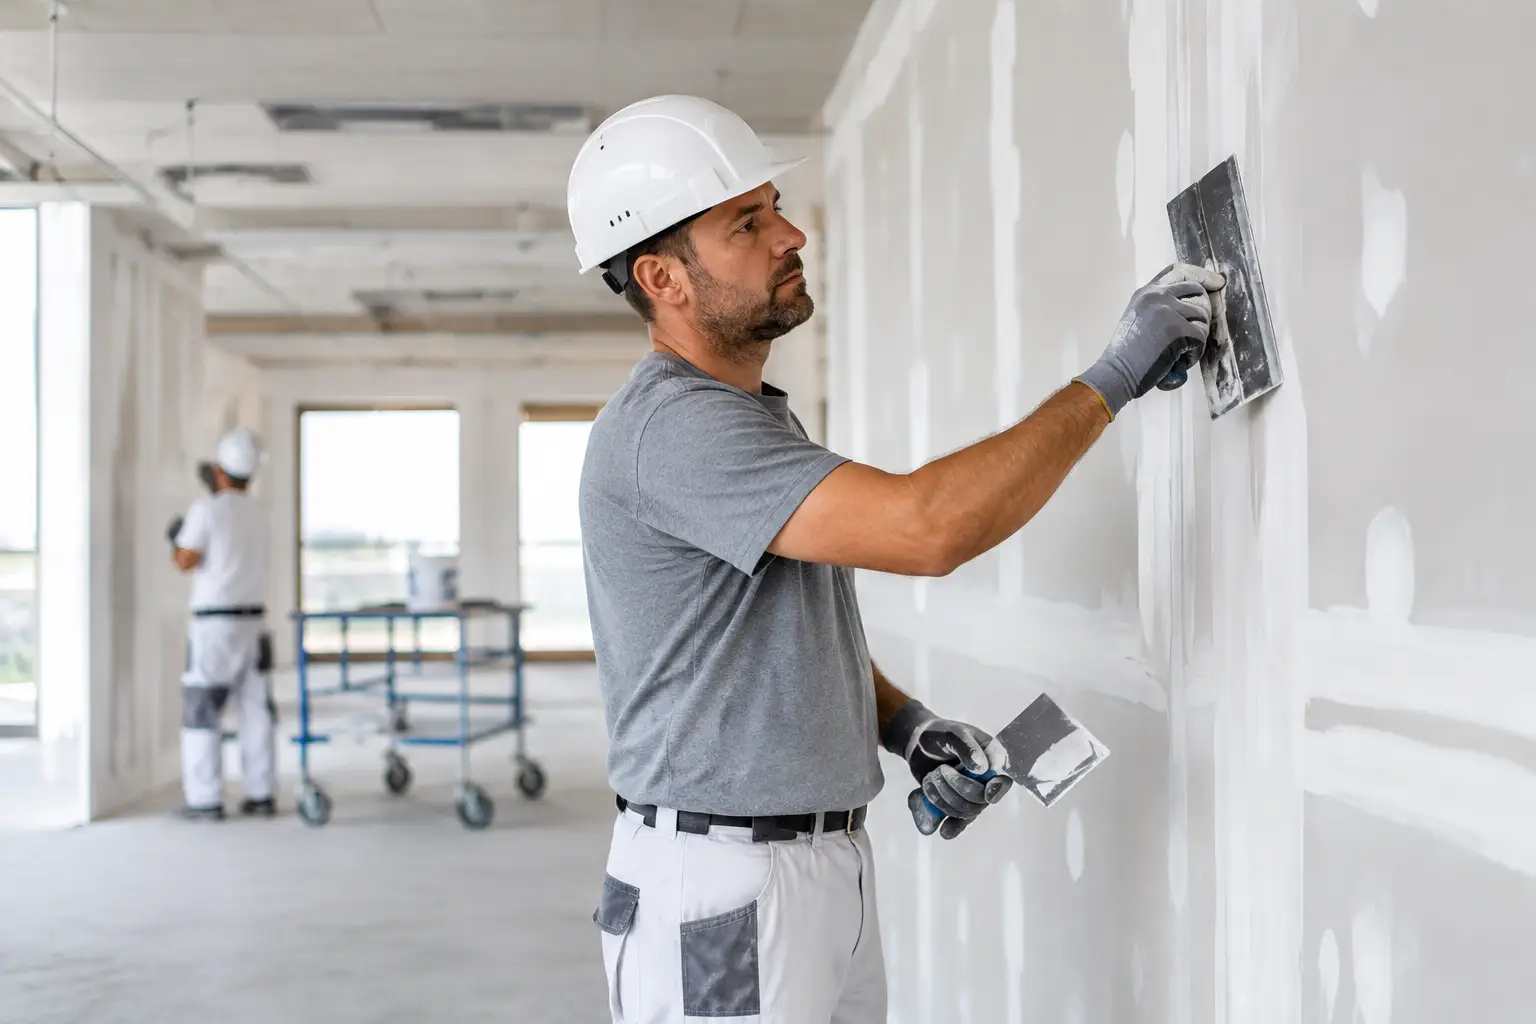
Level 4 is the finish most people expect in a typical finished room. Joints receive additional coats of compound, fasteners are coated and concealed, interior angles are finished, and the work is sanded to a smooth, paint-ready surface.
For many residential and commercial interiors, Level 4 is the right balance of appearance and cost. It is commonly used for walls and ceilings receiving flat or low-sheen paint, as well as light textures. Proper priming and quality paint are still part of the final result, but a well-executed Level 4 finish provides the clean foundation those products need.
Level 4 does have limits. In rooms with strong natural side lighting, large windows, glossy paint, dark colors, or bright wall-washing fixtures, even a careful Level 4 finish can show subtle variations. That is not always a workmanship issue. Light can exaggerate very small changes in a broad wall surface.
Level 5: The Highest Smooth-Wall Standard
Level 5 starts with a Level 4 finish and adds a thin skim coat or equivalent coating across the entire drywall surface. This extra step helps create a uniform surface for paint and reduces the visual difference between the face paper of the drywall and the finished joint compound.
Level 5 is the best choice for smooth walls or ceilings under demanding lighting conditions. It is often worth considering for tall entryways, open-concept rooms with wide windows, commercial lobbies, and ceilings painted with sheen. Dark paint colors and glossy finishes can also make Level 5 a smart investment.
It is not automatically necessary in every room. A small bedroom with standard lighting and flat paint may look excellent with a properly finished Level 4 surface. Level 5 costs more because it takes more skilled labor, drying time, sanding, and inspection. The value comes from using it where the finish conditions justify it.
What Determines the Right Drywall Finish Level?
The final coating is the biggest factor. Heavy texture can hide more than smooth paint, while flat paint is more forgiving than eggshell, satin, or semi-gloss. Darker colors and higher sheens reflect light more noticeably, so they demand a more consistent surface.
Lighting matters just as much. Light that runs across a wall at a low angle, often called critical or raking light, highlights tiny ridges and shallow depressions. Large windows, recessed lights near a wall, track lighting, and exterior floodlights can all create this effect. A contractor should look at how the room will actually be lit, not just how it appears during daytime work.
Repairs require their own judgment. Matching an existing orange peel, knockdown, hand texture, or plaster-like finish may be more important than applying a textbook finish level across an entire room. The best repair is one that disappears into the surrounding surface after prime and paint.
Avoiding Common Finish Problems
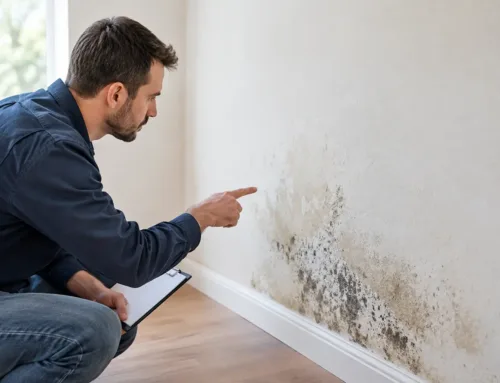
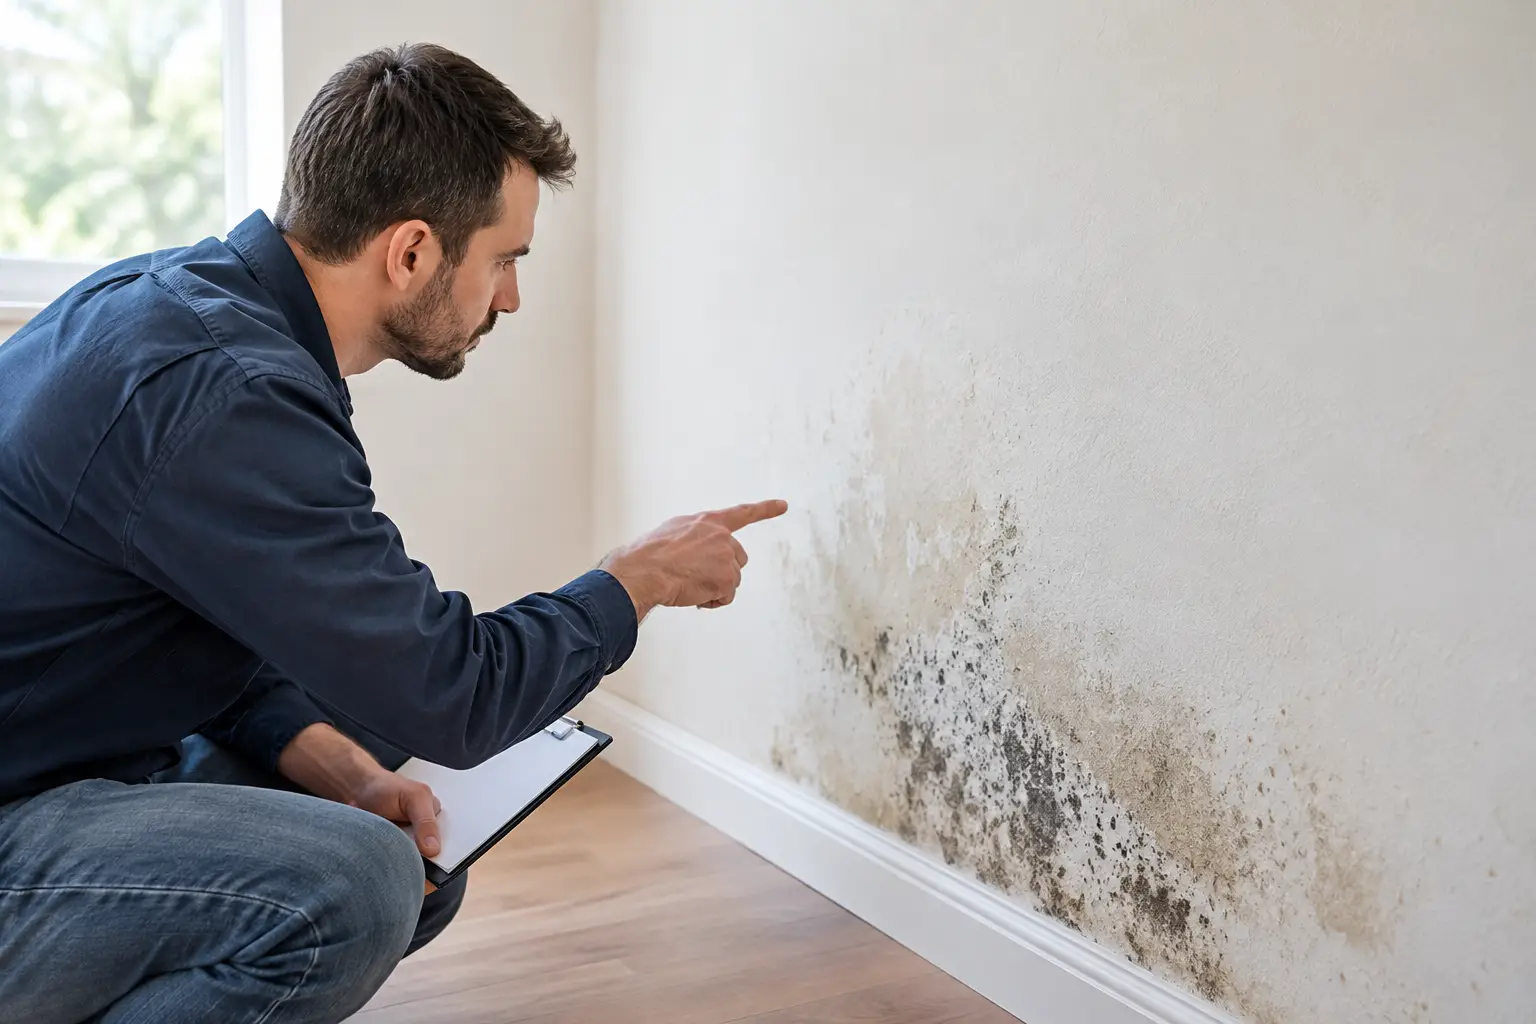
A higher finish level cannot compensate for poor installation. Boards need to be properly secured, seams placed thoughtfully, corners kept straight, and damaged or wet drywall replaced before finishing begins. Applying more mud over loose board, swelling paper, or an active moisture issue only delays a larger repair.
Primer also has a specific role. New drywall and joint compound absorb paint differently, which can create flashing or uneven sheen without a quality drywall primer. Primer helps create a uniform surface for paint, but it does not hide poorly feathered joints, dents, or sanding scratches.
Before painting, inspect walls with the room lights on and from several angles. This is the time to identify a small touch-up, not after furniture is moved back in and the final paint has cured. Clear communication between the drywall contractor, painter, homeowner, and builder prevents surprises about what the finished wall should look like.
When Professional Finishing Makes the Difference
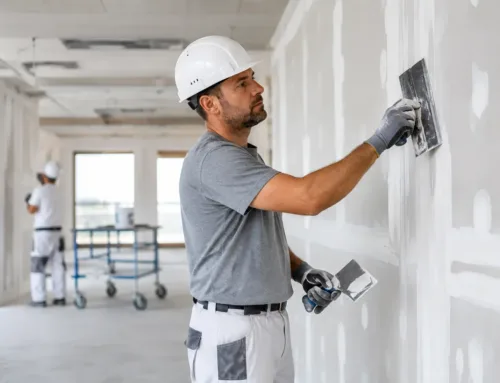
Drywall finishing is detail work. Wide joints need to be feathered gradually, repairs need to blend with the original surface, and texture has to be matched consistently across the transition. Those details are what separate a patch that catches your eye from one that fades into the wall.
For a repair, remodel, basement finish, or new installation, an experienced contractor can recommend the finish level that fits the room rather than overselling work you do not need. TDM Drywall brings more than 32 years of hands-on experience to drywall and plaster work throughout Monroe and the Downriver area, with clean workspaces, responsive communication, and paint-ready results.
Before approving drywall work, ask what finish level is planned, what final paint or texture will be used, and whether the room has strong side lighting. A few clear answers before finishing starts can protect the appearance of the room for years.