
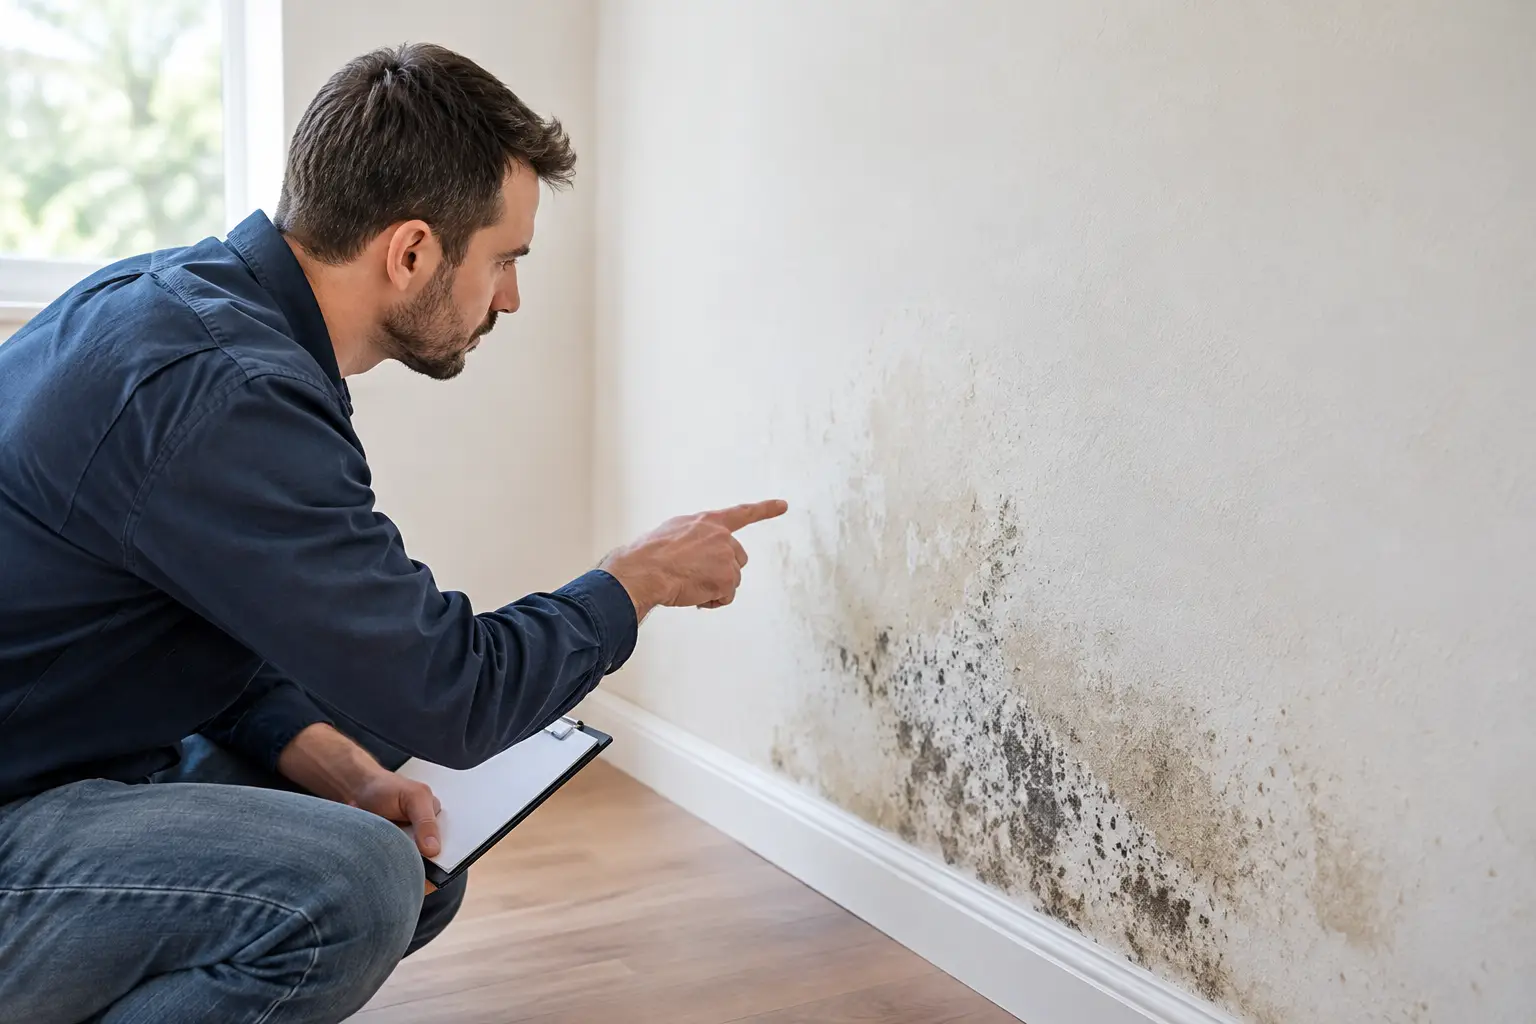
A small brown stain beneath a bathroom ceiling, soft drywall near a basement wall, or a musty smell after a storm is not something to paint over and forget. To prevent drywall mold, the real job is controlling moisture quickly and completely. Drywall is made with a paper facing that can feed mold when it stays damp, especially in the hidden space behind a finished wall or ceiling.
Mold does not need a major flood to become a problem. A slow plumbing drip, humid shower air, condensation on a cold exterior wall, or water that seeps into a basement can provide enough moisture for growth. The good news is that most drywall mold problems are preventable when water issues are addressed early and repairs are done properly.
How to Prevent Drywall Mold at the Source
The most reliable way to prevent drywall mold is to stop moisture before it reaches the wallboard. That sounds straightforward, but homeowners often see only the surface symptom while the source remains active behind the wall, above the ceiling, or outside the home.
Start by paying attention to changes in the room. Peeling paint, bubbling joint compound, staining, swollen baseboards, loose drywall tape, and a persistent musty odor all deserve a closer look. In many cases, the visible damage is smaller than the wet area behind it. A ceiling stain may come from a roof leak, a bathroom supply line, an upstairs toilet, or condensation from an uninsulated pipe.
After a plumbing leak or roof leak, time matters. Drywet materials need to be dried as soon as possible, ideally within 24 to 48 hours. Use fans and dehumidification for minor, clean-water events, but do not assume surface drying means the wall cavity is dry. If insulation, framing, or the back of the drywall remains wet, mold can continue to grow where it cannot be seen.
A repaired leak is only half the repair. The damaged drywall must be evaluated for moisture, loss of strength, and mold growth before it is patched and painted. Covering compromised material can trap the problem and turn a simple repair into a larger replacement later.
Check the common moisture trouble spots
Bathrooms, kitchens, laundry rooms, basements, and exterior walls need the closest attention. These areas combine water use, humidity, cold surfaces, or limited air movement.
In a bathroom, make sure the exhaust fan actually sends air outdoors and is used during showers and for a while afterward. A fan that vents into an attic can move moisture from one problem area to another. If mirrors and walls stay fogged long after a shower, ventilation may not be keeping up with the room.
Under sinks, around refrigerator water lines, behind washing machines, and near water heaters, look for slow drips and corrosion. In basements, check foundation walls, window wells, sump systems, and floor drains after heavy rain. Southeast Michigan homes can see big swings in temperature and humidity, so basement condensation and damp exterior-wall areas deserve attention even when there is no obvious leak.
Keep Indoor Humidity Under Control
Humidity is often the hidden reason mold returns. When warm, moisture-heavy indoor air meets a cool wall, pipe, or window area, condensation can form. That moisture may be light enough to go unnoticed but frequent enough to affect drywall over time.
For most homes, indoor relative humidity around 30% to 50% is a practical target. A simple hygrometer can help identify rooms that stay too humid. Basements often benefit from a correctly sized dehumidifier, particularly in spring and summer. Empty and clean the unit regularly, and route drainage properly so the appliance does not create a new water issue.
Vent clothes dryers outside, use kitchen exhaust when cooking, and avoid drying large amounts of laundry indoors unless the space is well ventilated. Keep furniture a few inches away from cold exterior walls when possible. Air needs room to circulate, especially behind couches, storage cabinets, and boxes in basements.
Humidity control has trade-offs in winter. Air that is too dry can be uncomfortable and affect woodwork, while air that is too humid can create window condensation and cold-wall moisture. The right setting depends on the home, outdoor temperature, insulation, and ventilation. The goal is not to make the house dry at all costs. It is to prevent recurring condensation and damp surfaces.
Fix Water-Damaged Drywall the Right Way
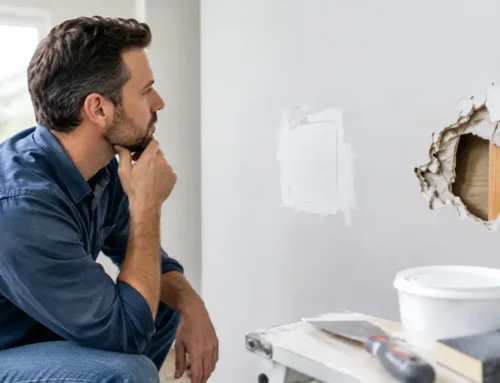
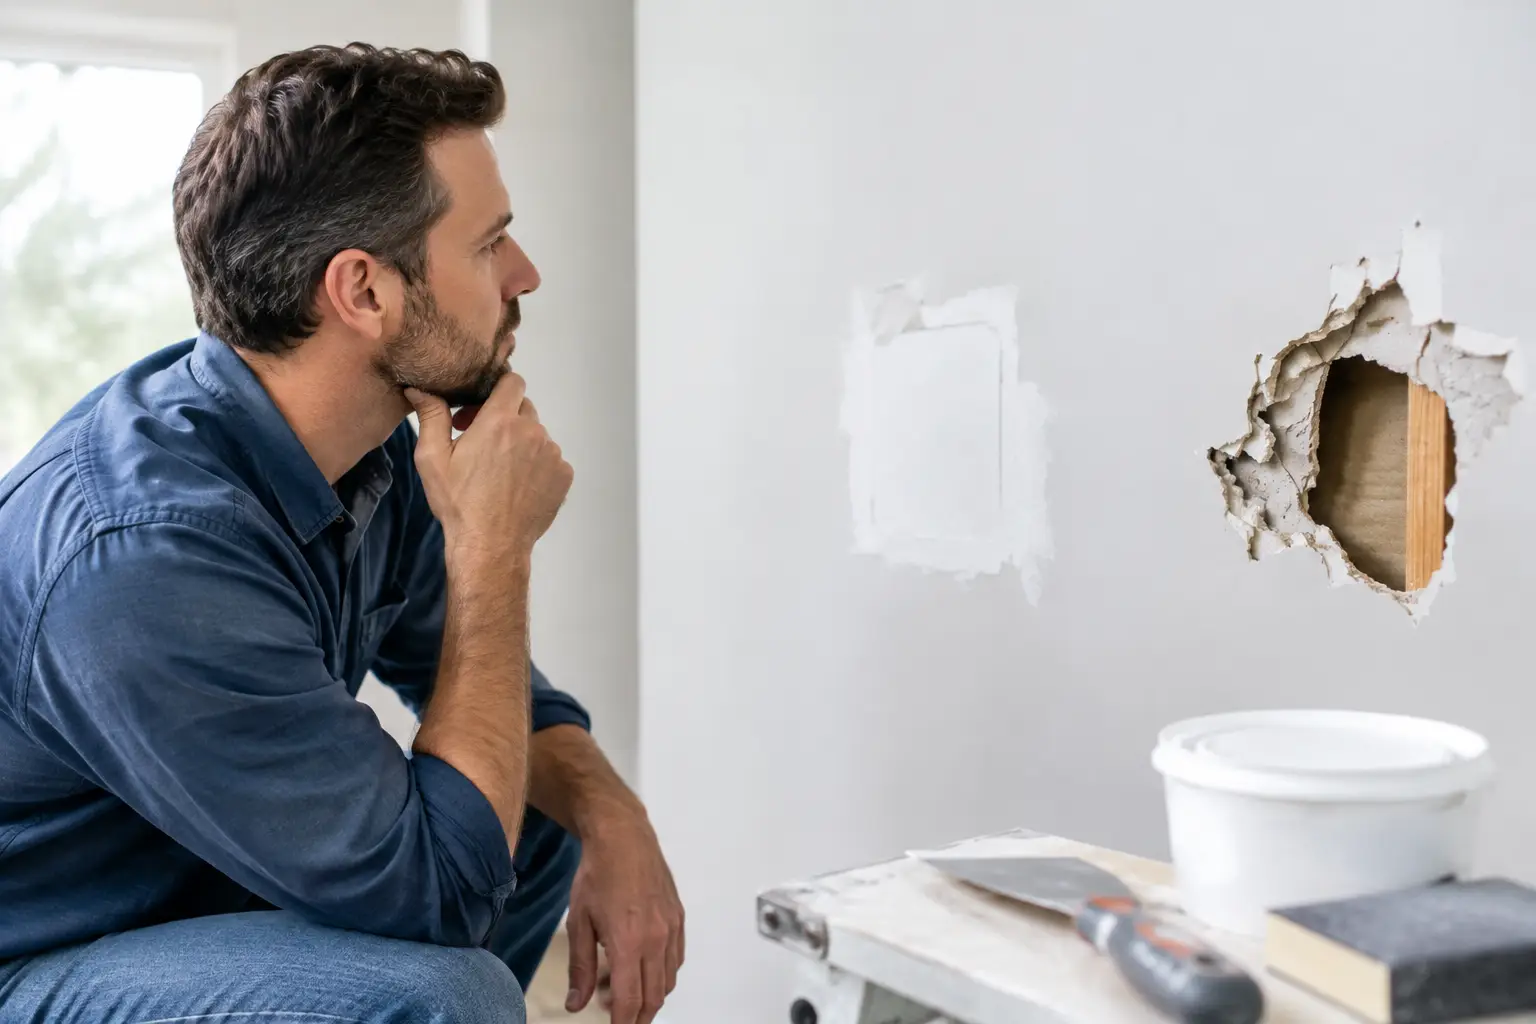
Not every wet drywall panel has to be removed. A small area exposed briefly to clean water may dry successfully if it is opened, inspected, and dried quickly. But drywall that is soft, swollen, crumbling, stained, moldy, or wet for more than a short period usually should be cut out and replaced.
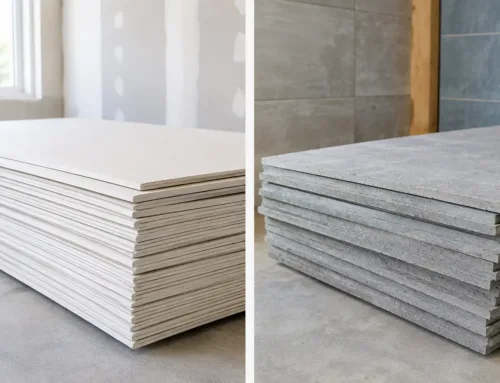
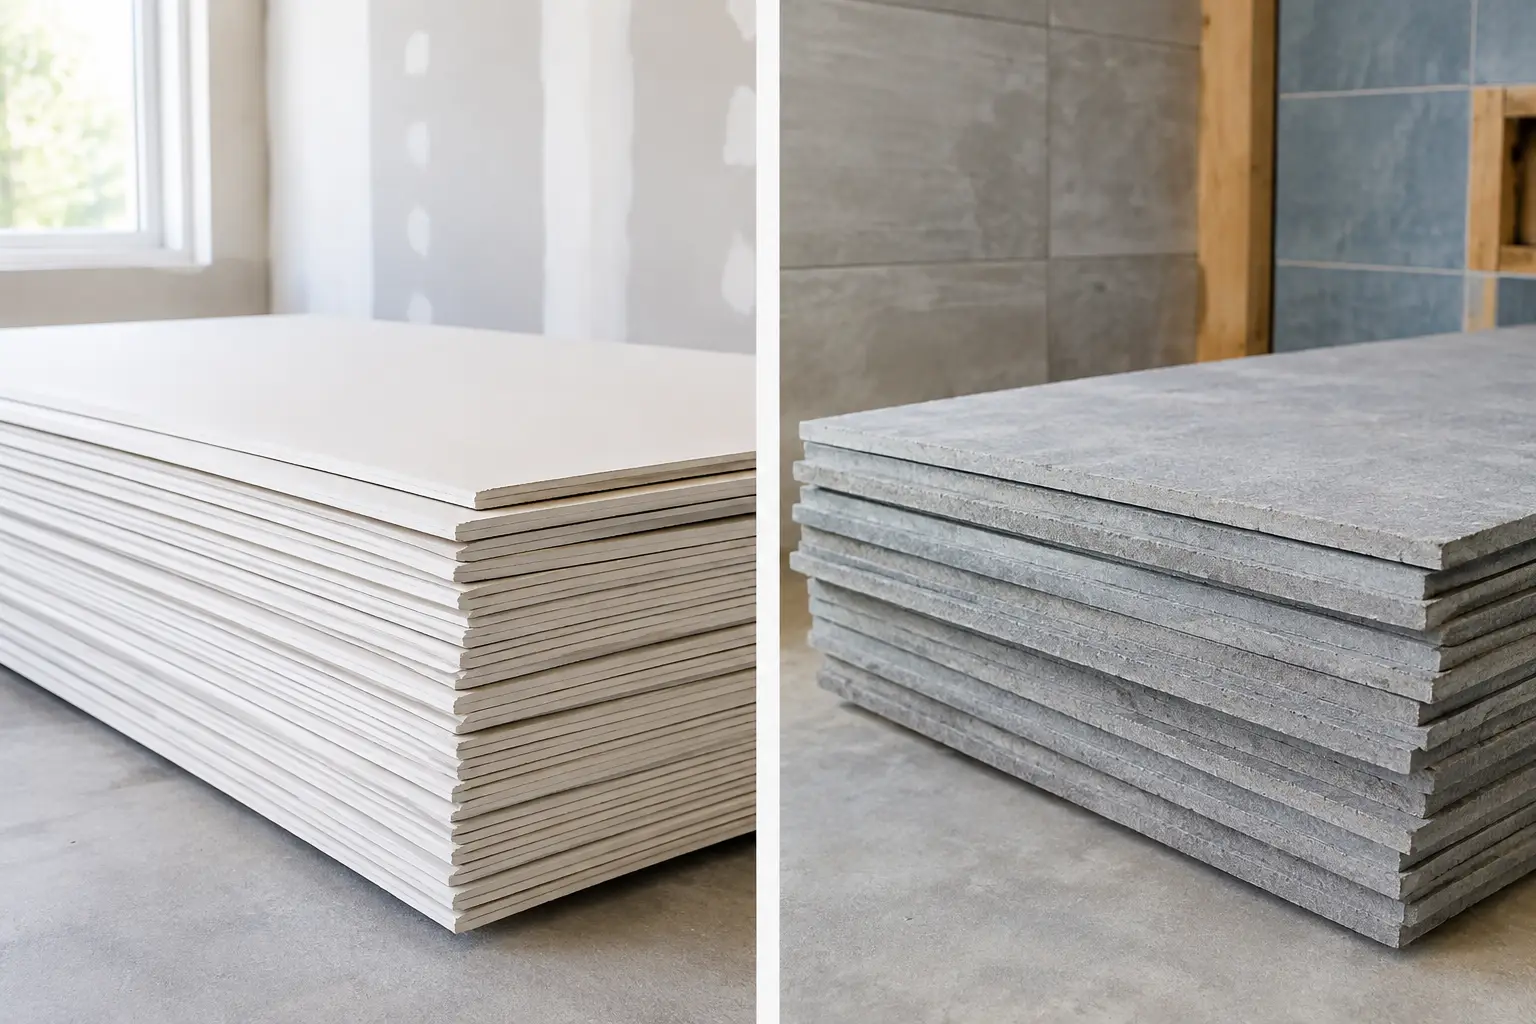
Drywall absorbs water readily, and its paper facing can support mold growth. Once the gypsum core loses strength, it may not provide a durable base for compound, texture, and paint. Trying to save badly damaged board often leads to visible seams, recurring stains, odors, or a patch that fails after the first humid season.
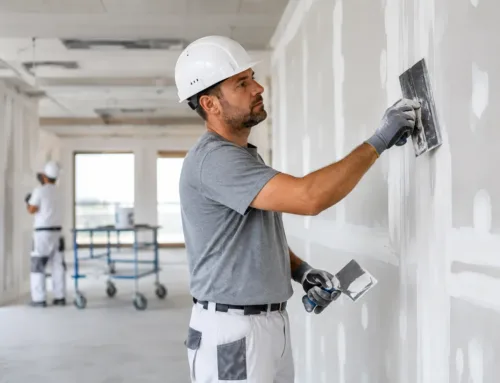
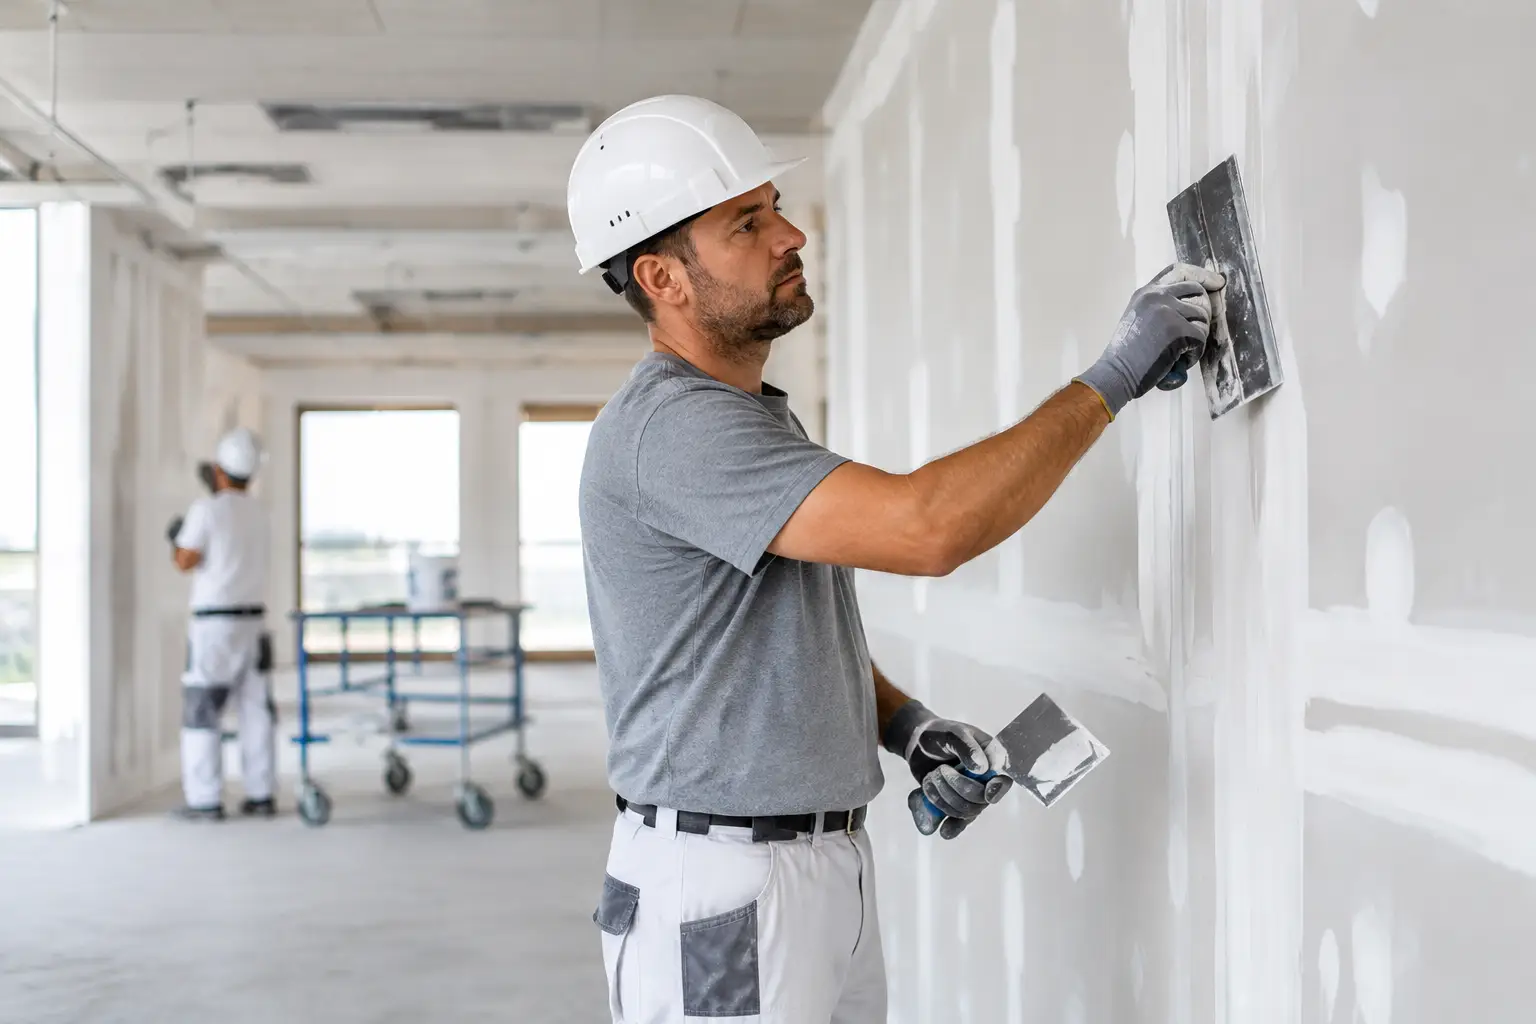
The correct repair sequence is simple in principle: stop the water source, dry the affected area, remove unsalvageable material, inspect the cavity, repair any underlying issue, and install new drywall once the framing is dry. The finish matters too. Proper taping, feathering, sanding, priming, and texture matching are what make a necessary repair disappear into the surrounding wall or ceiling.
If mold is limited to a small, accessible surface area and the material beneath is sound, careful cleaning may be appropriate. Wear proper personal protection, avoid dry scraping that can spread spores, and make sure the moisture source is corrected first. If the growth is widespread, the drywall is deteriorated, the source may involve sewage or contaminated water, or people in the building have health concerns, professional assessment is the safer path.
Do not paint over mold or water stains
Stain-blocking primer has a useful place in a proper repair, but it is not mold removal. Paint can hide discoloration while moisture and growth continue behind the surface. The same goes for applying new joint compound over soft drywall or reattaching sagging ceiling board without finding the leak.
A lasting repair starts with sound, dry material. Once that condition is met, a quality primer and paint system can help protect the finished surface and restore a clean appearance.
Protect Walls During Remodeling and Everyday Maintenance
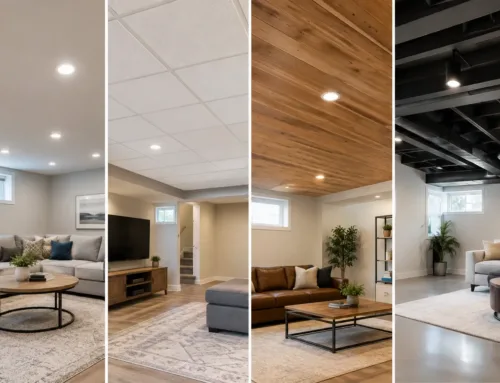
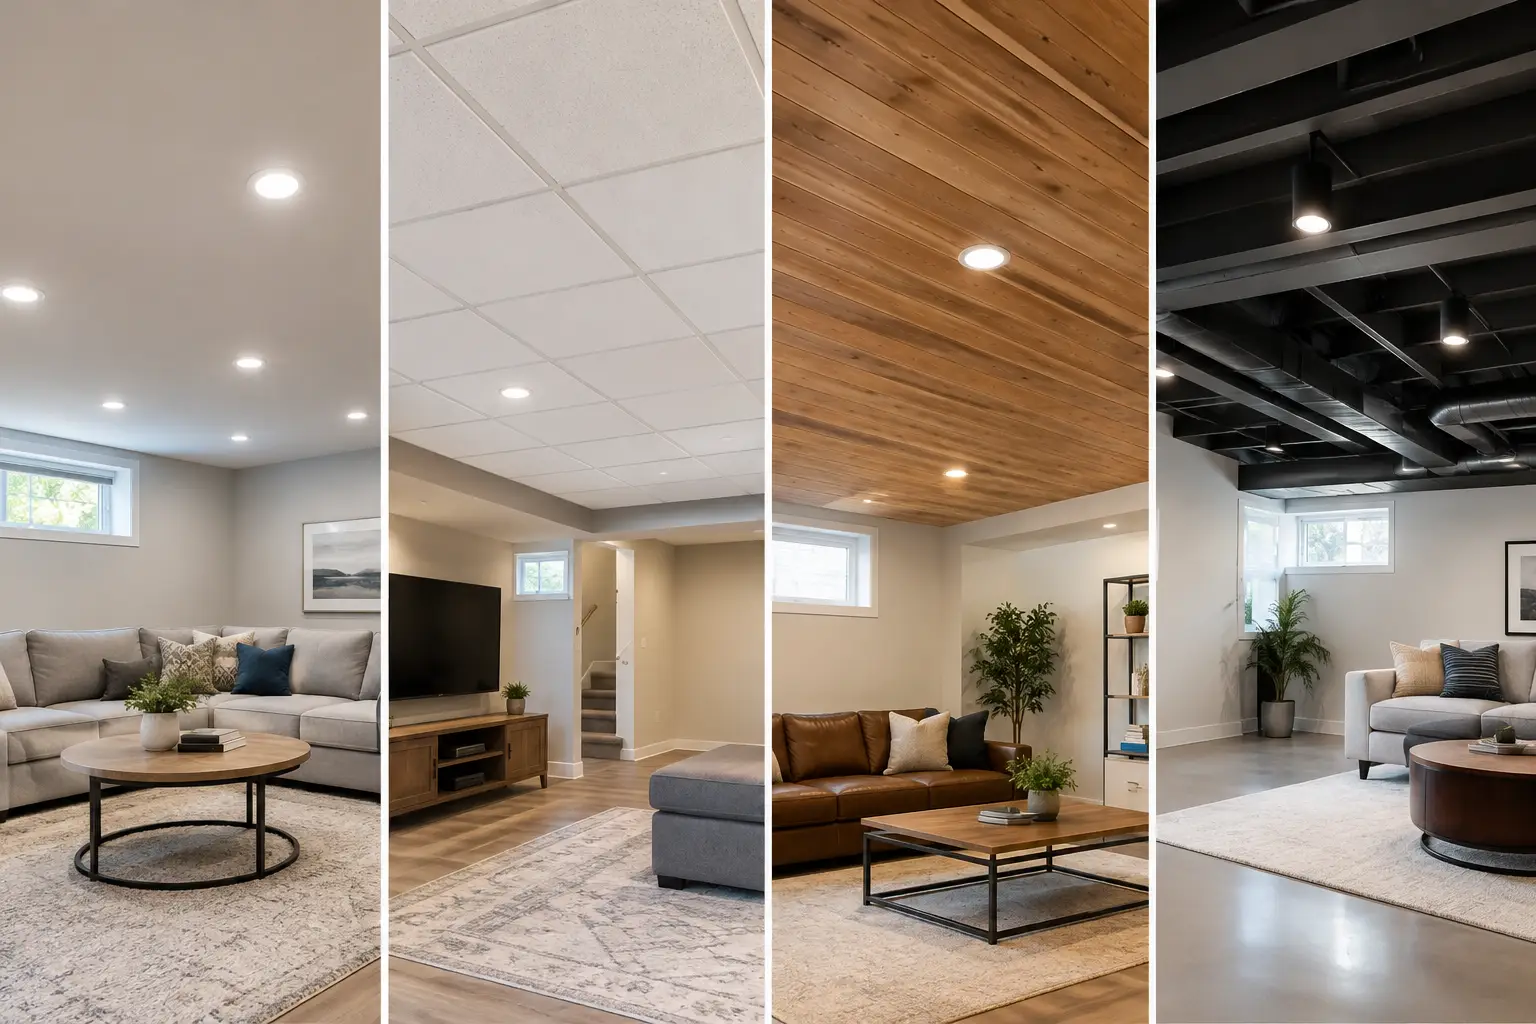
Many drywall mold issues begin during changes to the home. When a bathroom is remodeled, make sure plumbing connections are tested before walls are closed. When finishing a basement, address foundation moisture, insulation details, and vapor control before installing drywall. New drywall placed against a damp wall or over an unresolved water problem will not stay clean for long.
During routine maintenance, inspect caulk around tubs and showers, grout condition, roof penetrations, gutters, downspouts, and exterior grading. Downspouts should direct water away from the foundation. A gutter overflowing near the same wall every storm can eventually show up as peeling paint or mildew inside.
Property managers and commercial owners should also respond quickly to reports of stains, leaks, or odors. Fast communication and documentation protect the building and reduce disruption for tenants. Waiting for a stain to become a major ceiling failure is rarely the affordable option.
When It Is Time to Call for Drywall Repair
Call for professional drywall repair when you see sagging ceilings, spreading stains, visible mold, crumbling wallboard, repeated bubbling paint, or damage after a significant leak. These signs can point to hidden moisture that needs more than a cosmetic patch.
TDM Drywall provides water-damaged drywall repair, replacement, seamless patchwork, and texture matching for homeowners and property owners in Monroe, Downriver, and Southeast Michigan. With more than 32 years of hands-on experience, the focus is on clean workspaces, clear communication, and paint-ready finishes that last.
A dry, solid wall is the best defense against mold. Address the first sign of moisture while the repair is still manageable, and give the wall time to dry before closing it back up.