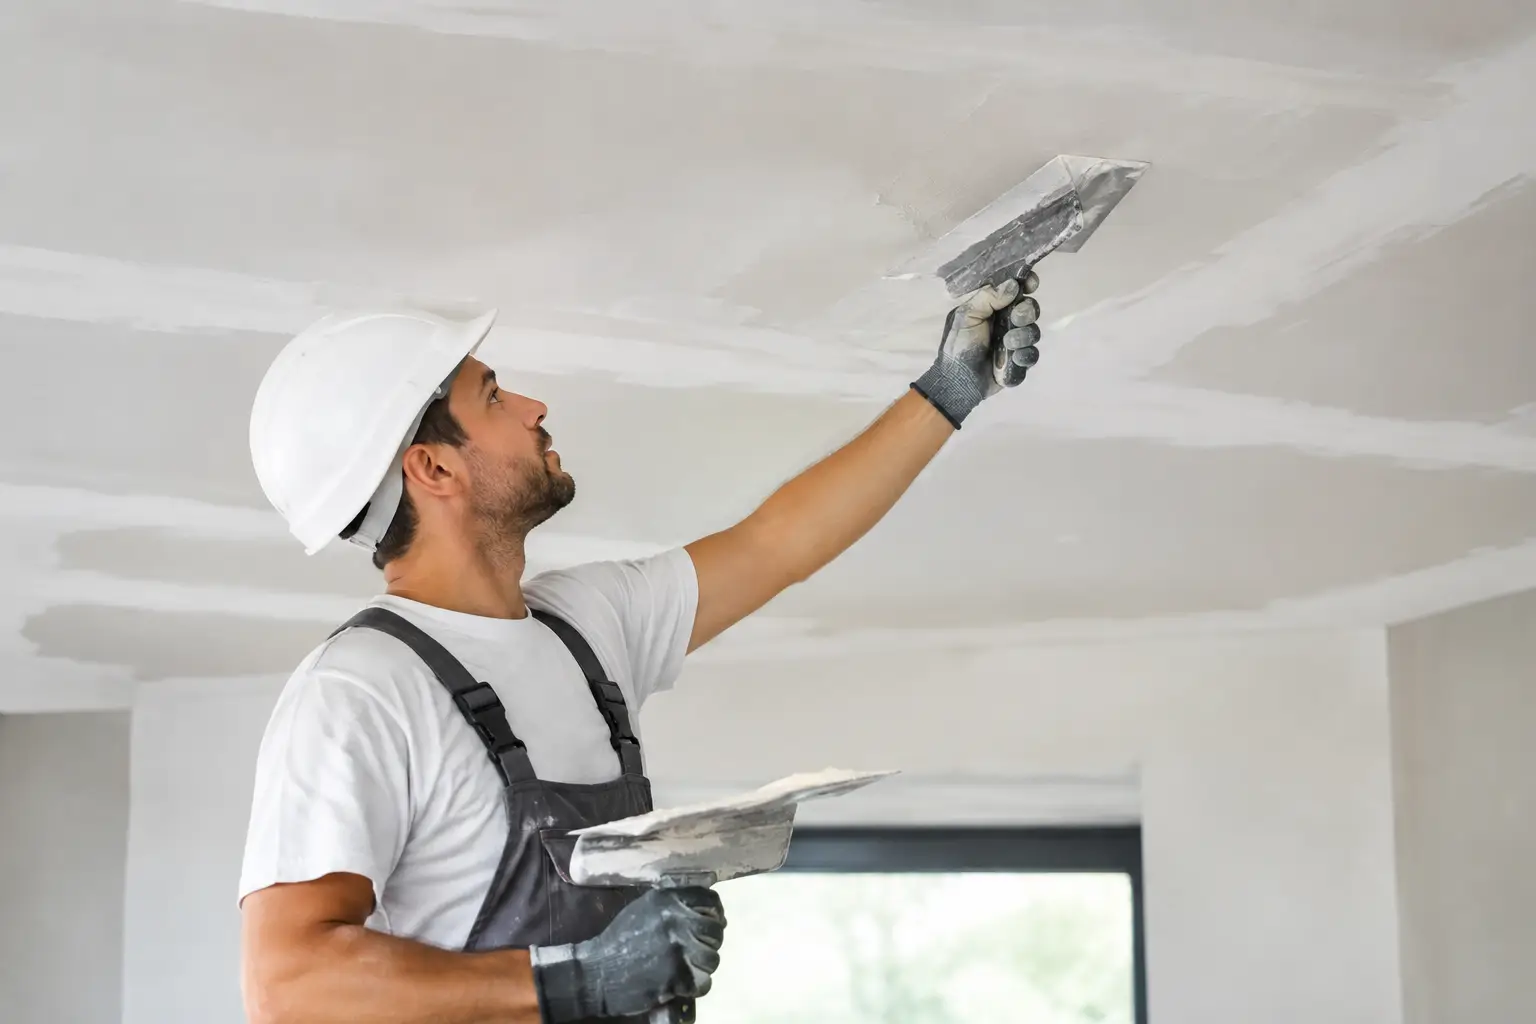


A finished basement can add usable space for a family room, home office, guest area, or workout room, but the drywall work is where the space starts to feel like part of the home. This basement finishing drywall project example shows what a properly planned job looks like, why the order of work matters, and what separates a quick cover-up from clean, durable, paint-ready walls.
The example is based on a common Southeast Michigan basement: concrete foundation walls, exposed utilities overhead, a mix of existing framing and new partitions, and homeowners who want a comfortable finished room without creating future moisture or cracking problems.
The Starting Point: An Unfinished Basement With Good Bones
Before drywall arrives, the basement has to be dry, framed correctly, and ready for mechanical work. In this example, the homeowner had a roughly 800-square-foot basement with open concrete walls, a utility room, and a newly framed layout for a recreation room, small office, and storage area.
The framing was inspected before any boards went up. That step matters because drywall can hide uneven studs, missing blocking, loose framing, and poorly planned soffits for only a short time. Once the finish is complete, correcting those issues means cutting into new walls.
The basement had no active water intrusion, but there were minor signs of past humidity near one exterior wall. Rather than drywalling over a question mark, the homeowner addressed drainage and moisture control first. A dehumidifier, properly sealed foundation areas, and adequate insulation gave the new wall system a better chance of lasting.
Drywall is not a cure for a wet basement. If water is entering through a foundation wall, a window well, or a plumbing leak, that problem should be corrected before finishing begins. Otherwise, new drywall can absorb moisture, stain, soften, or develop mold concerns behind the finished surface.
Planning the Drywall Layout Before Installation
For this basement finishing drywall project example, the goal was to keep seams to a minimum while allowing access to key mechanical components. The contractor measured each wall, ceiling area, bulkhead, doorway, and window return before determining board placement.
Longer drywall sheets generally create fewer seams on large walls. Fewer seams mean less finishing work and fewer opportunities for visible joint lines after painting. That said, a basement can have tight stairways, low ceilings, and difficult turns. In some homes, shorter sheets or additional cuts are the practical choice to move material safely without damaging walls, stairs, or finished areas upstairs.
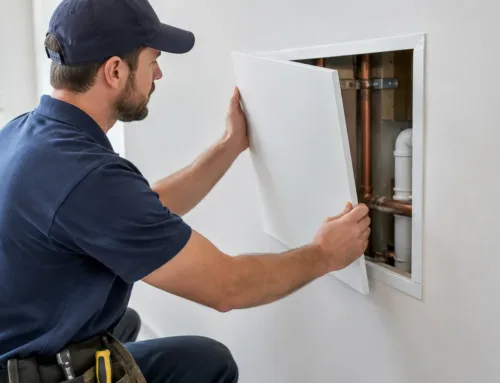
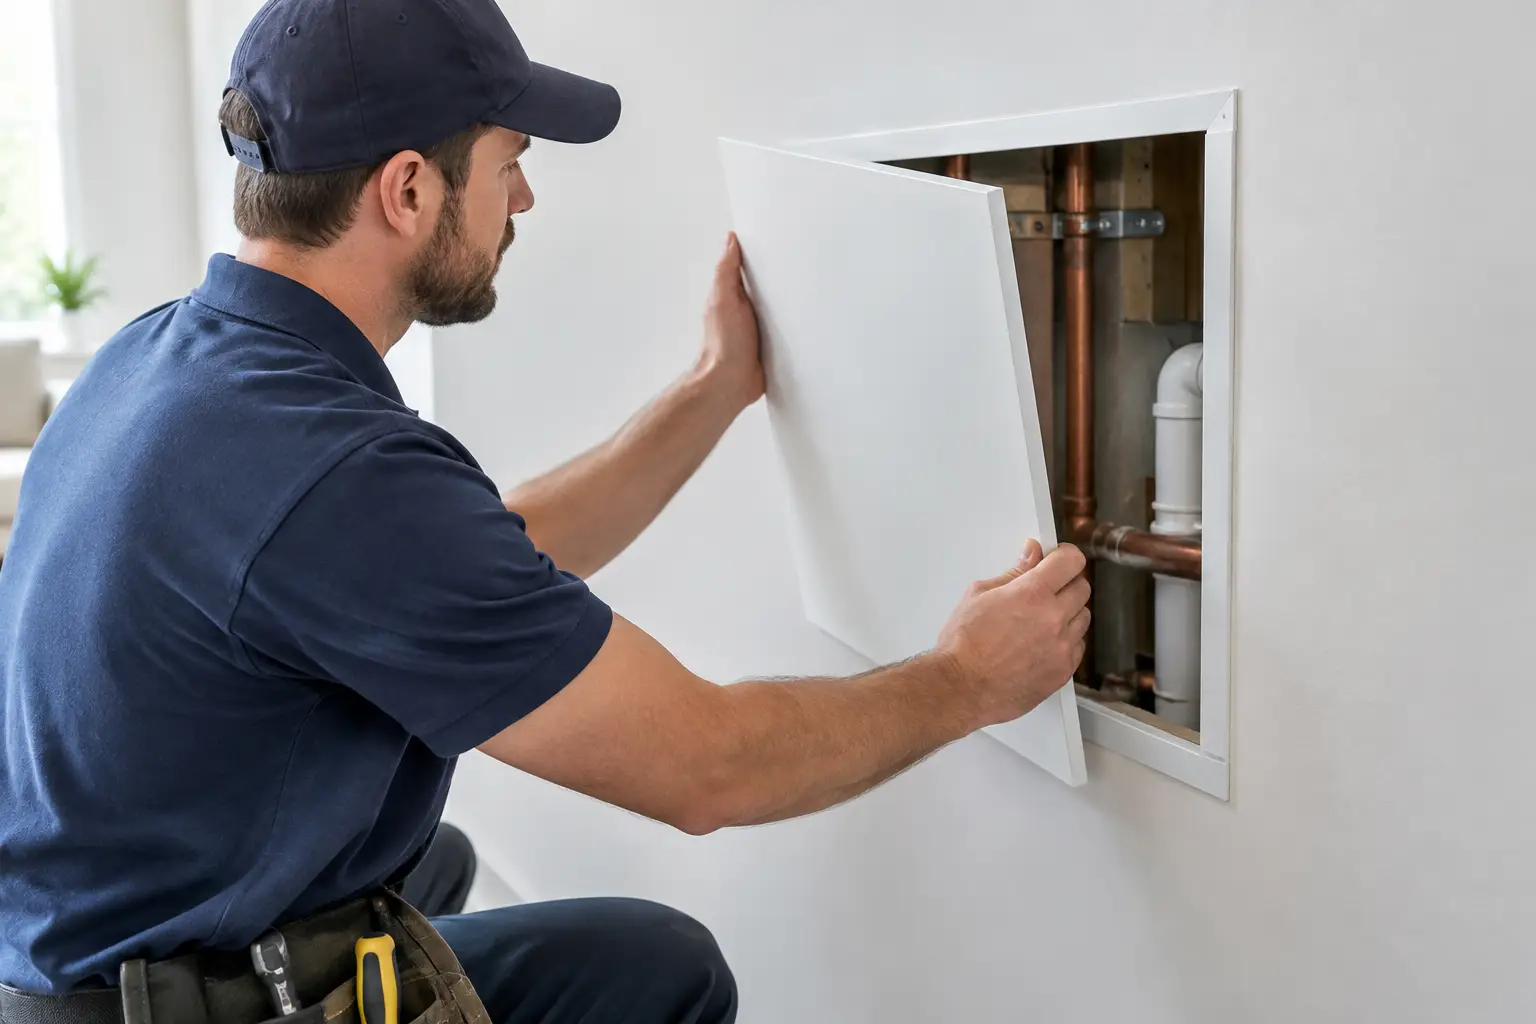
The ceiling plan required extra attention. Open ductwork and plumbing had been boxed into soffits, while other sections received a flat drywall ceiling. Access panels were planned where shutoff valves and important service points would otherwise be sealed behind drywall. This is a small detail that can save a homeowner from unnecessary demolition later.
Electrical and low-voltage work also had to be completed before hanging board. Outlet boxes, recessed lighting, smoke alarms, cable runs, and any speaker wiring need to be in their final positions. Drywall installation moves quickly once the crew starts, so the project benefits from clear coordination among the homeowner, electrician, plumber, and framing contractor.
Installing Basement Drywall the Right Way
The installation began with the ceiling, followed by upper wall sections and then lower wall sections. Hanging ceilings first helps create tighter connections where the walls meet overhead. Boards were fastened securely to framing with properly spaced drywall screws, set slightly below the paper surface without tearing it.
On exterior basement walls, the drywall was installed over a properly prepared insulated wall assembly. The exact approach depends on the foundation, local building requirements, insulation type, and moisture history. A basement that has remained dry for decades may need a different approach than one with recurring dampness or visible foundation seepage.
The crew also left appropriate gaps where needed at the floor and around certain transitions. Basements are not perfectly static. Concrete floors, framing, and seasonal humidity can all contribute to slight movement. Thoughtful installation helps reduce the chance that normal movement becomes a visible crack.
Corners received metal or vinyl corner bead for straight, durable outside edges. In a basement used by kids, pets, or moving furniture, those protected corners make a real difference. A sharp corner may look simple, but it depends on straight framing, accurate bead placement, and careful finishing.
Taping, Mudding, and Sanding for a Paint-Ready Finish
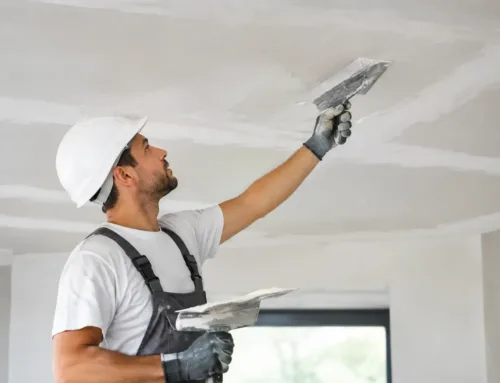
This is the phase homeowners often notice most. Drywall boards can be hung in a day or two, depending on the layout. Creating a smooth, consistent finish takes more time because joint compound must be applied in coats, allowed to dry, sanded, and checked under proper lighting.
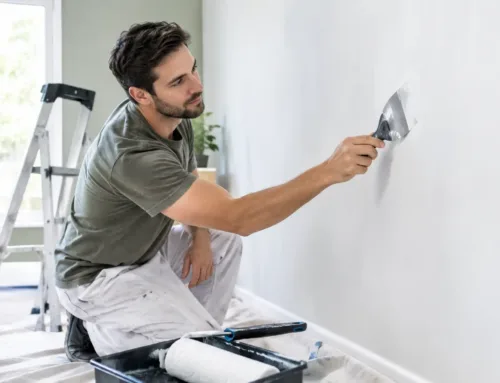
For this project, all seams were taped and finished with multiple coats of compound. Screw heads were covered and feathered so they would not show through paint. Outside corners were built up carefully, and inside corners were finished for crisp lines without excessive buildup.
The homeowner chose a smooth wall finish for the office and recreation room rather than a heavy texture. Smooth walls have a clean, current look and are easier to repaint later, but they also reveal flaws more readily under side lighting. A quality finish requires careful feathering and sanding, especially near windows, stair openings, and recessed lights.
Texture matching becomes especially important when a basement connects to an existing finished stairwell or hallway. In this example, the new drywall met an existing lightly textured surface near the basement stairs. The transition was blended so the old and new areas did not look like two separate projects after paint.
Dust control was also part of doing the work professionally. Drywall sanding creates fine dust that can travel through a home if the work area is not contained. Protecting nearby surfaces, cleaning up daily, and using appropriate sanding methods helps keep the project manageable for the household.
Details That Prevent Callbacks Later
A basement finish can look good on the day it is painted and still develop issues if details were skipped. The work in this example included checking every wall for proud screw heads, loose tape, uneven corner bead, and visible ridges before the painter arrived.
Particular attention went to the stairwell, door openings, and soffit edges. These areas catch the eye because they create strong lines and shadows. A minor waviness that is hard to see on a broad wall can stand out immediately along a doorway or ceiling transition.
The project also included repairs to a few framing-related imperfections before the final coat. This is where experienced drywall work pays off. It is better to correct an uneven plane before final sanding than to hope paint will hide it. Paint adds color, but it does not fix poor drywall finishing.
What This Basement Project Took and What Affects Cost
The drywall portion of a basement project is affected by more than square footage. A simple open room with flat walls and ceilings is usually more straightforward than a basement with multiple rooms, soffits, bulkheads, stairwells, arches, and extensive mechanical obstructions.
Cost and schedule can also change based on moisture repairs, insulation needs, the condition of the framing, ceiling height, material access, and the finish level requested. A smooth finish typically requires more detailed labor than a heavier texture. Likewise, repairs or texture blending at the stairwell can add time when new work needs to match older finishes.
For this example, the installation and finishing were completed in stages to allow each coat to dry properly. Rushing compound coats can trap moisture, lead to sanding problems, and compromise the final appearance. The goal is not simply to close in the basement quickly. It is to leave walls and ceilings ready for primer and paint without visible seams, corner issues, or patchy texture.
A Finished Basement Should Feel Like It Belongs
When the primer went on, the difference was immediate. The basement no longer looked like a collection of framing, pipes, and concrete. Clean wall lines, finished soffits, and a consistent ceiling gave the rooms the same sense of structure as the rest of the house.
That is the standard homeowners should expect from a basement drywall job: straight corners, clean seams, thoughtful access planning, matched finishes, and a work area treated with respect. If you are planning a basement finish in Monroe, Downriver, or Southeast Michigan, an experienced family-run drywall contractor such as TDM Drywall can help ensure the surface work supports the investment you are making in the entire space.