
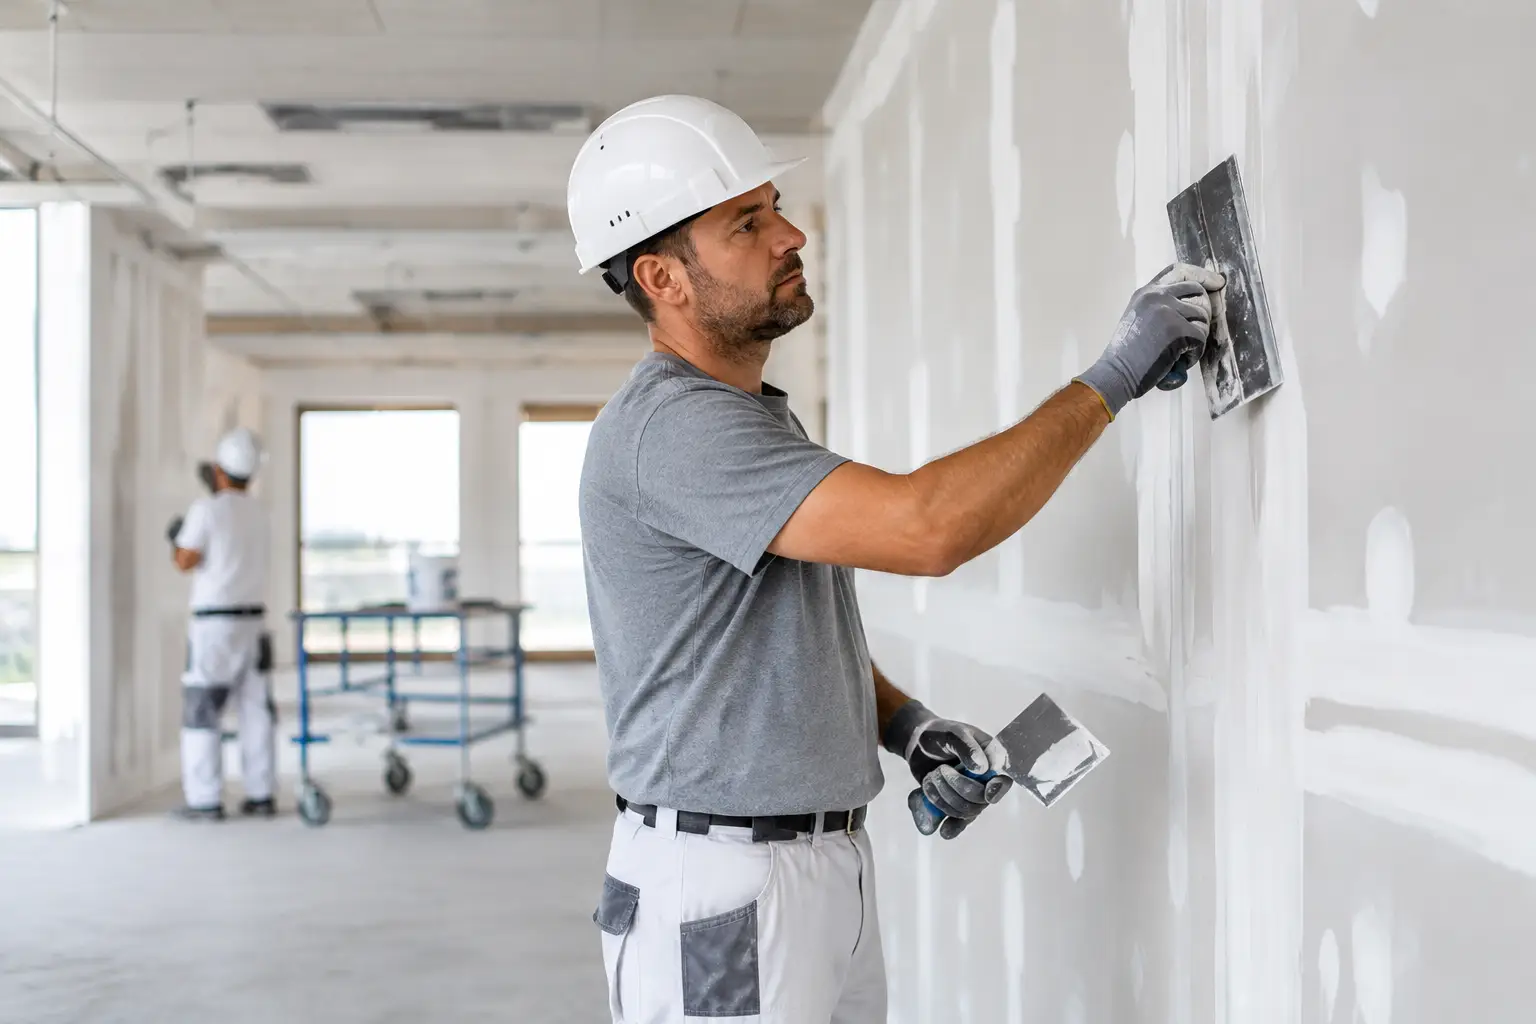
A commercial wall can look finished long before it is ready for paint. The drywall may be hung, the room may be framed out, and other trades may be moving nearby, but the quality of the final finish determines what tenants, customers, employees, and property owners will see every day. This guide to commercial drywall finishing explains what separates a dependable, paint-ready result from a surface that shows seams, fasteners, cracks, or uneven texture after the project is complete.
Commercial drywall finishing is not simply a matter of applying joint compound. It requires the right finish level for the space, coordination with the project schedule, clean preparation, and experienced workmanship that holds up under normal building use. For offices, retail spaces, medical facilities, restaurants, tenant build-outs, and multi-unit properties, the right approach protects both the appearance of the space and the investment behind it.
What Commercial Drywall Finishing Includes
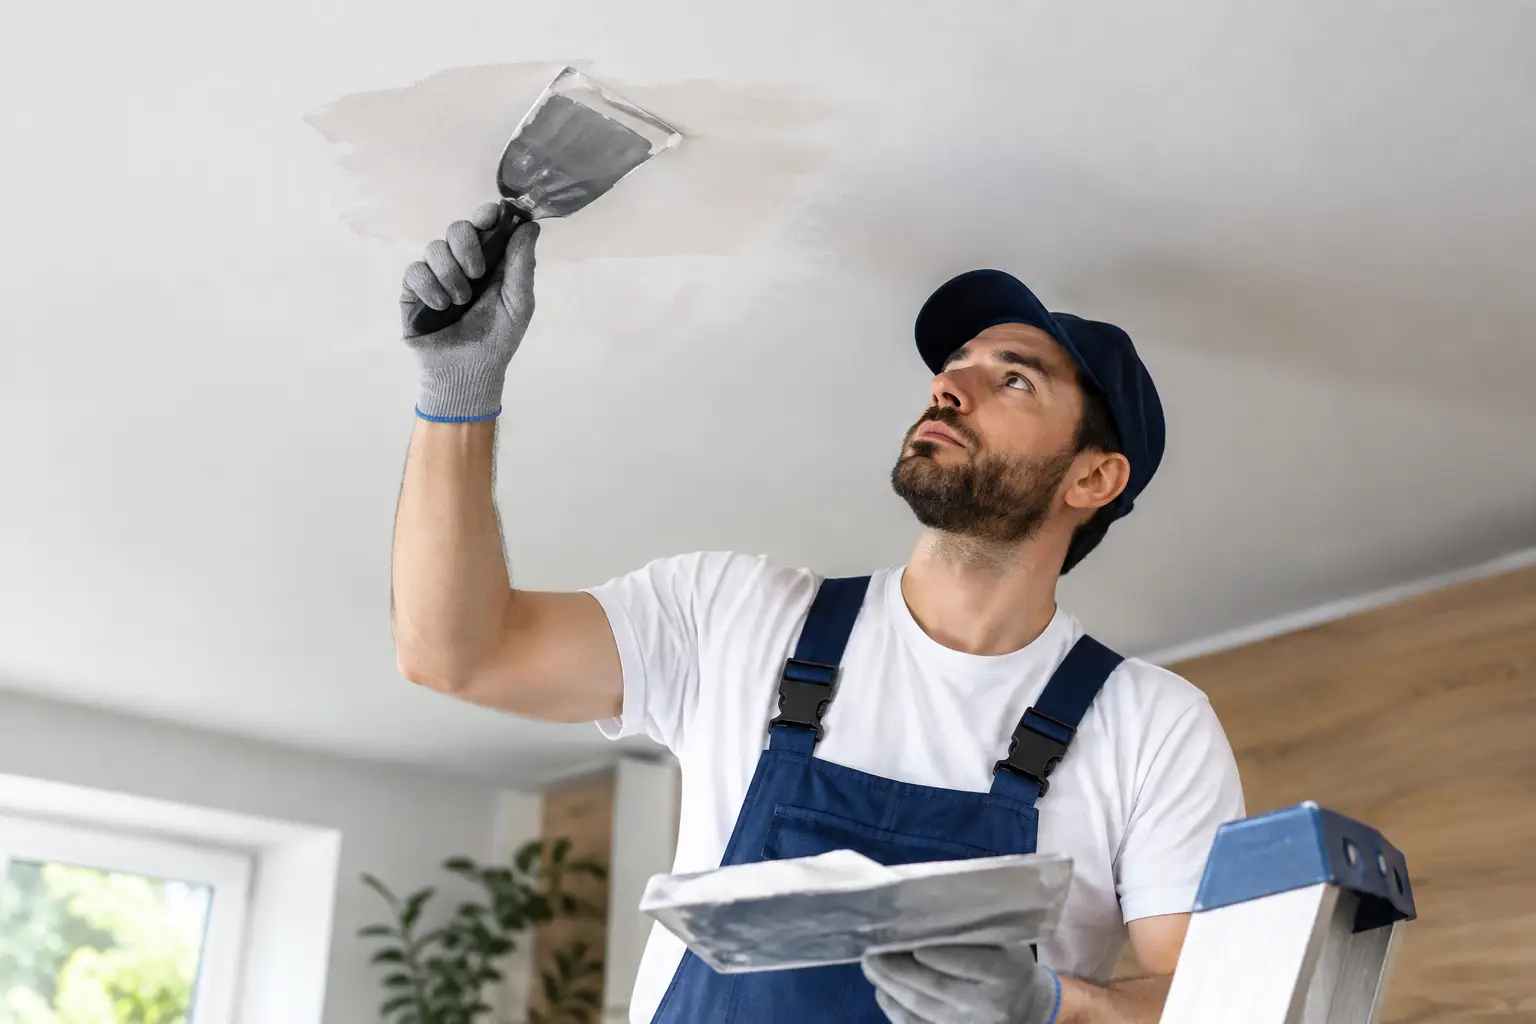
Drywall finishing begins after the drywall panels are securely installed. The work includes treating joints, embedding tape, covering fasteners, installing corner bead where needed, applying multiple coats of compound, sanding, and preparing the surface for its final coating or wall finish. Depending on the job, finishing may also include skim coating, repairing damaged areas, matching an existing texture, or creating a smooth surface over uneven walls.
The goal is a consistent surface that looks right under the lighting planned for the space. That detail matters more than many property owners expect. A wall that appears acceptable in low light can reveal every seam and sanding mark when bright overhead LEDs, storefront lighting, or daylight hits it at an angle.
A professional commercial finish also needs to fit the building’s use. A warehouse office, a polished retail showroom, and a medical reception area do not call for the same level of finish or the same level of protection during construction.
Choosing the Right Drywall Finish Level
Drywall finish levels range from basic treatment in concealed areas to highly refined surfaces intended for premium paint and critical lighting. Selecting the correct level early helps avoid change orders, scheduling delays, and disappointment after painting begins.
Level 1 and Level 2 for Utility Areas
Level 1 is generally reserved for areas concealed from view, such as spaces above ceilings, service corridors, or unfinished utility rooms. Joints are taped, but the surface is not prepared for a finished appearance.
Level 2 adds a coat of compound over tape and fasteners. It is often suitable behind tile, in garages, or in areas where appearance is not a primary concern. It is not the right choice for a painted lobby wall or visible office partition.
Level 3 for Textured Commercial Walls
Level 3 is commonly used where a medium or heavy texture will be applied. The additional coat of compound creates a more even base, but it is not intended for smooth paint. If a space will receive orange peel, knockdown, or another texture, Level 3 can be a practical and cost-conscious choice.
The texture needs to be specified and applied consistently. Matching texture is especially important in commercial repairs, where a patch that is technically sound can still stand out if the pattern, thickness, or spray coverage does not blend with the surrounding wall.
Level 4 for Most Painted Commercial Spaces
Level 4 is the standard finish for many painted office, retail, and tenant improvement projects. Joints, corners, and fasteners receive multiple coats, followed by careful sanding to create a smooth, paint-ready surface.
For standard wall paint and typical lighting, Level 4 provides a professional appearance when the drywall is installed properly and the painting process is handled correctly. Most commercial projects fall into this category, but it is not automatically enough for every surface.
Level 5 for Smooth Walls and Critical Lighting
Level 5 is the highest standard drywall finish. It includes the work required for Level 4 plus a skim coat or equivalent treatment across the surface. This added step reduces the risk of visible joint bands and surface variations showing through under demanding conditions.
Level 5 is worth considering for walls with glossy or dark paint, large expanses of smooth wall, tall entry areas, or strong side lighting from windows and fixtures. It costs more and takes additional time, but it can prevent a costly appearance issue once the building is occupied. The decision depends on the paint sheen, lighting plan, wall location, and the expectations for the finished space.
Preparation Determines the Finish
Even skilled finish work cannot fully correct poor framing or poorly installed drywall. Before joint compound is applied, the substrate should be inspected for loose panels, protruding fasteners, uneven edges, damaged paper, and gaps that are too wide for a clean joint treatment.
Corners deserve close attention as well. Outside corners in high-traffic commercial spaces may need durable corner bead that can stand up to carts, furniture moves, and daily activity. Areas around doors, service windows, and corridors often take more abuse than standard office walls. Choosing the right materials at the start can reduce repairs later.
Preparation also means protecting the work area. Commercial finishing creates dust, even when crews use careful sanding practices and containment. A dependable contractor plans around occupied areas, protects floors and nearby finishes, and keeps the workspace as clean as the job conditions allow. For businesses that remain open during improvements, this coordination is just as important as the finish itself.
Scheduling Around Other Trades
Commercial drywall work rarely happens in isolation. Electricians, plumbers, HVAC crews, painters, flooring installers, millwork teams, and inspectors may all need access to the same space. Finishing too early can lead to damage from later work. Finishing too late can push back painting, inspections, occupancy, or a tenant move-in date.
Good coordination starts with clear communication. Penetrations, electrical boxes, access panels, ceiling details, and framing changes should be addressed before final coats are applied whenever possible. If other trades need to open a finished wall after sanding and priming, the repair adds time and may create a visible interruption in texture or sheen.
Drying time must also be part of the schedule. Joint compound needs appropriate conditions to dry properly between coats. Cold temperatures, high humidity, limited airflow, and rushed construction schedules can all affect the process. Applying the next coat before the previous one is dry can cause bonding problems, shrinkage, or delayed cracking.
Common Commercial Drywall Problems to Avoid
The most noticeable finish problems usually appear after paint is applied. Fastener pops, visible tape joints, corner cracks, ridges, and uneven textures can turn a new build-out into a punch-list problem. Some issues come from normal building movement, but many are preventable with proper installation, materials, and finish practices.
A few warning signs should be addressed before the project moves on:
- Visible drywall seams or raised joint lines under work lights
- Fasteners that sit proud of the drywall surface or break the paper face
- Cracks at door corners, soffits, ceiling transitions, or patched areas
- Texture that changes noticeably from one wall section to another
- Sanding scratches, pinholes, or rough edges that will show through paint
These issues are easier and more affordable to correct before primer and finish paint. A final walkthrough under the actual planned lighting is often worthwhile, especially in customer-facing areas. Light from a low angle can reveal flaws that are difficult to see during a quick inspection.
Repairs and Tenant Turnover Work Need a Different Approach
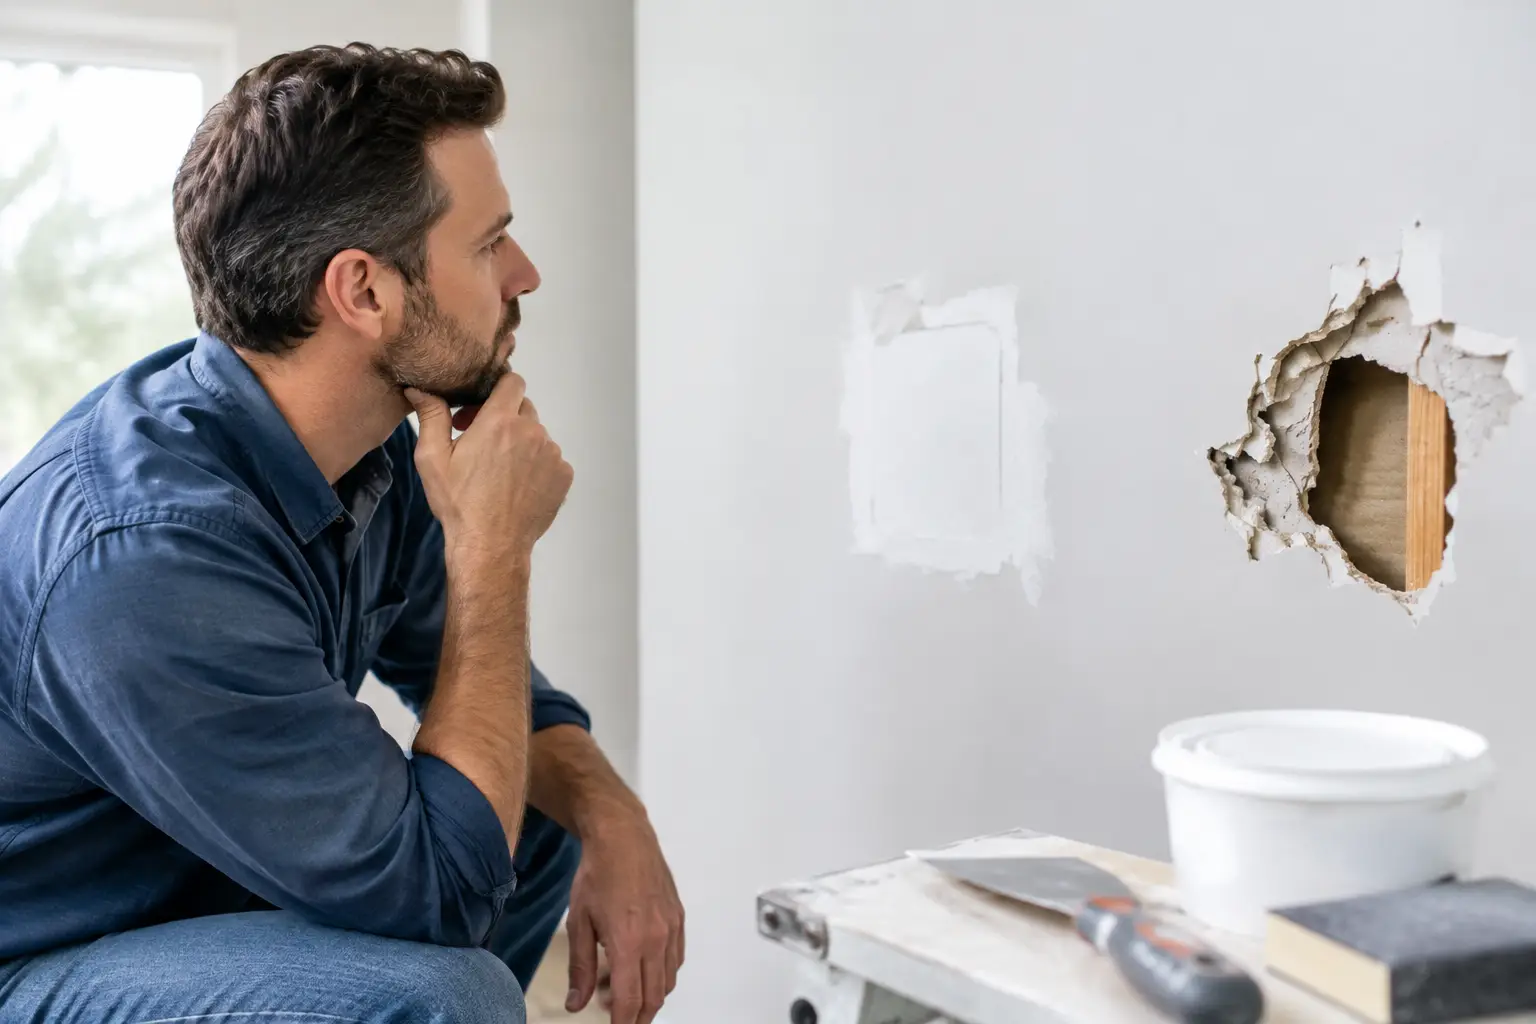
Commercial repair work often requires more than a standard patch. A property manager may need a damaged wall repaired between tenants, a contractor may need openings closed after electrical or plumbing work, or a business owner may need water-damaged drywall replaced without disrupting operations.
The priority is to repair the damaged area properly, not merely hide it. That may involve removing wet or compromised drywall, checking for the cause of moisture, reinforcing the patch area, matching existing texture, and blending the finish so the repair does not draw attention after painting.
For occupied businesses, the best approach depends on access and operating hours. Some repairs can be completed in stages to keep disruption low. Others, particularly larger replacements or skim coating projects, need a dedicated work window to allow for drying, sanding, cleanup, and proper inspection.
What to Expect From a Commercial Drywall Contractor
A commercial drywall contractor should provide a clear scope of work, explain the recommended finish level, communicate scheduling needs, and set realistic expectations about drying time and access. Price matters, but the lowest quote can become expensive if the work creates paint problems, delays other trades, or requires repeated repairs.
Look for a licensed and insured contractor with proven finishing experience, responsive communication, and a reputation for clean work. For projects in Monroe, Downriver, and Southeast Michigan, TDM Drywall brings more than 32 years of hands-on experience to commercial repairs, replacement, installation, texture matching, and paint-ready finishing.
Before paint is selected or fixtures are installed, take one more look at the walls under the lighting the space will actually use. That small step gives the finish the attention it deserves and helps ensure the completed space looks professional on opening day and long after.