
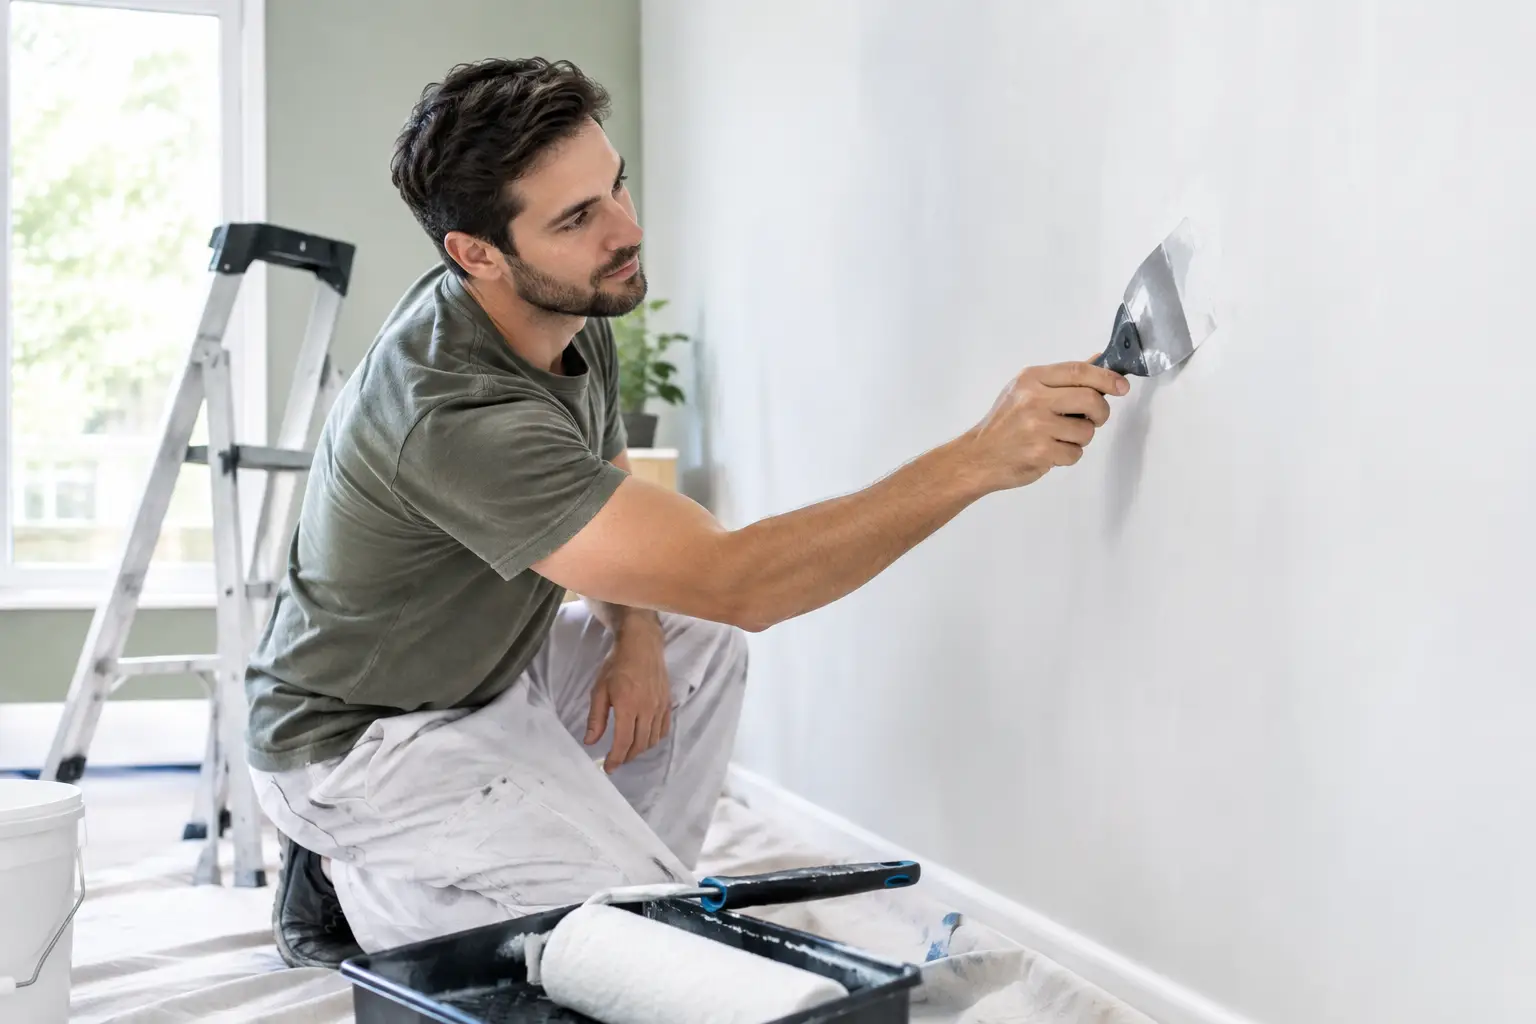
Fresh paint has a way of exposing everything beneath it. A wall may look fine in ordinary light, then show every patch edge, nail pop, sanding scratch, and uneven texture as soon as a new color goes on. This guide to paint-ready walls explains what a professional finish should look like before the painter arrives and why surface preparation matters as much as the paint itself.
What Paint-Ready Really Means
Paint-ready does not simply mean the drywall is installed or a repair has been covered with joint compound. It means the surface has been properly finished, sanded, cleaned, and inspected so paint can go on evenly without drawing attention to defects.
For most homes, paint-ready walls should feel smooth to the hand and look consistent when viewed across the room. Seams should disappear. Repairs should blend into the surrounding wall. Corners should be straight, and texture should match from the repaired area into the existing surface.
The right level of finish depends on the room and the paint choice. A flat paint in a low-traffic bedroom can hide minor variation better than a satin or semi-gloss finish. Kitchens, bathrooms, hallways, and rooms with large windows often need more careful preparation because reflective paint and side lighting reveal small imperfections quickly.
Start With a Close Inspection
Before painting, inspect every wall in both natural and artificial light. Stand close to the wall, then step back and look across its surface at an angle. This is where common problems become visible.
Look for raised seams, popped fasteners, cracks, dents, loose corner bead, rough patches, and spots where old repairs do not blend into the original texture. Pay close attention around doors, windows, outlets, ceiling lines, and previous water-damaged areas. These locations take more movement and wear, so they are common places for cracking and separation.
A bright work light held close to the wall is useful for finding flaws, but do not expect a wall to look perfect under harsh raking light. That lighting exaggerates even normal surface variation. The goal is a clean, consistent finish under the lighting the room will actually have. Still, visible ridges, obvious patch outlines, and rough sanding marks should be corrected before primer or paint is applied.
Repair Damage Before It Becomes a Paint Problem
Paint is a finish coat, not a repair material. It cannot fill a deep dent, hide a cracked joint, or make a water stain disappear permanently. Applying paint over an unresolved problem often creates a better-looking issue for a short time, then leads to a callback later.
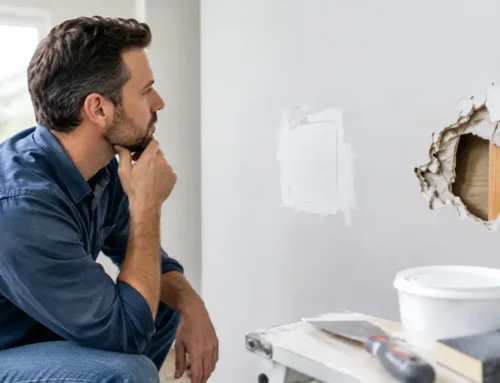
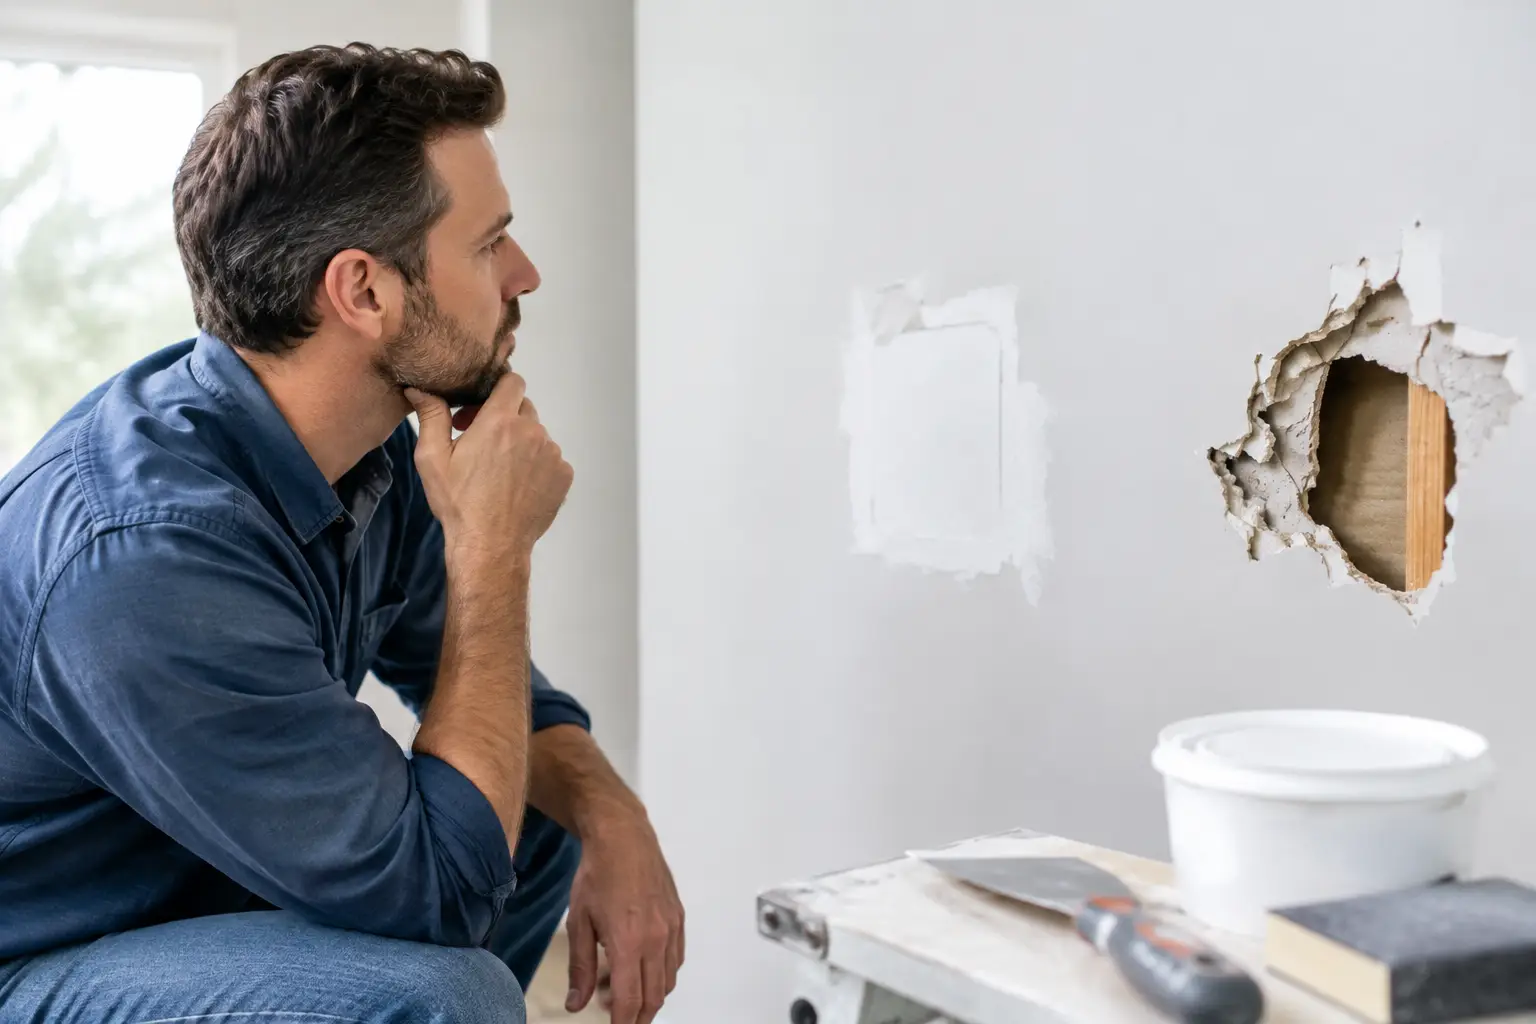
Small nail holes and minor dings can usually be filled, sanded, and primed. Larger holes, loose drywall, cracked seams, and damaged corners require a more complete repair. The damaged material may need to be removed, reinforced, retaped, and finished in thin coats so the repair stays flat and durable.
Water damage deserves special attention. If drywall feels soft, swollen, stained, or crumbly, painting over it is rarely the right answer. The moisture source must be corrected first. Depending on the extent of the damage, the affected drywall may need replacement rather than patching. That helps prevent staining, mold concerns, and recurring failure under the new paint.
Older homes throughout Monroe and Southeast Michigan can also have plaster walls or a mix of plaster and drywall repairs. Plaster cracks often need a different approach than a simple drywall seam. A repair should address movement and loose material, not just fill the visible crack line.
A Guide to Paint-Ready Walls: Finishing and Sanding
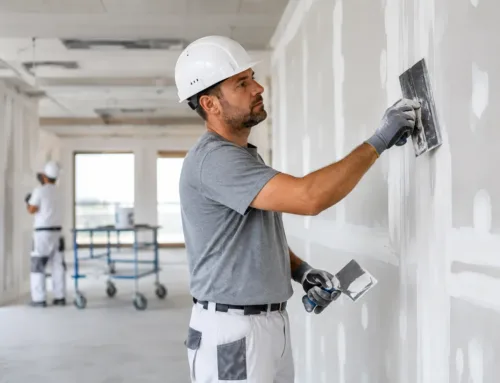
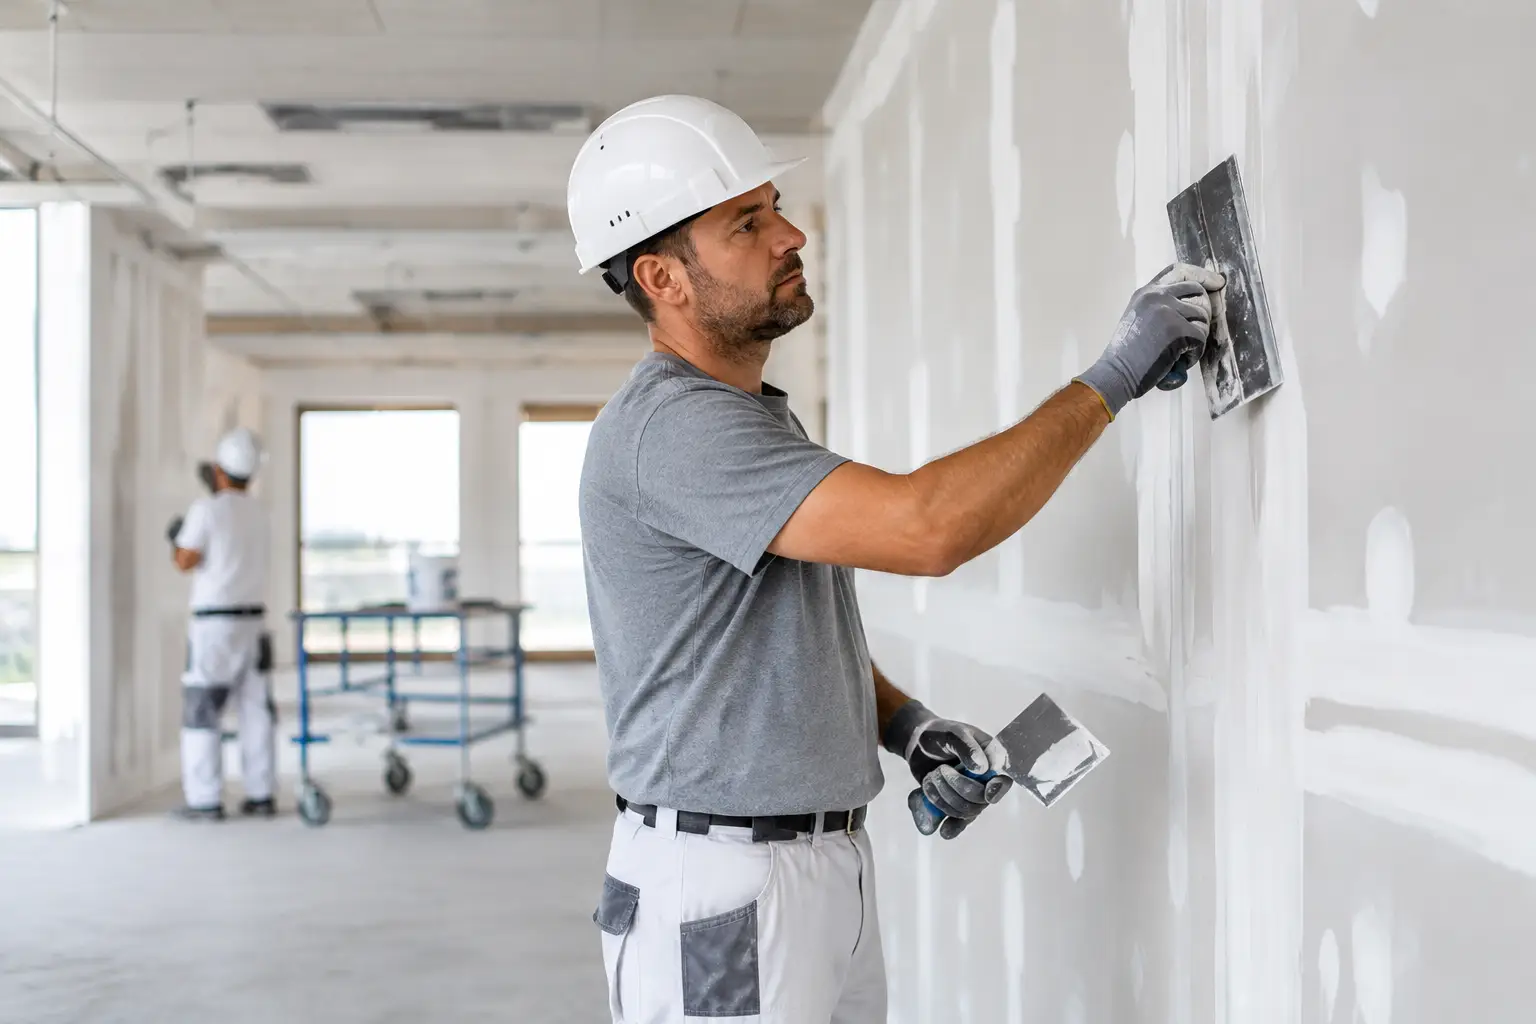
A smooth wall is built in stages. Joint compound is applied in thin, controlled coats, with each coat extending wider than the one before it. This gradual feathering is what keeps a seam or patch from appearing as a raised outline after painting.
Sanding is equally important, but more sanding is not always better. Aggressive sanding can scuff the paper face of drywall, expose tape, round over crisp corners, or create dips around a patch. A professional finish balances smoothness with a solid, intact surface.
After sanding, run your hand lightly across the repair and look for abrupt changes in elevation. The wall should transition naturally from the repaired area to the existing surface. If it feels like a bump, a hollow, or a sharp edge, it will probably show after paint.
Dust must be removed before priming. Fine drywall dust can interfere with adhesion and create a gritty finish. Vacuum the surface when practical, then wipe it with a clean, dry microfiber cloth or use a method recommended by the paint manufacturer. Avoid soaking unfinished drywall with water.
Match the Existing Texture
Texture matching is one of the biggest differences between a patch that disappears and one that looks repaired forever. Orange peel, knockdown, sand texture, hand-applied finishes, and textured ceilings all require careful blending beyond the edges of the repaired area.
The process is not always exact on the first pass. Existing texture can vary from one wall to another, especially in older homes or rooms that have been painted many times. The best approach is to test the texture, compare it after it dries, and adjust as needed before the wall is painted.
Texture should also be considered when deciding whether to repair one spot or skim coat a larger area. If a wall has many patches, uneven old repairs, heavy roller marks, or widespread surface damage, a skim coat may create a cleaner result than trying to hide each issue individually. It involves more preparation, but it can be the better long-term value when the surface is consistently rough or uneven.
Prime Repairs the Right Way
Primer creates an even base between new joint compound, repaired drywall, and previously painted surfaces. Skipping it can lead to flashing, where patches absorb paint differently and show up as dull or shiny areas after the finish coat dries.
For ordinary drywall repairs, a quality drywall primer or PVA primer is often appropriate. Stain-blocking primer may be necessary for water marks, smoke residue, nicotine staining, or other discoloration that could bleed through. The correct product depends on the condition of the wall, so treating every repair with the same primer is not always the best choice.
Primer also gives you another chance to inspect the work. Once the wall has a uniform coat, subtle ridges and missed imperfections are easier to see. It is far simpler to touch up a small area after primer than to discover it after two coats of finish paint.
Do Not Overlook Ceilings, Corners, and Trim Lines
Walls get most of the attention, but ceilings can make or break the finished look of a room. Cracks along ceiling seams, sagging drywall, poorly blended patches, and mismatched popcorn or stipple textures become very noticeable under overhead lighting.
Inside corners should be straight with clean tape lines. Outside corners need to be solid and free of dents or loose bead. Where walls meet trim, the drywall should be smooth enough that the caulk line looks clean rather than irregular. Painters can caulk small gaps, but caulk should not be used to hide poor drywall finishing.
If new flooring, cabinets, or trim are part of the project, coordinate the schedule before final paint preparation. Trades working after the walls are finished can easily create new dents, scratches, or corner damage. Good communication helps protect the finish and avoids unnecessary touch-ups.
When a Professional Drywall Finish Is Worth It
DIY touch-ups make sense for a few small nail holes or a minor scuff. Larger repairs are different. A patch in the middle of a highly visible wall, a recurring crack, water-damaged drywall, ceiling damage, or a texture match usually benefits from experienced repair work before painting.
The trade-off is straightforward: doing the surface work correctly may add time before paint begins, but it prevents the cost and frustration of repainting a wall that still looks unfinished. TDM Drywall brings more than 32 years of hands-on experience to drywall, plaster, ceiling, and texture repairs, with clean workspaces and a finish built to hold up.
Before choosing a paint color, take a few minutes to look at the wall in the room’s real light. If you can see the repair now, paint will not make it disappear. A properly prepared surface gives the color its best chance to look smooth, even, and right at home.