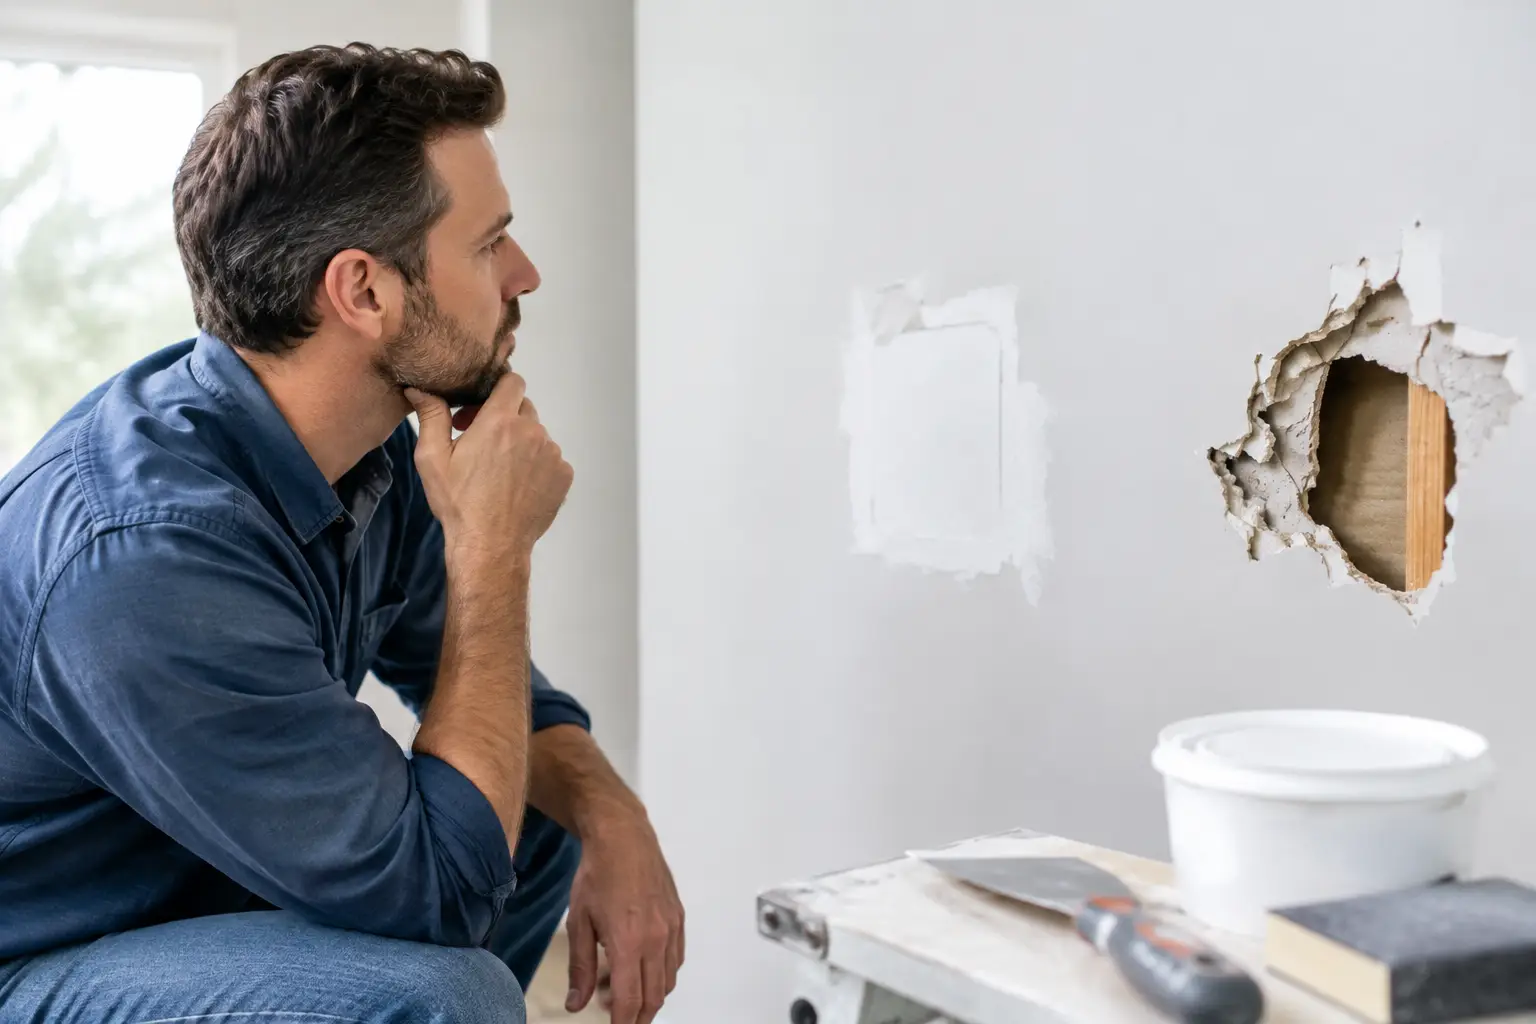

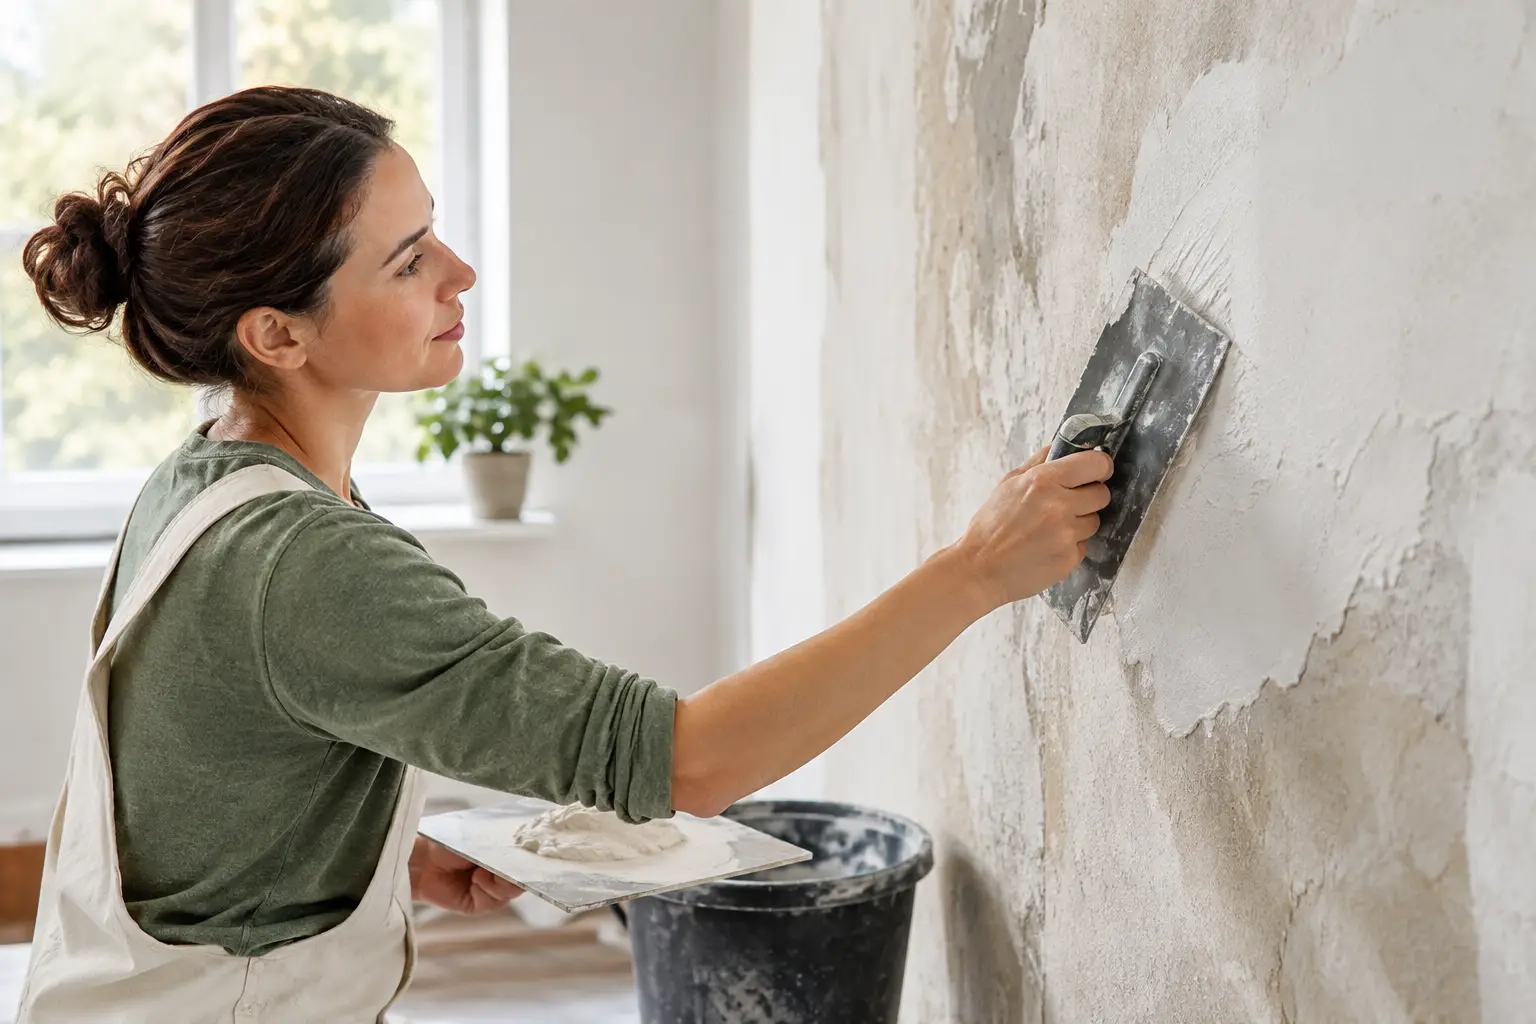
A plaster wall can look solid while quietly pulling away from the lath behind it. That is why a proper guide to plaster restoration starts with diagnosis, not a bucket of patching compound. Whether you are maintaining a historic home, repairing a ceiling crack, or preparing a room for paint, the right repair depends on what caused the damage and how much of the original plaster is still sound.
Plaster has a character that newer drywall does not always replicate. It is dense, durable, and common in many older homes throughout Monroe, Downriver, and Southeast Michigan. When repaired with care, it can continue performing and looking great for decades. When the underlying problem is ignored, even a smooth-looking patch can crack, stain, or fail again.
What Plaster Damage Is Telling You
Plaster is typically applied in layers over wood or metal lath. The plaster pushes through gaps in the lath and hardens behind it, creating small anchors that hold the wall or ceiling in place. With age, movement, moisture, impact, or building settlement, those anchors can weaken.
Hairline cracks are common and are not always an emergency. A narrow, stable crack near a doorway or window may simply reflect normal seasonal movement. Wider cracks, repeated cracking in the same spot, or cracks accompanied by a soft or hollow sound deserve closer attention. They may indicate that the plaster has separated from the lath.
Stains, bubbling paint, crumbling material, and sagging ceilings point to a different concern: moisture. A roof leak, plumbing issue, ice dam, or condensation problem can damage plaster from behind. Repairing the surface before the moisture source is corrected only delays the same problem.
A few signs should move a project out of the DIY category. These include a ceiling that is visibly sagging, plaster that moves when pressed, large areas that sound hollow, active water damage, or cracks that continue to open. Loose overhead plaster can be a safety issue, and water-damaged material may need to be removed rather than patched.
Guide to Plaster Restoration: Repair, Stabilize, or Replace?
Restoration does not always mean preserving every square inch of existing plaster. The best option is the one that leaves a stable, clean, paint-ready surface without covering up a failing base.
Small cracks and minor surface damage
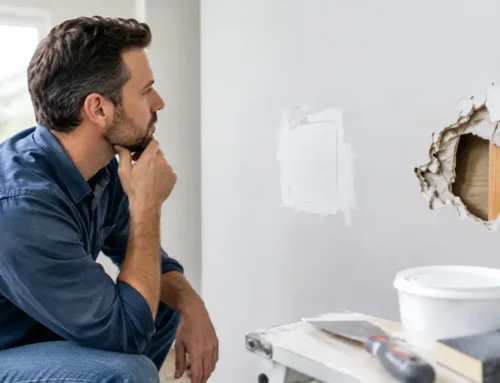
For superficial cracks, nail pops, small chips, and old picture-hanger holes, a skilled repair can preserve the existing wall. The damaged area is prepared, filled in layers, reinforced when needed, sanded smooth, and finished to blend with the surrounding surface. On a smooth wall, the goal is to make the repair disappear after primer and paint.
This is often the most efficient approach when the plaster remains firmly attached and the damage is limited. The trade-off is that a quick cosmetic fill is not enough for a crack caused by movement. In those cases, proper preparation and reinforcement matter more than simply applying more compound.
Loose or delaminated plaster
When plaster has separated from the lath but remains mostly intact, it may be possible to stabilize it rather than tear it out. A contractor can identify the loose sections, secure the plaster back to its backing, reinforce vulnerable areas, and restore the face of the wall or ceiling.
This approach can retain original material and avoid a larger demolition project. It is not the right solution for plaster that is badly water-damaged, severely fractured, or missing large sections. The surrounding structure needs to be solid enough to support a lasting repair.
Larger holes, missing sections, and failed ceilings
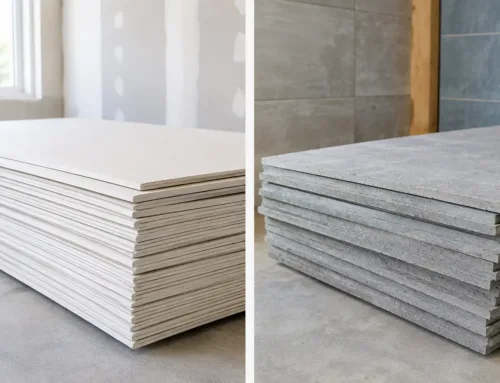
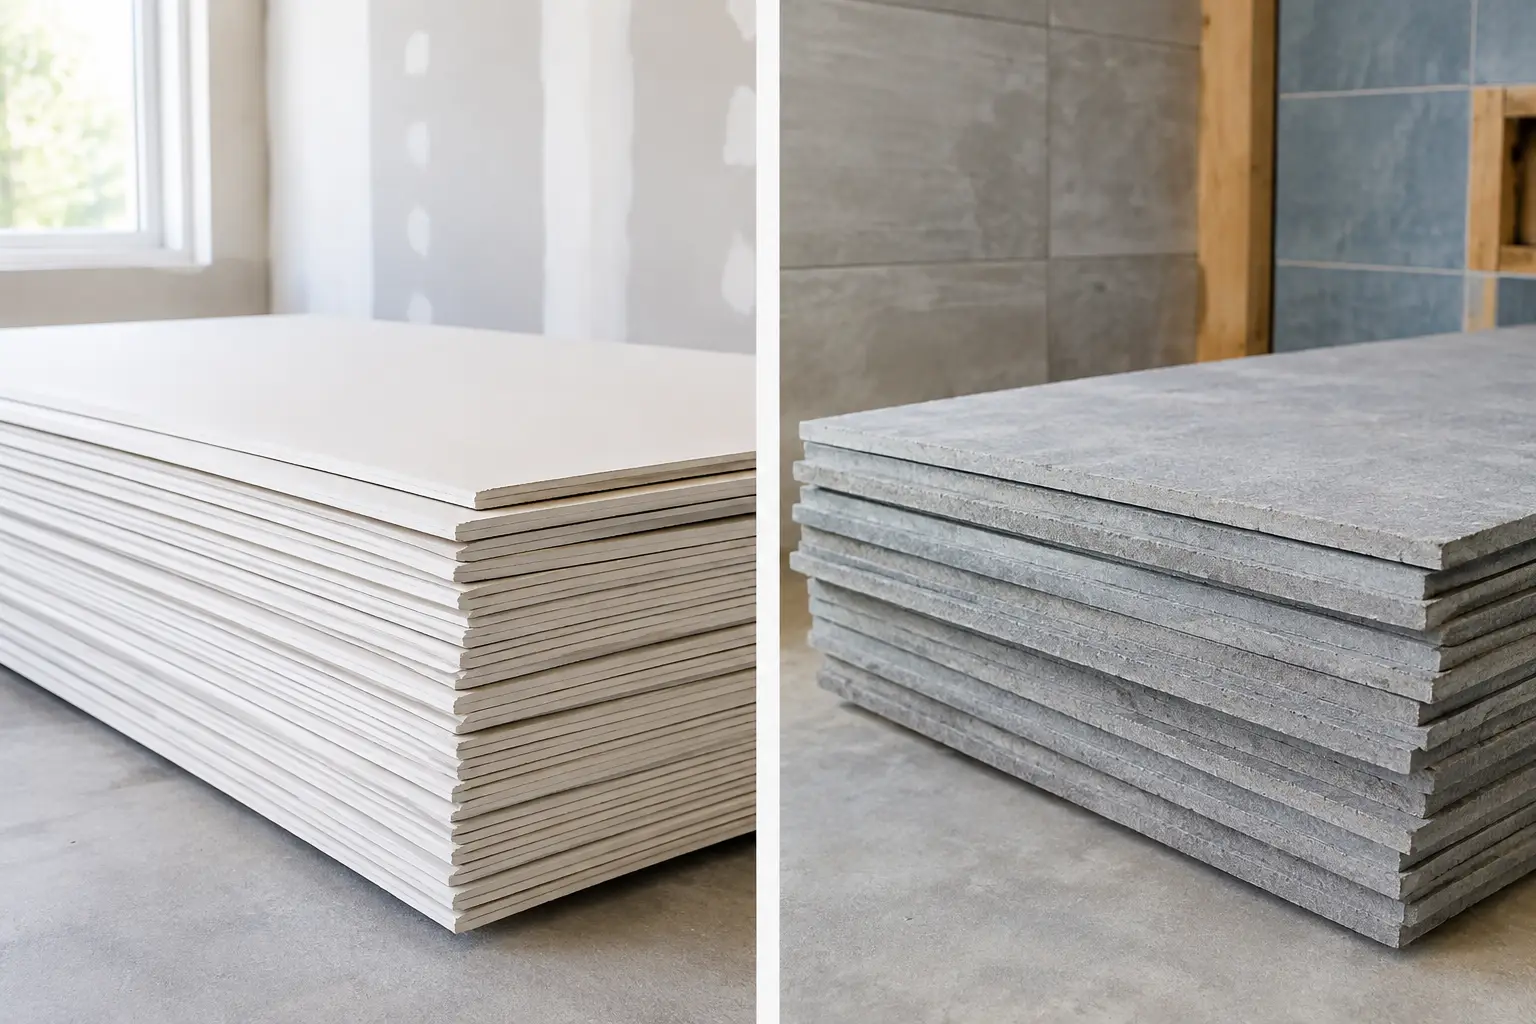
If plaster has fallen away or is too compromised to save, removal and replacement may be the more dependable choice. The damaged material is removed back to a stable edge, the backing is addressed, and the area is rebuilt. Depending on the wall or ceiling, this may involve traditional plaster methods, drywall replacement, or a combination that blends with the existing finish.
Matching the thickness of the original surface is critical. Older plaster walls are often thicker than modern drywall, so a patch installed without proper buildup can leave a visible low spot. The finish also needs to match the wall’s texture and surrounding sheen once painted.
Start With the Cause, Not the Crack
The strongest repair begins by identifying why the plaster failed. A crack from ordinary settling is handled differently than damage caused by a leaking pipe. A ceiling stain may look dry today, but the area should still be checked for past or ongoing moisture before repair begins.
Common causes include structural movement, vibration, poorly supported areas, old repairs, impact damage, plumbing leaks, roof leaks, and humidity changes. Homes in Michigan also experience significant seasonal shifts. Materials expand and contract, and older homes can show that movement at seams, corners, doors, and ceilings.
Before any finish work, resolve active leaks and allow damp materials to dry fully. If the framing, lath, or insulation behind the plaster is damaged, that work should be completed first. A quality surface repair cannot compensate for a problem inside the wall.
Why Texture and Finish Matching Matter
Plaster restoration is judged by what you see after the room is painted. A repair can be structurally sound but still stand out because the texture, contour, or transition into the original surface is off.
Smooth plaster requires careful feathering over a broad area so the repaired section does not create a ridge under paint. Textured walls and ceilings require another level of care. Orange peel, knockdown, stipple, and older hand-applied textures all reflect light differently. A close match takes experience, sample work, and the patience to adjust the application rather than applying one generic texture everywhere.
Ceilings are especially unforgiving. Light from windows and fixtures can reveal uneven joints, sanding marks, and patch outlines that are hard to notice from directly below. Skim coating may be the best choice when a wall has multiple old patches, widespread cracking, or uneven texture. It creates a more consistent paint-ready surface, though it is a larger project than repairing one isolated area.
What a Professional Restoration Process Looks Like
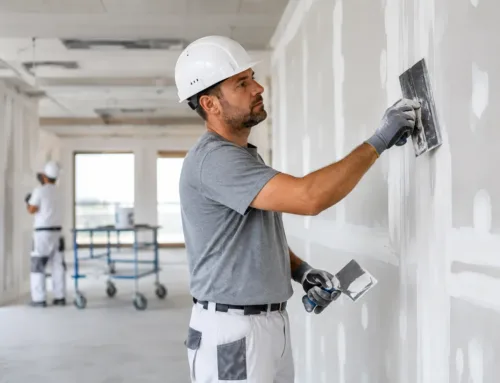
A dependable plaster restoration project should feel organized from the first assessment through final cleanup. The work begins with an inspection of the damage, surrounding surfaces, and possible causes. From there, the scope should be clear: what will be repaired, what needs to be removed, whether texture matching is required, and what conditions could affect the schedule.
The repair area should be protected before work starts. Dust control, floor coverings, and careful containment are particularly important in furnished homes and occupied commercial spaces. Plaster and sanding work can create fine dust, so clean work practices make a real difference.
After unstable material is removed or secured, the surface is rebuilt in the appropriate layers. Drying time between coats matters. Rushing this stage can lead to shrinkage, cracking, or poor adhesion. Once the surface is properly cured, it is sanded, blended, textured if necessary, and inspected under normal room lighting.
The final result should be clean, durable, and ready for primer and paint. If the job involves water damage, a responsible contractor will also be direct about whether staining could bleed through paint without the proper primer.
When a Patch Is Not the Best Value
Homeowners sometimes choose the smallest possible repair because it appears less expensive upfront. That makes sense for isolated, stable damage. But repeated patching can become frustrating and costly when the wall has extensive loose plaster, multiple failed repairs, or significant water damage.
Replacement may offer better value when a large portion of the surface is compromised or when the room is already part of a remodel. It can also create a more uniform finish for updated lighting, new trim, or fresh paint. The right choice depends on the condition of the existing plaster, your plans for the space, and how important it is to preserve original materials.
An experienced contractor should explain those options plainly rather than treating every problem as a full replacement or every crack as a minor patch.
Protecting Restored Plaster Over Time
Once repairs are complete, keep an eye on changes rather than waiting for damage to become severe. Address plumbing and roof leaks promptly, maintain reasonable indoor humidity, and avoid driving nails or anchors into older plaster without the right technique. For heavy wall-mounted items, fastening into framing or using hardware rated for plaster walls helps prevent future cracking.
If a repaired crack returns, do not assume the workmanship failed. The house may be moving, moisture may still be present, or another section of plaster may be loosening nearby. Early evaluation usually gives you more repair options and helps keep the project manageable.
For homeowners who want to preserve the character of an older home without living with crumbling walls or visible patches, plaster restoration is careful problem-solving work. TDM Drywall brings more than 32 years of hands-on experience to repairs that need clean preparation, honest recommendations, and a finish that looks right when the paint goes on.