
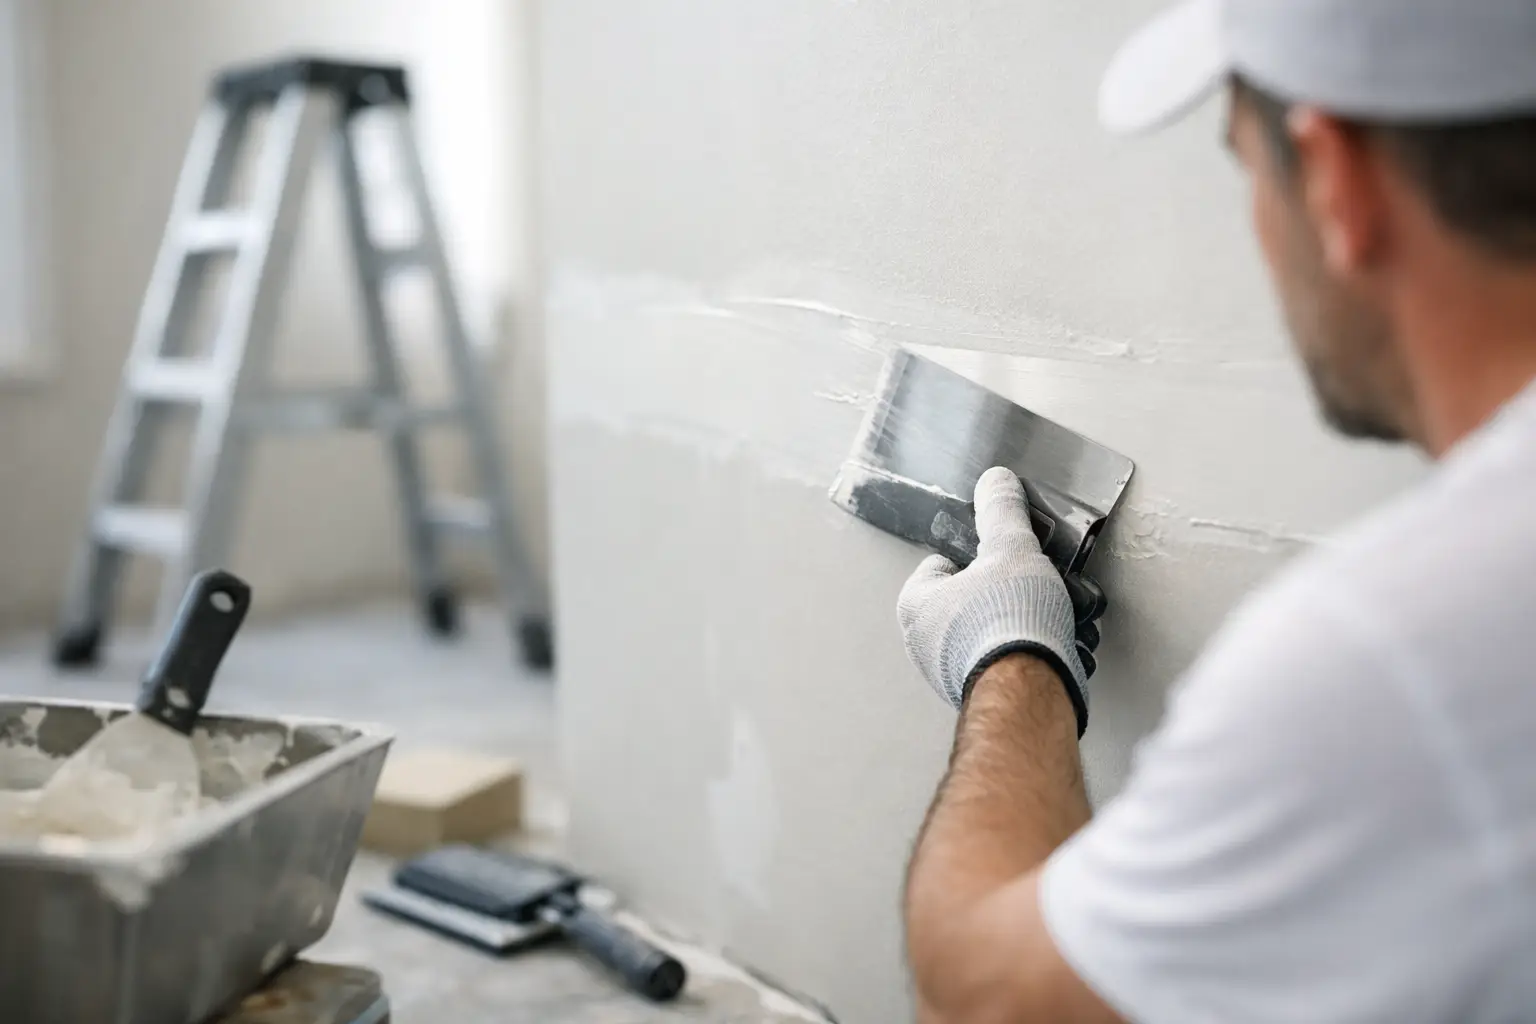
A wall can look fine until afternoon sunlight hits it from the side. Then every raised seam, uneven patch, and rough sanding mark suddenly becomes visible. The best drywall finishing tips are not about rushing through more coats of mud. They are about careful preparation, thin applications, proper drying time, and knowing when a surface is ready for paint.
For a small repair, a homeowner may be able to get a solid result with patience and the right materials. For larger rooms, ceiling work, water damage, or texture matching, professional finishing often saves time and prevents a paint job from highlighting every flaw.
Best Drywall Finishing Tips Start Before the Mud
A paint-ready finish begins with sound drywall. Before opening a bucket of joint compound, check that every sheet is securely fastened, edges are supported, and screw heads sit slightly below the paper surface without breaking it. A screw driven too deep will not hold well. A screw left proud will telegraph through the finish.
Keep gaps between sheets reasonable. Joint compound is made to feather over seams, not fill large voids. If a gap is wider than about 1/4 inch, it may need backing, a drywall repair piece, or a setting-type compound before normal taping begins. Fixing these issues early prevents cracked joints and sunken seams later.
Clean the surface before finishing. Dust, loose gypsum, moisture, and damaged paper all affect adhesion. If drywall has been exposed to a leak, confirm the source of the water has been repaired and the area is fully dry. Covering active moisture damage with compound only delays a larger repair.
Use the Right Compound for the Job
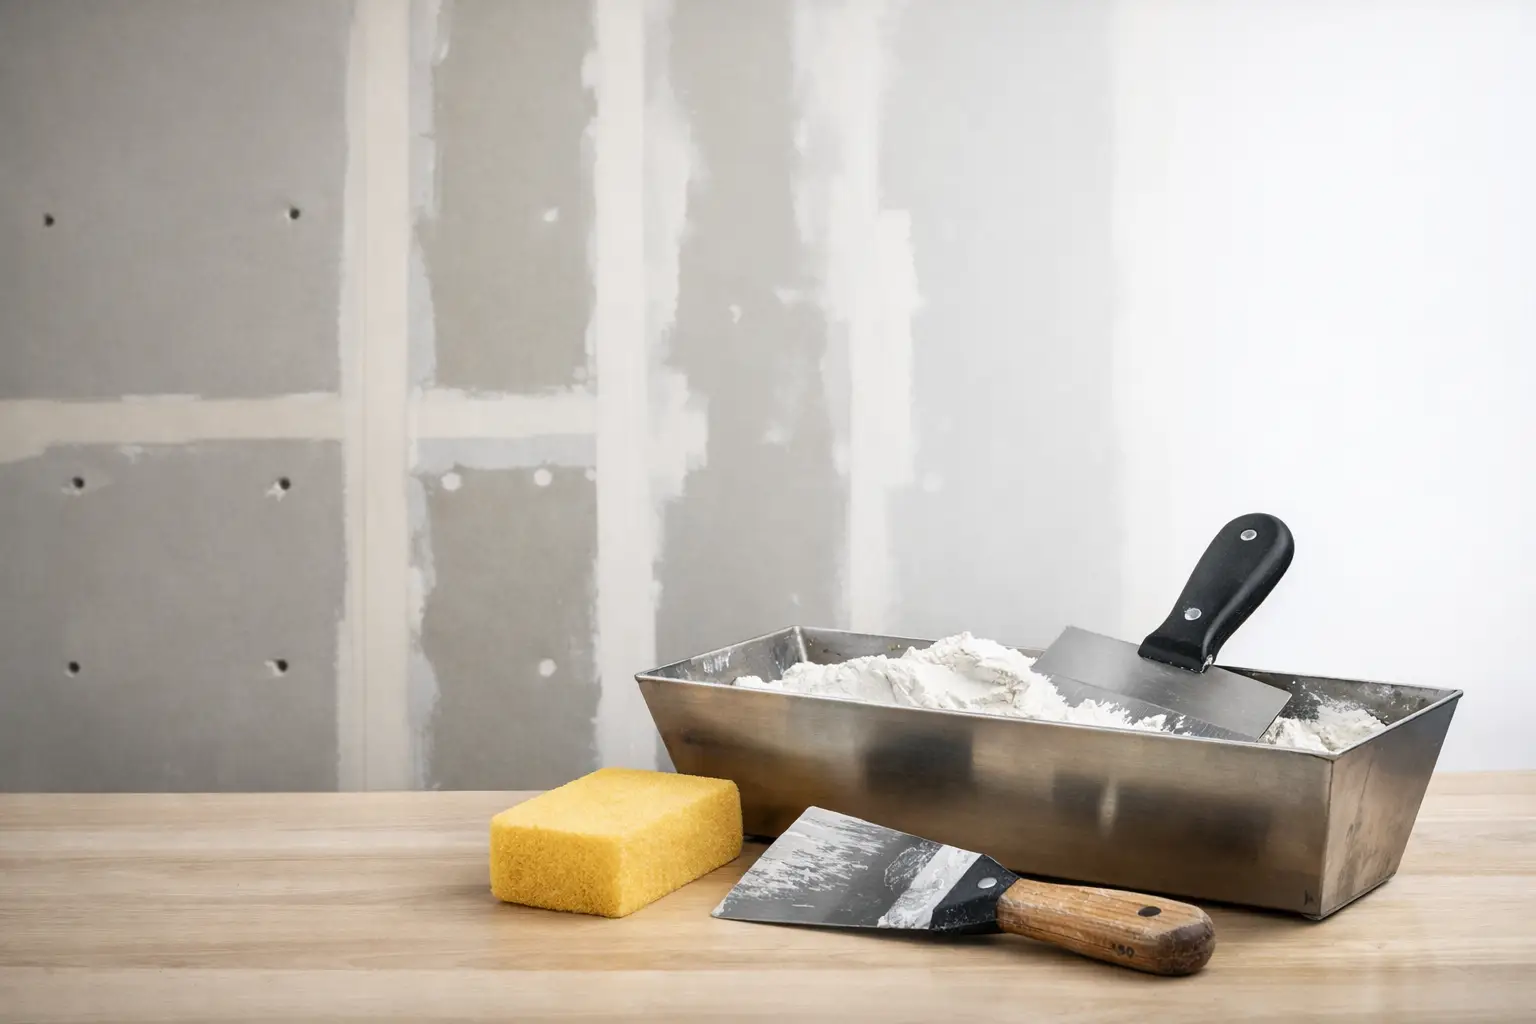
Joint compound is not one-size-fits-all. Setting-type compound, often called hot mud, hardens through a chemical reaction and is useful for pre-filling gaps, coating metal corner bead, or making a quick first repair coat. It comes in different set times, so choose one that gives you enough working time. Faster is not always better when you are learning.
Premixed all-purpose compound works well for taping and general repairs, while lightweight topping compound is easier to sand and is often a better choice for final coats. Many experienced finishers use more than one product during a project. The trade-off is simple: a tougher compound may be harder to sand, while an easy-sanding compound may not be the best choice for deep fills.
Stir premixed compound thoroughly before use. If it feels too stiff, add only a small amount of clean water and mix again. Over-thinning makes it harder to control, can cause shrinkage, and leaves a weaker coat. The consistency should be smooth enough to spread easily but firm enough to stay on the knife.
Tape Joints With Enough Compound, Not Too Much
The first coat is about bonding the tape and creating a flat base, not making the seam disappear in one pass. Apply a consistent bed of compound, press paper tape into it, and wipe away excess with a taping knife. Paper tape creates a strong joint and is usually the preferred choice for flat seams and inside corners.
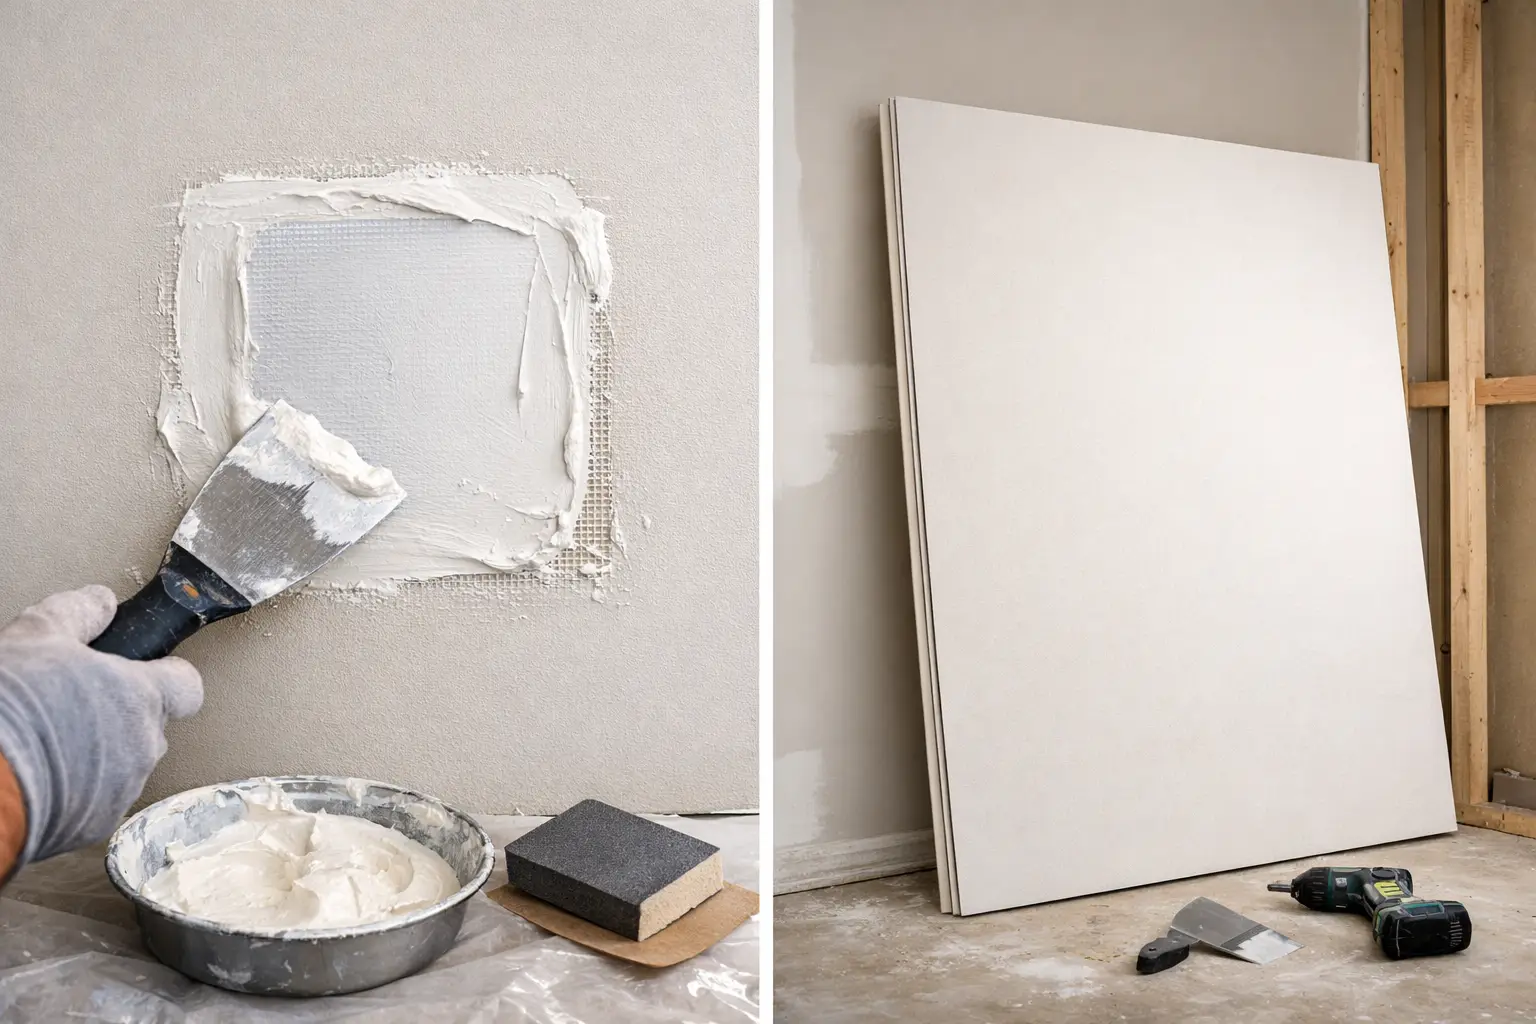
Mesh tape can be helpful for some patches, but it should generally be used with setting-type compound to reduce the chance of cracking. Self-adhesive mesh is convenient, yet convenience does not always equal the strongest finish. For a long seam, a repaired ceiling, or an area likely to move slightly, proper paper taping is usually the safer approach.
Avoid leaving dry spots beneath the tape. They become bubbles that show up as the compound dries. If a bubble appears, cut it out rather than trying to bury it under more mud. Retape that section properly before moving on.
Keep Each Coat Thin and Wider Than the Last
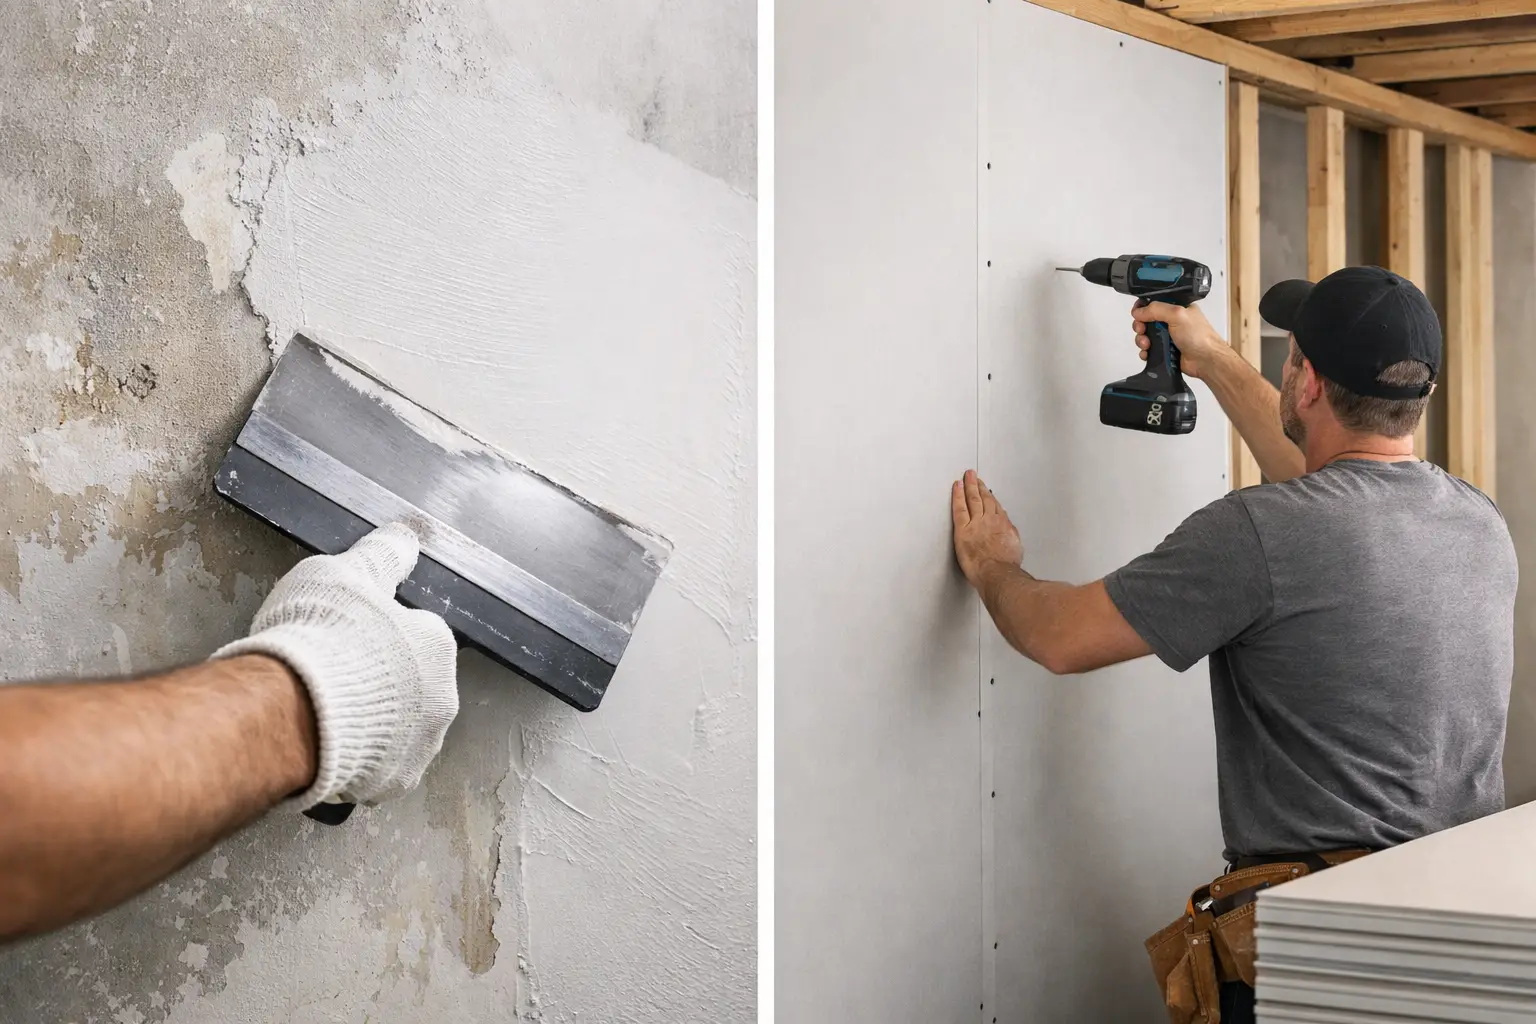
A smooth finish comes from gradual feathering. The taped joint needs to become wider with each coat so the slight buildup at the center disappears into the face of the drywall. Apply the second coat wider than the first, then widen the final coat again using a broad finishing knife or skim blade.
Trying to apply one heavy coat creates several problems: longer drying times, cracking, shrinkage, and more sanding. Thin coats dry more evenly and are much easier to flatten. On a typical butt joint, the finished feathered area may need to be considerably wider than a factory-tapered seam because butt joints have no recessed edge to hide the tape.
Clean the edges of your knife frequently. A small dried piece of compound can leave a ridge that turns into extra sanding work. Good finishing is often less about adding material and more about removing excess material at the right time.
Give Corners and Fasteners Extra Attention
Outside corners need straight, durable protection. Metal, vinyl, and paper-faced corner bead can all perform well when installed correctly. The right choice depends on the corner location, expected impact, and desired finish. A high-traffic hallway corner may benefit from a tougher product, while a paper-faced bead can create a crisp, clean line with less buildup.
Coat each side of the corner separately and keep the knife steady against the bead. If one side dries unevenly or develops a hump, correct it before applying another coat. It is much harder to straighten a corner after several layers of compound have built up.
For screw and nail holes, use two or three thin coats rather than one thick dab. The first coat fills the depression; later coats feather the edges. Check fasteners from different angles before priming. A missed fastener or a shallow dimple may not be noticeable until paint is on the wall.
Sand Less, Check More
The goal is not to sand the wall into shape. The goal is to apply compound smoothly enough that sanding only removes minor lines and tool marks. Aggressive sanding can fuzz drywall paper, expose tape, round crisp corners, and fill the room with unnecessary dust.
Use a fine sanding sponge or pole sander with a light touch after each coat has dried completely. Drying time depends on compound type, coat thickness, temperature, and humidity. In Southeast Michigan, cool or damp conditions can slow drying considerably, especially in basements, garages, or recently repaired water-damaged areas. Do not rely only on the clock. If the compound still feels cool, dark, or soft, let it dry longer.
After sanding, shine a bright work light across the wall at a low angle. This reveals ridges, shallow spots, and uneven feathering far better than looking straight at the surface. Mark problem areas lightly with a pencil, touch them up, and inspect again after they dry. This simple step is one of the best ways to prevent paint from exposing a finish issue.
Prime Before Calling It Finished
Bare drywall and joint compound absorb paint differently. Applying finish paint without primer can create flashing, where repaired areas reflect light differently from the rest of the wall. A quality drywall primer or PVA primer helps equalize porosity and gives you a more honest view of the finished surface.
After primer dries, inspect the wall again in normal room lighting and with side lighting. Minor flaws are much easier to correct after primer than after two coats of expensive finish paint. If touch-ups are needed, use a thin coat of compound, sand lightly, remove dust, and spot-prime before painting.
Know When a Repair Needs a Professional Finish
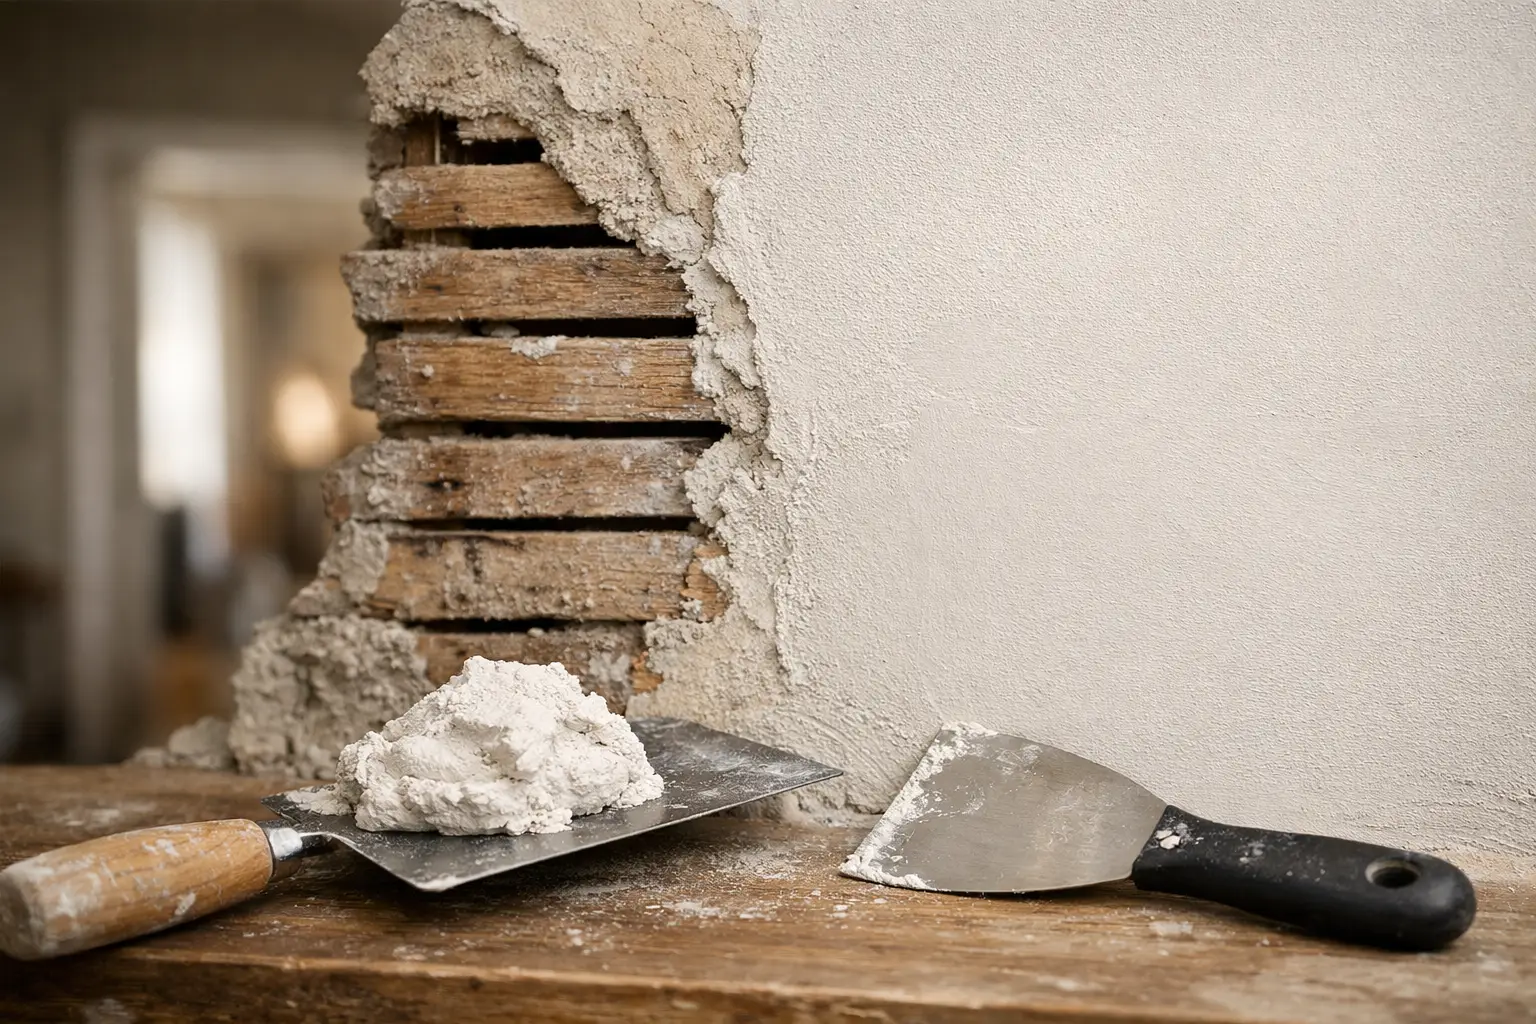
Small nail holes and simple dents are reasonable DIY projects. The job changes when cracks keep returning, ceilings are involved, drywall has softened from water, a large patch needs to blend into an existing wall, or a textured finish must be matched. These situations require more than a smooth-looking patch. They require a stable repair and a finish that blends under real lighting.
TDM Drywall brings more than 32 years of hands-on experience to drywall repair, skim coating, texture matching, replacement, and paint-ready finishing throughout Monroe and the surrounding Downriver area. Clean workspaces, clear communication, and careful surface preparation matter because the final result should look like the damage was never there.
Before the painter arrives, take one last slow walk through the room with the lights on and the work light angled across the walls. A few extra minutes spent finding a ridge, pinhole, or shallow seam can be the difference between a repair that merely looks acceptable and a clean finish you will be happy to live with for years.