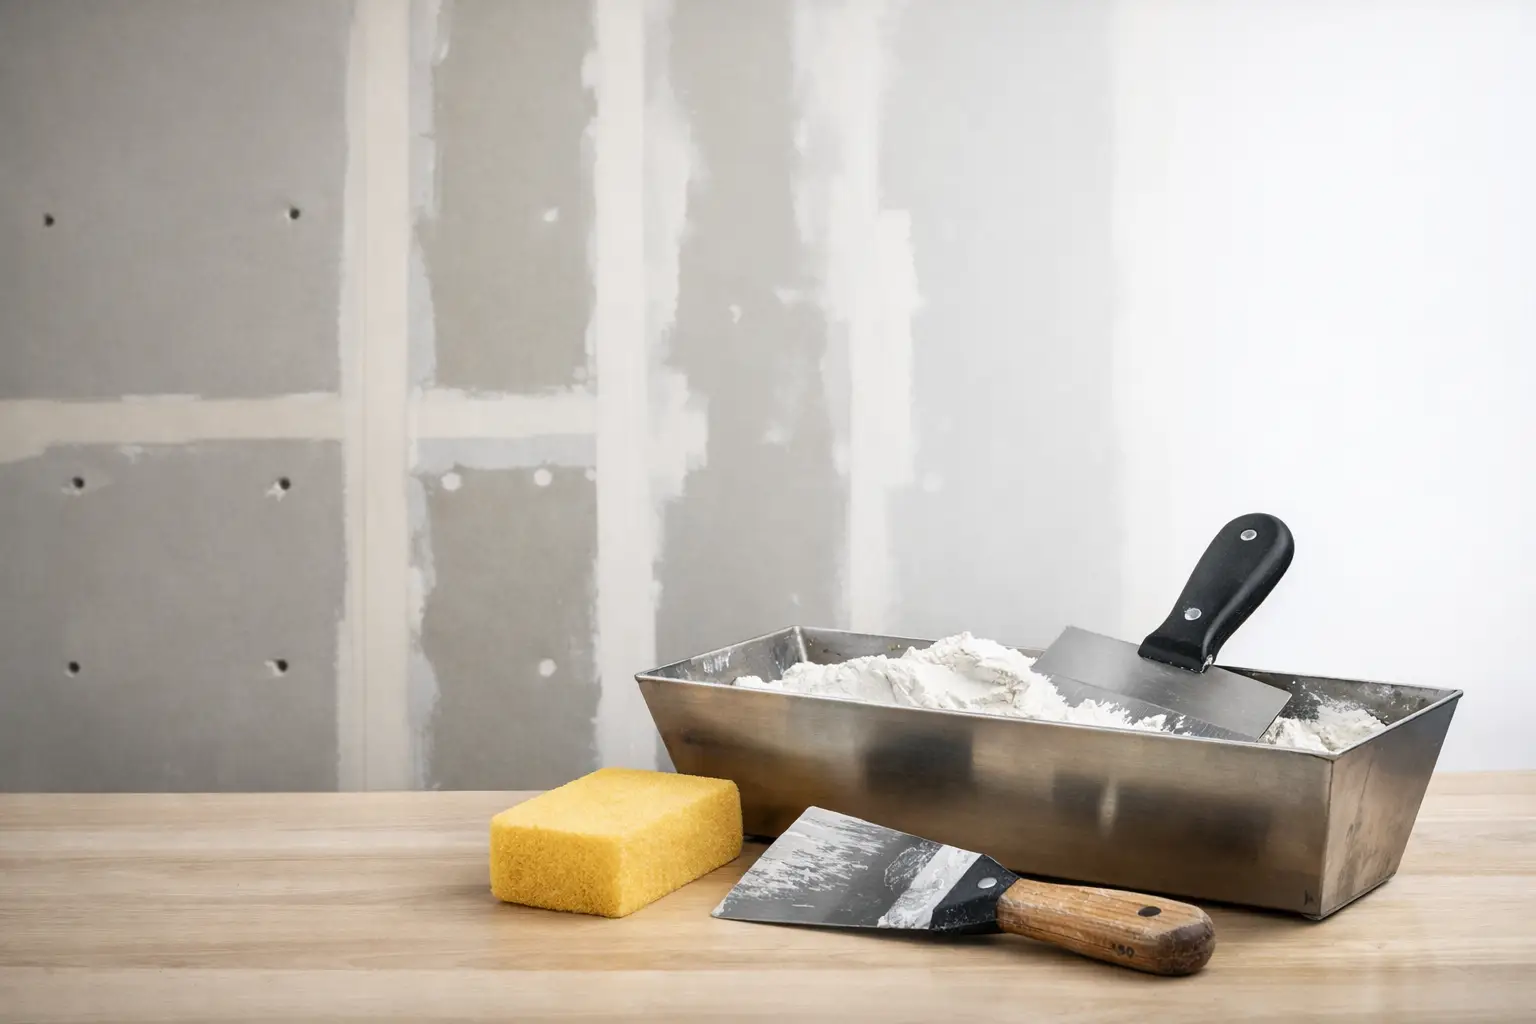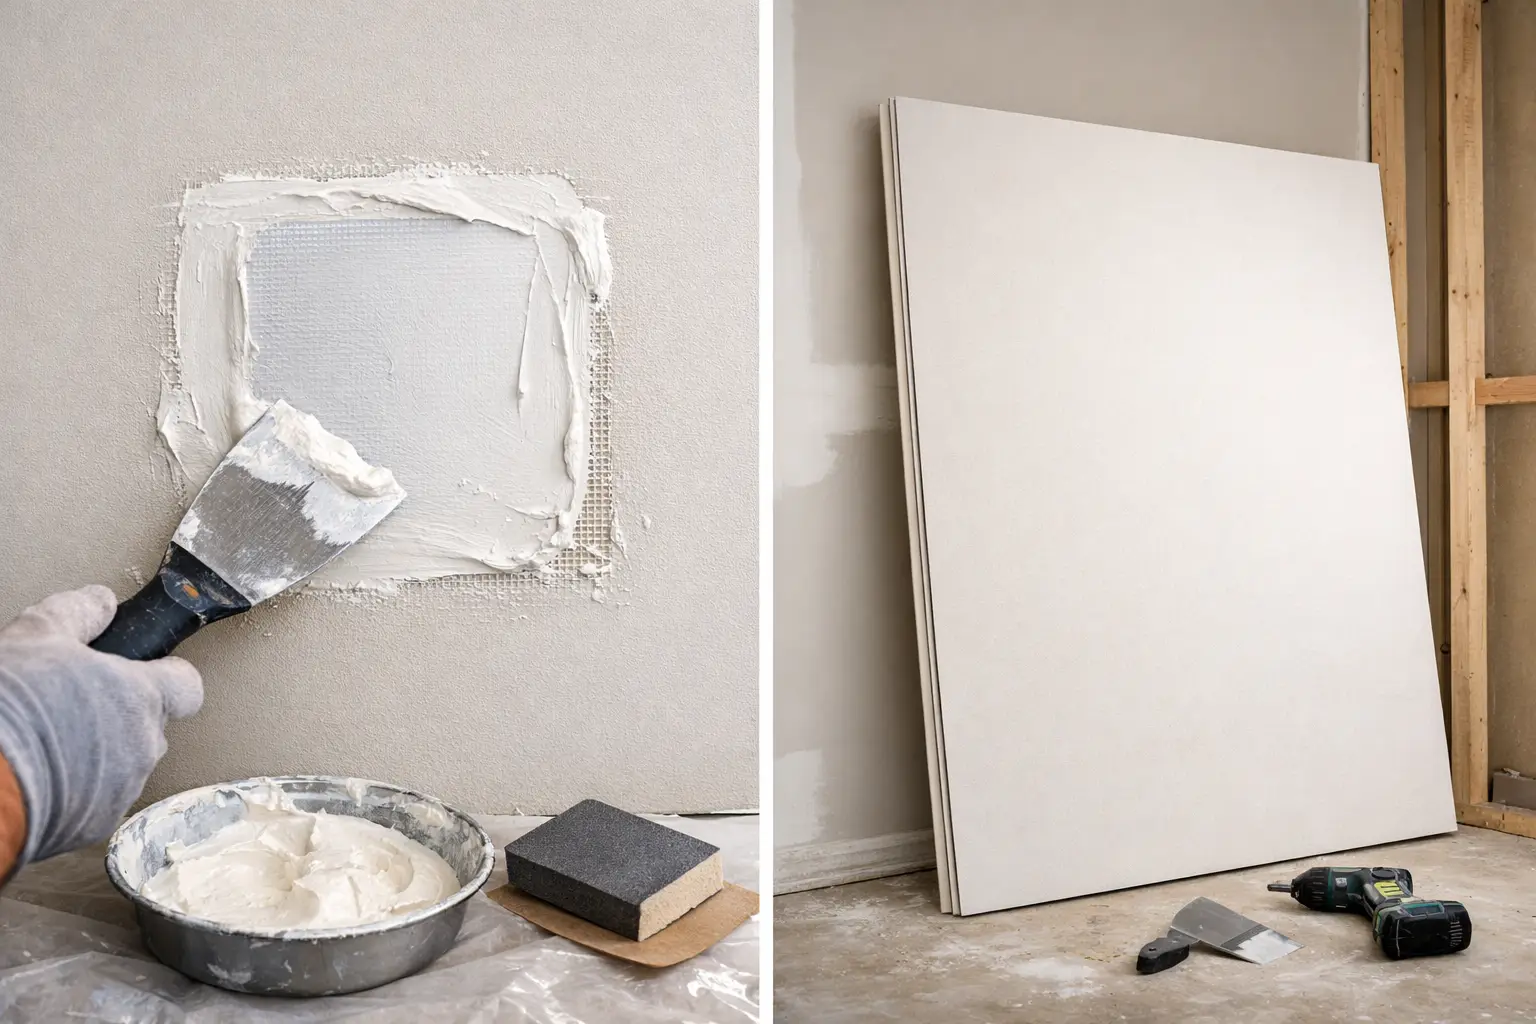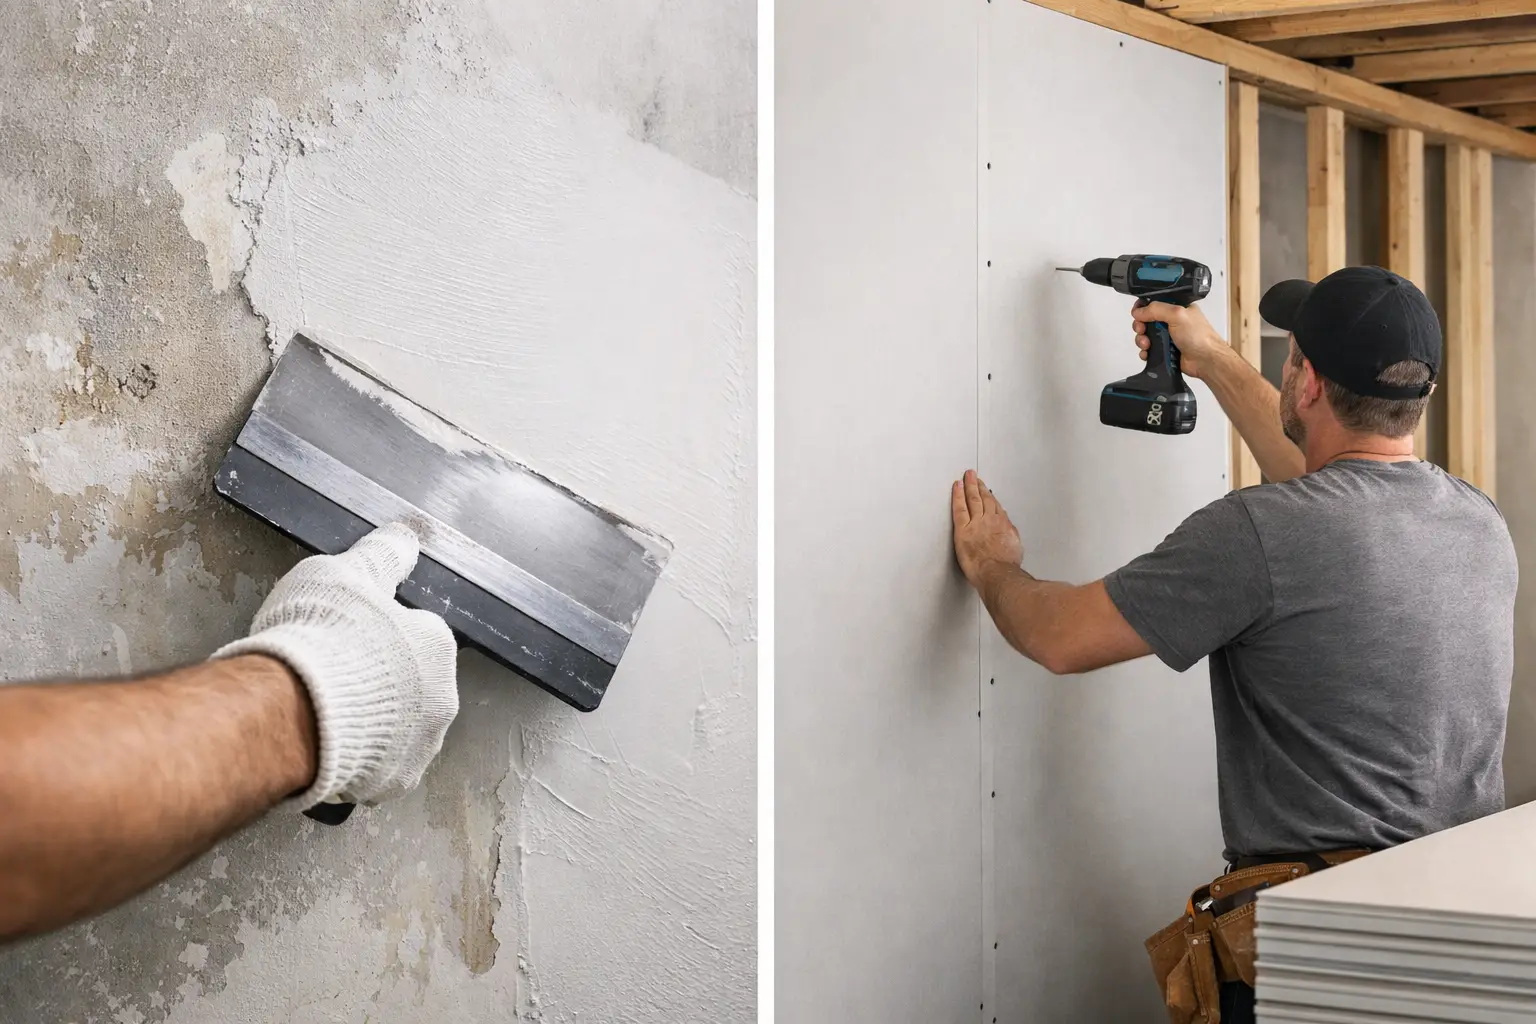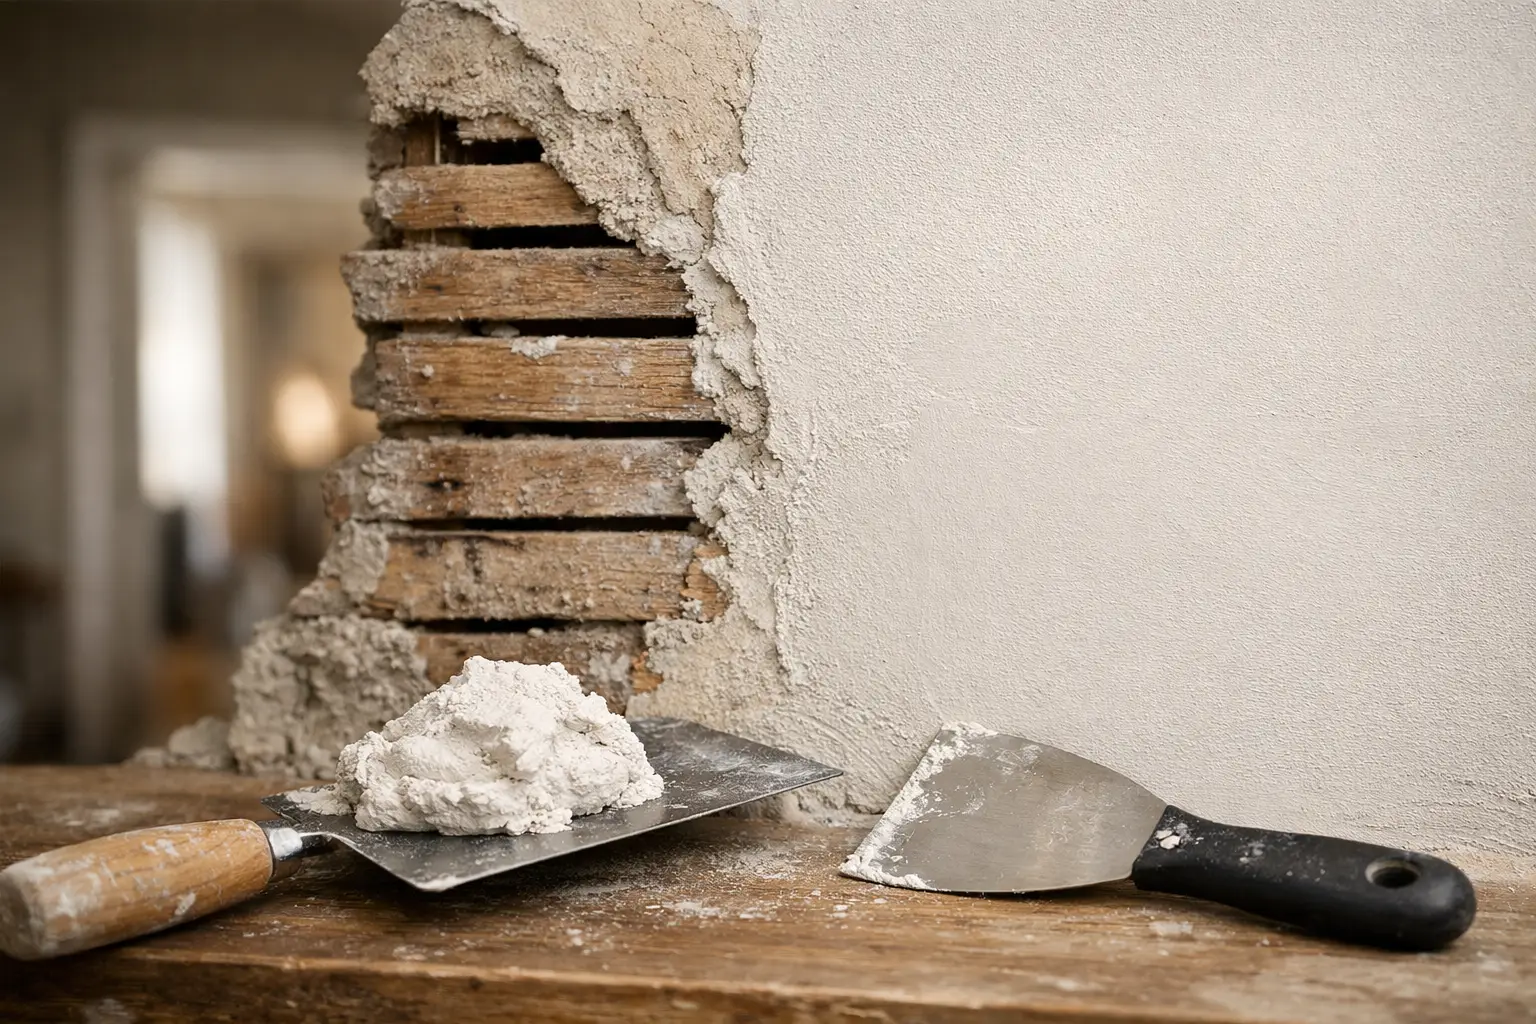

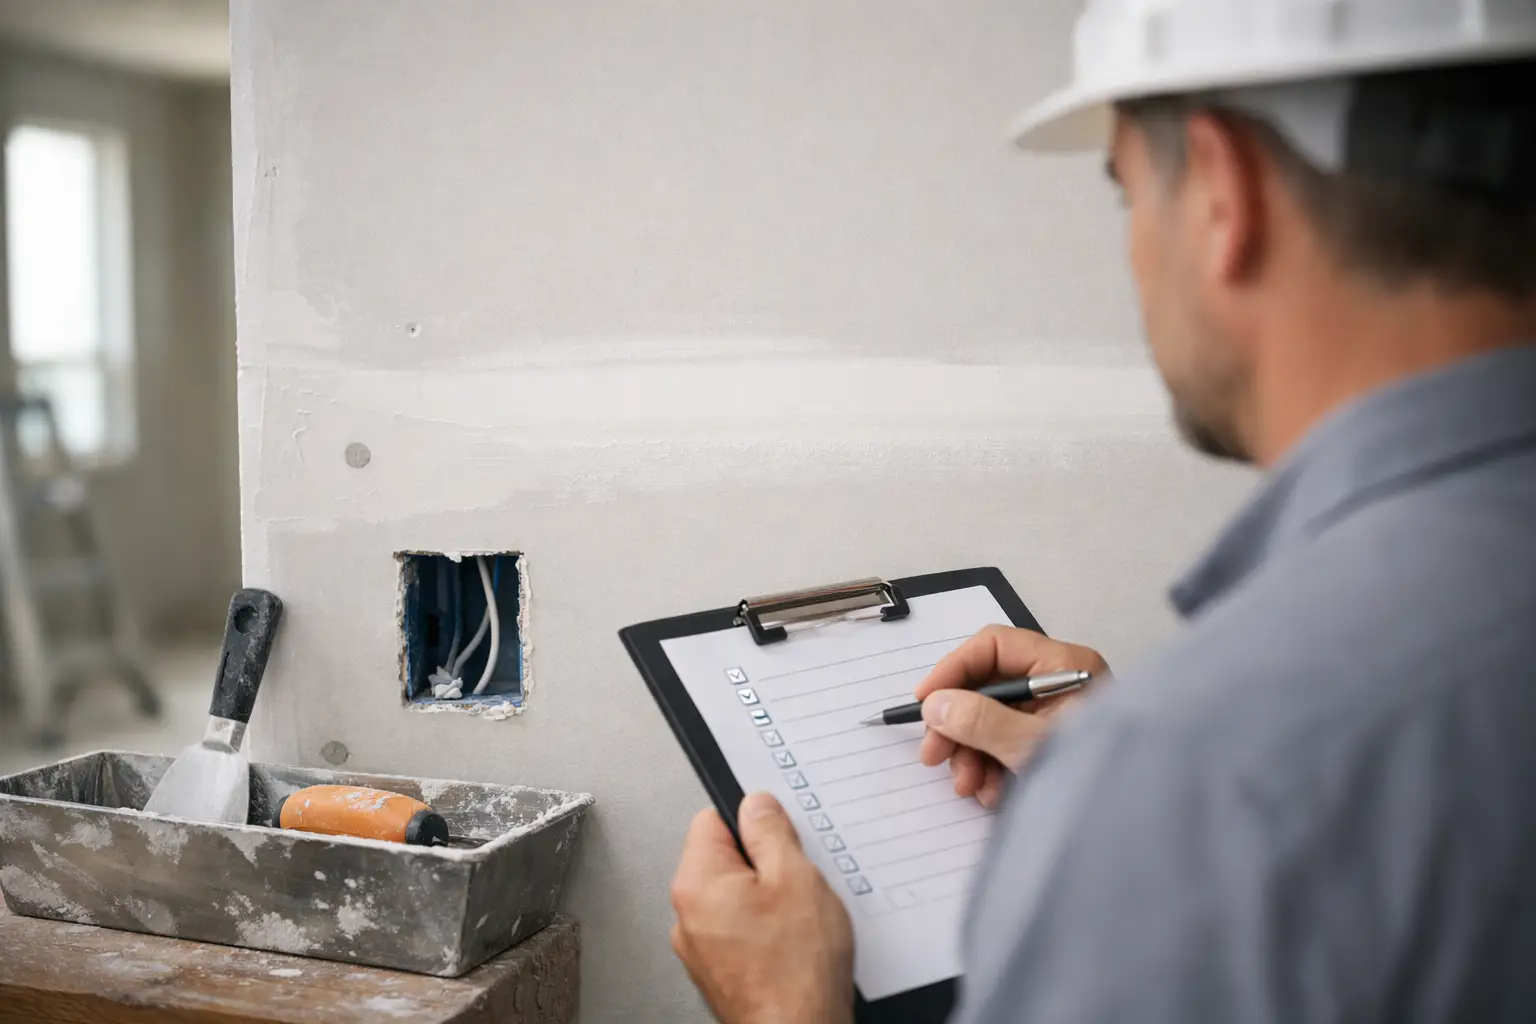
A finished wall can look acceptable at noon and show every flaw when the afternoon sun hits it. That is why a drywall workmanship review checklist should happen before the painter arrives, final payment is made, or furniture is moved back into the room. Drywall is not judged only by whether it is hung securely. It is judged by whether the finished surface looks clean, consistent, and paint-ready under normal lighting.
For homeowners, builders, and property managers, the goal is not to hunt for microscopic imperfections. A quality review should identify visible defects, weak repairs, inconsistent textures, and workmanship issues that could become more noticeable after primer and paint. Use this checklist at the final walk-through, ideally with the room cleared and the work area fully cleaned.
Drywall Workmanship Review Checklist for a Final Walk-Through
1. Check walls in more than one type of light
Start with natural daylight if possible, then turn on the room lights. Stand at several angles, including near windows, doors, and ceiling fixtures. Raking light, which hits the wall from the side, is especially useful because it reveals ridges, humps, and shallow depressions that direct light can hide.
A wall does not need to be perfectly flat in the way a sheet of glass is flat. Older homes can have framing variation, and ceilings may have existing movement or character. But taped joints, patches, and repaired areas should not catch your eye from normal viewing distance. If a seam becomes obvious from across the room, it deserves a closer look.
2. Look for visible seams and joint lines
Drywall seams should blend into the field of the wall. Look along vertical joints, horizontal butt joints, inside corners, and the ceiling line. Raised tape edges, broad humps, or long straight lines through the finish can mean the joint compound was applied unevenly, the tape was not embedded properly, or sanding was incomplete.
Some broad finishing is necessary, particularly over butt joints. The issue is not the width of the finished area. The issue is whether that area transitions smoothly into the rest of the wall. Run a straightedge across a questionable seam if needed, but trust what the wall looks like under real room lighting as well.
3. Inspect fasteners for pops, dimples, and exposed heads
Screws and nails should sit slightly below the drywall face without breaking the paper surface. After finishing, their locations should be difficult to find. A visible metal head, a sharp fastener, or a deep crater is not a paint-ready result.
Also watch for nail or screw pops: small round bumps that can appear after framing dries, shifts, or moves seasonally. A single pop can occur even in otherwise good work, especially in a newer addition or a home that has experienced settling. It should still be corrected before painting. Refastening the drywall as needed and refinishing the spot is more reliable than simply covering the bump with compound.
4. Review patches from every direction
A professional repair should solve the damage without advertising where it used to be. Whether the original problem was a doorknob hole, water damage, a plumbing opening, or cracked plaster, the repaired section should sit flush with the surrounding surface.
Look for a patch outline, a sunken center, thick edges, or a different sheen caused by poorly feathered compound. Small repairs are often more demanding than a full wall because there is less room to blend the transition. A patch that feels smooth to the hand can still show through paint if the surrounding finish was not feathered wide enough.
5. Check inside corners, outside corners, and edges
Corners take more abuse than broad wall areas, so they deserve a careful review. Inside corners should be straight and clean, with tape firmly bonded and no cracking, bubbling, or loose edges. Outside corners should be durable, reasonably straight, and free of dents or exposed corner bead.
Do not expect every corner in an older Southeast Michigan home to be perfectly square. Existing framing can be out of plumb, and a skilled finisher often has to work with what the structure provides. What matters is that the finish follows the line cleanly and does not create a wavy, fragile, or visibly built-up edge.
6. Compare texture and surface appearance
Texture matching is one of the clearest tests of repair quality. Orange peel, knockdown, hand texture, and textured ceilings should blend with the surrounding area in pattern, density, and coverage. A repair may be structurally sound but still look unfinished if the texture is too heavy, too light, or applied in a noticeably different pattern.
This review needs a fair standard. Exact texture matching can depend on the age of the existing surface, prior paint layers, lighting, and whether the original texture was applied by hand. On a small wall repair, a close blend may be enough. On a large ceiling repair or a feature wall with strong side lighting, a wider retexture or skim coat may provide the better result.
7. Feel for rough sanding and look for dust defects
Once the work is ready for paint, the wall should feel smooth without sharp ridges, grit, or sanding scratches. Use a clean hand lightly across seams and patches. Do not press hard enough to damage fresh compound, but you should not feel abrupt tape edges or rough clumps.
Dust control matters here, too. Drywall sanding creates fine dust that can settle on trim, floors, vents, and nearby belongings if the area is not properly protected and cleaned. A clean workspace is part of professional workmanship, not an extra. Before painting begins, check baseboards, window ledges, floors, and adjacent rooms for remaining dust.
8. Make sure repairs address the cause, not only the mark
A good-looking patch will not last if the underlying problem remains. Water-stained drywall should be inspected only after the leak, roof issue, plumbing problem, or moisture source has been corrected. Replacing damaged material without resolving the cause can lead to new stains, soft drywall, mold concerns, or failed joint compound.
The same principle applies to recurring cracks. Small seasonal cracks can sometimes be repaired with proper tape and finishing materials. Repeated cracking around doors, windows, or long ceiling seams may point to framing movement, truss uplift, or other conditions that should be evaluated before the surface is finished again.
9. Review transitions around trim, fixtures, and openings
Look closely where drywall meets door casings, windows, electrical boxes, recessed lights, cabinets, and HVAC registers. Gaps should be appropriate for the next trade to finish, and cutouts should not be oversized, broken, or ragged. Switch plates and trim can cover minor edge variation, but they should not be expected to hide poor cuts or broad gaps.
For remodeling work, coordination matters. Drywall should meet the work of electricians, plumbers, painters, and trim carpenters cleanly. If a new vanity, cabinet, or light fixture will cover an area, that may affect how much finish work is practical. Still, surfaces that remain visible should receive the same care as the center of the room.
10. Confirm the surface is truly ready for primer and paint
The final question is simple: if paint went on tomorrow, would the room look finished? Paint does not hide bad drywall work. In many cases, primer makes seams, fastener marks, and uneven texture more apparent before the topcoat has even dried.
Ask whether the walls have been sanded, cleaned, and reviewed under usable lighting. Confirm that repairs are dry, stable, and free of loose tape or crumbling compound. If a concern is identified, mark the location with removable painter’s tape and discuss it clearly before paint starts. A specific conversation about one visible seam is faster and more productive than a general complaint that the wall “doesn’t look right.”
When a Minor Imperfection Is Normal and When It Is Not
Drywall finishing is a hand-applied trade, so context matters. A tiny flaw hidden behind a door, an old wall that is not perfectly plumb, or a texture variation visible only under a flashlight held inches from the surface may not justify major rework. A realistic review is based on normal viewing distance and the room’s intended use.
Visible seams, loose tape, cracks, poorly blended repairs, exposed fasteners, and obvious texture mismatches are different. Those conditions affect the finished appearance and should be corrected. In high-visibility spaces such as living rooms, entryways, kitchens, offices, and rooms with large windows, the standard should be especially careful because lighting will reveal more.
With more than 32 years of hands-on experience, TDM Drywall approaches final review as part of doing the job right the first time: clean work areas, clear communication, durable repairs, and a finish that is ready for paint. A few minutes spent inspecting the room before the next trade begins can protect the look of the project for years.