
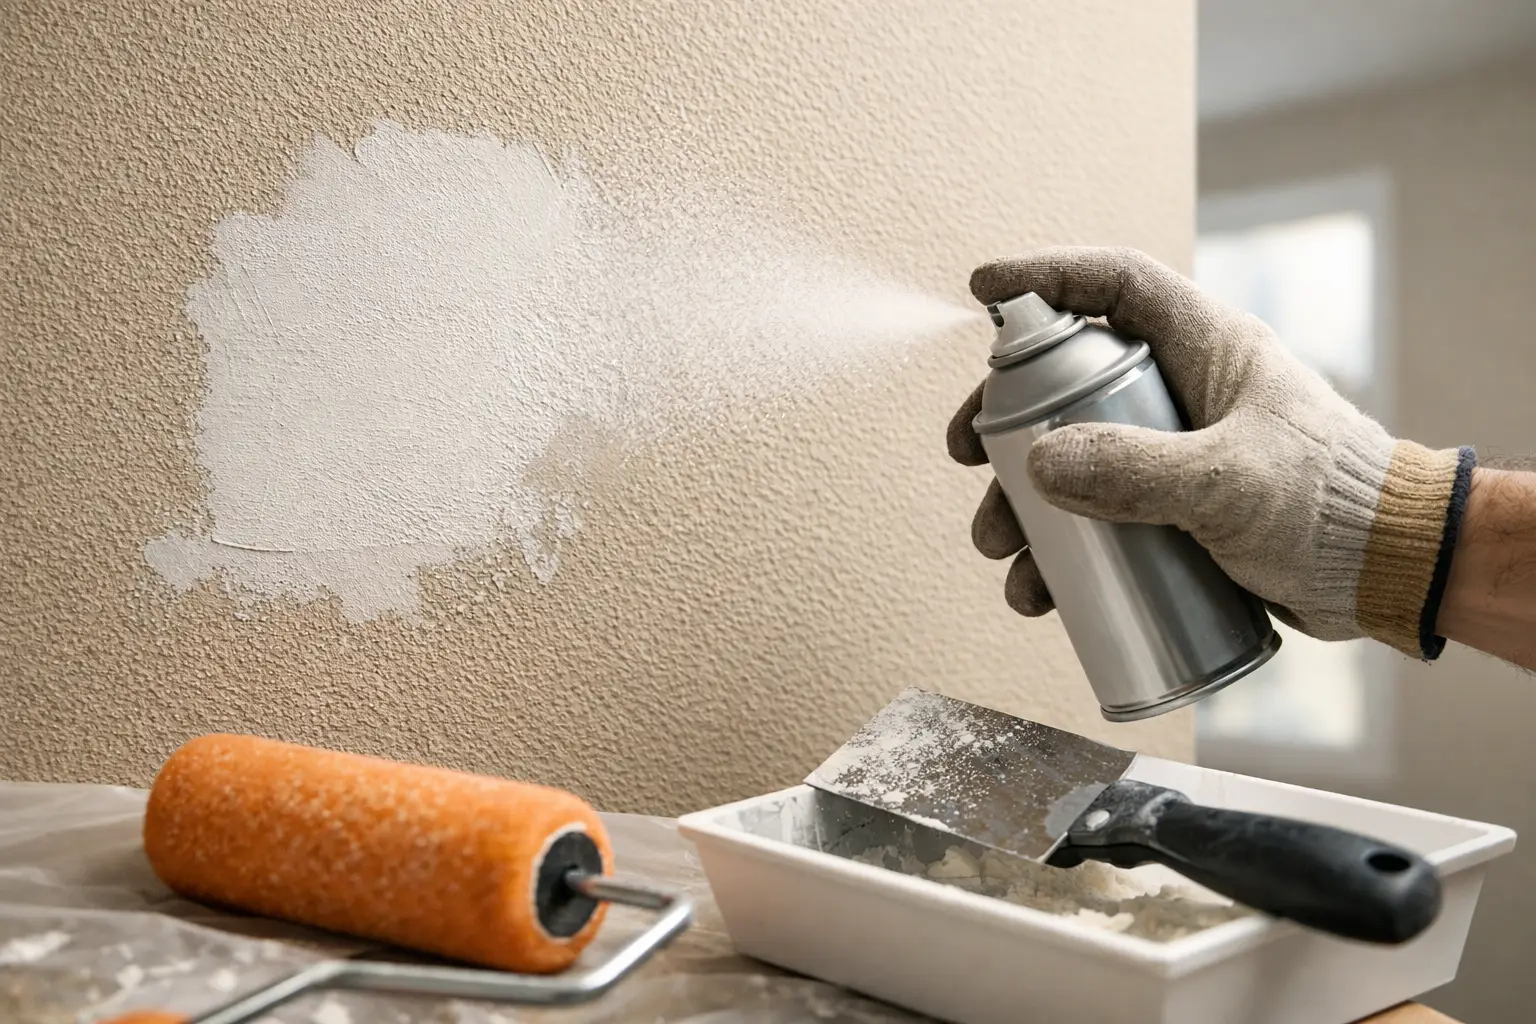
A drywall patch can be structurally sound, smooth, and properly painted yet still draw the eye from across the room. The usual reason is texture. Matching orange peel texture is what turns a repaired wall or ceiling from an obvious patch into a finish that belongs with the rest of the surface.
Orange peel is common in Southeast Michigan homes because it is durable, practical, and helps reduce the appearance of minor wall imperfections. It also has a random pattern, which makes it more difficult to repair than it first appears. A spray can may add bumps to the wall, but getting the size, density, direction, and sheen to blend takes preparation and a practiced eye.
Why Orange Peel Texture Is Hard to Match
Orange peel texture is not one universal finish. Some walls have a light, fine texture with small, tightly spaced droplets. Others have larger splatters, wider spacing, or a partially knocked-down appearance. Texture can also vary from room to room, particularly in older homes where previous repairs or remodeling work changed the original finish.
Lighting makes the difference more noticeable. A patch that looks acceptable under overhead lighting may stand out when sunlight hits the wall at an angle. Hallways, stairwells, and walls near windows are especially unforgiving because side lighting highlights every edge, ridge, and change in texture.
Paint adds another layer to the job. Even when the texture is close, a different paint sheen can make the repair look darker, flatter, or shinier than the surrounding wall. Flat paint is generally more forgiving. Eggshell, satin, and semi-gloss finishes reflect more light and reveal inconsistencies faster.
That is why a clean result starts well before texture is applied. The patch must be flat, stable, feathered correctly, and ready to receive the same finish as the existing wall.
Start With a Repair That Will Not Telegraph Through
Texture cannot hide a poorly finished drywall repair. If the patch is proud of the wall, recessed, cracked, or surrounded by hard compound edges, those problems will show through once the texture and paint go on.
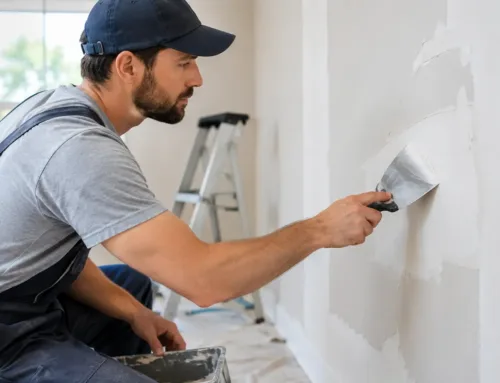
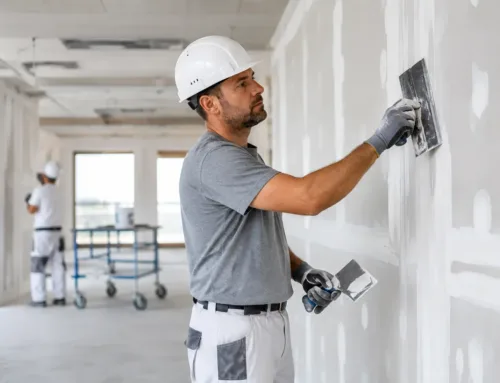
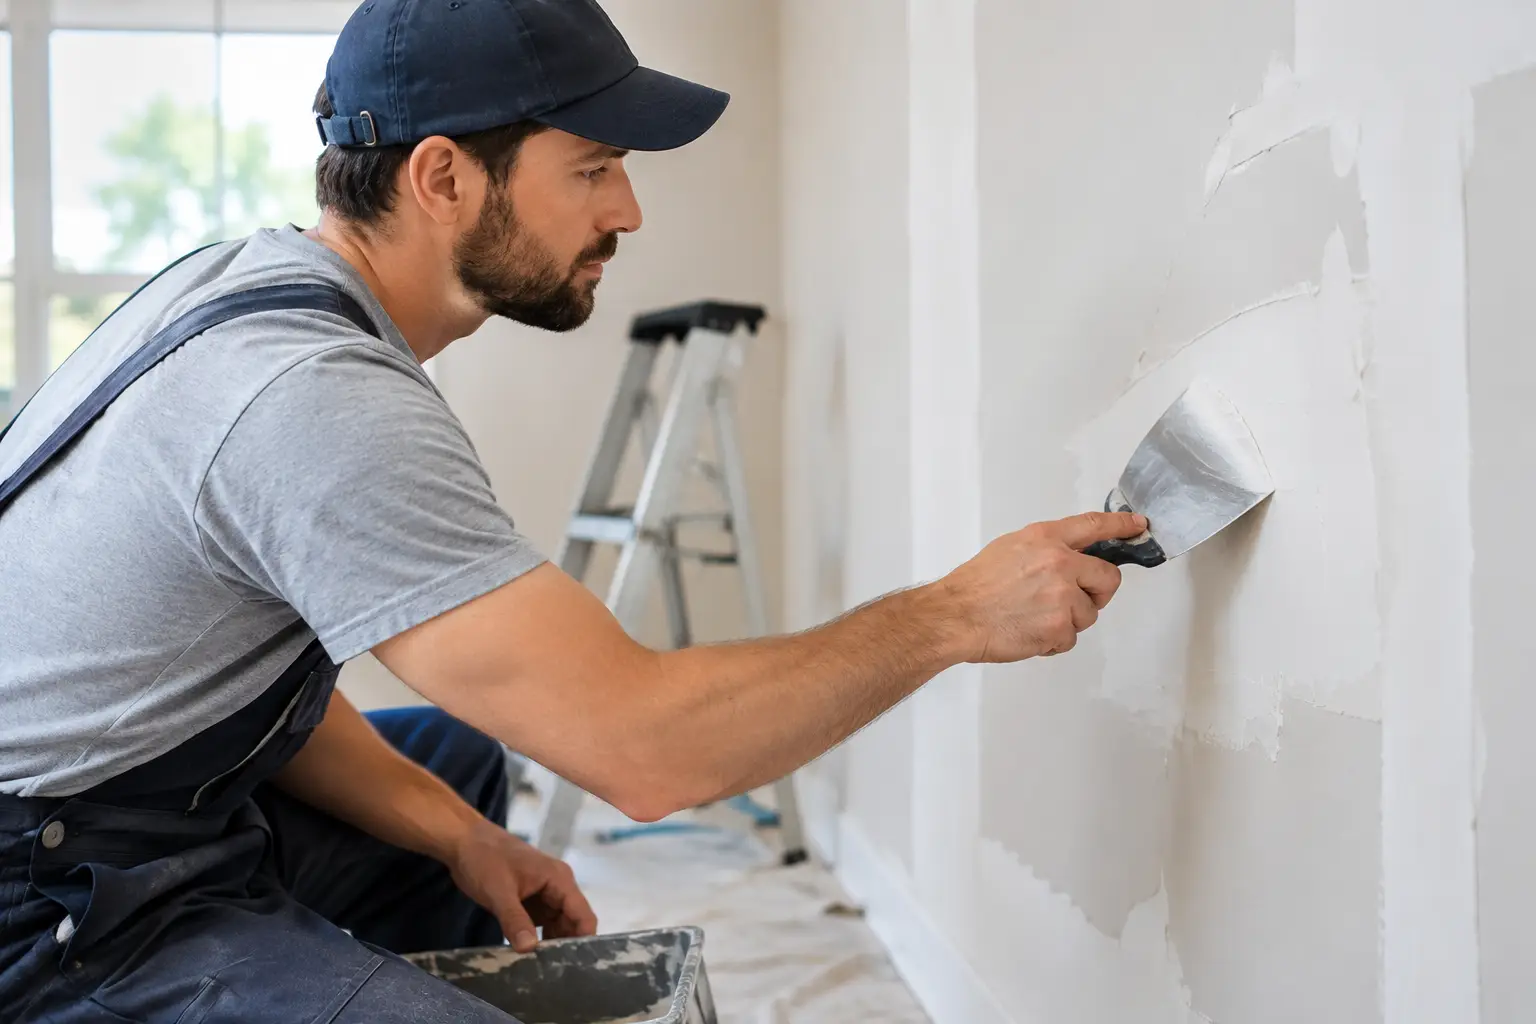
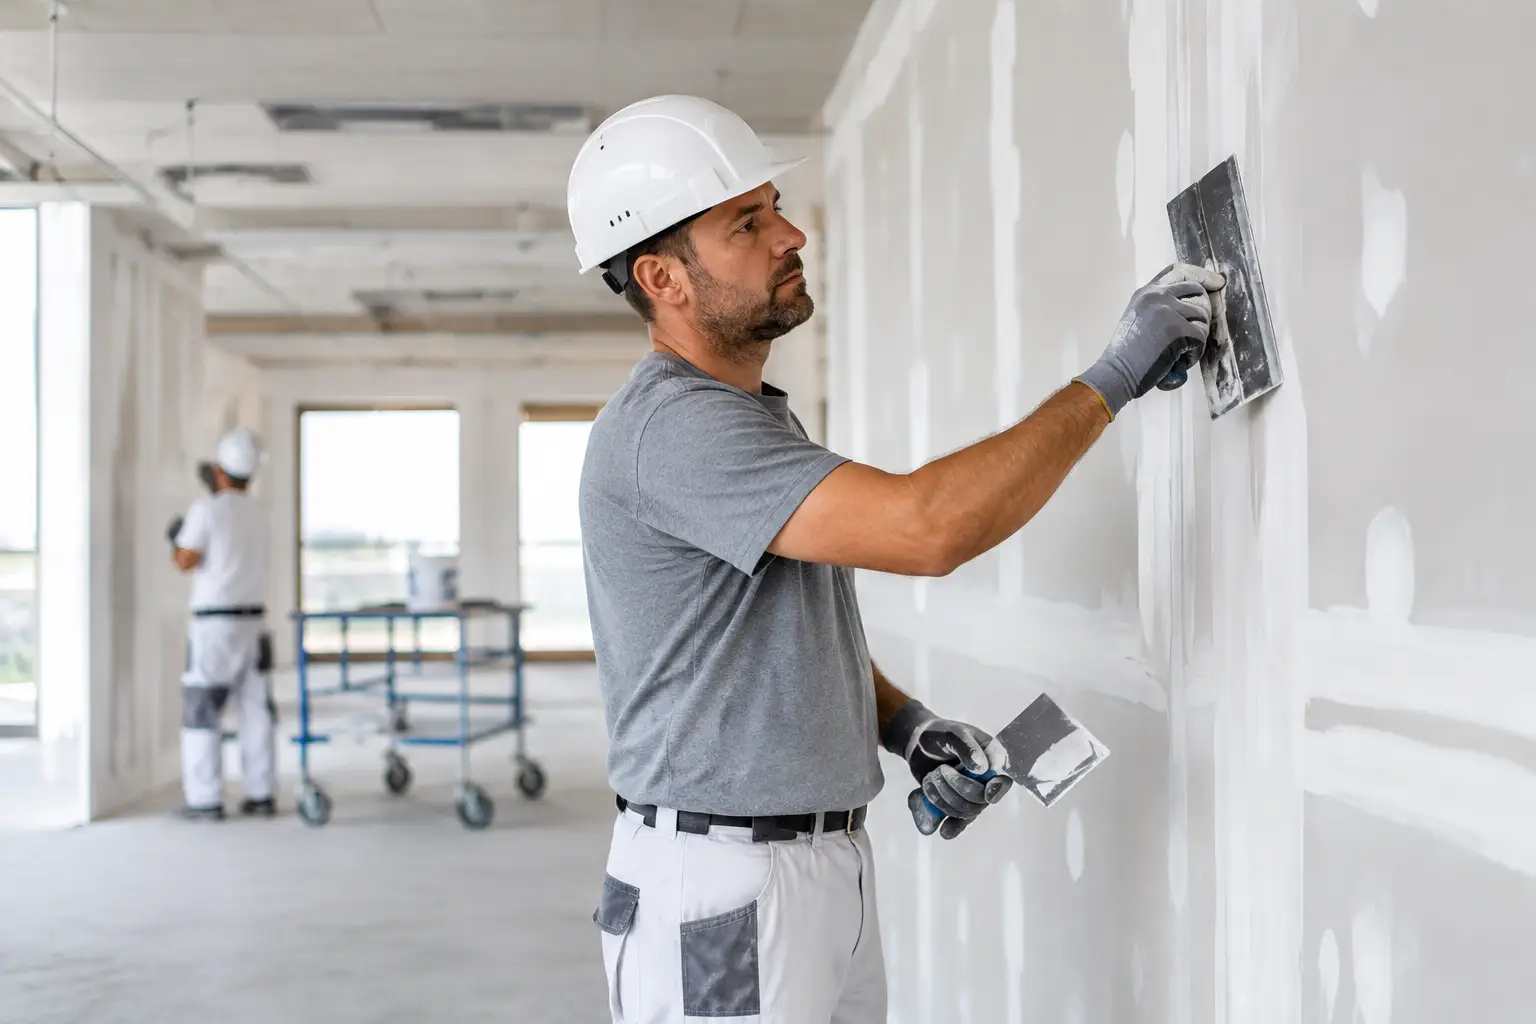
For a proper repair, damaged drywall is removed back to solid material. New backing or framing support is added where needed, and replacement drywall is secured so it sits flush with the existing surface. Joints are taped and finished with joint compound in progressively wider coats. This wider feathering matters because it removes the visible transition between the patch and the original wall.
After drying, the repair is sanded smooth and checked by touch as well as sight. Running a hand across the surface often finds ridges that are easy to miss visually. The goal is not to create a dip in the wall. It is to create a flat, paint-ready base that disappears before texture is even considered.
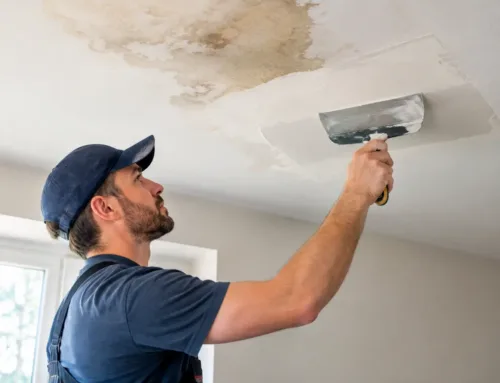
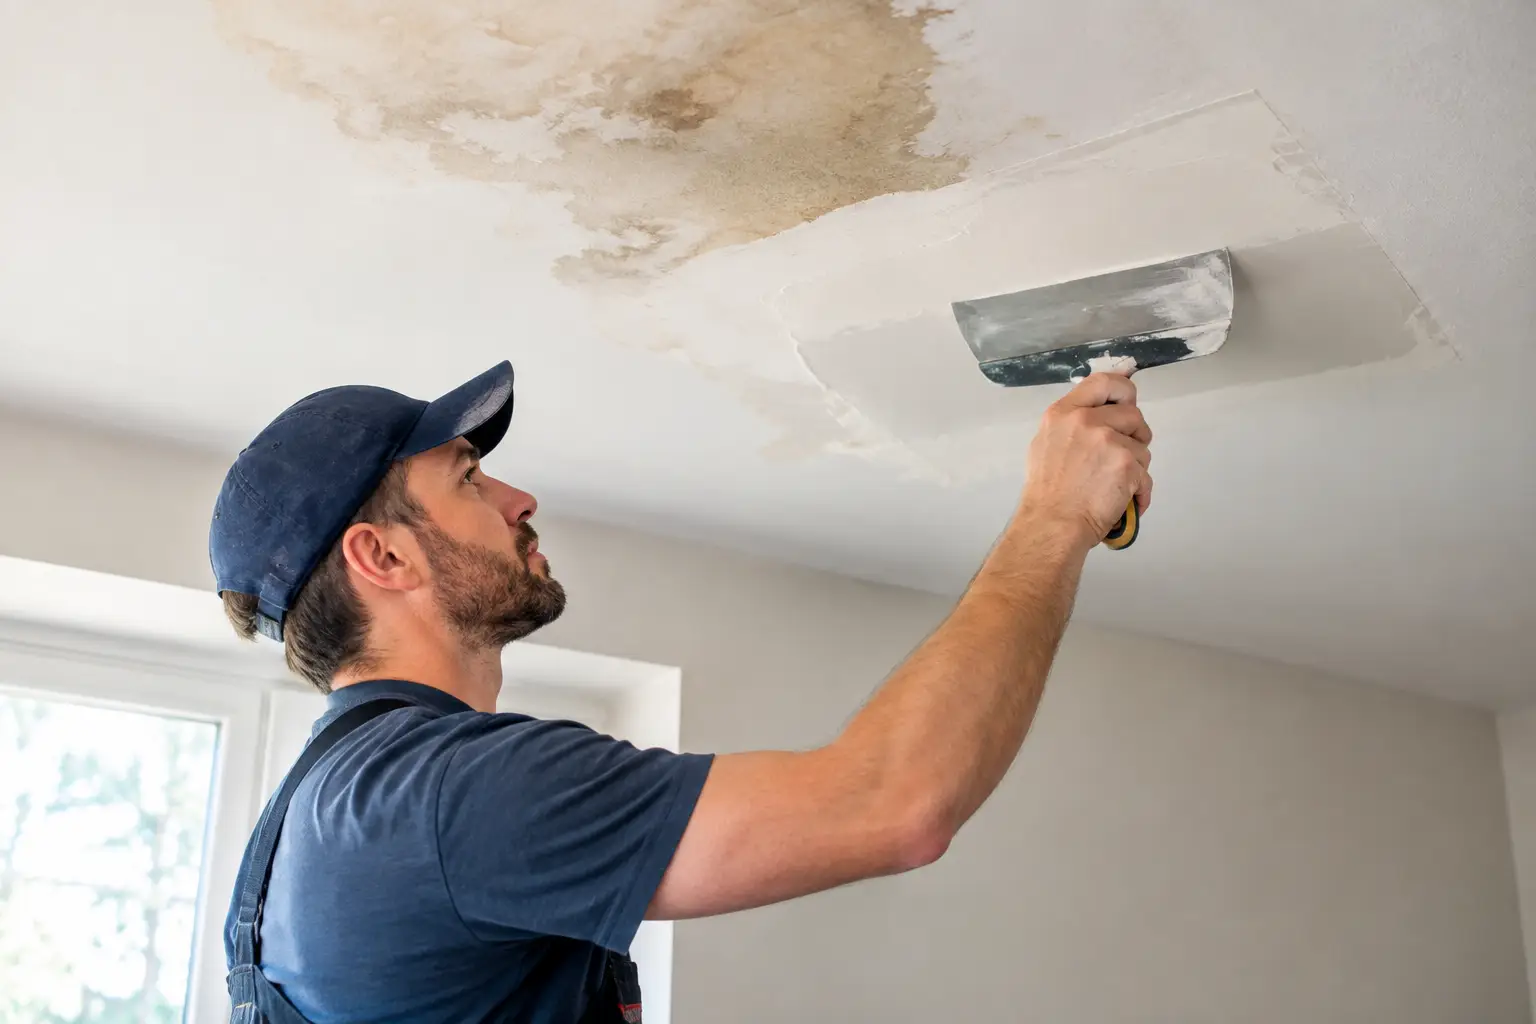
Water damage needs extra attention. Staining, soft gypsum, loose tape, and active moisture problems should be addressed before finishing begins. Applying texture over compromised drywall may look better briefly, but it does not create a durable repair.
Matching Orange Peel Texture Takes More Than One Pass
The best approach depends on the existing texture, the size of the repair, and whether the surface is a wall or ceiling. Small repairs may be handled with aerosol texture, while larger areas often call for a hopper gun and air compressor. A professional may also use a hand-applied method for certain light textures.
The equipment matters, but technique matters more. Before applying texture to the repair, it is wise to test the pattern on a scrap piece of drywall or cardboard. The nozzle setting, air pressure, material thickness, and spraying distance all affect the final look. A slight change in any of these can turn a fine orange peel into a heavy splatter.
The texture should overlap the repair gradually rather than stopping in a neat circle around it. A hard texture boundary is one of the most common reasons a patch remains visible. The goal is to blend the new pattern into the old one, then let it dry fully before deciding whether another light pass is needed.
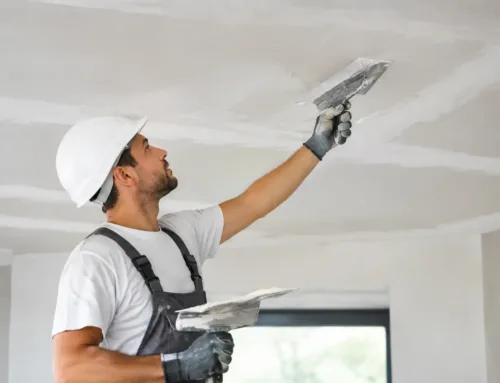
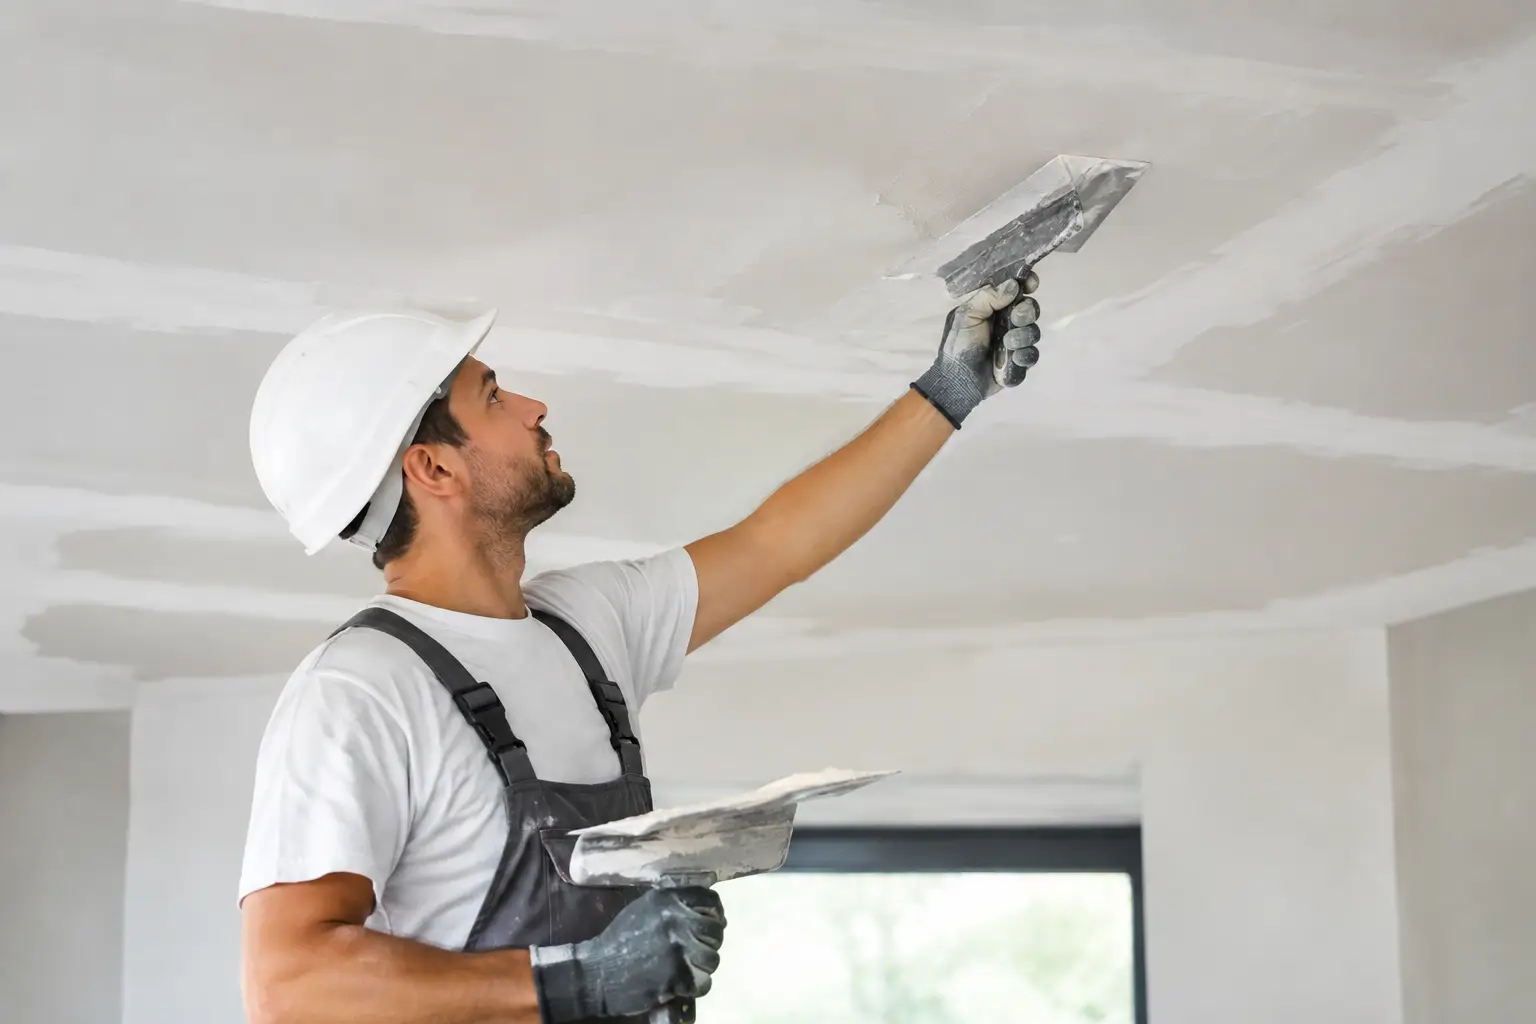
Ceilings bring added challenges. Gravity affects how material lands, overhead work makes even coverage harder, and ceiling texture is often more visible under room lighting. A repair near a light fixture, skylight, or window may require a wider blend area than a similar wall repair.
Fine, Medium, and Heavy Orange Peel
Fine orange peel needs controlled, light application. Too much material quickly creates raised dots that look different from the rest of the wall. Medium orange peel is often easier to replicate, but consistency is still important across the full repair area.
Heavy orange peel can hide more of the drywall finish underneath, but it is not automatically easier to match. Larger droplets must be distributed in a similar pattern, and an overly wet application can sag or form blobs. In some cases, the existing texture is too inconsistent or too worn for a small spot repair to blend well. Extending the texture to a logical break, such as a corner or wall edge, may produce a better final result.
Timing, Priming, and Paint Make the Repair Disappear
Texture must dry before it is primed and painted. Rushing this step can soften the texture, cause flashing, or leave the paint looking uneven. Drying time depends on product type, thickness, humidity, and indoor temperature. A cool or humid room may need more time than the label suggests.
Primer is especially helpful over fresh joint compound and new texture because these surfaces absorb paint differently than a previously painted wall. Without primer, the patch may show through as a dull or uneven area even if the paint color is correct. A quality primer creates a more uniform surface for the finish coat.
Color matching is only part of the painting process. The correct sheen is equally important. If the original paint is eggshell and the repair is painted with flat paint, the change will show when light moves across the wall. If possible, use leftover paint from the room. When that is not available, a paint store can often match a sample, but fading and age may still create a slight difference.
For a small patch in the center of a wall, feathering paint outward can help. For larger repairs, painting the entire wall from corner to corner is often the cleaner choice. It depends on the wall’s color, the paint sheen, the amount of natural light, and how critical the room’s appearance is. A full-wall repaint takes more material, but it can prevent a visible paint halo around an otherwise well-matched repair.
Common Mistakes That Leave a Visible Patch
The most frequent mistake is treating texture as a shortcut. A patch needs proper backing, tape, compound, sanding, drying, and primer before texture can do its job. Skipping steps may save time at first, but the repair often becomes visible again as the materials settle or the paint dries.
Another problem is applying too much texture at once. Heavy application is difficult to remove cleanly without damaging the finished patch underneath. It is better to build the texture with light passes, compare it to the surrounding surface, and stop once the pattern is close.
Homeowners also sometimes sand new texture to make it blend. This can work only in limited situations and only with a very light touch. Sanding tends to flatten the droplets and create smooth spots that reflect light differently. If the texture is clearly wrong, correcting it before paint is usually the better option.
Finally, do not judge the result only while standing directly in front of it. Step back, look from both sides, and check the wall with room lights on and natural light coming in. A repair should hold up from the angles people actually see every day.
When to Call a Drywall Professional
A small nail hole or minor scuff may be a reasonable do-it-yourself project. Larger holes, water-damaged areas, ceiling repairs, cracked seams, and patches in highly visible rooms are different. These repairs require more than a texture product. They require a stable drywall repair and finishing process that supports a lasting result.
Professional texture matching is also worth considering when the home has unusual texture, aged plaster walls, multiple previous repairs, or paint with noticeable sheen. Experience helps identify whether a spot blend will work or whether extending the finish to a corner, ceiling break, or full wall will look better.
TDM Drywall brings more than 32 years of hands-on drywall and plaster experience to repairs throughout Monroe, Downriver, and Southeast Michigan. As a fully insured, family-run contractor, the focus is on clean workspaces, clear communication, and paint-ready finishes that do not leave a repair calling attention to itself.
The right texture match should not be the most noticeable thing in the room. When the repair is prepared carefully, blended patiently, and painted correctly, the wall can go back to doing what it should: looking finished, solid, and easy to live with.