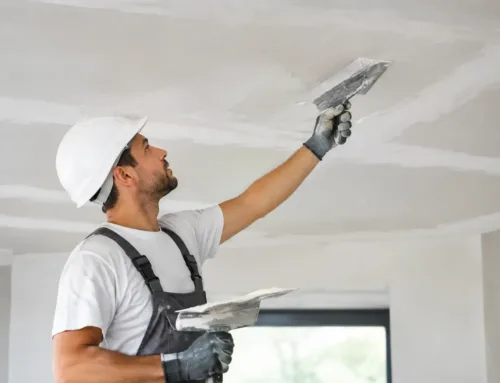

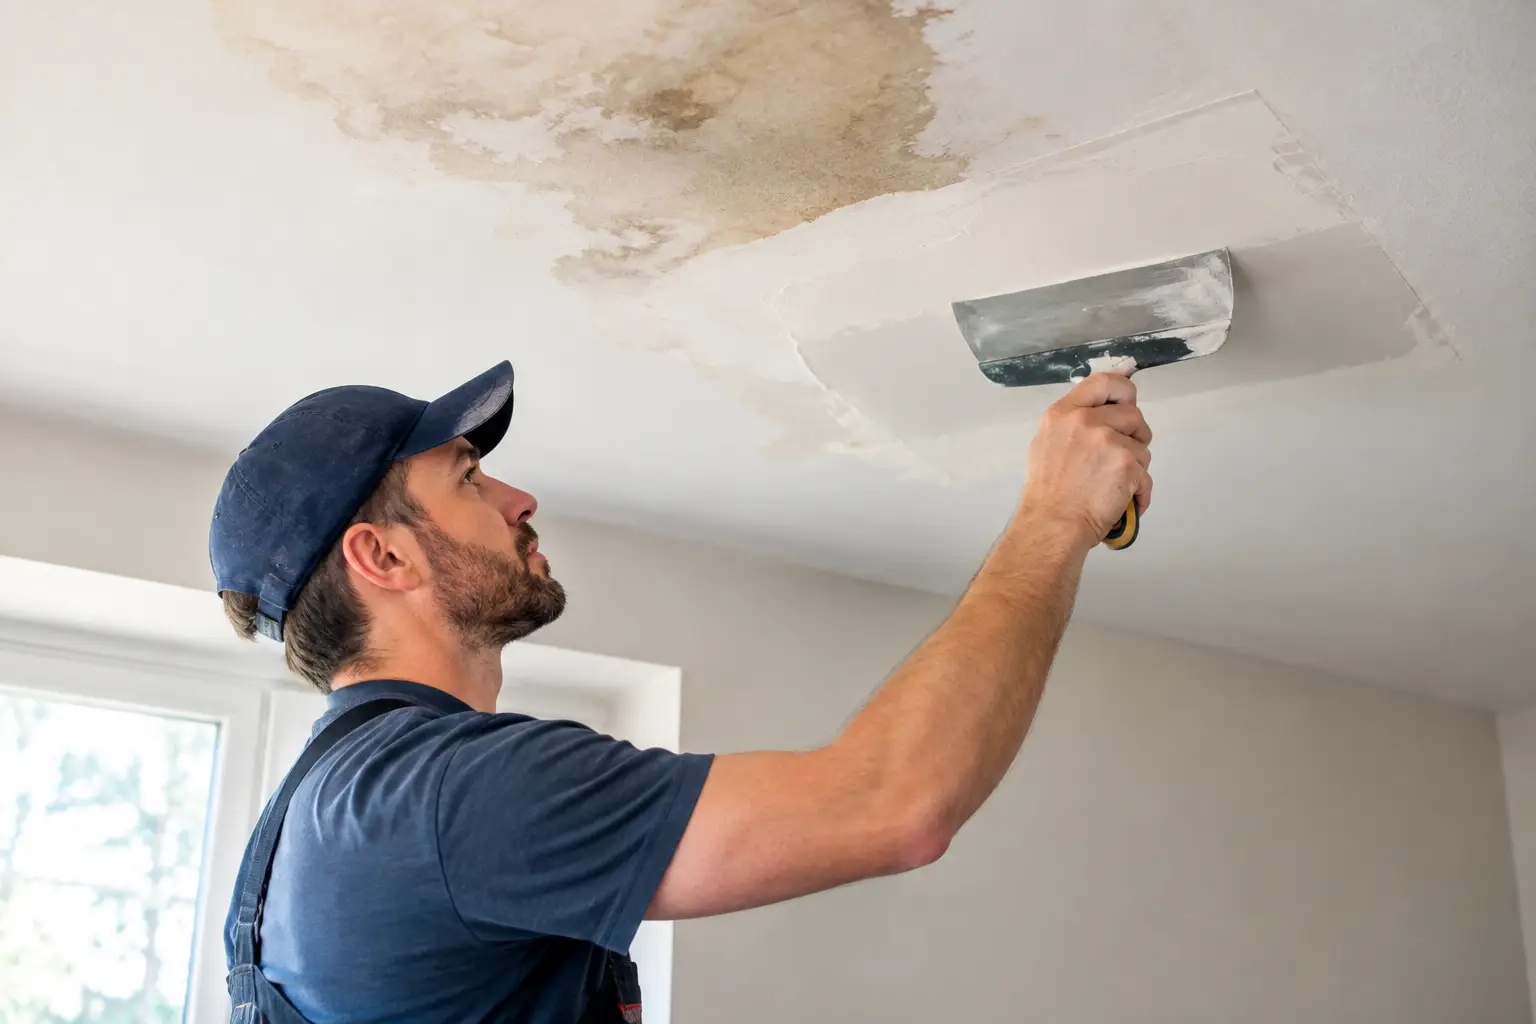
A brown ceiling stain can look like a small cosmetic problem, but the drywall above it may be holding moisture, losing strength, or hiding a larger roof issue. This drywall repair after roof leak example shows why a lasting repair starts with finding out what is wet, what is damaged, and what can safely stay.
A Realistic Drywall Repair After Roof Leak Example
Picture a homeowner in Monroe who notices a quarter-sized yellow stain near a bedroom ceiling light after a heavy spring rain. A roofing contractor finds a failed flashing detail near a vent and corrects the leak. The ceiling does not drip again, so it is tempting to stain-block and paint the spot.
That would be a gamble. The drywall may have absorbed water even if the visible stain is small. In this example, the homeowner waits for the roof repair to be completed, then has the ceiling evaluated before any finish work begins. The contractor checks the ceiling for softness, sagging, staining, loose joint tape, and moisture trapped in the cavity.
The test area feels firm at the edges, but the center section has slight swelling and a seam beginning to separate. Moisture readings are elevated in a roughly 2-by-3-foot area. Because the drywall board has lost its shape at the seam, a touch-up will not provide a clean, durable result. The affected section needs to come out.
This is the point where experience matters. Water does not always spread in a neat square directly below the roof leak. It can run along framing, collect above insulation, and show up several feet from the actual entry point.
Step 1: Stop the Water Before Repairing the Ceiling
No drywall repair should begin until the roof leak is fixed or the source is otherwise confirmed. That sounds straightforward, but it is one of the most common reasons repairs fail. A ceiling can look dry for weeks, then stain again after the next hard rain because the repair covered up an active problem.
In some homes, the source is not the roof at all. Condensation around attic ventilation, a bathroom exhaust duct that terminates in the attic, plumbing, or ice damming can create similar damage. The repair plan depends on the cause, not just the appearance of the drywall.
Once the source is resolved, drying comes next. Fans and dehumidification may help with a minor, recent leak. Wet insulation above the ceiling may need to be removed so the framing and surrounding materials can dry properly. If there is extensive contamination, visible mold growth, or a large area affected by dirty water, the scope may need to expand beyond a standard drywall repair.
Step 2: Decide Whether the Drywall Can Be Saved
Drywall sometimes survives a small, clean-water leak if it dries quickly and remains firm, flat, and free of damaged seams. A light stain on otherwise solid board may only need drying, stain-blocking primer, and paint after the cause is fixed.
Replacement is usually the better choice when the ceiling sags, the gypsum feels soft or crumbly, paper facing is bubbling, tape has released, or the board has swollen at a joint. Ceiling drywall is especially unforgiving. Even a slight sag can become more noticeable over time, and a patched-over weak area may crack along the repair line.
In our example, the damaged portion is cut back to solid material. The opening is extended to practical framing locations rather than leaving narrow, unsupported strips of drywall. This creates a stronger repair and gives the new panel a clean backing to fasten to.
A professional also looks above the opening before closing it. This is the chance to inspect framing, confirm materials are dry, remove compromised insulation if needed, and make sure there is no ongoing staining or microbial growth. Closing a ceiling before that check can trap a problem where it is harder to address later.
Step 3: Replace the Damaged Section Correctly
After the affected ceiling area is removed, a new drywall panel is measured and installed to match the existing board thickness. Matching thickness matters. A ceiling patched with the wrong material can leave a visible low or high spot even after careful finishing.
The panel is fastened securely to framing or properly installed backing. Seams are taped, then finished with joint compound in multiple coats. Each coat is allowed to dry before the next is applied, and the repair is feathered well beyond the patch edge. That wider transition is what keeps a ceiling repair from looking like a box after paint.
In the example, the bedroom ceiling has a light orange-peel texture. A smooth patch would stand out, so the texture is blended over the repaired area and softened into the surrounding ceiling. Texture matching is not an afterthought. It is often the difference between a repair that is merely functional and one that disappears into the room.
The work area should also be protected from the start. Careful containment, floor protection, dust control, and cleanup make a major difference when repairs are happening in an occupied home. A water-damage repair is stressful enough without leaving the homeowner with dust throughout the room.
Step 4: Prime for Stains, Then Paint the Right Way
After the final compound is dry and sanded smooth, the repaired surface is ready for primer. Water stains should be sealed with a quality stain-blocking primer before finish paint goes on. Regular wall primer may not stop a water mark from bleeding back through.
For the best appearance, the ceiling should generally be painted from corner to corner rather than only over the repaired section. Even when the texture match is excellent, fresh paint in one spot can differ from an older painted ceiling because of fading, smoke residue, cooking residue, or past touch-ups.
If a ceiling has repeated stains or a large area of prior water damage, full replacement can sometimes be more sensible than several scattered patches. The right answer depends on the board condition, texture, access above the ceiling, and the homeowner’s goals for the room. A fair quote should explain that difference clearly instead of pushing a one-size-fits-all fix.
What This Repair Looked Like When Finished
Once primed and painted, the bedroom ceiling in this example is flat, secure, and consistent with the surrounding texture. There is no soft seam, sagging paper, or visible patch outline. More importantly, the repair is built on a confirmed roof correction and dry materials, rather than on paint covering a warning sign.
The visible stain may have been only a few inches wide, but the finished repair involved checking the source, opening enough ceiling to reach sound drywall, replacing the compromised area, blending the texture, and preparing a paint-ready surface. That is the practical difference between a quick cover-up and work designed to last.
When to Call for Help Quickly
A small stain that is dry, firm, and not growing may allow time for an inspection and planned repair. A bulging ceiling, active drip, spreading stain, loose light fixture area, or ceiling that feels soft should be addressed promptly. Keep people out from under a sagging area, especially if water may be pooling above it.
For homeowners and property managers in Monroe, Downriver, and Southeast Michigan, TDM Drywall provides licensed and insured water-damaged drywall and ceiling repair with more than 32 years of hands-on experience. The goal is straightforward: clean work, clear communication, texture that blends, and a finish ready for paint.
When a roof leak leaves its mark indoors, give the ceiling the same attention you gave the roof. A careful repair now can keep one rainy-day stain from becoming a recurring problem in the room you live or work in every day.