
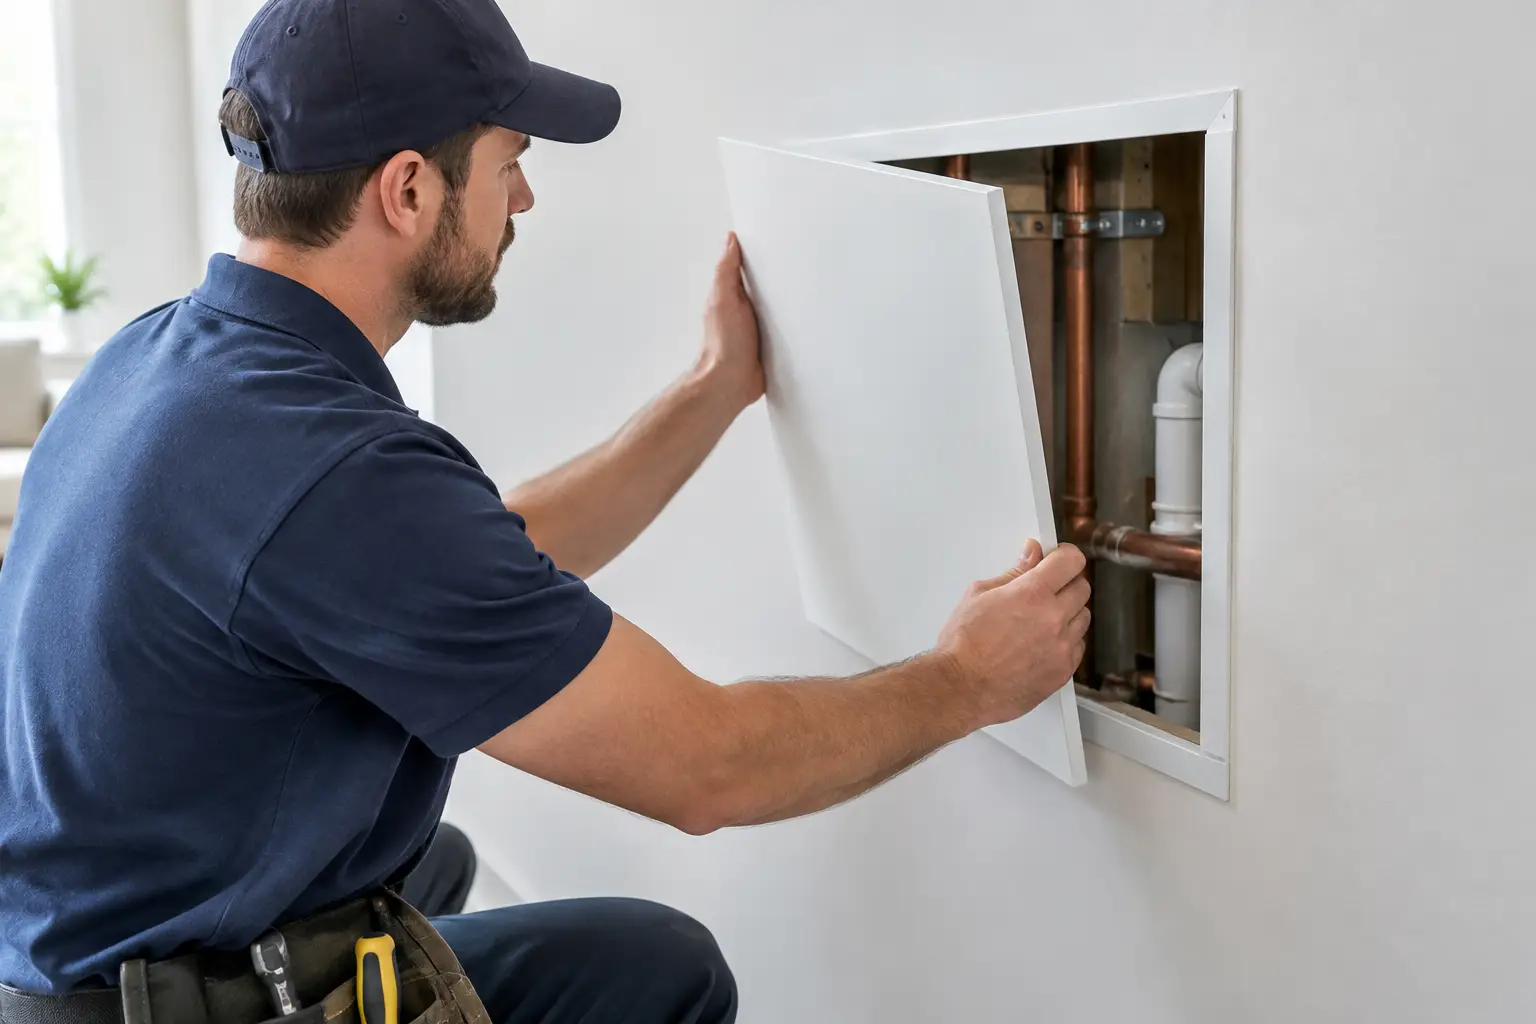
An access panel should make future repairs easier without making the wall look like an afterthought. Whether you need to reach a plumbing shutoff, cleanout, wiring connection, bathtub valve, or HVAC component, learning how to install access panels correctly starts with choosing a practical location and protecting the drywall finish around it.
A poorly placed or loosely installed panel can crack surrounding drywall, interfere with a stud, leave a visible gap, or hide the very component it is supposed to serve. A clean installation takes planning, accurate layout, solid support, and a finish that fits the room.
Choose the Right Panel Before Cutting
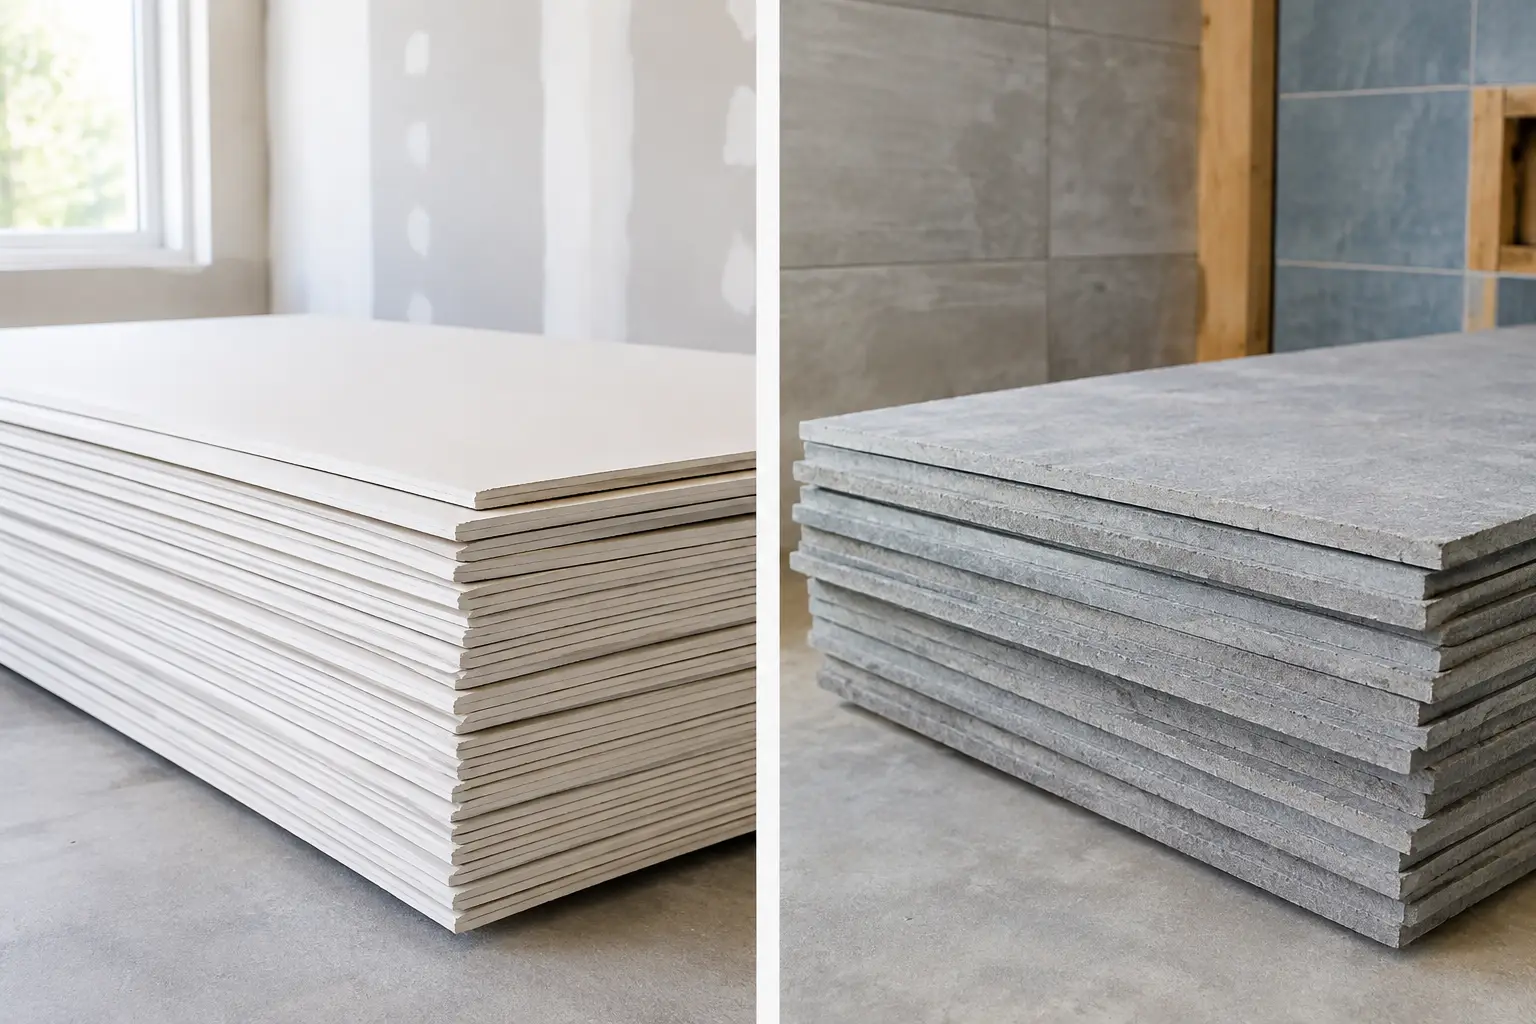
Access panels come in several styles, and the best option depends on what sits behind the wall or ceiling. A basic paintable plastic panel works well for many residential plumbing access points. Metal panels are often a better fit for utility rooms, commercial spaces, or locations that need more durability. Fire-rated, moisture-resistant, insulated, and lockable panels are also available for specific applications.
Start by confirming the required clearance. It is not enough to see a single valve or fitting through the opening. A plumber, electrician, or HVAC technician needs room to work, remove a cover, operate a shutoff, or replace a component. If the access point is behind a tub or shower, make sure the panel is large enough to service the mixing valve and surrounding connections.
The location matters just as much as the panel size. Whenever possible, place the panel on the less noticeable side of a shared wall, such as a closet, utility room, basement, or adjoining bedroom. Avoid placing it where furniture, a towel bar, cabinetry, or a door swing will make it difficult to use later.
Check What Is Behind the Drywall
Never cut drywall based on a guess. Use a stud finder to locate framing, but remember that stud finders can be affected by pipes, metal corner bead, wiring, and other materials inside the wall. Confirm the area carefully before making a large opening.
Look for signs of utilities on both sides of the wall. Plumbing lines may run vertically near fixtures or horizontally through framed walls. Electrical wiring can pass through studs at outlet height, switch height, or ceiling level. In older homes around Monroe and Southeast Michigan, previous repairs and remodeling work can make utility paths less predictable than they appear.
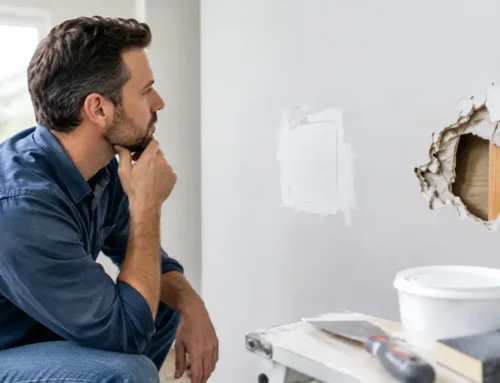
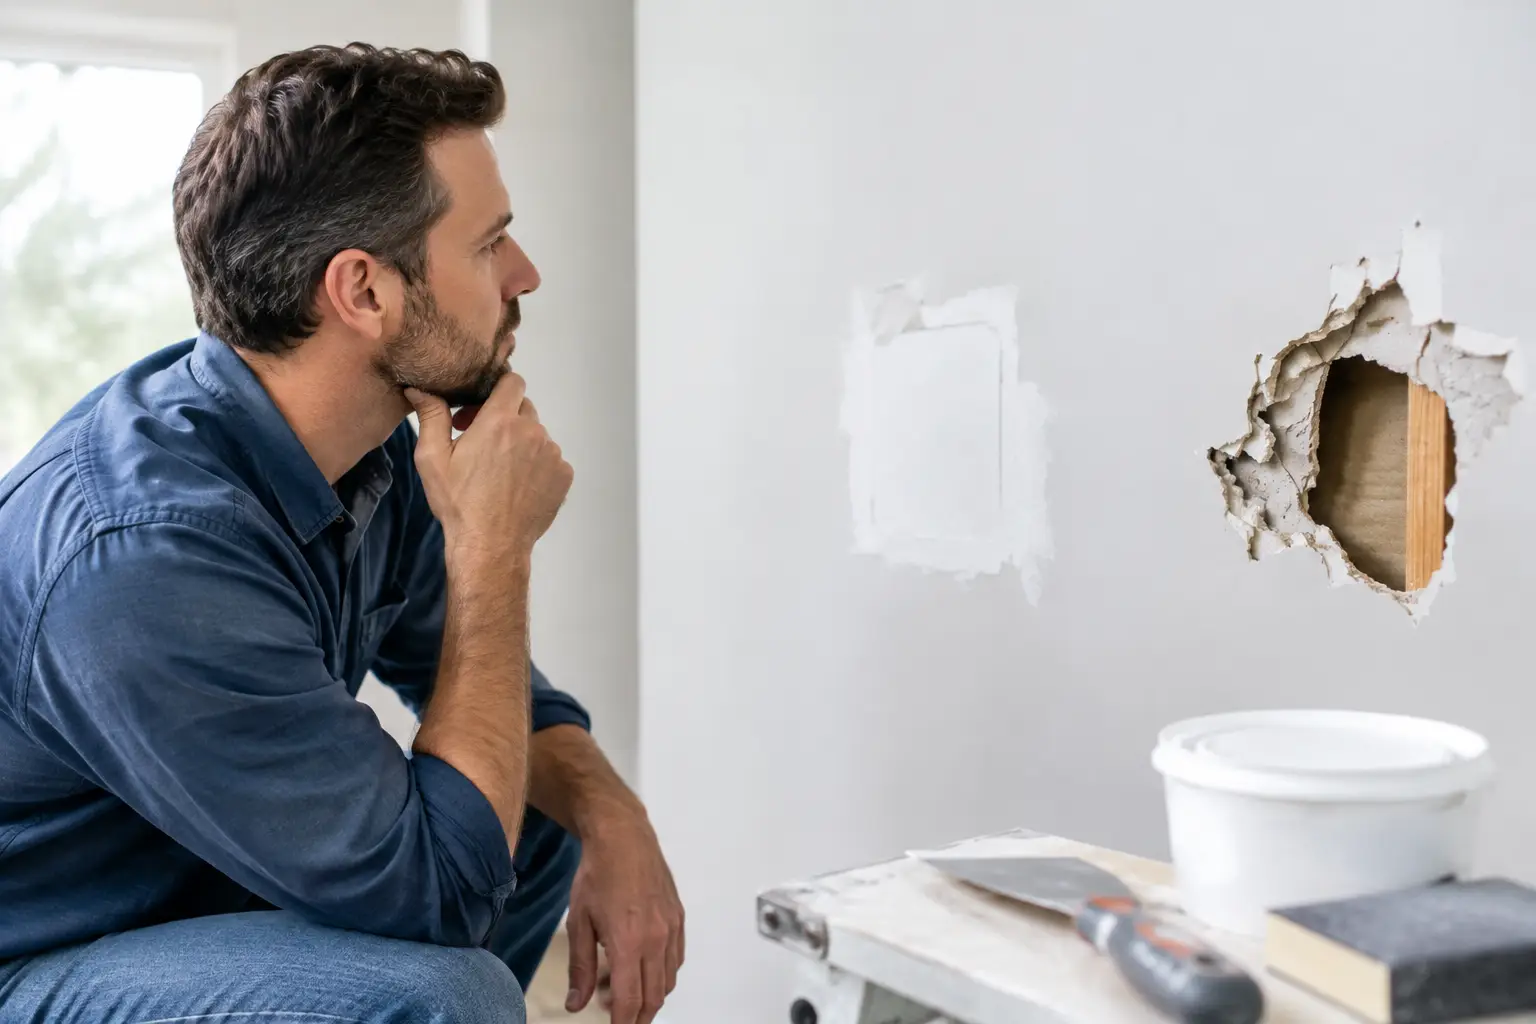
If you are installing access for an existing issue, begin with a small inspection hole. A small opening lets you check pipe direction, wire location, insulation, and framing before committing to the finished panel size. A flashlight, inspection mirror, or small camera can help you see inside without causing unnecessary damage.
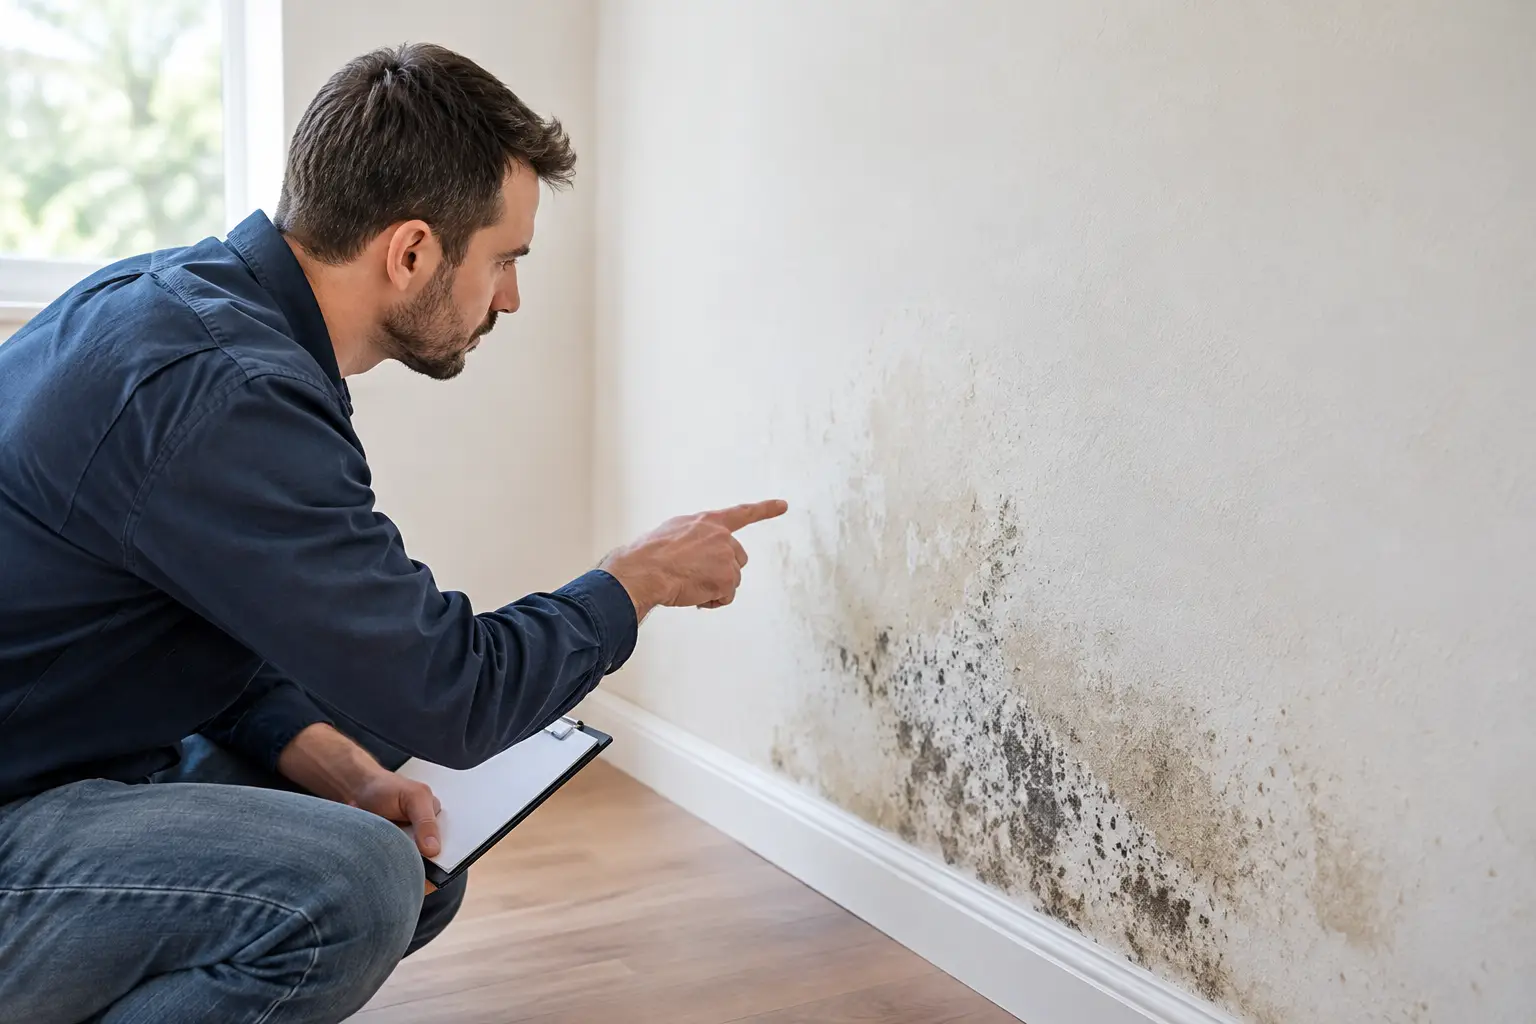
Turn off power to the affected area if electrical wiring may be present. Shut off water if you are opening a wall near active plumbing or if a leak is possible. If the work involves a junction box, gas line, major water damage, mold, or a structural concern, bring in the appropriate licensed trade professional before closing anything back up.
Measure and Mark the Opening
Most access panels include a rough-opening dimension or a template. Use that measurement, not the outside flange size. The flange is designed to overlap the drywall and hide the edge of the cut.
Mark the opening with a level and straightedge. Even a panel that is only slightly out of level will stand out after installation, especially in a bathroom, hallway, or freshly painted room. Check the panel orientation before marking. Some doors are designed to hinge, latch, or remove from one particular side.
Keep the opening clear of studs when possible. If a stud runs through the planned location, do not cut it without understanding whether it is load-bearing and whether utility lines pass through it. Often, moving the panel a few inches is the simplest and safest solution.
For larger panels, the drywall opening needs solid support on all sides. If the opening falls between studs, install wood blocking behind the drywall. This framing gives the panel a firm mounting surface and keeps the drywall edge from flexing, cracking, or breaking down over time.
How to Install Access Panels With a Clean Cut
Score the marked lines lightly with a utility knife first. This reduces paper tearing on the finished face of the drywall. Then cut the opening with a drywall saw, oscillating multi-tool, or rotary tool. Work slowly, especially when you first break through the drywall, because pipes and wiring may be close behind the surface.
A controlled cut is more valuable than a fast cut. Stop periodically and inspect inside the wall. If you find an unexpected obstruction, do not force the opening larger until you know what it is and whether the panel location should change.
Once the drywall section is removed, clean up the edges with a utility knife or rasp. Test-fit the panel before adding fasteners or adhesive. It should sit flat against the wall with an even reveal around the opening. If it binds or rocks, correct the opening rather than trying to pull the panel tight with screws.
For a framed access panel, install blocking as needed. Slide a piece of lumber behind one side of the opening, hold it firmly against the back of the drywall, and secure it through the drywall with screws. Repeat on the opposite side where support is required. Use screws that are long enough to hold the blocking securely without reaching hidden utilities.
Follow the panel manufacturer’s installation method. Some lightweight plastic panels use spring clips or a snap-in flange. Others require screws through the flange into wood blocking or studs. Screw-mounted panels are generally more secure, particularly in walls that may receive frequent use. Do not overtighten fasteners, since that can distort the flange or crush the drywall face.
Finish the Surrounding Wall Carefully
The panel itself is not meant to be mudded into the wall permanently. It must remain removable. The goal is a clean, paint-ready perimeter, not an invisible patch that will be difficult to open later.
If cutting caused minor paper damage or chipped gypsum at the opening edge, seal and repair that damage before the panel goes in. For panels with a wide flange, small imperfections will be covered. For recessed drywall access doors, the finishing process may require joint compound, tape, corner treatment, sanding, texture matching, and primer around the frame.
Texture is where many otherwise solid installations become noticeable. Smooth walls are forgiving only when the surrounding finish is truly flat. Orange peel, knockdown, hand texture, and textured ceilings require a close match so the access point does not draw attention from across the room.
Paintable panels should be primed if the manufacturer calls for it, then painted to match the wall. Avoid painting the door shut. Keep paint out of latches, hinges, and seams, and open the panel after the first coat has dried to make sure it still operates freely.
Ceiling Access Panels Need Extra Support
Ceiling panels deserve more caution because gravity works against the installation. An overhead access door should be securely fastened to proper framing or blocking, especially if it is larger than a small utility opening. Use a panel intended for ceiling use, with a reliable latch and a flange that sits firmly against the finished surface.
Ceiling texture and repair work also tend to be more visible under overhead lighting. If the opening is near a ceiling repair, water stain, or previous patch, it may make sense to address the surrounding finish at the same time. This is especially true after a plumbing leak, when damaged insulation and drywall may need attention before a new panel is installed.
When a Professional Installation Is the Better Choice
A simple plastic panel in an open wall bay can be a reasonable do-it-yourself project. The job becomes less straightforward when the wall has plaster, tile, moisture damage, heavy texture, steel studs, insulation, concealed wiring, or an uncertain plumbing layout.
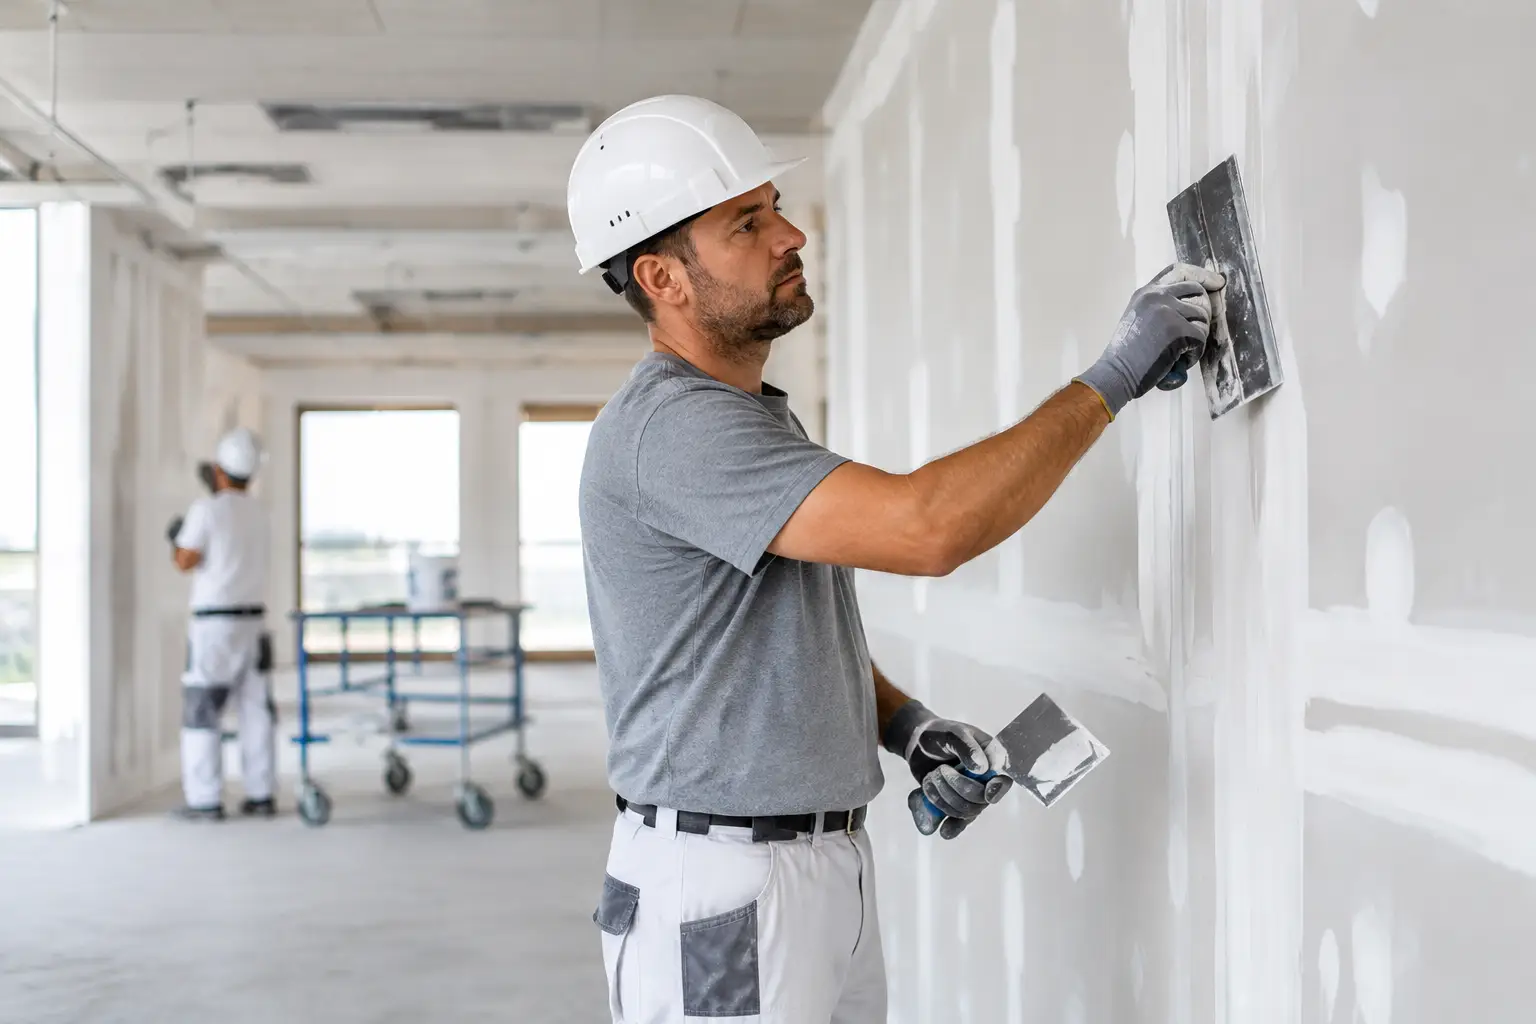
Professional drywall work is also worth considering when the access opening needs to blend into a finished room. The difference is often in the details: straight cuts, secure blocking, clean edges, texture matching, and a finished surface that looks intentional rather than patched. TDM Drywall brings more than 32 years of hands-on drywall and plaster experience to repairs and installations throughout Monroe and the Downriver area, with clean workspaces and durable, paint-ready results.
A well-installed access panel is a small feature with a practical purpose. Put it where future service is realistic, build it into solid support, and finish the surrounding drywall with the same care you would give any visible repair. The next person who needs to reach that valve, wire, or cleanout will be glad the wall was opened thoughtfully.