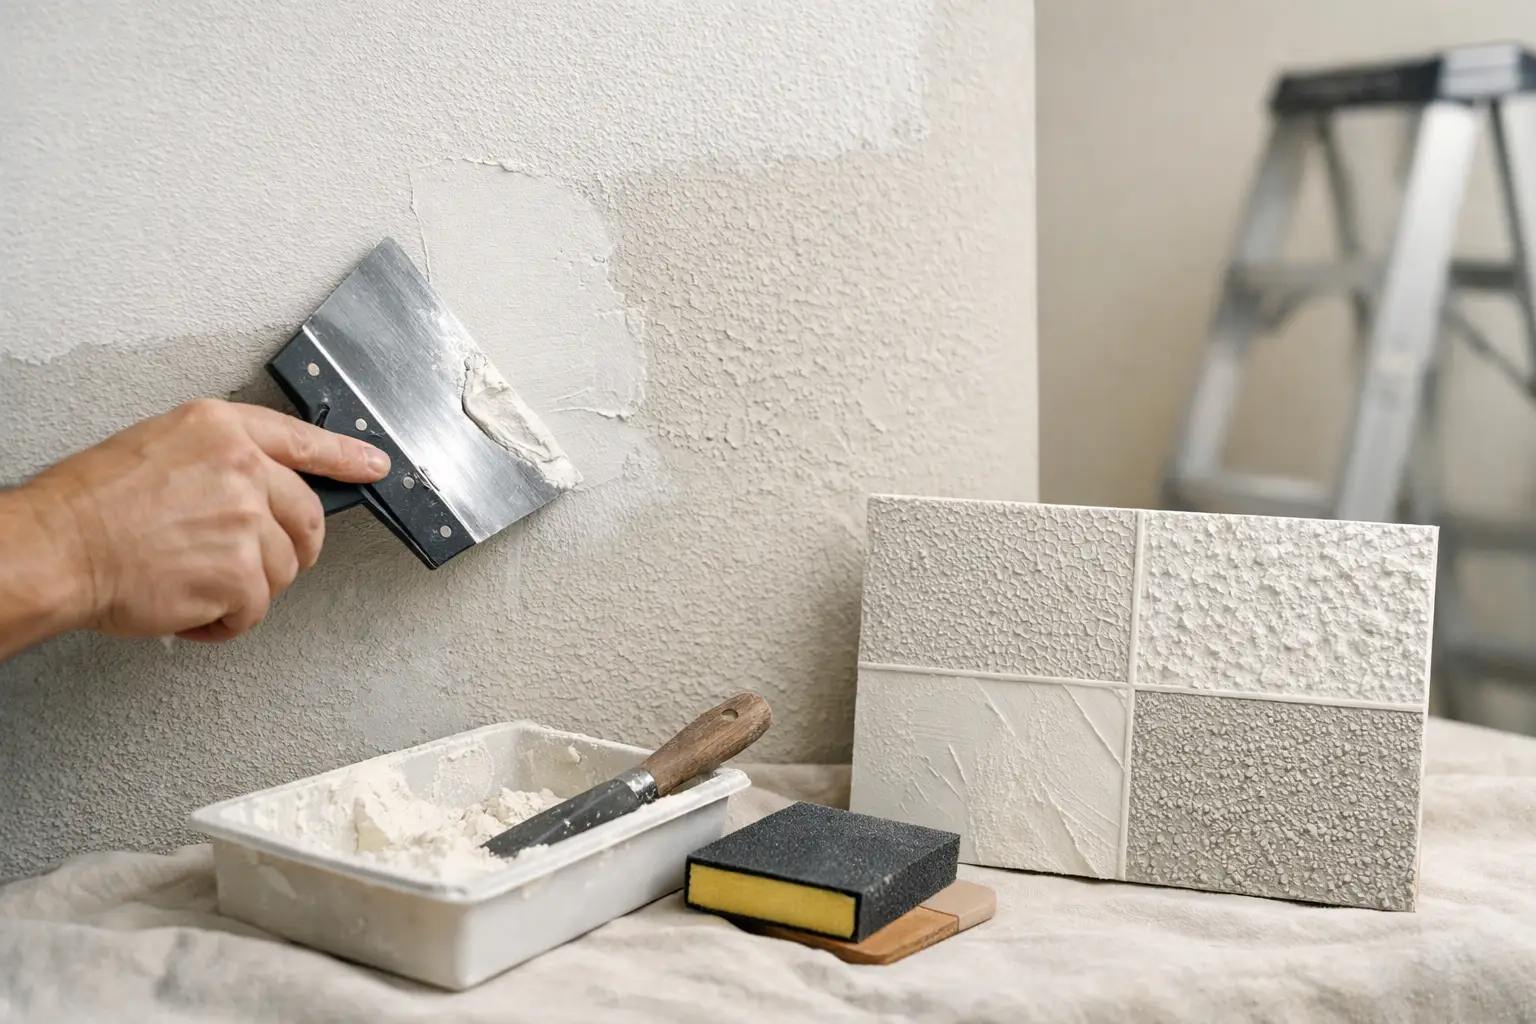
A repaired wall can be structurally sound and still look unfinished if the texture does not match. That is why a guide to drywall texture matching starts with the finish around the damage, not just the hole or crack itself. A patch that looks smooth beside an orange peel wall, or a new ceiling area with a different knockdown pattern, will catch the light and draw attention every time you enter the room.
Texture matching is part repair work, part observation, and part finishing skill. The goal is not simply to add texture. It is to recreate the size, depth, spacing, and direction of the existing pattern so the repaired area blends into the surrounding wall or ceiling.
Why Drywall Texture Matching Is Harder Than It Looks
Drywall texture is rarely identical from one home to another. Even two rooms in the same house may have different finishes because they were completed at different times, repaired over the years, or sprayed by different installers. Paint also changes the appearance of texture. A flat ceiling paint softens a pattern, while satin wall paint can make every raised spot more noticeable.
Lighting adds another challenge. Texture that seems acceptable in the middle of the day may show a visible edge when low-angle sunlight comes through a window or recessed lights turn on at night. This is especially common on ceilings, long hallway walls, and walls facing large windows.
The repair itself can affect the final result, too. If the patch is not feathered wide enough, the new compound creates a shallow hump before texture is ever applied. If the surface is sanded unevenly, a spray texture will highlight the flaw rather than hide it. Clean, seamless results begin with a properly finished patch.
Identify the Existing Texture Before Starting
Before choosing a tool or opening a can of texture, look closely at an undamaged section nearby. Stand a few feet back, then inspect it from the side with a work light or flashlight. This helps reveal how the texture was made and how much variation it has.
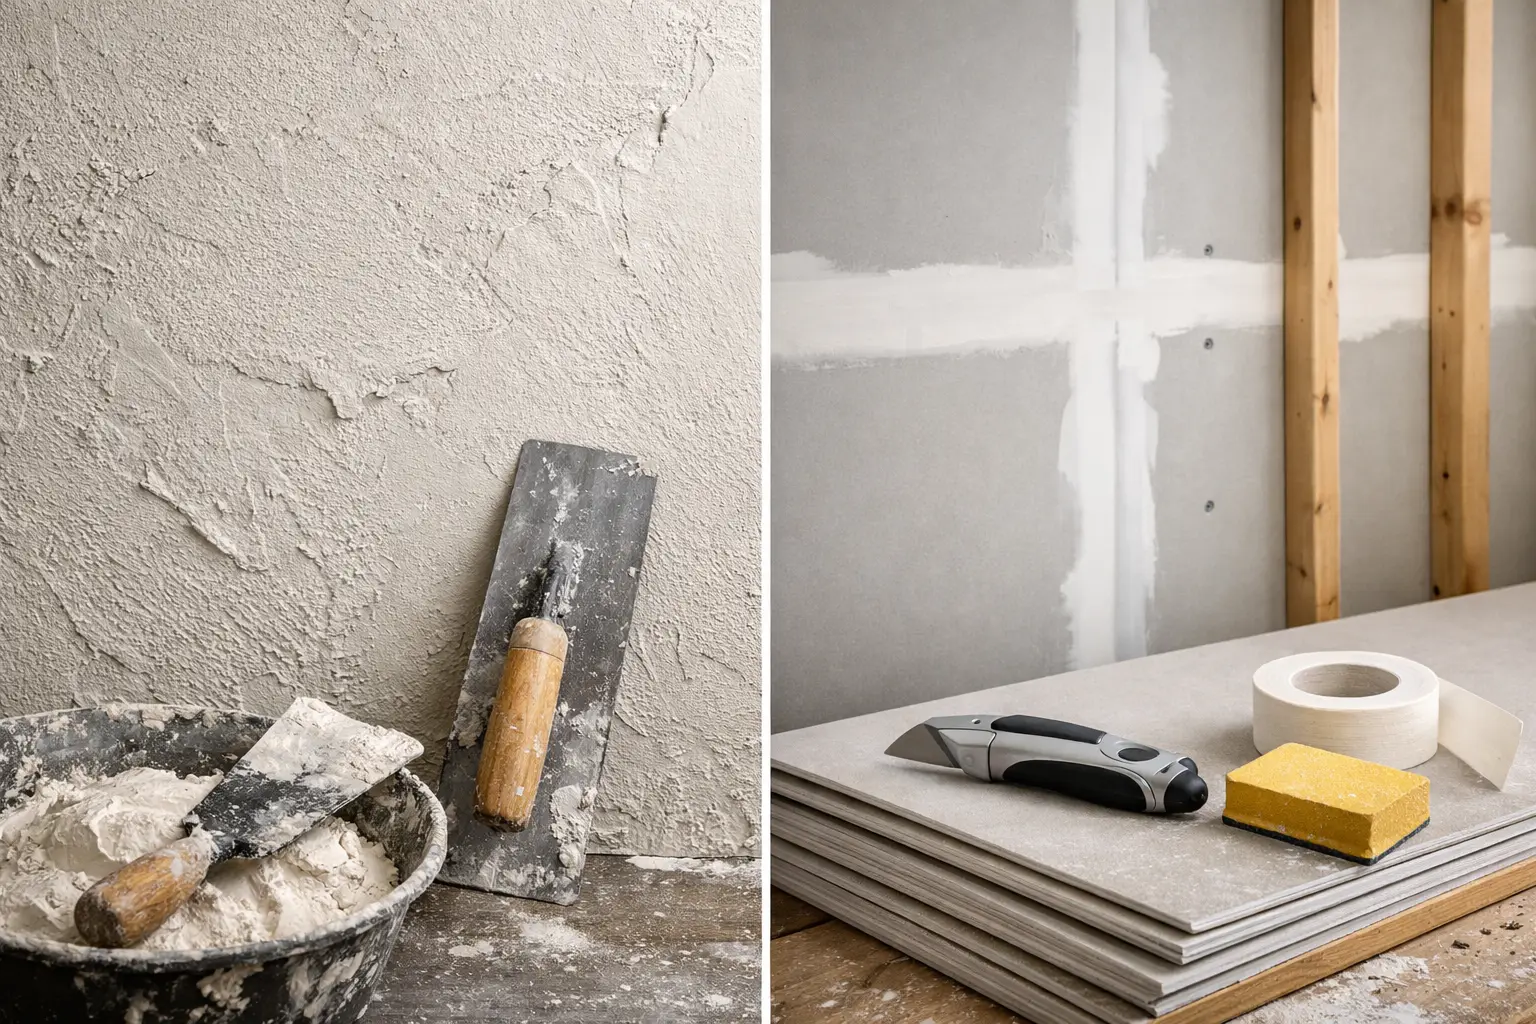
Orange peel is one of the most common wall finishes in Southeast Michigan homes. It has a light, fine splatter pattern that resembles the surface of an orange. Knockdown starts as a splatter texture but is lightly flattened with a wide knife after it begins to set. The result is a broader, irregular pattern with flattened peaks.
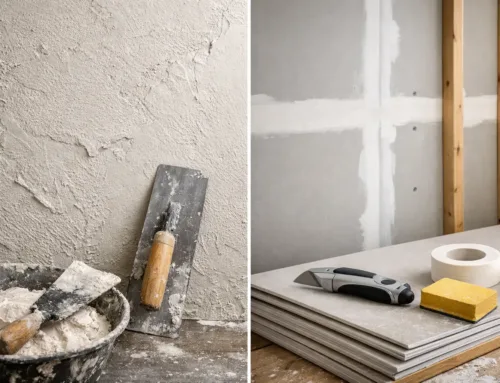
Skip trowel textures are applied by hand and have more movement, with raised arcs and random sweeps of compound. Popcorn ceilings have a heavier, more pronounced texture, often made with acoustic material. Older homes may also have hand-applied plaster textures that cannot be duplicated convincingly with a standard aerosol can.
Do not assume the texture is uniform just because it has one name. Orange peel can range from very fine to heavy. Knockdown can be tight and subtle or wide and dramatic. The surrounding finish is the standard you need to match.
Prepare the Patch for a Better Blend
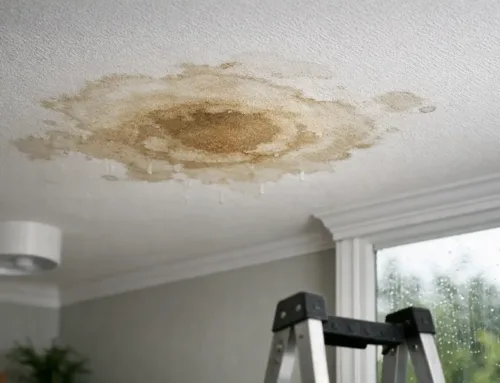
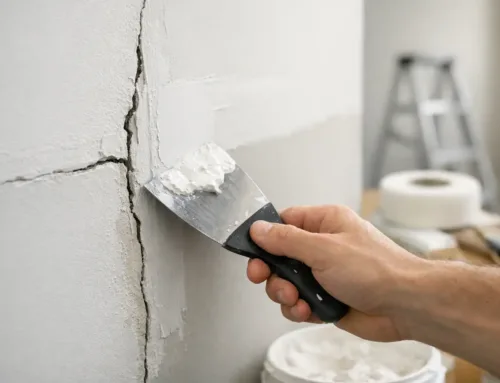
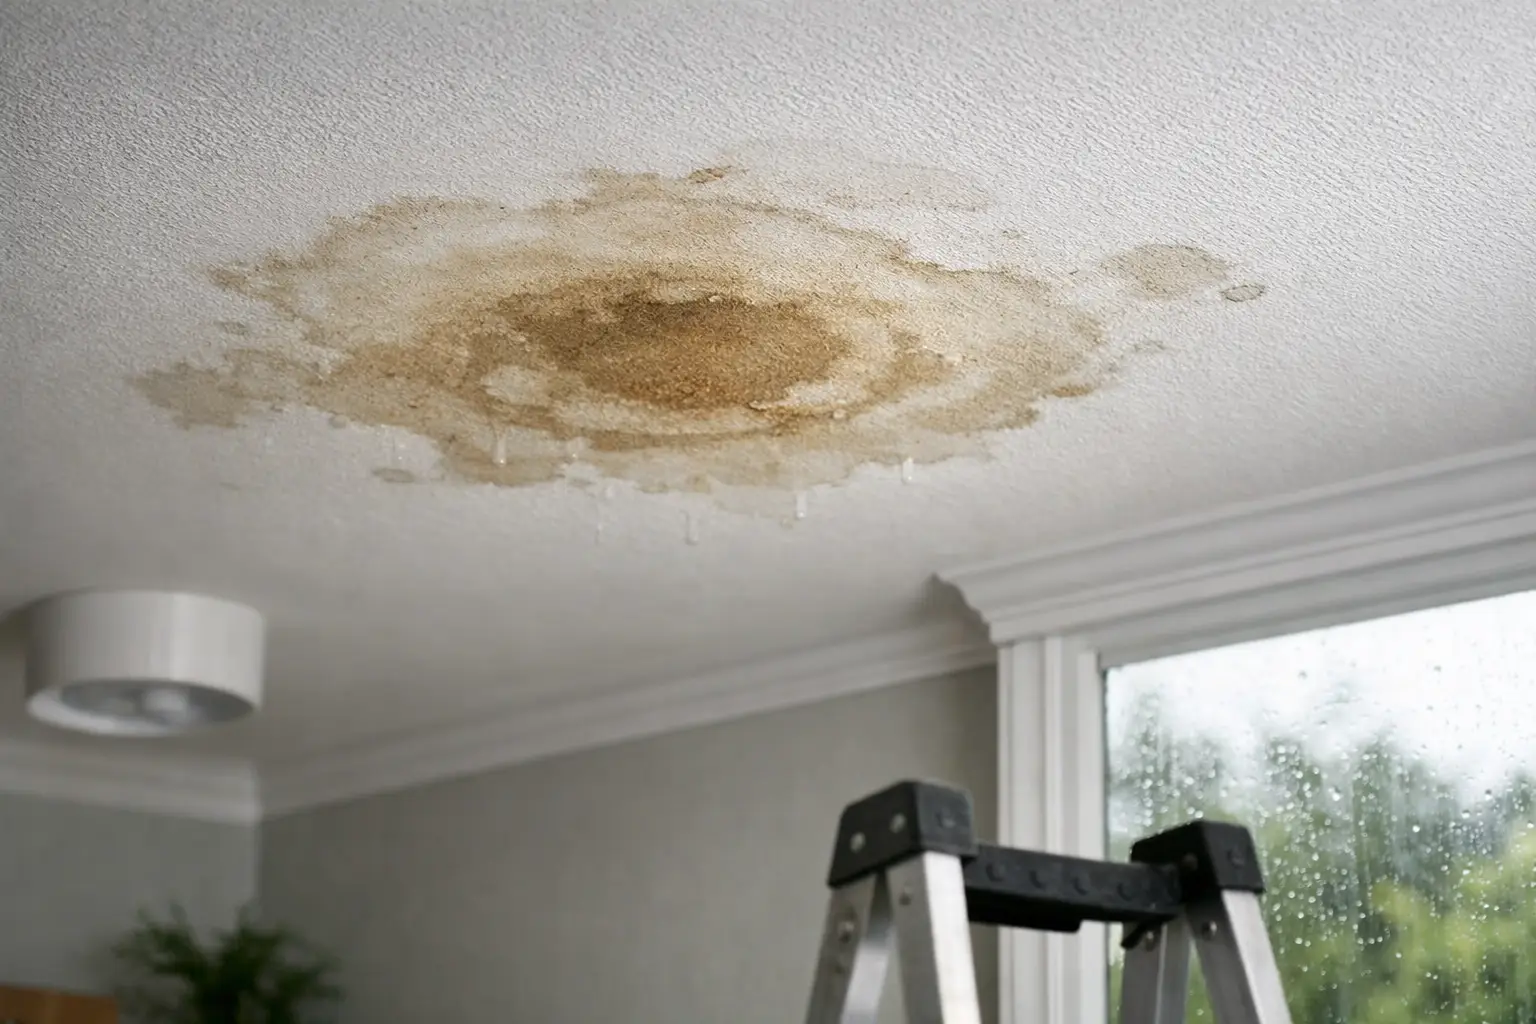
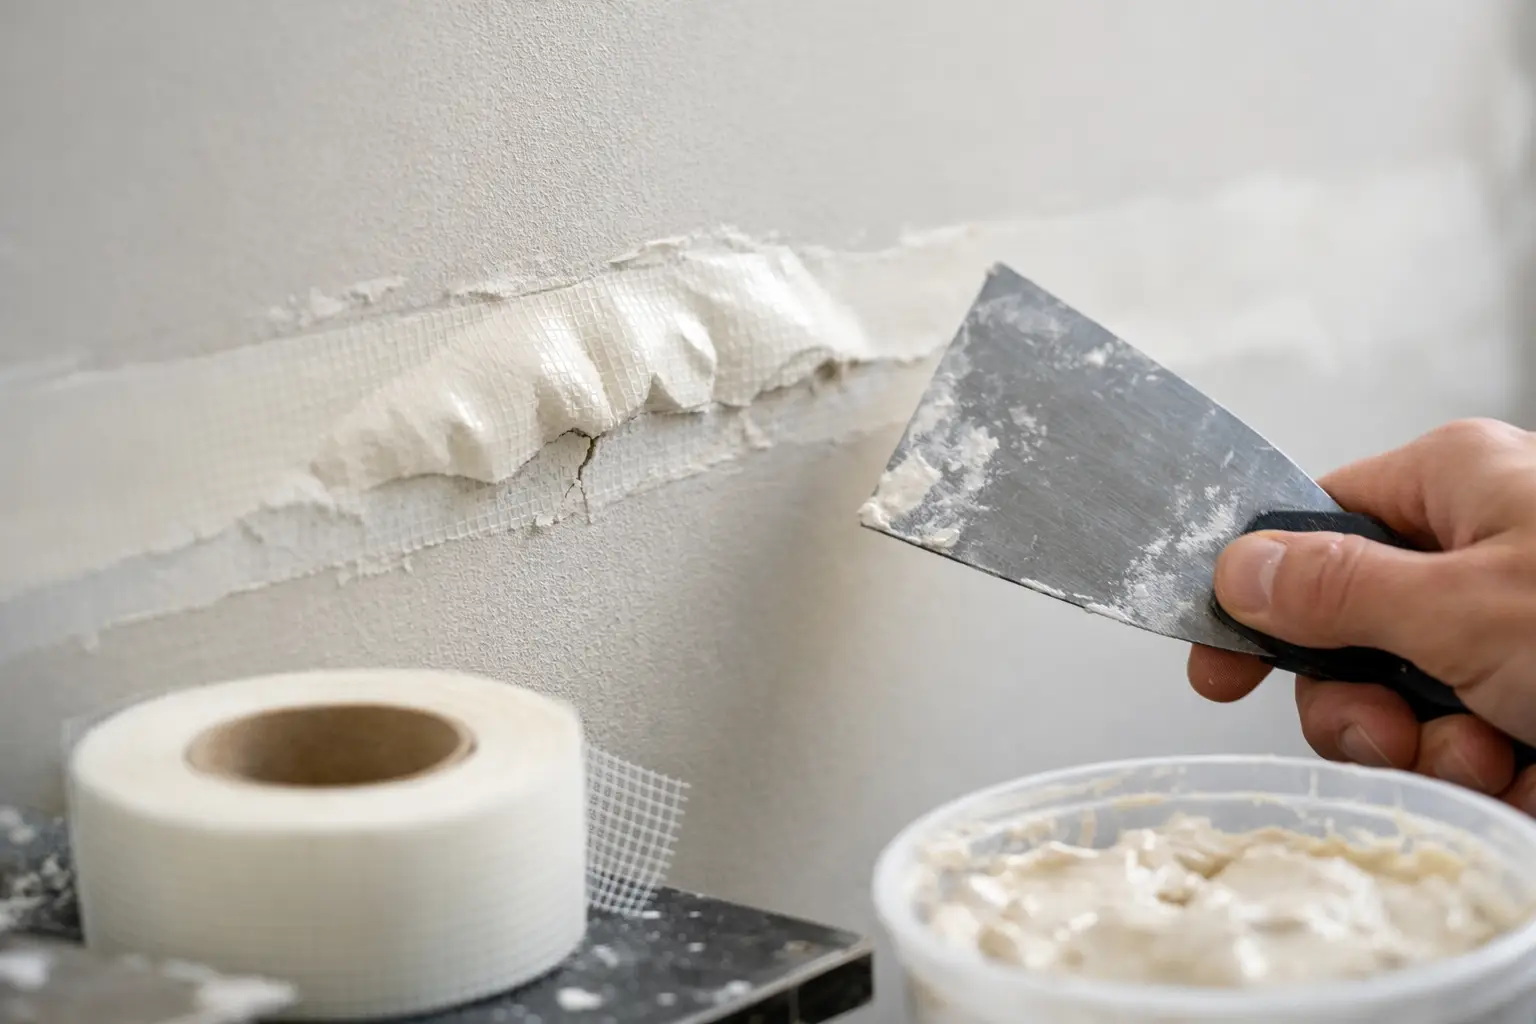
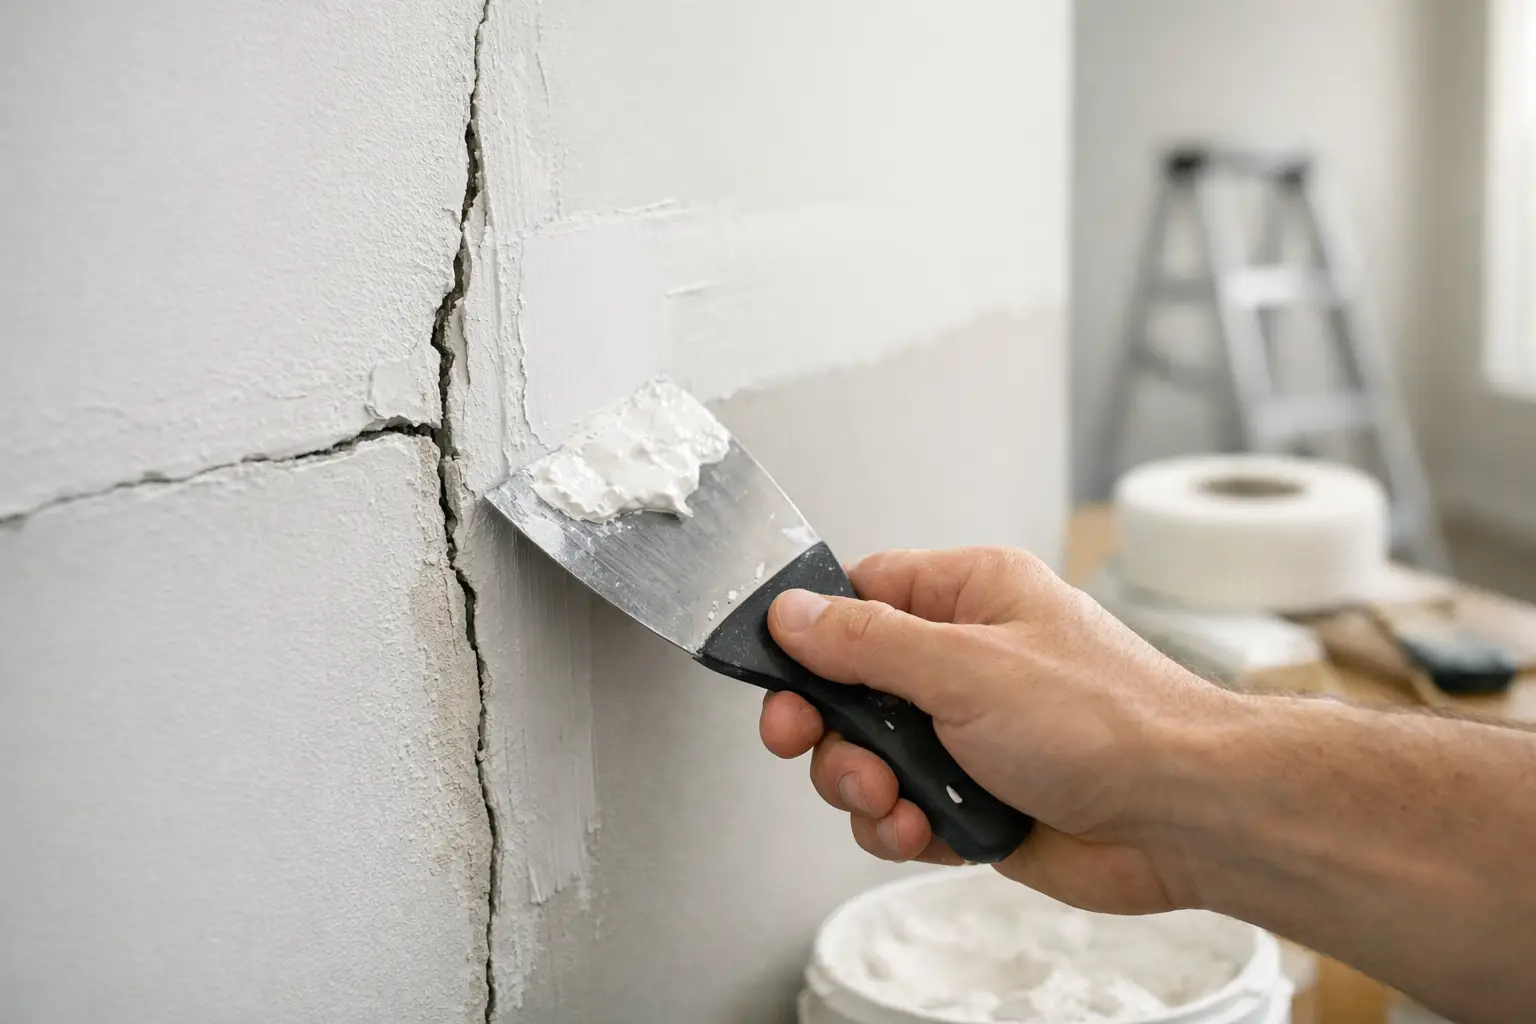
Texture cannot hide poor drywall finishing. First, make sure the repair is solid, dry, and properly taped where needed. Cracks should be addressed at their cause when possible, especially around doors, windows, settling areas, or water-damaged sections. Covering an active crack with texture alone is not a lasting repair.
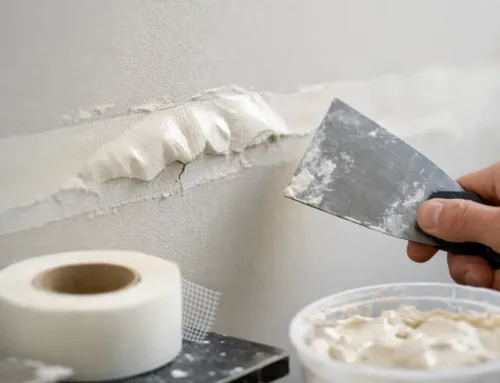
Apply joint compound in thin, controlled coats and feather the edges well beyond the patch. For a small repair, the feathered area may extend several inches past the damage. Larger repairs often need a much wider transition to prevent a visible outline. Sand between coats as needed, but avoid over-sanding the surrounding painted wall.
Once the patch is smooth, remove all sanding dust. Dust can keep primer, compound, and texture from bonding correctly. Wipe down the area carefully and protect nearby floors, trim, furniture, and fixtures. Texture overspray travels farther than most homeowners expect.
A repaired area should usually be primed before texture is applied, particularly if new drywall paper, fresh compound, or a water stain is exposed. Primer helps create a more even surface so the texture dries consistently. When water damage is involved, use an appropriate stain-blocking primer after the source of moisture has been corrected.
Guide to Drywall Texture Matching: Choose the Right Method
The right application method depends on the existing pattern, the size of the repair, and how visible the area will be. For a very small orange peel repair in a low-visibility spot, a quality aerosol texture product can be a practical option. It is convenient, but it takes practice to control the spray pattern and avoid a thick, circular patch.
For larger repairs, a hopper gun and air compressor usually offer better control. The nozzle size, air pressure, material thickness, and spray distance all affect the result. A professional can adjust these variables to match the surrounding texture more closely than a one-size-fits-all spray can.
Hand-applied textures require a different approach. Knockdown is often created by spraying or splattering thinned joint compound, waiting until it loses some shine, then lightly dragging a knockdown knife across the surface. Timing matters. Drag too early and the pattern smears. Wait too long and the peaks do not flatten properly.
Skip trowel and plaster textures are generally best handled with a trowel or broad knife by someone familiar with the motion and material. These finishes are intentionally irregular, but random does not mean careless. The scale and rhythm of the existing texture still need to be repeated.
Practice Before You Touch the Wall
A scrap of drywall is one of the best tools for texture matching. Use it to test the spray distance, pressure, thickness, and drying time before working on the repaired surface. Compare your sample to the existing wall from several angles, not just straight on.
For orange peel, begin with lighter passes. You can build texture gradually, but removing a heavy pattern usually means scraping, sanding, and starting over. Keep the spray moving and overlap passes gently to avoid a defined border around the patch.
For knockdown, make several test panels with different wait times before dragging the knife. A few minutes can make a noticeable difference depending on humidity, room temperature, and the thickness of the material. Michigan weather can affect indoor drying conditions, particularly in homes with open windows, active heating, or air conditioning.
When applying texture to the wall, extend it slightly beyond the repaired area. The transition should fade into the existing pattern rather than stop at the edge of the patch. This step is often what separates a repair that blends in from one that remains visible after painting.
Paint Is Part of the Match
Even a well-matched texture can stand out if the paint color or sheen is wrong. Whenever possible, paint the full wall from corner to corner instead of touching up only the repaired section. A full-wall repaint reduces the chance of a visible color shift caused by faded paint, different paint batches, or uneven sheen.
Ceilings can be especially unforgiving. The correct ceiling paint should match both the color and the low-sheen appearance of the original finish. Applying paint too heavily can fill in fine orange peel or soften knockdown details. Using the wrong roller nap can also leave a new pattern that does not match the surrounding surface.
Allow the texture to dry fully before painting. Rushing this stage can cause inconsistent color, adhesion problems, or a finish that changes as trapped moisture escapes.
Common Reasons Texture Repairs Fail
The most frequent problem is applying texture too heavily. Thick material creates a raised island that cannot be hidden with paint. Another common mistake is matching the general texture type but not its scale. Fine orange peel beside heavy orange peel still looks like a patch.
Visible repairs also happen when the drywall patch was not feathered correctly, when the texture stops abruptly at the repair edge, or when only the patch is painted. On ceilings, mismatched roller marks and lighting can make a technically good repair look obvious.
Some surfaces call for more than a spot repair. If multiple patches, old paint layers, or inconsistent textures cover a wall, skim coating and refinishing the entire surface may provide a cleaner and more durable result. It costs more than a small patch, but it can be the better value when the alternative is several noticeable repairs.
When to Call a Drywall Professional
A small wall ding may be a reasonable do-it-yourself project. Larger holes, ceiling repairs, water damage, plaster cracking, and high-visibility texture matching are different. These jobs require proper patch support, taping, compound work, texture control, and paint-ready finishing.
It is also wise to bring in a professional when the damaged area is near electrical fixtures, when there is a history of moisture, or when the texture is heavy and hand-applied. A contractor can determine whether the issue is cosmetic or a sign of a larger problem behind the surface.
For homeowners, builders, and property managers in Monroe and the Downriver area, TDM Drywall brings more than 32 years of hands-on experience to repairs that need to look like they were never there. The best texture match is the one you stop noticing – leaving you with a clean, durable wall or ceiling that belongs in the room again.