
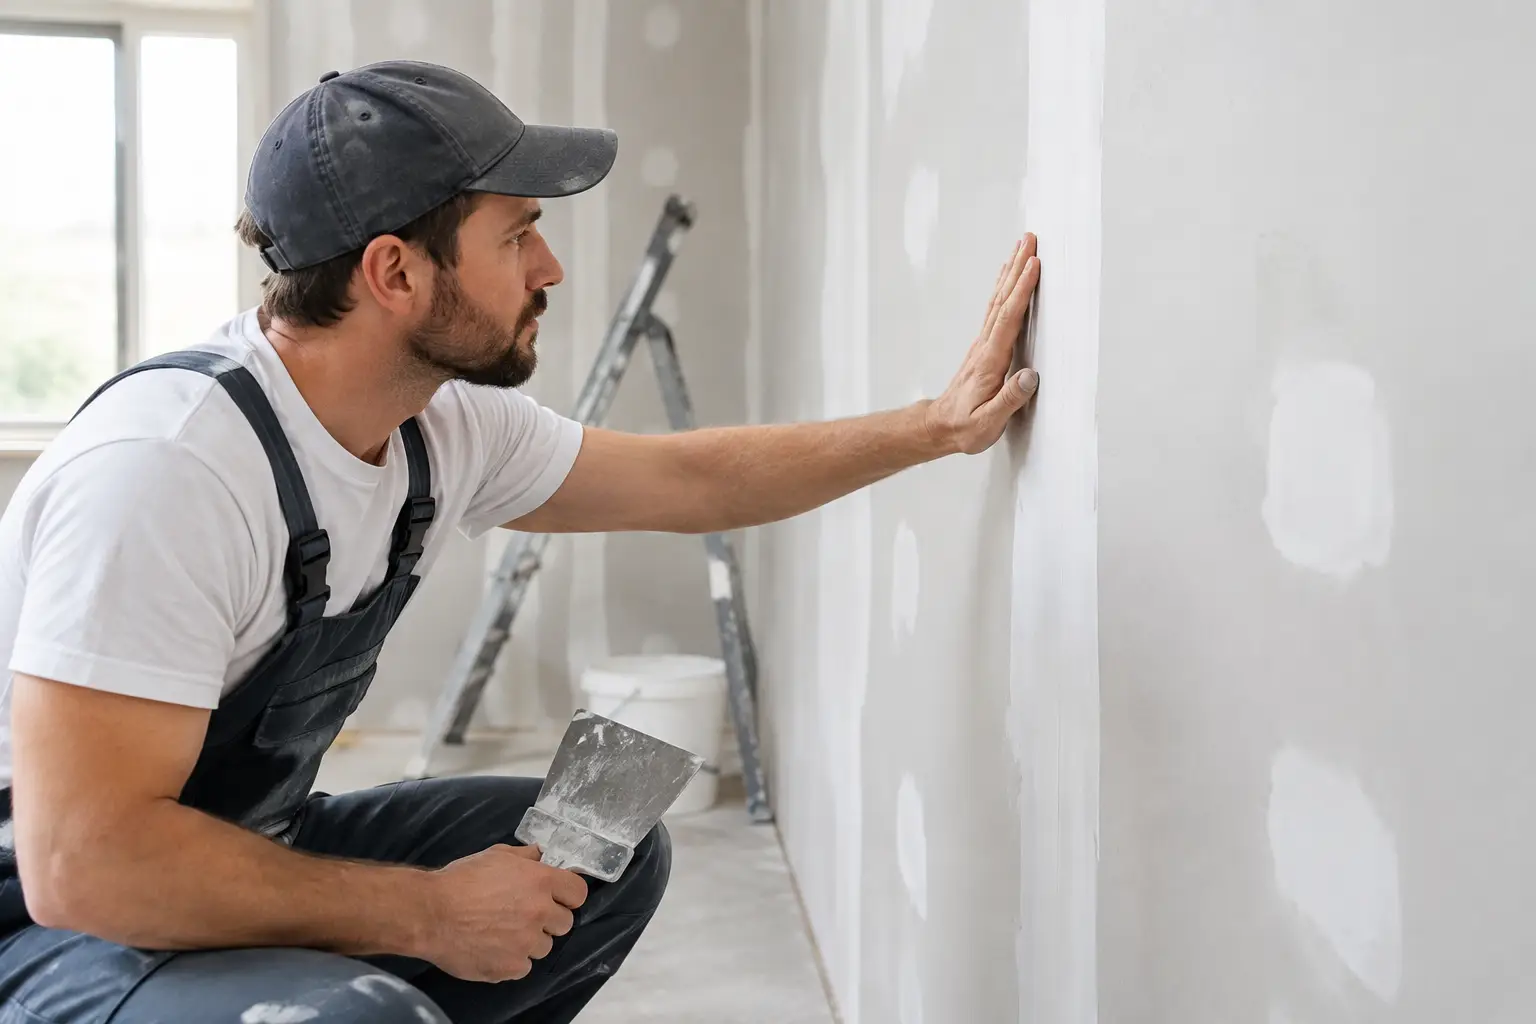
A wall can look perfectly smooth after the first coat of paint, then reveal every seam, ridge, and patch when afternoon light hits it. That is why common drywall finishing mistakes are so frustrating: the work may seem finished until the room is painted, furnished, and impossible to ignore. Good drywall finishing is not just about covering joints. It is about building a flat, consistent surface that stays clean-looking under real lighting.
For a small patch, a careful homeowner may get a strong result with patience and the right materials. For a ceiling, a large repair, a textured surface, or a room with critical lighting, professional finishing is often the more affordable choice in the long run. Here are the mistakes that most often lead to callbacks, repainting, and avoidable repairs.
Common Drywall Finishing Mistakes That Show Up After Paint
1. Skipping surface preparation
Joint compound will not reliably bond to a dusty, loose, damp, or damaged surface. This is especially common around old repairs, water stains, and areas where wallpaper or adhesive was removed. Applying mud over compromised paper or crumbling plaster may hide the issue briefly, but it does not solve it.
Before finishing, loose material needs to be removed, fasteners set properly, and any moisture issue corrected. Water-damaged drywall should be assessed before it is patched. If the source of the leak is still active, a beautiful finish will not last.
2. Using too much joint compound
A thick coat feels like a shortcut because it appears to fill gaps quickly. In practice, it creates longer drying times, more shrinkage, more sanding, and a higher chance of cracking. Heavy compound also makes it easier to leave humps at seams and around patches.
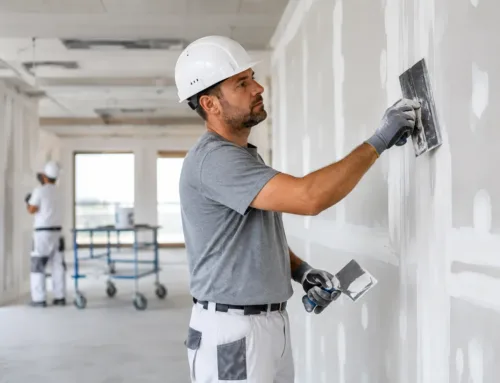
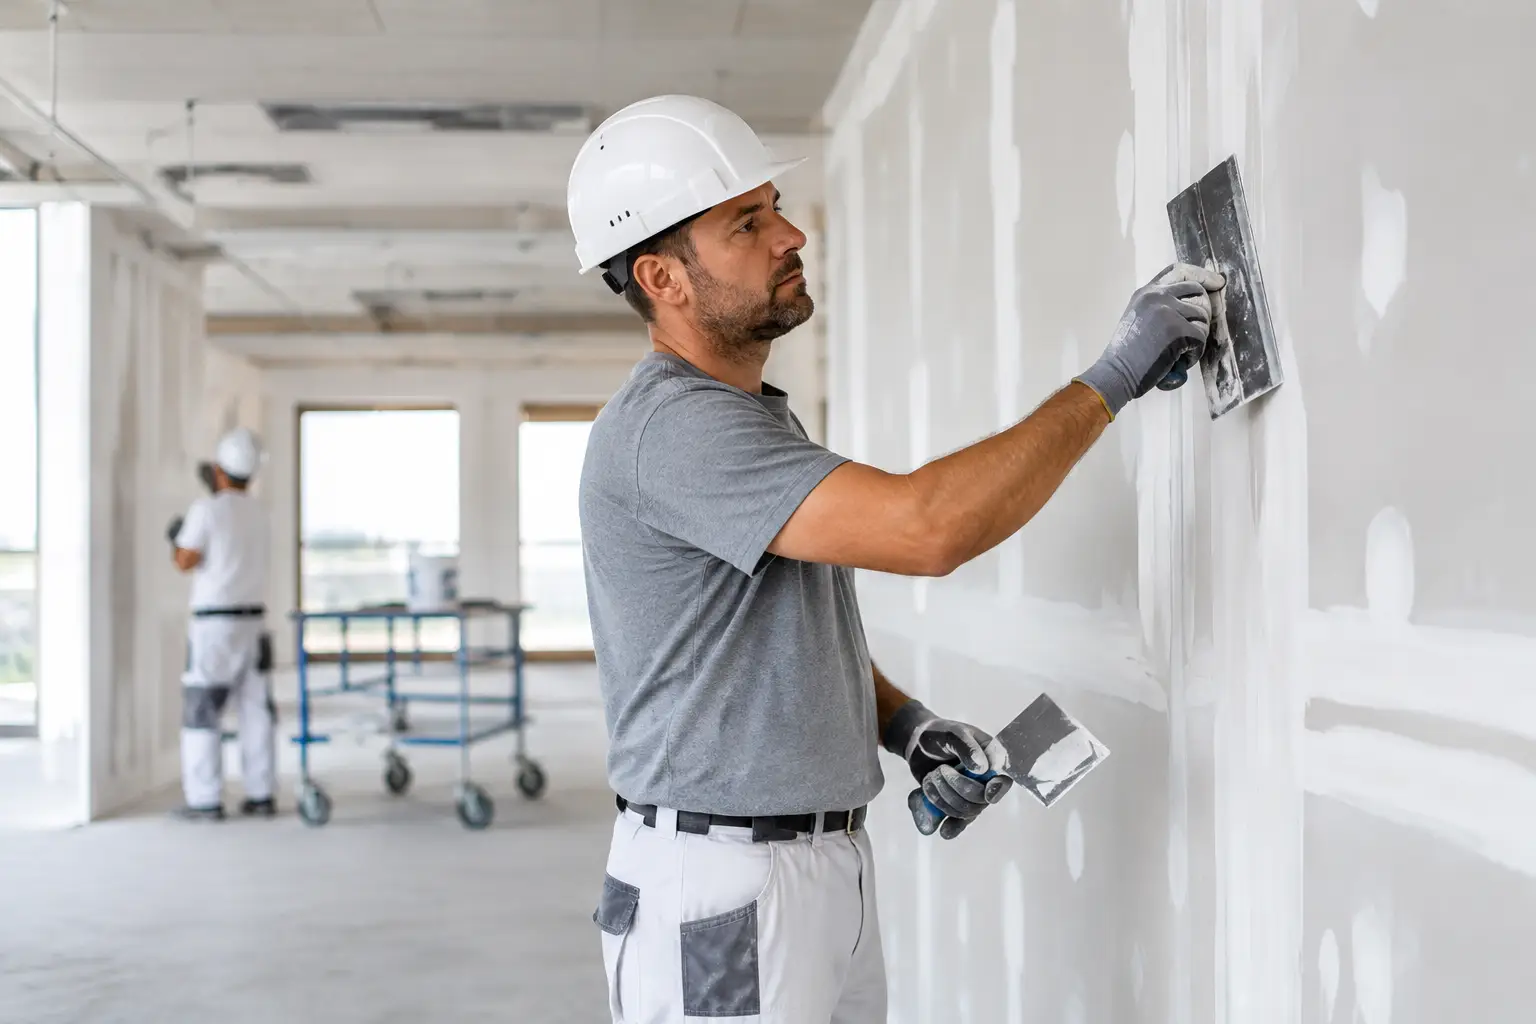
Professional-looking work is built with several thin, controlled coats. Each coat has a purpose: filling, flattening, and feathering the transition into the surrounding wall. Thin coats may take more time, but they require less aggressive sanding and produce a much flatter finish.
3. Applying the next coat before the previous one is dry
Drywall compound can feel dry on the surface while remaining soft underneath. Adding another coat too soon traps moisture and can pull, gouge, or blister the layer below. It also makes sanding unpredictable.
Drying time depends on compound type, coat thickness, room temperature, ventilation, and humidity. Southeast Michigan homes can be particularly challenging during humid weather or in cool, poorly ventilated basements. Setting-type compound can speed up a repair, but it is not a cure for a wet substrate or an overly thick application.
4. Poor tape installation
Tape reinforces the joint. It is not decorative, and it cannot compensate for a badly prepared seam. When tape is installed with too little compound beneath it, it may bubble or lift. When there is too much compound, it can slide, wrinkle, or leave a raised line that remains visible after paint.
The tape must be fully embedded, straight, and pressed firmly without starving the joint of compound. Inside corners require special care because even a slight crease or uneven edge can cast a shadow. Mesh tape has a useful role for certain repairs, but paper tape is often the better choice for factory joints and inside corners because it creates a crisp, durable finish when installed correctly.
5. Leaving fasteners proud or overdriving them
A screw head that sits above the drywall surface will show through every coat. A screw driven too deeply can tear the face paper and lose holding strength, creating the potential for movement or a popped fastener later.
Fasteners should be set slightly below the face of the board without breaking the paper. If a screw has torn through, it should not simply be covered with mud. A new fastener may be needed nearby, and the damaged area should be properly filled. This small step helps prevent a repair from becoming visible again months later.
6. Sanding too hard or with the wrong grit
Sanding is meant to refine the finish, not reshape a poor application. Over-sanding can expose tape, fuzz the drywall paper, round off crisp corners, and create shallow depressions around a patch. Those depressions are difficult to spot until primer or paint changes the sheen of the wall.
Start with a smooth, well-applied coat so sanding stays light. Use a sanding block or pole sander to keep broad surfaces flat instead of relying only on folded sandpaper and hand pressure. Fine grit is useful for the final pass, but a finish that needs endless sanding usually needs another skim coat instead.
7. Not feathering wide enough
A patch can be perfectly filled and still look obvious because the compound stops too abruptly around the repair. This is one of the most common problems on ceilings and in rooms with windows, recessed lighting, or glossy paint. The eye notices changes in plane, even when the repair is only slightly raised.
The larger the patch or seam, the wider the compound needs to be feathered. A narrow repair area often creates a visible halo. Broad, gradual passes blend the repair into the existing surface and reduce the chance that the finished wall will telegraph the work through paint.
Why Lighting and Paint Expose Drywall Problems
Drywall finishing is judged by more than touch. A wall can feel smooth yet still show ridges, roller-flash, or uneven texture when light strikes from the side. This is called critical lighting, and it is common near large windows, patio doors, stairwells, and long hallways.
Before primer, inspect repairs with a bright work light held at a low angle to the surface. This reveals raised edges, pinholes, tool marks, and uneven skim areas that overhead room lighting may hide. It is much easier to correct these flaws before paint goes on.
Paint sheen matters too. Flat paint is more forgiving, while eggshell, satin, and semi-gloss reflect more light and reveal more imperfections. That does not mean a higher-sheen wall cannot look excellent. It means the drywall finish must be held to a higher standard before painting begins.
Texture Matching Is More Than Spraying a Pattern
Orange peel, knockdown, stomp, popcorn, and hand-applied textures rarely match by accident. Texture has a pattern, density, scale, and direction. Even the same texture material can look different depending on spray pressure, nozzle size, drying time, and the original paint layers.
A common mistake is applying fresh texture only within the patched rectangle. The hard border often remains visible after paint. Better results usually require blending beyond the repair, then priming and painting enough of the surrounding area to create a consistent appearance. On older walls, a skim coat may be the right solution when multiple repairs and uneven textures make spot work impractical.
When a Small Repair Becomes a Bigger Finish Problem
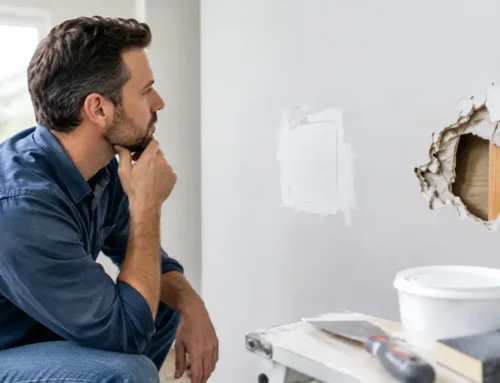
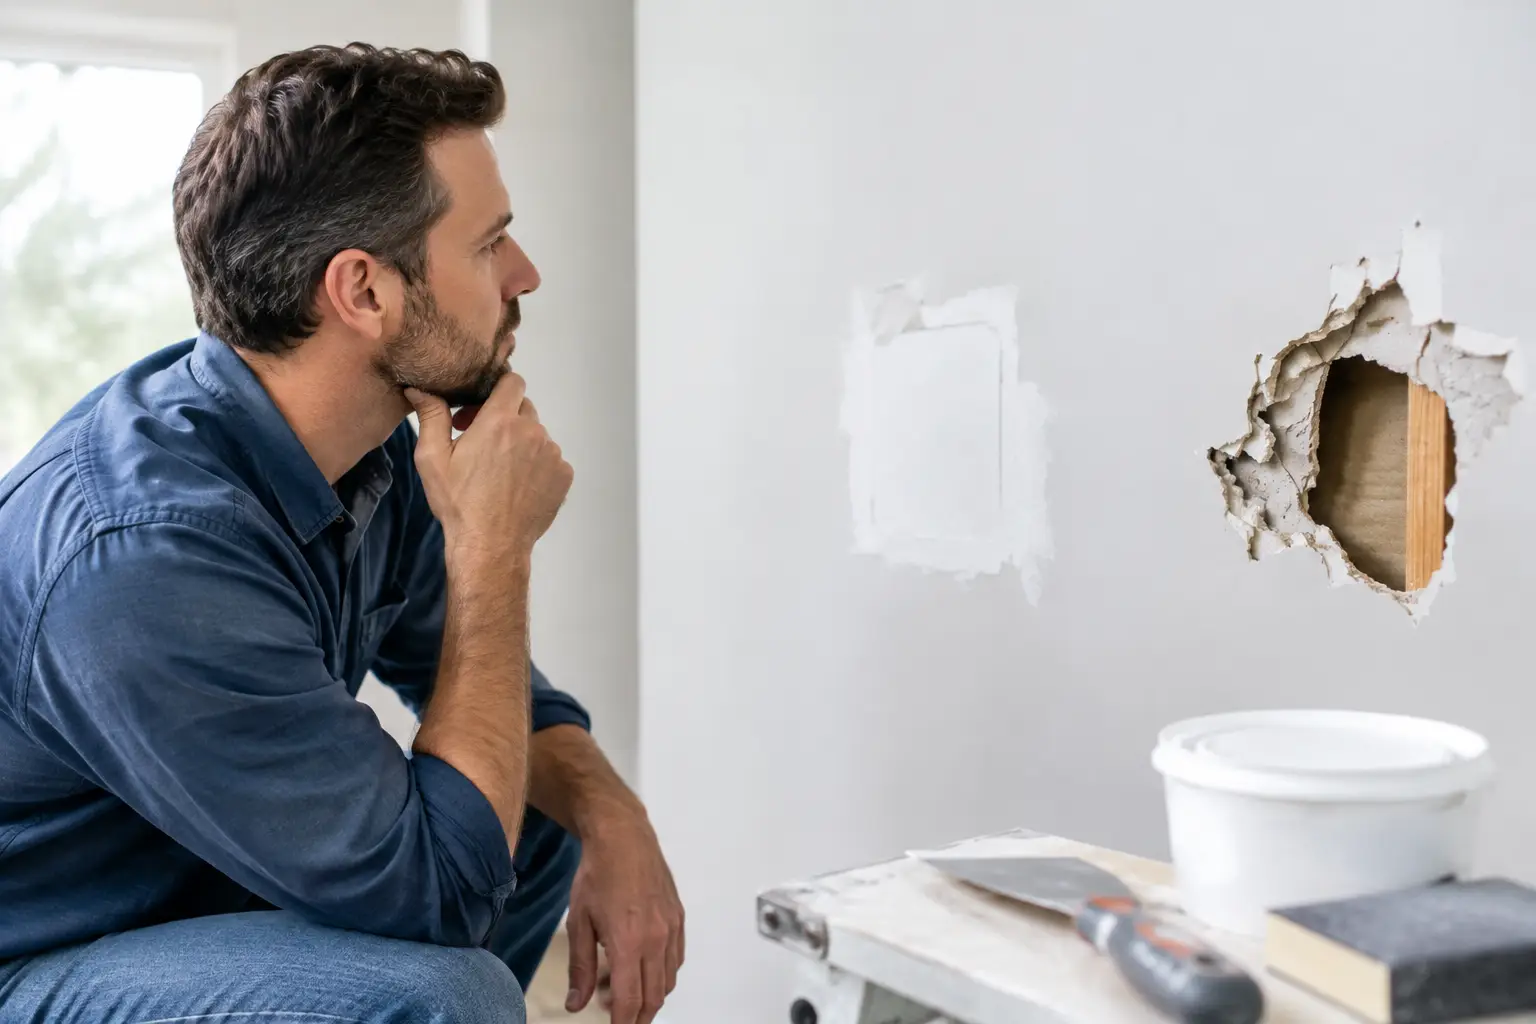
Some drywall repairs are simple: a small nail hole, minor scuff, or shallow ding. Others need a closer look. Repeated cracks near doors and windows can point to movement. Ceiling staining can indicate an active plumbing or roof issue. Soft drywall, mold-like staining, or sagging material should be addressed before any finishing work begins.
It also makes sense to call a professional when the repair is overhead, involves a large opening, includes plaster, or must match an existing texture. The cost is not only about applying compound. It includes protecting the room, controlling dust, repairing the substrate correctly, blending the finish, and leaving a paint-ready surface.
For homeowners, property managers, and remodelers in Monroe and the Downriver area, TDM Drywall brings more than 32 years of hands-on experience to repairs, replacements, skim coating, and texture matching. Clean work practices and clear communication matter just as much as a smooth final coat, particularly when the space needs to stay usable during the project.
A Better Standard for the Final Inspection
Do not judge drywall work only from directly in front of the wall. Walk the room, look along the surface from different angles, and check it in the lighting the room will actually have. Run a broad hand lightly over repairs, but trust the low-angle light test when the two disagree.
A properly finished wall should not ask for excuses after it is painted. Taking the time to correct a ridge, add one more thin coat, or properly blend a texture is what turns a repaired surface into one that simply looks like it has always belonged there.