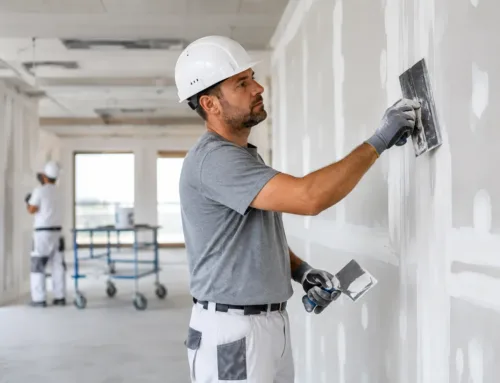

A wall can look fine from across the room and still tell you something is wrong up close: a soft spot near a window, a crack returning along a ceiling seam, or a patch that flashes every time sunlight hits it. This Monroe drywall repair guide helps homeowners and property managers separate a simple cosmetic repair from damage that needs a more complete solution. The goal is not merely to cover the problem. It is to restore a clean, solid, paint-ready surface that holds up.
Start by Finding the Cause of the Damage
Drywall damage is often the visible result of another issue. A door knob can punch a clean hole in a wall, and moving furniture can leave dents or torn corner bead. Those are straightforward repairs once the loose material is removed and the area is properly patched.
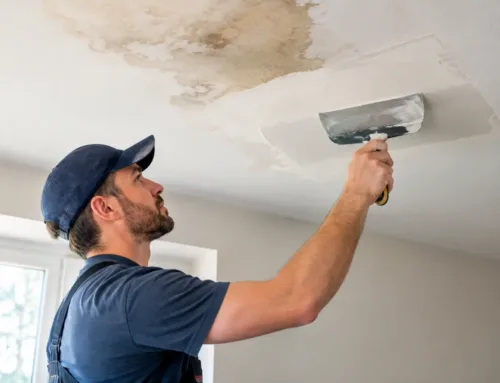
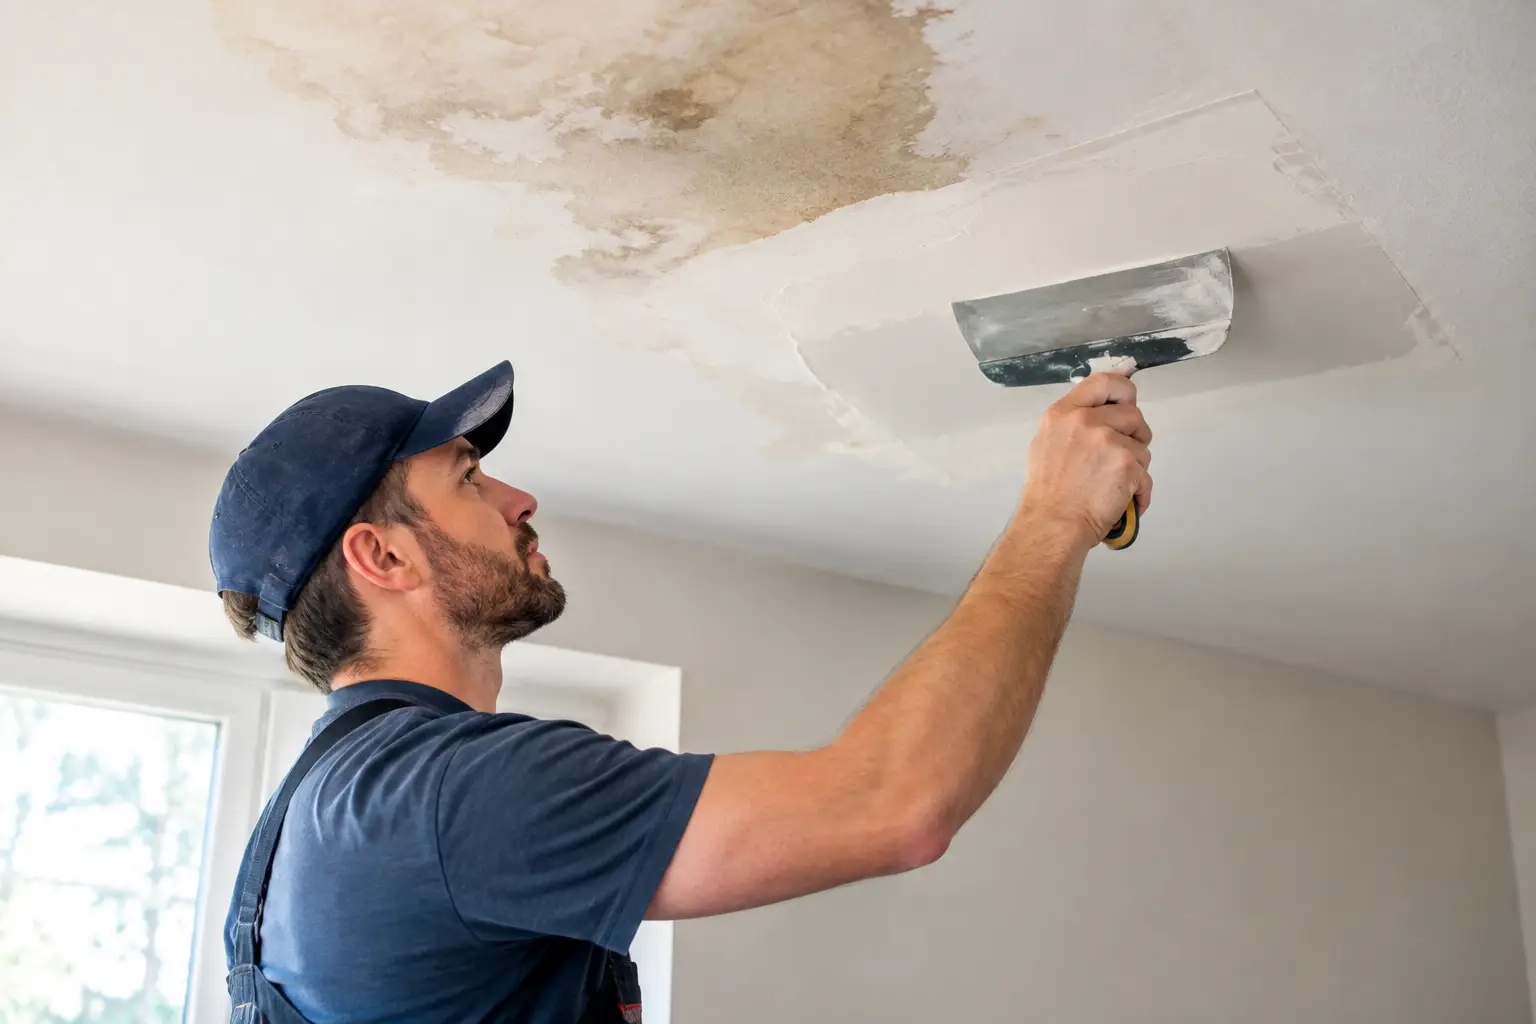
Water stains, bubbling paint, soft drywall, and repeated cracks require a closer look. A roof leak, plumbing issue, condensation problem, foundation movement, or poorly secured drywall can make a repair fail if the underlying cause remains. Replacing damaged board before the moisture source is corrected may leave a homeowner paying for the same work twice.
Before scheduling drywall repair, look for active moisture, musty odors, discoloration that continues to spread, or mold-like growth. If water has affected insulation or framing, those materials may also need attention. Once the area is dry and the source is resolved, the wall or ceiling can be repaired with confidence.
What Type of Drywall Repair Does Your Home Need?
The size, location, and cause of the damage determine the right repair method. Small nail holes and minor scuffs may only need a light application of compound, sanding, and touch-up paint. A dented corner often needs new corner bead or careful reshaping before finishing.
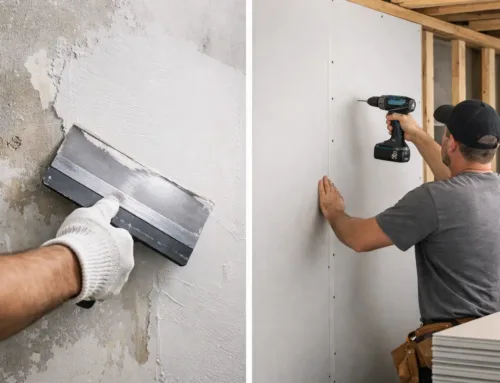
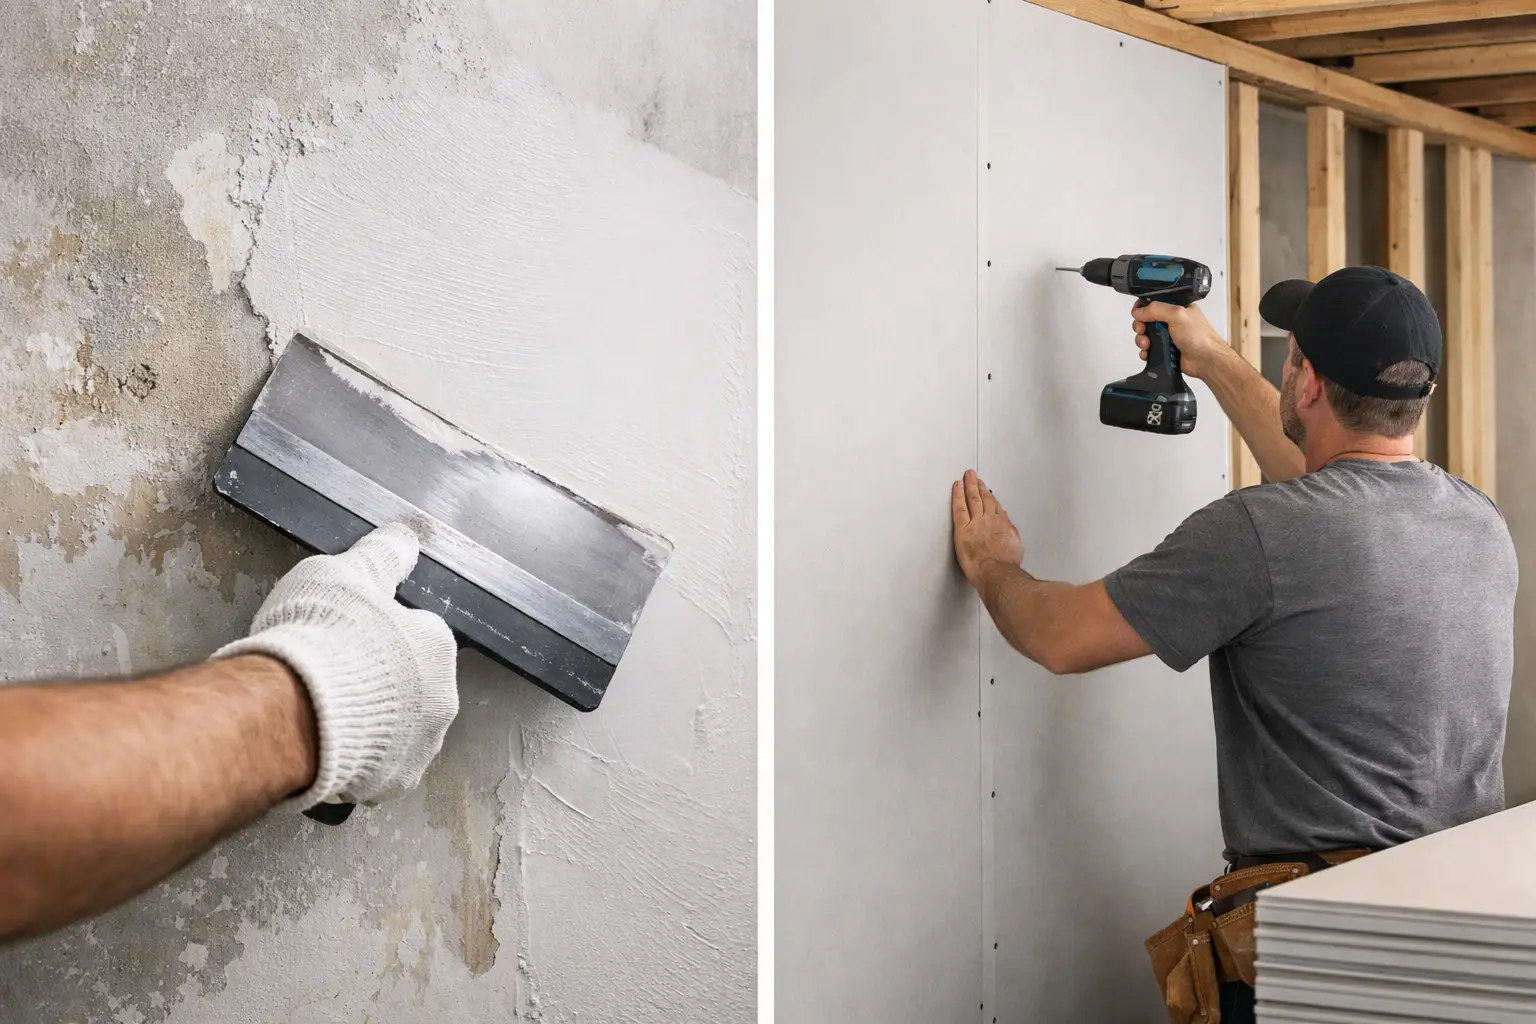
For holes larger than a few inches, a proper repair usually means cutting the damaged drywall back to solid material, adding backing where needed, fitting a new piece of drywall, taping the seams, and applying multiple coats of joint compound. Trying to bridge a large hole with excessive compound can leave a weak repair that cracks or sags over time.
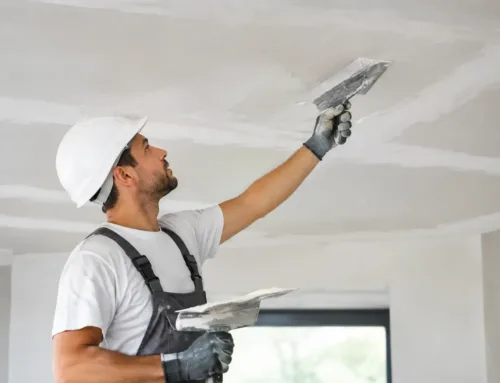
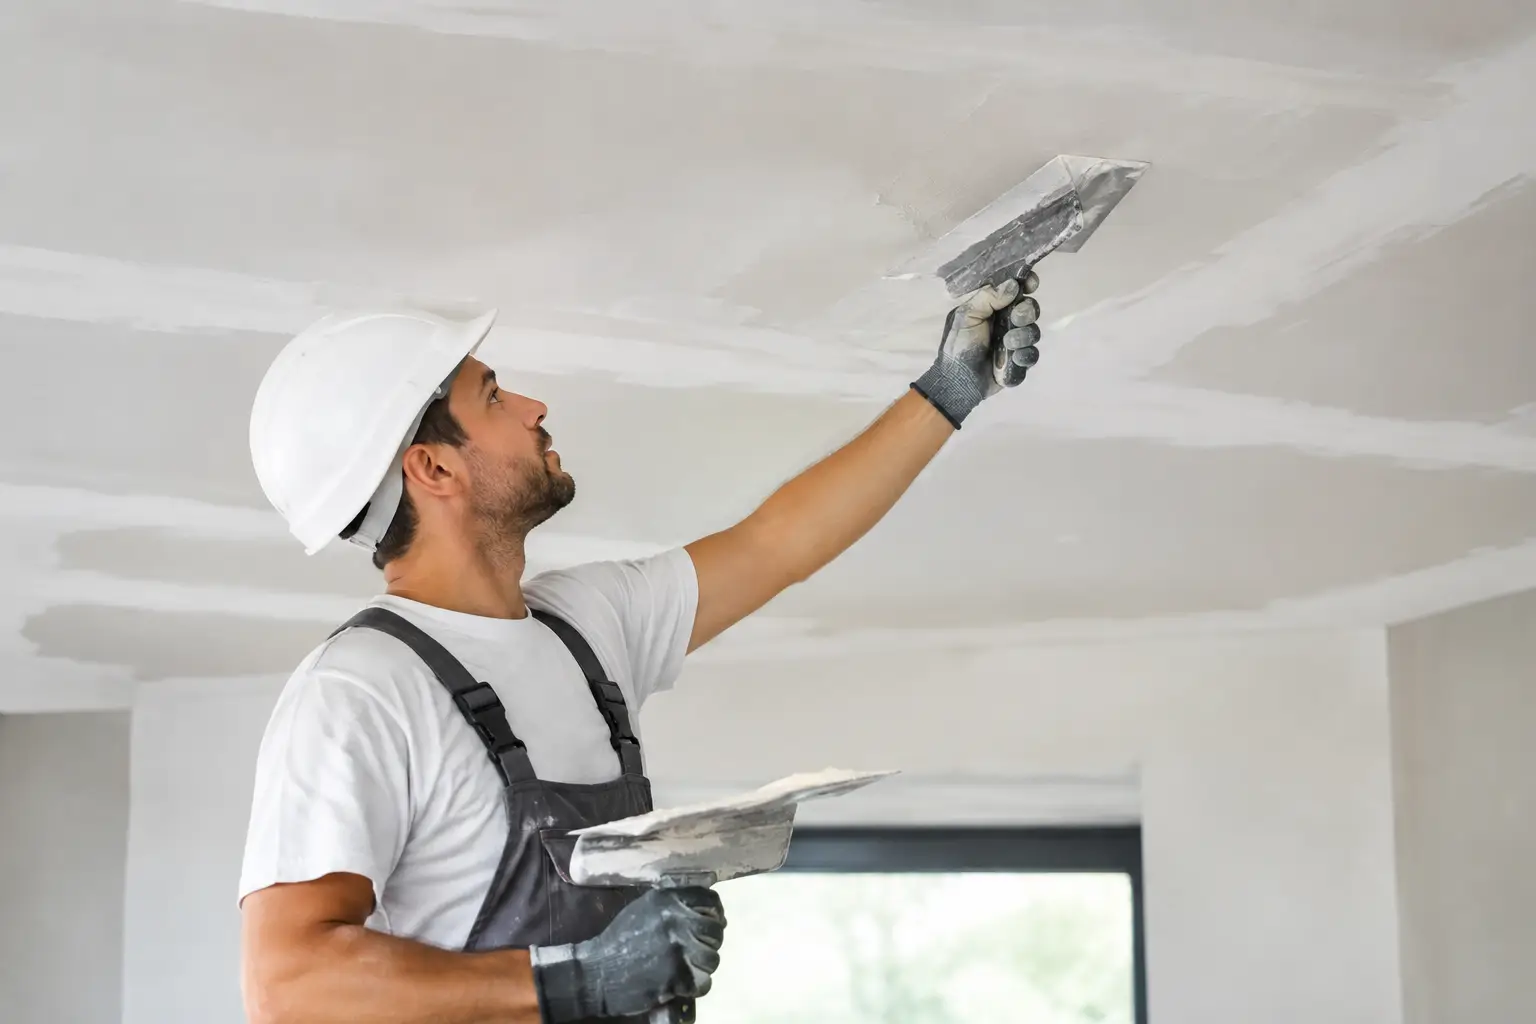
Ceilings deserve extra care. Gravity makes overhead patching less forgiving, and ceiling seams are highly visible in natural light. A stain from an old leak can also bleed through fresh paint unless the repaired area is sealed correctly. On textured ceilings, the final challenge is matching the existing finish so the repair does not stand out.
Older Monroe homes may also have plaster walls rather than modern drywall. Plaster repair is different work. Cracks can indicate loose plaster keys, and a hard plaster surface does not respond well to the same patching approach used for gypsum board. A contractor should identify the material before recommending the repair.
When a Small Patch Is Reasonable
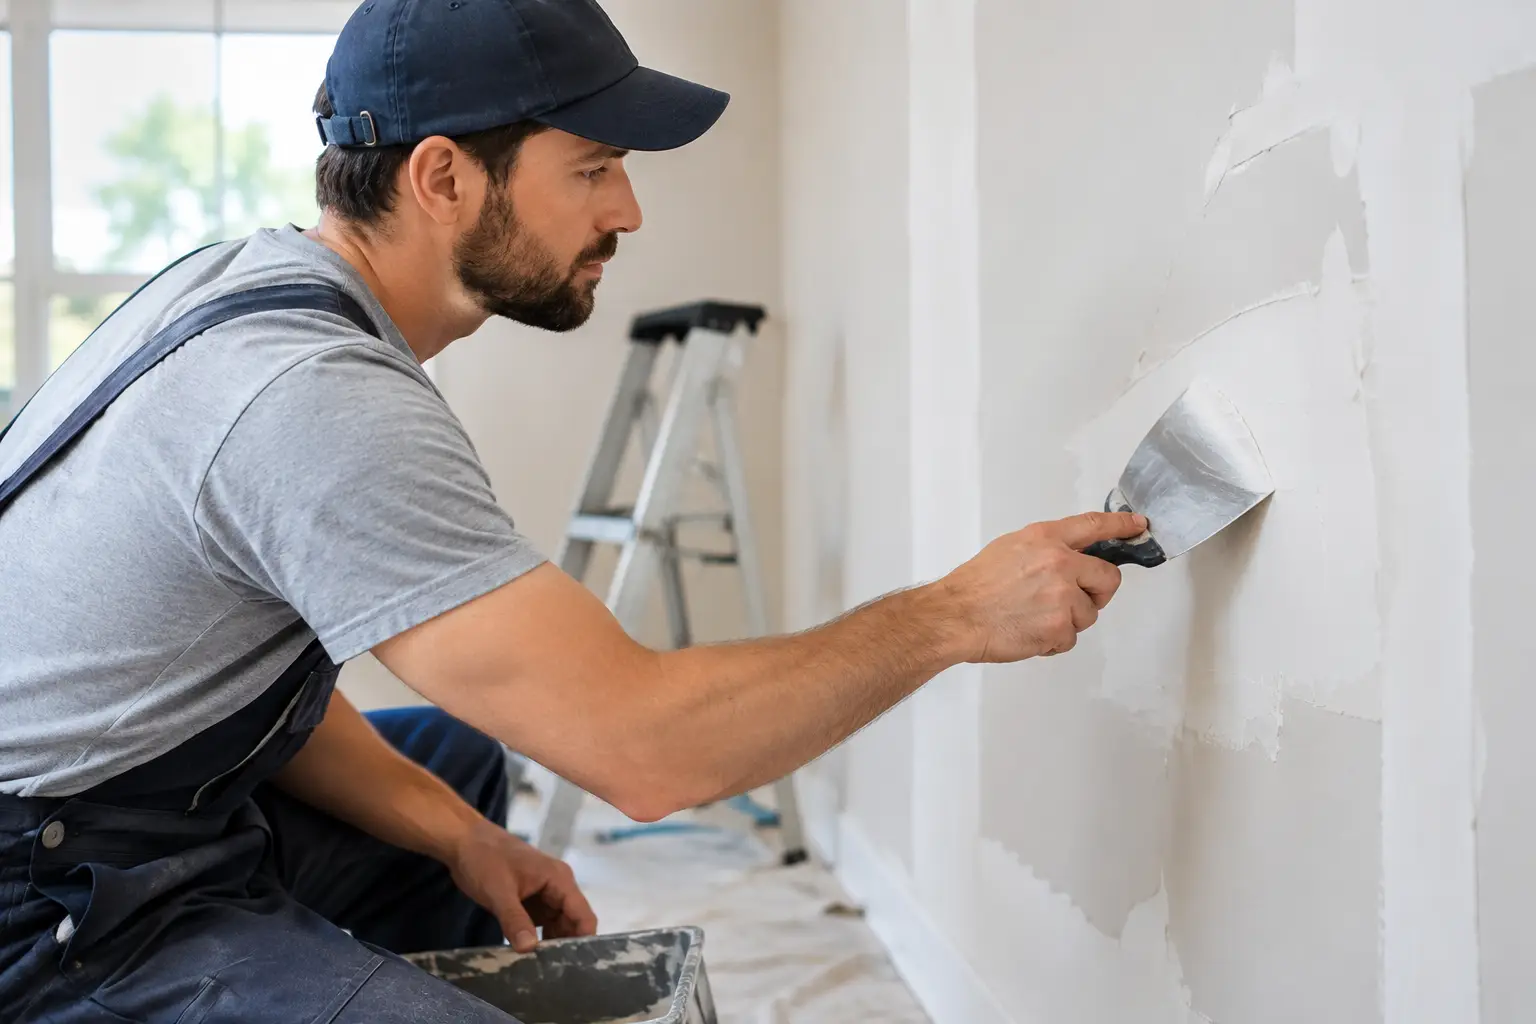
Some drywall repairs are manageable for a careful homeowner with the right tools and patience. Tiny fastener holes, light dings, and shallow surface scratches are commonly good candidates. The key is to apply thin layers, let them dry fully, sand lightly, and use primer before painting.
Even a small repair can become noticeable when the finish is rushed. Heavy coats of compound shrink as they dry. Aggressive sanding can create a low spot or damage the paper face of the drywall. Skipping primer may leave a dull or shiny patch after paint is applied.
A do-it-yourself repair makes the most sense when the damage is minor, the wall has a smooth finish, and appearance is not critical. It becomes less practical when the repair is in a highly visible room, on a ceiling, near a textured surface, or tied to water damage. In those situations, hiring a professional can save time, cleanup, and a second round of repairs.
Signs You Should Call a Drywall Professional
A professional assessment is worth it when the repair involves more than filling a small hole. Call for help if you notice:
- A crack that returns after being patched or runs along a drywall seam.
- Soft, stained, swollen, or crumbling drywall caused by water.
- A sagging ceiling, loose drywall, or damage around a light fixture.
- A repair that must blend into orange peel, knockdown, popcorn, or another texture.
- Large holes, damaged corner bead, exposed framing, or multiple repairs throughout a room.
These issues require more than a quick cosmetic fix. The repair needs solid backing, secure fastening, correctly embedded tape, smooth finishing, and an approach that addresses the reason the damage occurred. For rental properties and commercial spaces, prompt professional repair also helps protect the appearance and usability of the property without leaving tenants or customers around an extended mess.
The Monroe Drywall Repair Guide to a Better Finish
The difference between an obvious patch and a nearly invisible repair is usually in the preparation and finishing. Drywall work is a layered process. Each step affects the next one.
First, damaged or compromised material must be removed cleanly. Loose paper, failed tape, wet drywall, and crumbling compound cannot serve as a stable base. New drywall should be properly supported and fastened so the patch moves with the wall rather than independently from it.
Next comes taping and finishing. Tape reinforces seams, but only when it is embedded correctly in joint compound. Several thin coats are then feathered wider than the repair itself. This gradual transition is what keeps a patch from looking like a raised box under paint. After drying, the surface is sanded carefully and checked from different angles for ridges, pinholes, and low spots.
Texture matching is its own skill. Orange peel, knockdown, and hand-applied finishes vary from house to house. The right texture must be applied at the right thickness and pattern, then blended into the surrounding surface. A close color match will not hide a poor texture match, especially on a wall that receives side lighting from windows.
Finally, the area should be primed and left paint-ready. Primer evens out the porosity between fresh compound, new drywall paper, and the existing painted wall. Without it, even good paint can dry unevenly and reveal the repair.
Water-Damaged Drywall Needs a Careful Plan
Water damage is one of the most common reasons homeowners call for drywall repair, and it is also the situation where shortcuts cause the biggest problems. Drywall that has been soaked, softened, or contaminated generally should be removed rather than dried and skimmed over. The paper facing can weaken, stains can return, and hidden moisture can create additional concerns behind the wall.
The right scope depends on the source and duration of the leak. A small plumbing drip caught early may affect only a limited section. A roof leak or flooded basement can require broader removal, drying, and replacement. There is no honest one-size-fits-all answer, which is why an on-site evaluation matters.
After the moisture issue is corrected, damaged material can be cut out, the opening can be rebuilt, and the surface can be finished to match. Clean containment and dust control matter here, particularly in occupied homes, offices, and rental units where daily routines need to continue.
Questions to Ask Before Hiring a Drywall Contractor
Price matters, but a low quote does not always include the preparation needed for a durable finish. Ask whether the contractor will identify the source of water damage, remove failed material, match the existing texture, protect nearby areas, and leave the repair ready for paint. You should also confirm scheduling expectations and how the work area will be kept clean.
For a repair in a visible living room, hallway, kitchen, or entryway, ask how the finished area will blend with the surrounding wall. For ceiling repairs, ask whether staining, sagging, or texture matching needs to be addressed. Clear answers at the start prevent surprises once work begins.
TDM Drywall brings more than 32 years of hands-on experience to drywall and plaster repairs throughout Monroe and Southeast Michigan. As a fully insured, family-run contractor, the focus is on responsive communication, clean workspaces, careful texture matching, and results that are ready for the next step.
A well-repaired wall should disappear into the room. If damage is spreading, returning, or too visible to ignore, address it while the repair can still be straightforward and the finished surface can look like it was never damaged.