
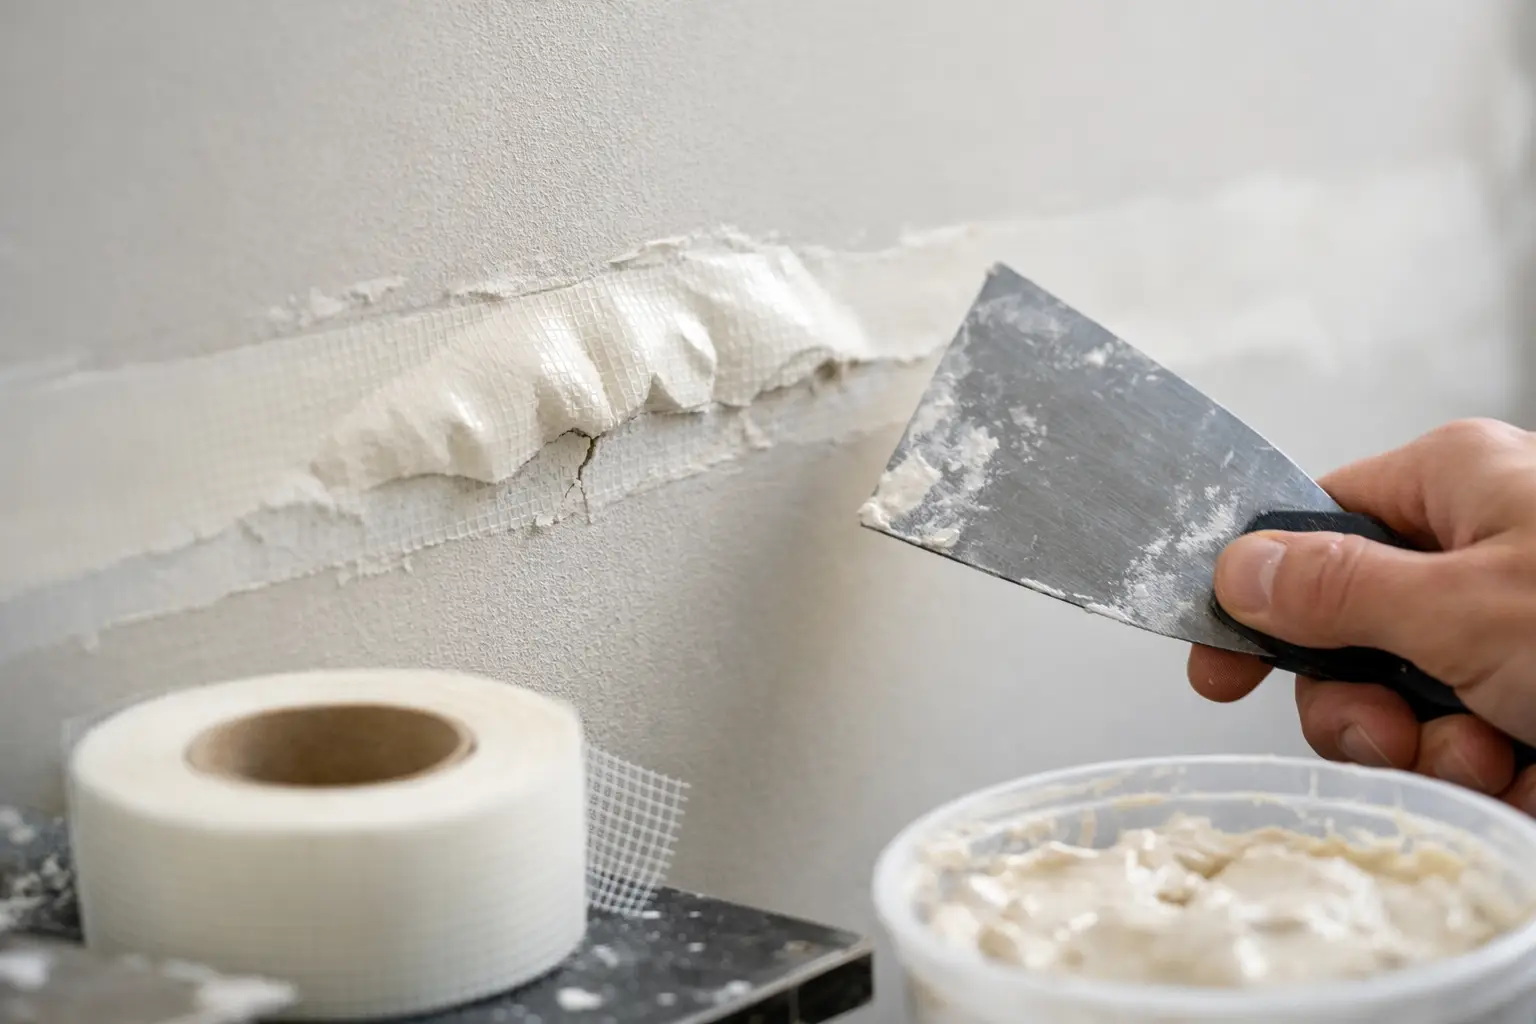
A bubble in drywall tape is more than a small cosmetic flaw. It can show up as a raised strip along a wall seam, a loose edge at a ceiling joint, or a blister that becomes more visible every time the light hits it. If you are asking, why is drywall tape bubbling, the short answer is that the tape has lost its bond with the joint compound or the drywall beneath it. The reason that bond failed determines whether a simple repair will hold or whether there is a larger moisture or movement problem to address first.
For homeowners, builders, and property managers, the goal is not just to flatten the bubble and repaint. A durable repair requires removing the failed material, correcting the underlying cause, and rebuilding the joint with the right materials and drying time.
Why Is Drywall Tape Bubbling in the First Place?
Drywall tape is embedded in joint compound, often called mud, to reinforce the seam between two drywall panels. When a crew installs it correctly, the tape becomes part of a smooth, durable finished surface. When air, moisture, poor adhesion, or movement gets involved, the tape can separate and form a visible bubble.
The most common cause is insufficient joint compound behind the tape. If the installer applies too little mud, leaves dry spots, or fails to press the tape fully into the compound, parts of the tape never properly bond. It may look acceptable at first, then lift as the compound dries or as the wall experiences normal temperature changes.
Applying compound that is too dry can create the same problem. Joint compound needs enough moisture and working time for the tape to bed into it evenly. Mud that has started to stiffen in the pan or that someone mixed too thick may not make complete contact with the tape. The result is an air pocket that eventually shows through.
Moisture Can Loosen Tape From the Drywall
Water damage is another major reason tape bubbles, especially on ceilings, exterior walls, around windows, and near bathrooms, laundry rooms, or plumbing lines. A roof leak, pipe leak, condensation issue, or past flood can soften the drywall paper and weaken the joint compound. Even after the visible water stain dries, the tape may begin pulling away days or weeks later.
In Southeast Michigan, seasonal humidity and cold-weather condensation can also expose weak joints. Humidity alone does not usually cause properly installed tape to fail, but it can worsen an existing adhesion problem. If a bubble comes with staining, soft drywall, a musty odor, or recurring paint damage, treat it as a moisture investigation first and a drywall repair second.
Poor Surface Preparation Creates Weak Joints
Dust, loose drywall paper, old wallpaper adhesive, grease, and peeling paint can interfere with adhesion during a repair or remodel. New drywall seams should be clean and secure before taping begins. On older walls, especially where prior repairs occurred, the surface may need scraping, sealing, or stabilizing before a crew applies fresh compound and tape.
This is one reason quick patch jobs can fail. Covering a loose section with more mud may hide the problem temporarily, but it does not create a sound bond underneath. The damaged tape needs to come out.
Movement and Cracks May Be Part of the Problem
A small amount of building movement is normal. Homes expand and contract with changing temperatures, framing lumber dries, and doors opening and closing can create vibration around heavily used areas. If drywall was not fastened securely, or if a joint sits near a point of movement, the tape can crack or separate.
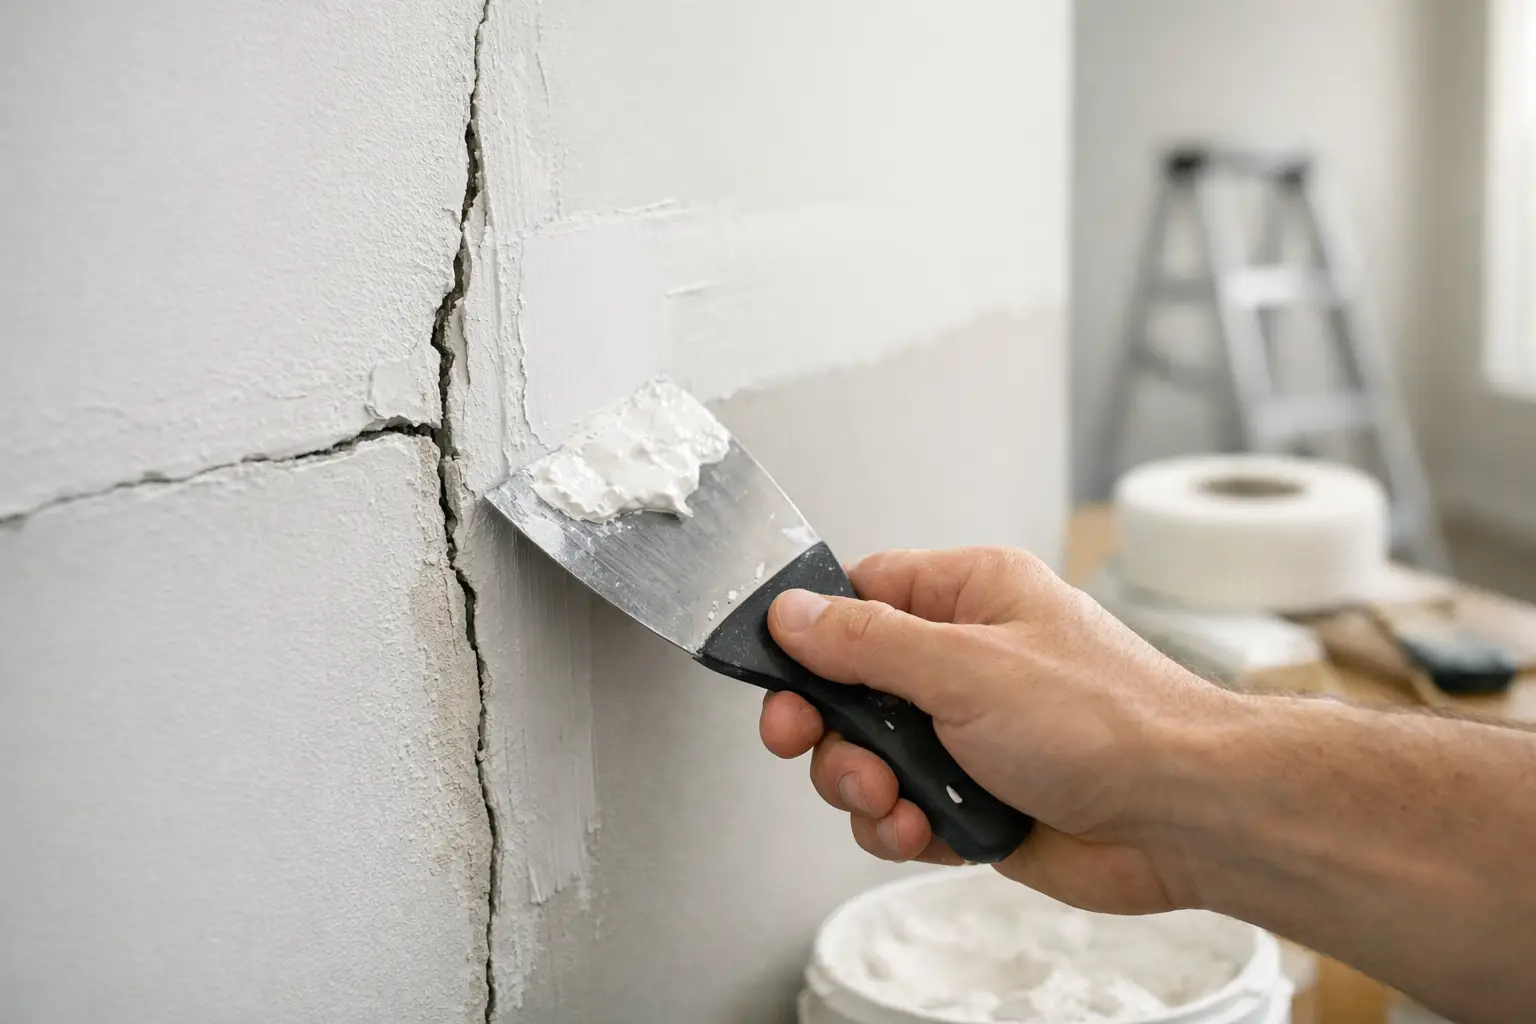
A bubble at a flat wall seam is often an adhesion issue. A bubble or crack that keeps returning in the same location may point to movement, loose drywall, truss uplift, or a framing concern. The repair approach depends on what the wall or ceiling is doing behind the finished surface.
How to Tell Whether It Is a Simple Repair
A small, dry bubble with no discoloration is usually a localized tape failure. If the drywall feels firm, the area has not grown, and there are no nearby cracks, a crew can often repair it by removing the loose tape and refinishing the joint.
Be more cautious when the area feels soft, damp, or crumbly. Water-stained tape, sagging ceiling drywall, widespread bubbling, or a seam that opens repeatedly should not be treated as a cosmetic patch. You must correct the source of moisture or movement before finishing work begins. Otherwise, new tape may fail just as quickly as the old tape.
For commercial properties and rental units, this distinction matters even more. A visible seam may be the first sign of a leak that could affect insulation, framing, or neighboring units. Addressing the cause early can prevent a larger repair later.
The Right Way to Repair Bubbling Drywall Tape
A lasting repair starts with removing every section of tape that has lost adhesion. Cutting only the center of the bubble and pressing it down usually leaves weak edges behind. A crew should carefully cut the loose tape back to solid, bonded material, and scrape away the damaged joint compound without tearing up more drywall paper than necessary.
If the drywall paper beneath the tape is torn or fuzzy, it may need a sealing coat before a crew applies new compound. This step helps prevent the paper from blistering when it contacts moisture from the fresh mud.
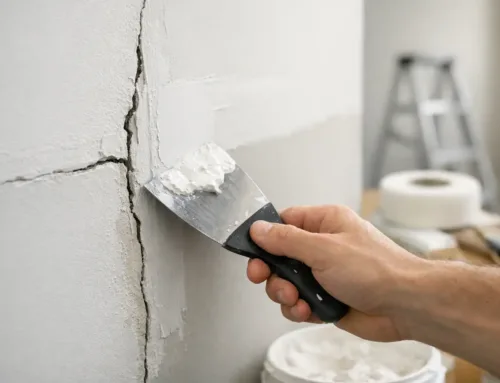
Next, a crew applies a thin, even bed of joint compound to the seam and presses new paper tape firmly into it, using a taping knife to remove excess mud and eliminate air pockets. The tape should be fully embedded, but not so dry that it lacks compound beneath it.
After the first coat dries completely, the crew adds additional thin coats and feathers them wider than the previous coat. Each layer needs proper drying time before sanding and recoating. Rushing this process is a common reason repairs look uneven, flash through paint, or crack later.
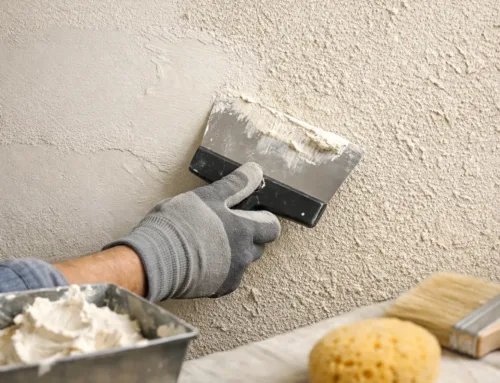
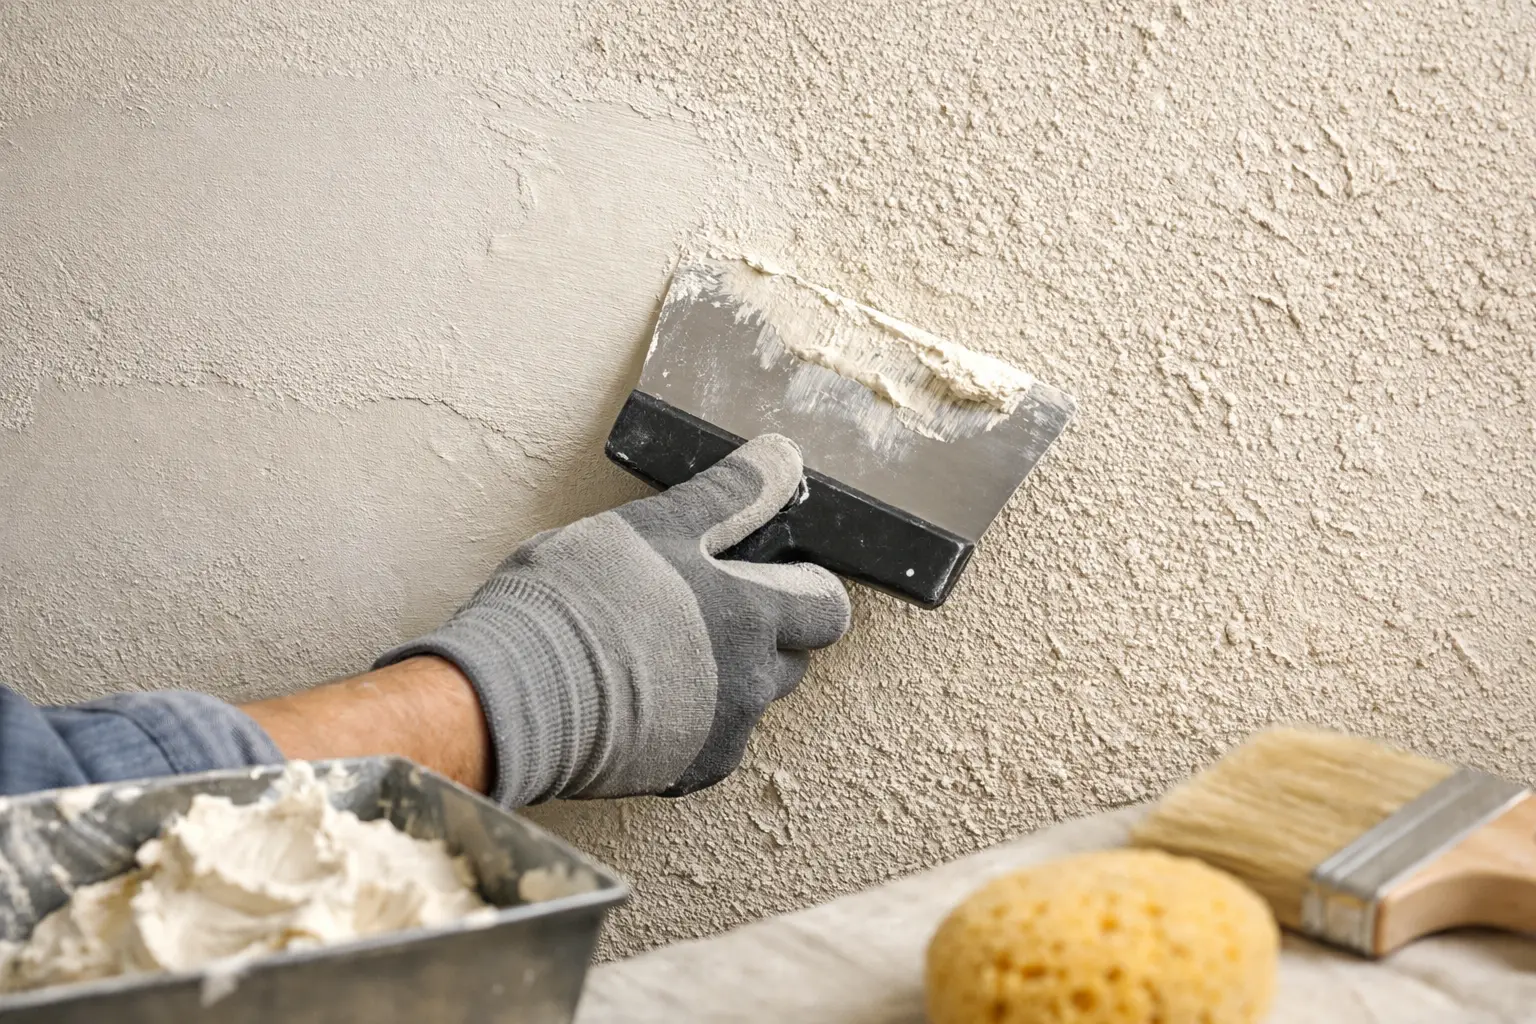
Once the repair is smooth, a crew should prime it before painting. Primer helps create an even surface so the repaired area does not absorb paint differently from the surrounding wall. On textured walls or ceilings, matching the existing finish (see our guide to textured wall repair) is often the most challenging part. A flat patch can stand out against orange peel, knockdown, or hand-applied texture even when the crew repairs the seam itself correctly.
When a DIY Repair Makes Sense and When It Does Not
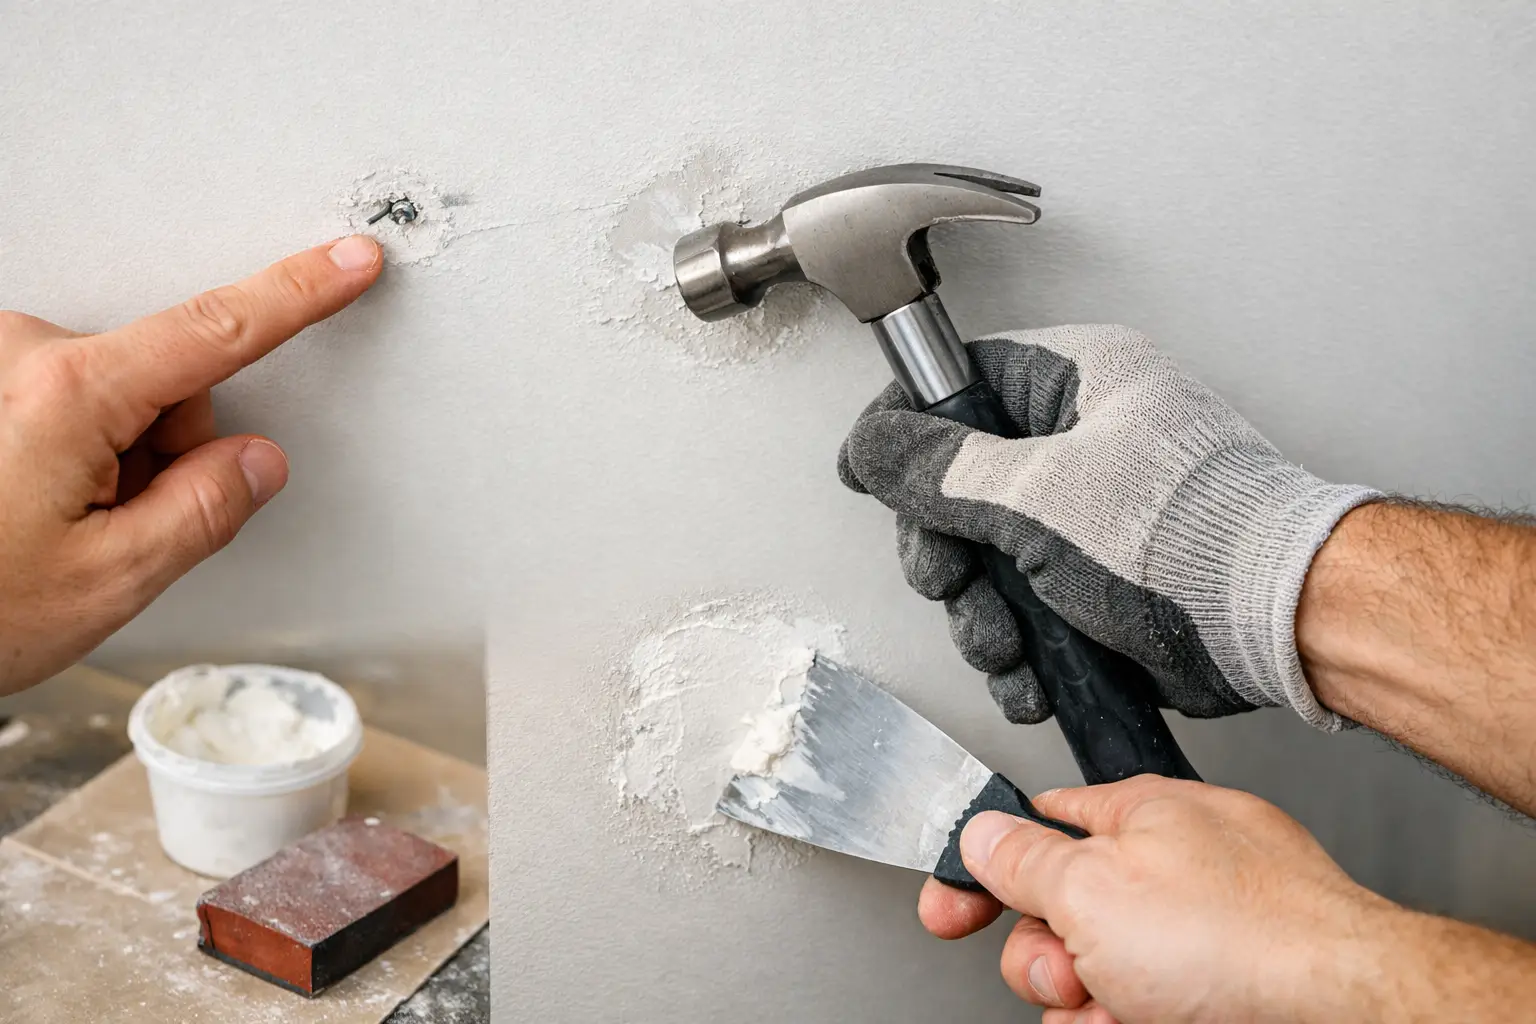
A homeowner with basic tools can often handle one small dry bubble on an accessible wall. If the repair area extends beyond a localized seam or involves damaged drywall, our drywall installation services may be the better long-term solution. The trade-off is that drywall finishing is highly visible work. A repair may be structurally sound but still show ridges, sanding marks, uneven texture, or a paint sheen difference under normal room lighting.
Professional help is usually the better choice when the tape is on a ceiling, the affected seam is long, water damage is present, the wall has a matched texture, or the bubble keeps coming back. These situations require more than patching skill. They require a careful diagnosis, proper surface preparation, and the ability to blend the repair into the surrounding finish.
At TDM Drywall, more than 32 years of hands-on experience goes into drywall repairs that are meant to disappear, not just get covered up. That includes identifying whether poor original taping, moisture damage, or movement caused a loose seam before selecting the right repair method for homes and businesses in Monroe and throughout the Downriver area.
Preventing Tape Bubbles During New Work
For new drywall installation, prevention comes down to workmanship and patience. Crews need to secure drywall panels properly, give seams a full and consistent bed of compound, and press tape in without trapping air. Thin coats, complete drying between coats, and proper priming all contribute to a finish that stays smooth.
The same standard applies during remodeling work. A basement finish, kitchen update, bathroom repair, or room addition often connects new drywall to older surfaces. Those transitions need careful attention because different materials and existing movement can make seams more vulnerable.
A bubbling tape seam is frustrating because it draws attention to a surface that should look clean and finished. The good news is that a crew can successfully repair most cases when they remove the loose material and handle the cause before refinishing the wall. A careful repair today protects the appearance of the room and helps keep a small drywall issue from becoming a repeated one.
Tape bubbling or seams lifting in your home? Call TDM Drywall at 734-341-3334 or request a free estimate online.