
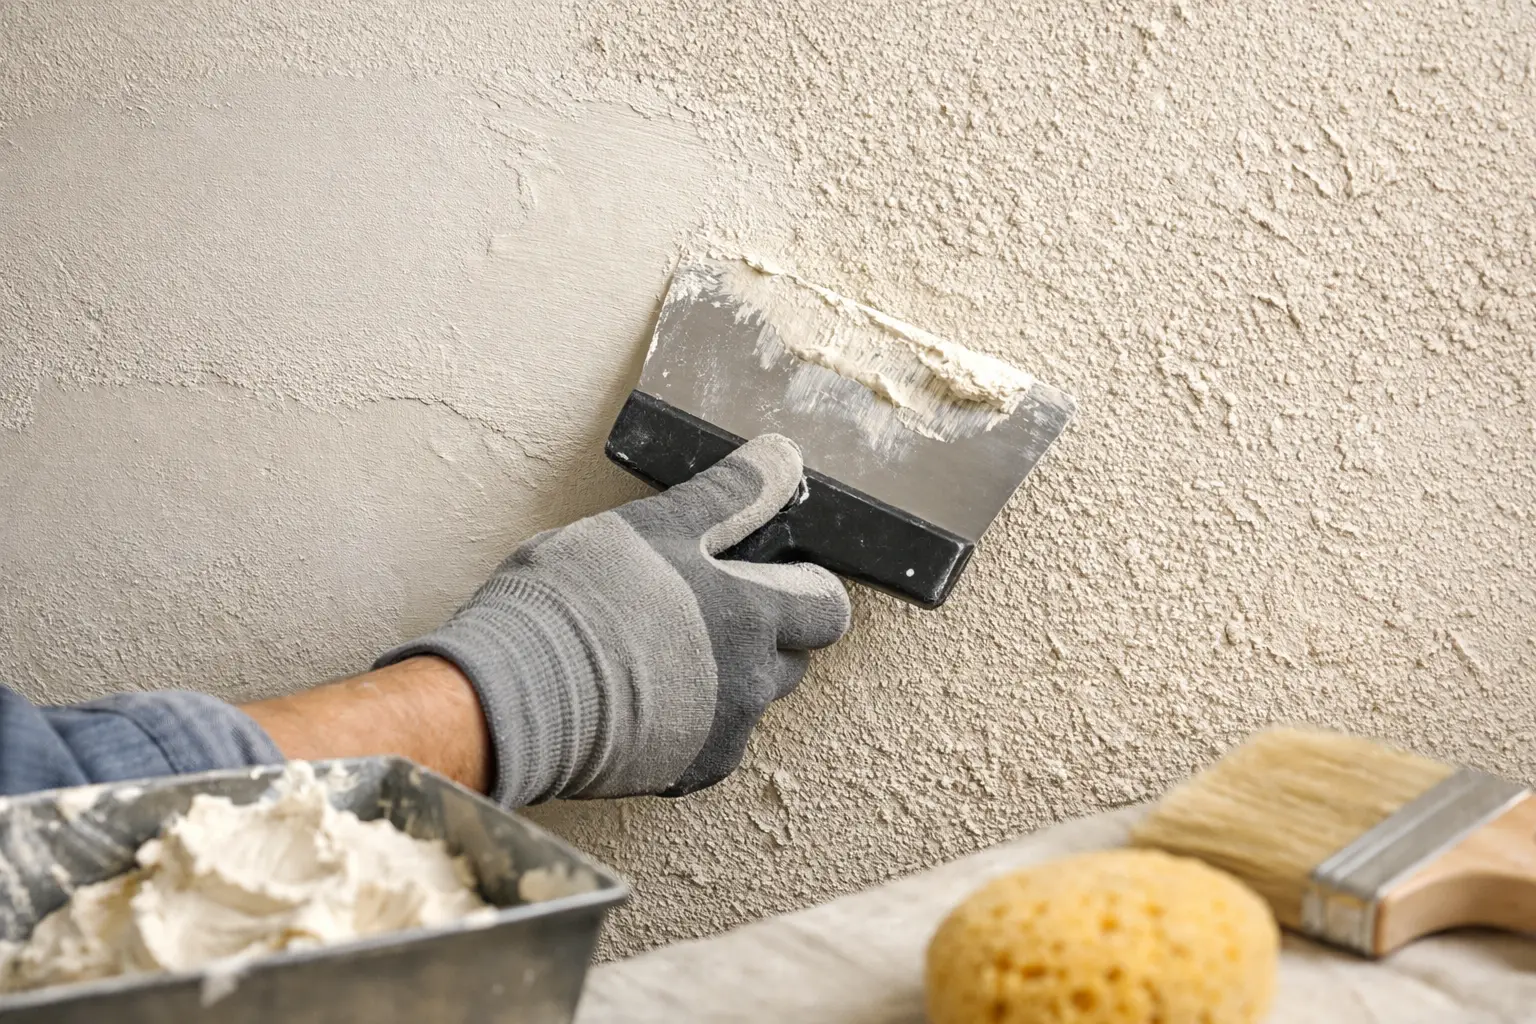
A drywall patch can be solid, smooth, and properly finished yet still catch your eye from across the room. The reason is usually texture. This guide to textured wall blending explains why a repair that looks good before paint can turn into a visible square afterward, and what it takes to make the repaired area belong with the rest of the wall.
Texture matching is not just a final spray or a quick pass with a knife. It starts with a sound repair, a careful read of the existing surface, and enough feathering to hide the transition between old and new. Handle those details correctly and you get a clean, paint-ready wall instead of a patch that announces itself every time the afternoon light hits it.
Why Textured Wall Blending Is Harder Than It Looks
No two textured walls are exactly alike, even two finished in the same room. Whoever applied the original texture may have varied spray pressure, mud thickness, tool angle, or drying time from one section to the next. Years of paint coats can soften a pattern, while repairs, moisture, and normal settling change the surface around it.
Light makes small differences much more noticeable. A wall may look acceptable standing directly in front of it, then reveal ridges, flat spots, or a distinct patch when light washes across it from a window, hallway, or ceiling fixture. This is especially common on ceilings and on broad walls with low-angle natural light.
The goal is not always to reproduce every bump in a tiny area. In many cases, the better approach is to blend the finish across a wider section so the eye cannot find a hard edge. That takes more time than spraying texture only over the patch, but it is often the difference between a repair that disappears and one that stays obvious under paint.
Start With the Repair, Not the Texture
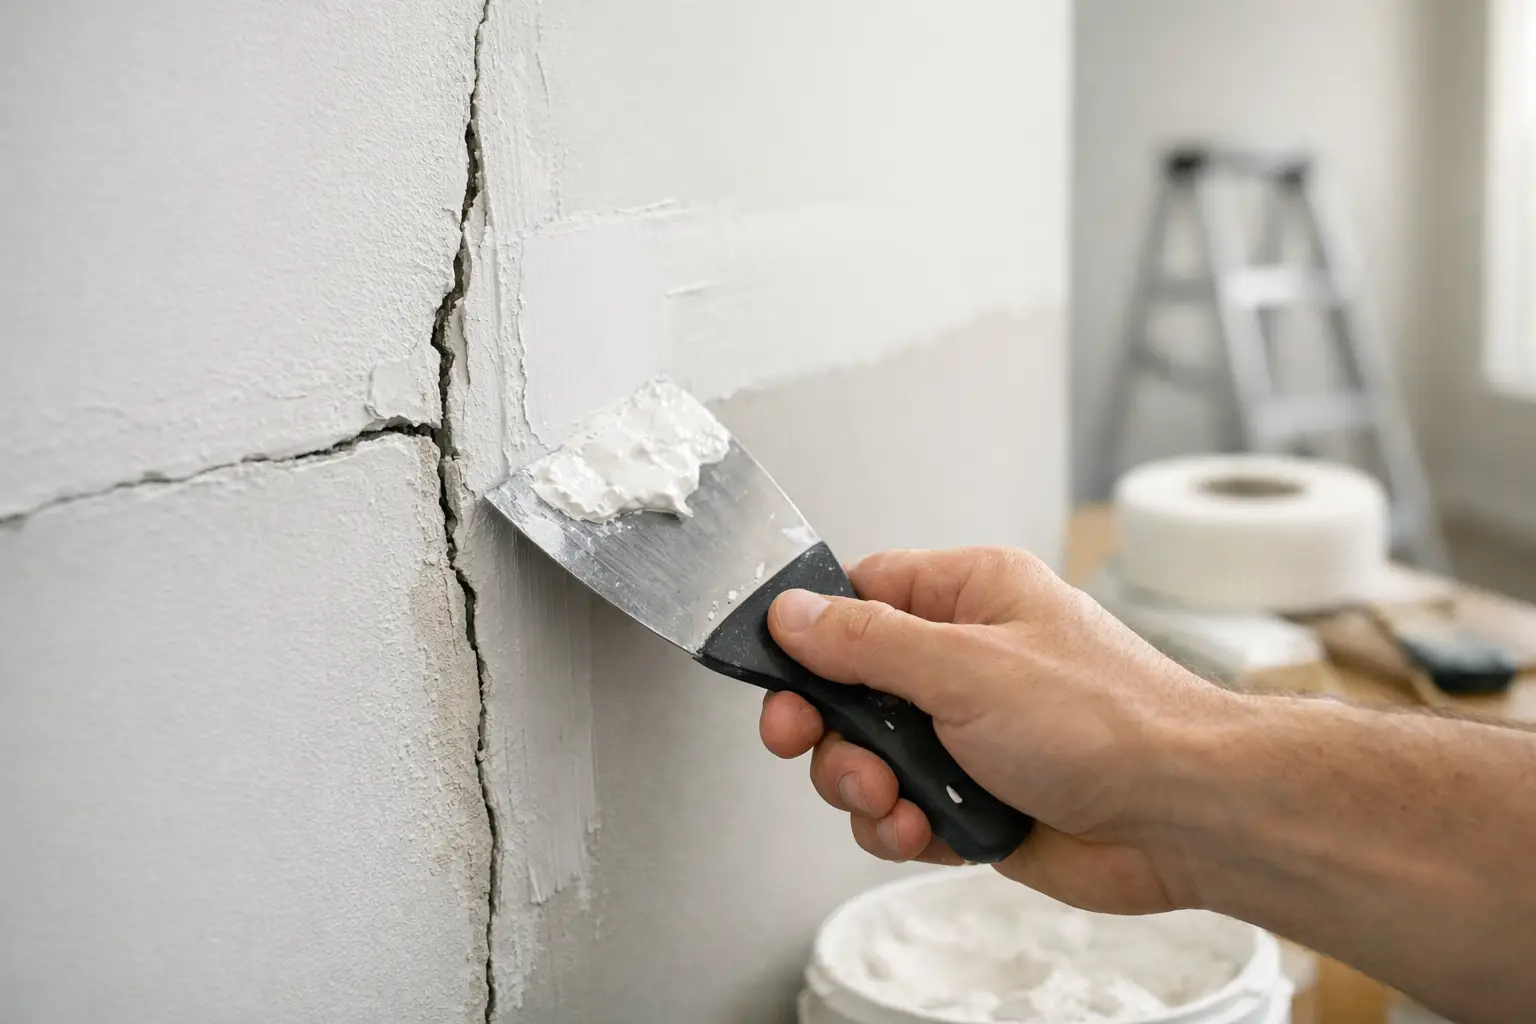
Texture cannot hide a weak drywall repair. Before blending starts, the damaged area needs to be stable, clean, and properly patched. Loose paper, soft drywall from water damage, cracked plaster, or a patch that moves when pressed all come first.
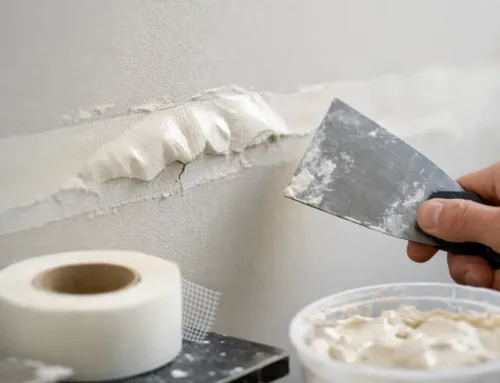
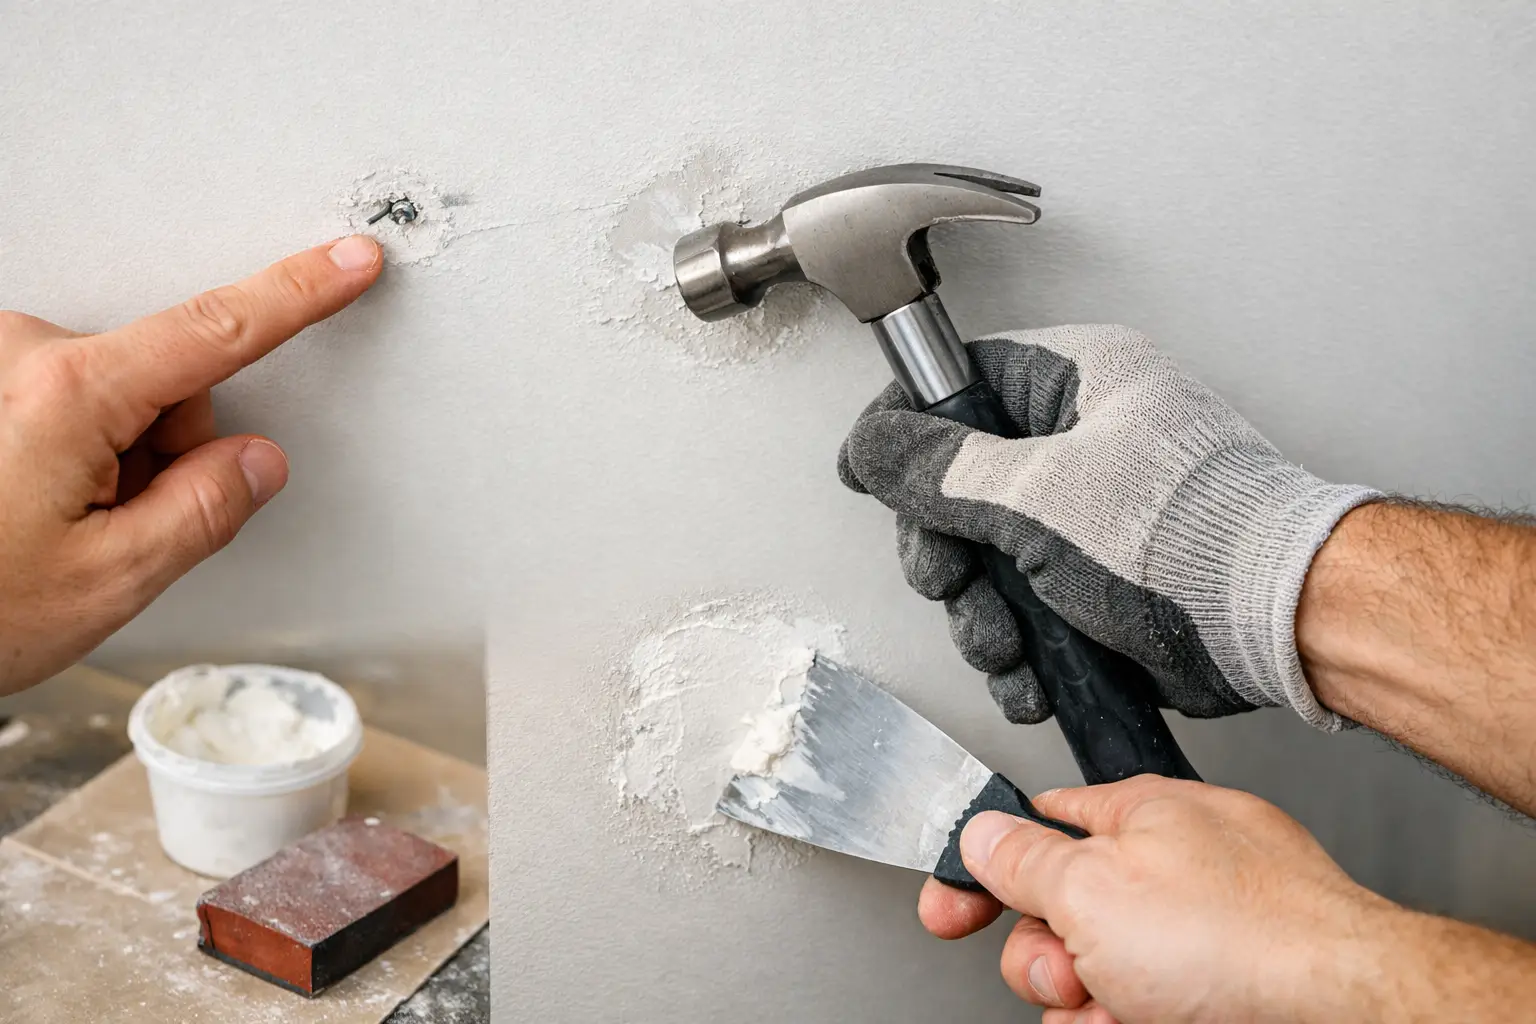
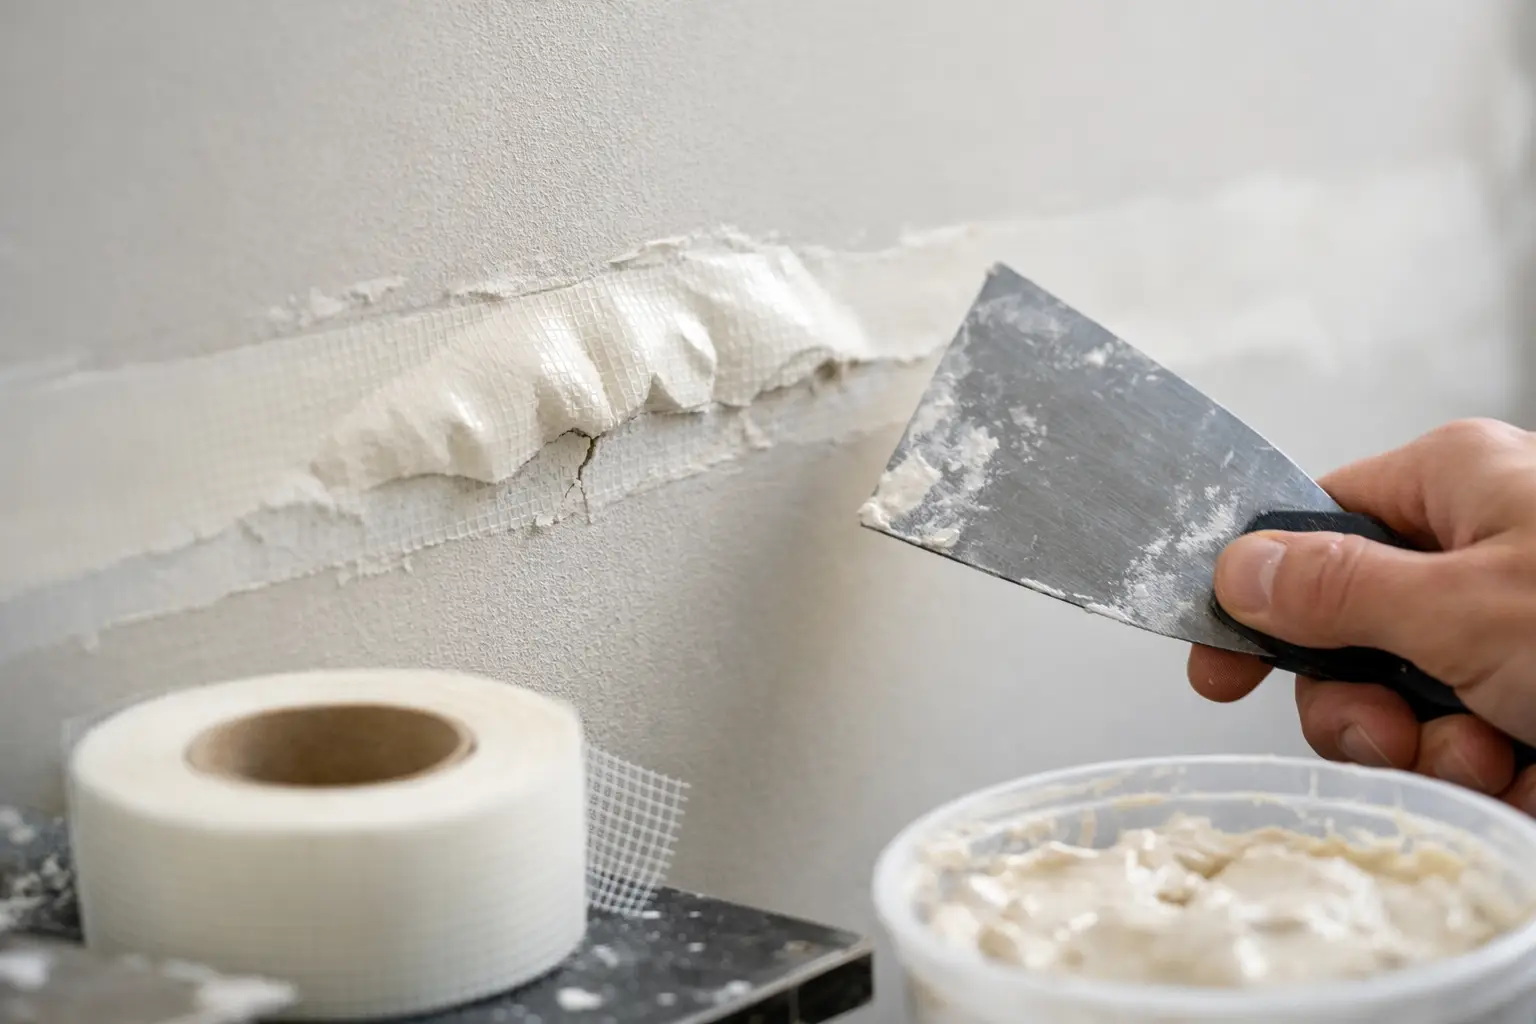
On a typical hole or cutout, the repair needs support, tape, and thin layers of joint compound, each coat feathered farther beyond the last. The final skim coat does more than cover tape lines. It gradually levels the repair into the surrounding wall so no raised edge sits beneath the texture.
This is where many do-it-yourself repairs go wrong. Thick compound may seem faster, but it tends to shrink, crack, or leave a hump that grows even more noticeable once texture and paint go over it. Several controlled coats, with drying time between them, create a flatter foundation and a more durable result.
Water damage deserves extra attention. If staining, sagging, or softness remains, new texture over it only delays the real repair. Correct the moisture source, replace damaged material, and let the area dry fully before any finishing starts.
Check the Surface Under Side Lighting
Before spraying any texture, a professional checks the repair with a work light held at an angle to the wall. This side-lighting method exposes shallow dents, ridges, and sanding marks that normal overhead lighting hides. Correct any defects now, because texture can disguise only minor variations, never a poorly feathered patch.
The surface also needs to be free of dust. Dust weakens the bond between compound, primer, texture, and paint. A clean workspace matters for the rest of the room, too. Good drywall work protects floors, nearby furnishings, and adjacent finished surfaces from sanding dust and overspray.
Identify the Existing Texture Before Matching It
The right method depends on the texture already on the wall or ceiling. Orange peel has a fine, dimpled appearance and usually comes from a spray gun. Knockdown starts as sprayed or hand-applied droplets that a wide knife flattens lightly once they set. Specialty brushes or rollers produce stomp and crow’s-foot patterns. Skip trowel has a broader, hand-worked appearance with irregular raised areas.
A close visual inspection helps, but touching the wall can reveal just as much. Is the texture sharp or softened by paint? Are the high points heavy, or subtle? Does the pattern repeat in a particular direction? A sample board earns its keep when the match needs to be especially close. It lets the finisher adjust mud consistency, spray settings, or tool pressure without experimenting on the wall itself.
Older homes can add another layer of complexity. Some walls carry a plaster base, several generations of repainting, or hand-applied finishes that no modern spray texture will copy. In those cases, a broader skim coat and recreated finish beats trying to duplicate one small portion exactly.
A Practical Guide to Textured Wall Blending
Once the repair sits smooth and you know the texture type, blending comes down to control. The new material has to match the existing pattern in size, density, and direction while fading naturally into the old surface.
On spray textures, thin the compound to the right consistency and lay it on in light, even passes. Spraying too heavily creates large, wet droplets that look nothing like the surrounding wall. Spraying too lightly leaves a sandy, sparse finish. Soften the edge of the new texture by extending it past the repaired area in gradual passes rather than stopping at a sharp border.
On knockdown or hand textures, timing matters. Knock the material down too soon and it smears; too late and it tears or leaves sharp, unmatched peaks. Tool angle and pressure have to stay consistent. A slight change in either makes the repaired area flatter or heavier than the rest of the wall.
Texture-in-a-can products can help on very small touch-ups, but they solve only a narrow set of problems. They get hard to control on larger areas, and their pattern often differs from professionally sprayed or hand-applied finishes. A small nail-pop repair suits them fine. A large cutout, water-damage repair, or ceiling patch usually calls for a more controlled method.
After the texture dries, look at it again under normal room lighting and side lighting. You can sometimes soften minor high spots, while thin areas may need another light application. Rushing to paint before this inspection locks in flaws you could have fixed in a minute.
Primer and Paint Can Make or Break the Match
New joint compound and fresh texture absorb paint differently from an existing painted wall. Without primer, the repaired area shows through as a dull or flashing patch even when the texture itself sits close. A quality primer equalizes the surface so the finish coat dries more uniformly.
Paint sheen also matters. Flat paint hides minor surface differences better than eggshell, satin, or semi-gloss. Higher sheens reflect more light and make texture variation easier to see. If you paint only the repair, a near-perfect texture match can still read as different because the surrounding paint has faded, picked up wear, or shifted sheen over time.
For the cleanest result, paint from corner to corner on the repaired wall. On ceilings, repainting the entire ceiling plane is the more reliable choice. It costs more in materials and labor than spot painting, but it removes the risk of a visible color or sheen break around the repair.
When to Call a Drywall Professional
Small, low-visibility repairs can make good projects for a patient homeowner with the right materials and time to practice. The trade-off is that texture work turns unforgiving in a bright living room, a long hallway, or above eye level on a ceiling. A repair can be structurally fine and still need rework if the blend is off.
Professional help earns its cost when the damage runs larger than a small patch, the texture is hand-applied, the wall has water damage, or the finish needs to meet a remodeling or property-management standard. A skilled drywall contractor can judge whether spot blending will work or whether a wider skim coat, full wall finish, or repaint makes more sense long term.
At TDM Drywall, more than 32 years of hands-on repair and finishing experience goes into making those decisions before the work starts. For homeowners and property managers in Monroe and the surrounding Southeast Michigan area, that means clear communication, protected work areas, and a finish that still looks right after the paint dries.
A textured wall repair should not become the first thing you notice when you walk into the room. Give the repair enough preparation, enough blending area, and enough time to dry properly, and the wall goes back to looking like nothing ever interrupted it.
When a repair has to disappear into the surrounding wall, our texture matching and drywall repair services blend the patch and leave it ready for primer, for homes and businesses across Monroe and the Downriver area.