
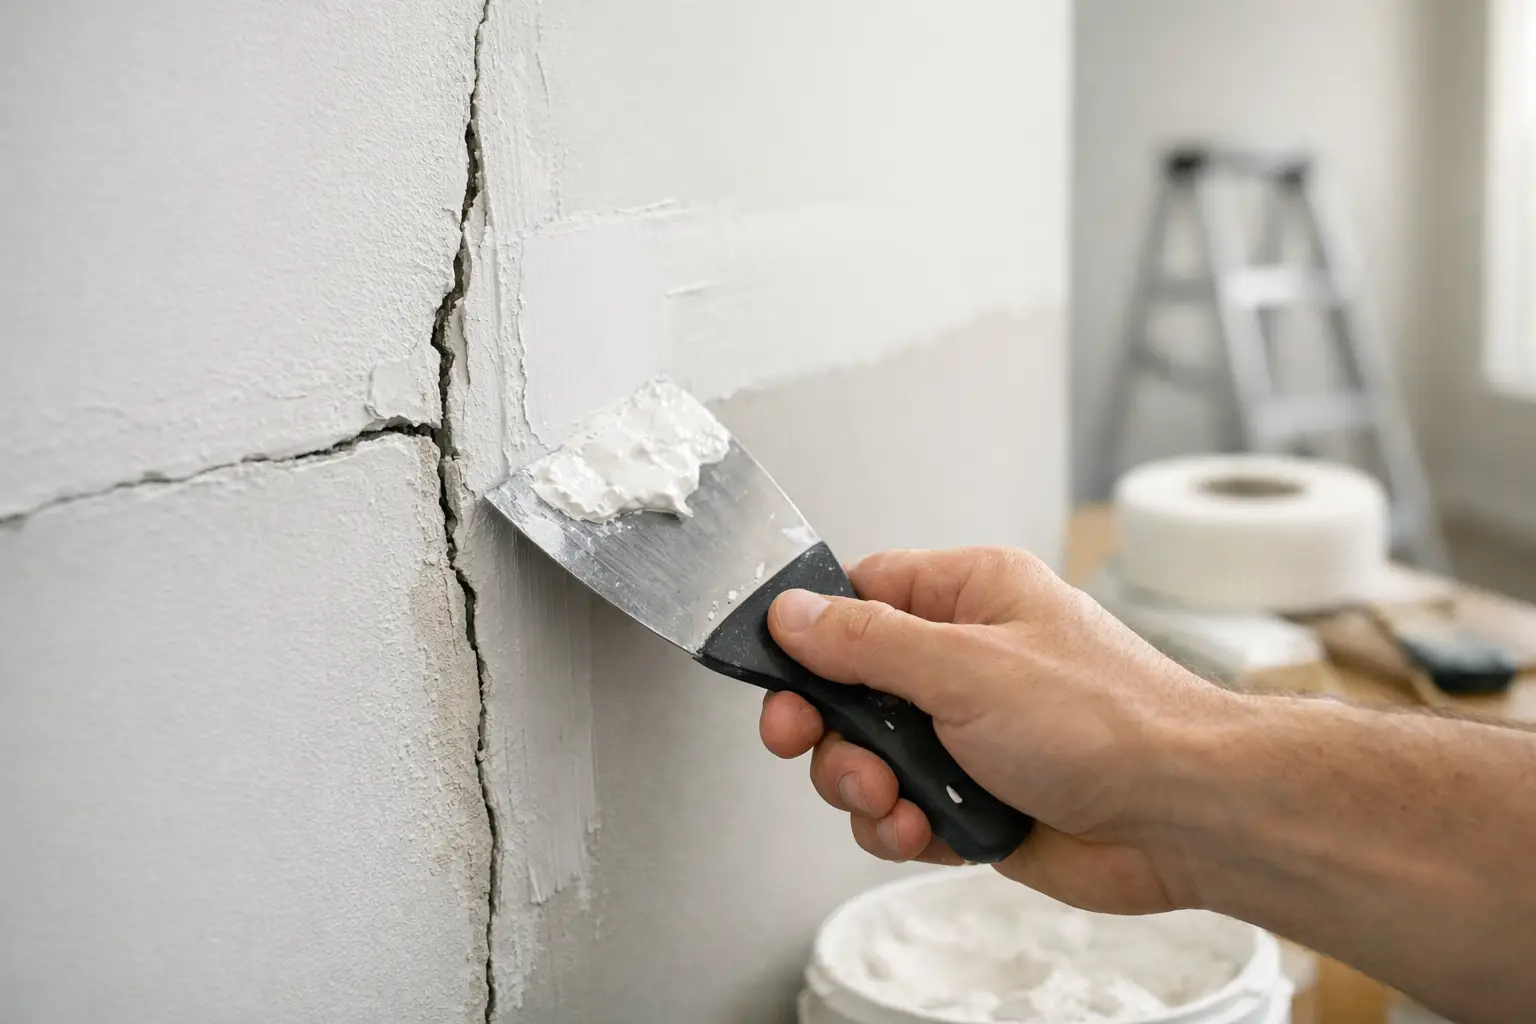
A seam that shows through fresh paint can make an otherwise clean room look unfinished. Learning how to repair drywall seams starts with more than covering the crack with joint compound. A lasting repair depends on finding out why the seam failed, securing loose drywall, and rebuilding the taped joint in thin, properly dried layers.
For a small, stable wall crack, a careful homeowner can often get a good result. But seams on ceilings, long cracks that return, water-damaged drywall, and textured surfaces usually call for experienced repair work. Those problems can involve framing movement, loose fasteners, moisture, or a finish that is difficult to blend after the repair.
Why Drywall Seams Crack or Separate
Drywall panels meet at factory edges and cut edges, then are joined with tape and joint compound. When installed and finished correctly, the joint blends into the wall or ceiling. When it fails, you may see a straight crack, lifted tape, a visible ridge, or a bubble running along the seam.
Normal seasonal movement can cause minor cracking, especially in older Southeast Michigan homes where temperature and humidity change throughout the year. A hairline crack may be cosmetic, but a seam that opens wider or reappears after repair deserves a closer look.
Loose drywall is another common cause. If a panel was not fastened securely to the framing, it can flex when doors close, people walk overhead, or the house shifts slightly. The tape and compound cannot bridge that movement for long. Water damage, roof leaks, plumbing leaks, and high humidity can also weaken the drywall face paper and cause tape to release.
Before making repairs, look for staining, soft drywall, sagging, or an active leak. Repairing the seam before the moisture source is fixed only delays the same problem.
Tools and Materials for Drywall Seam Repair
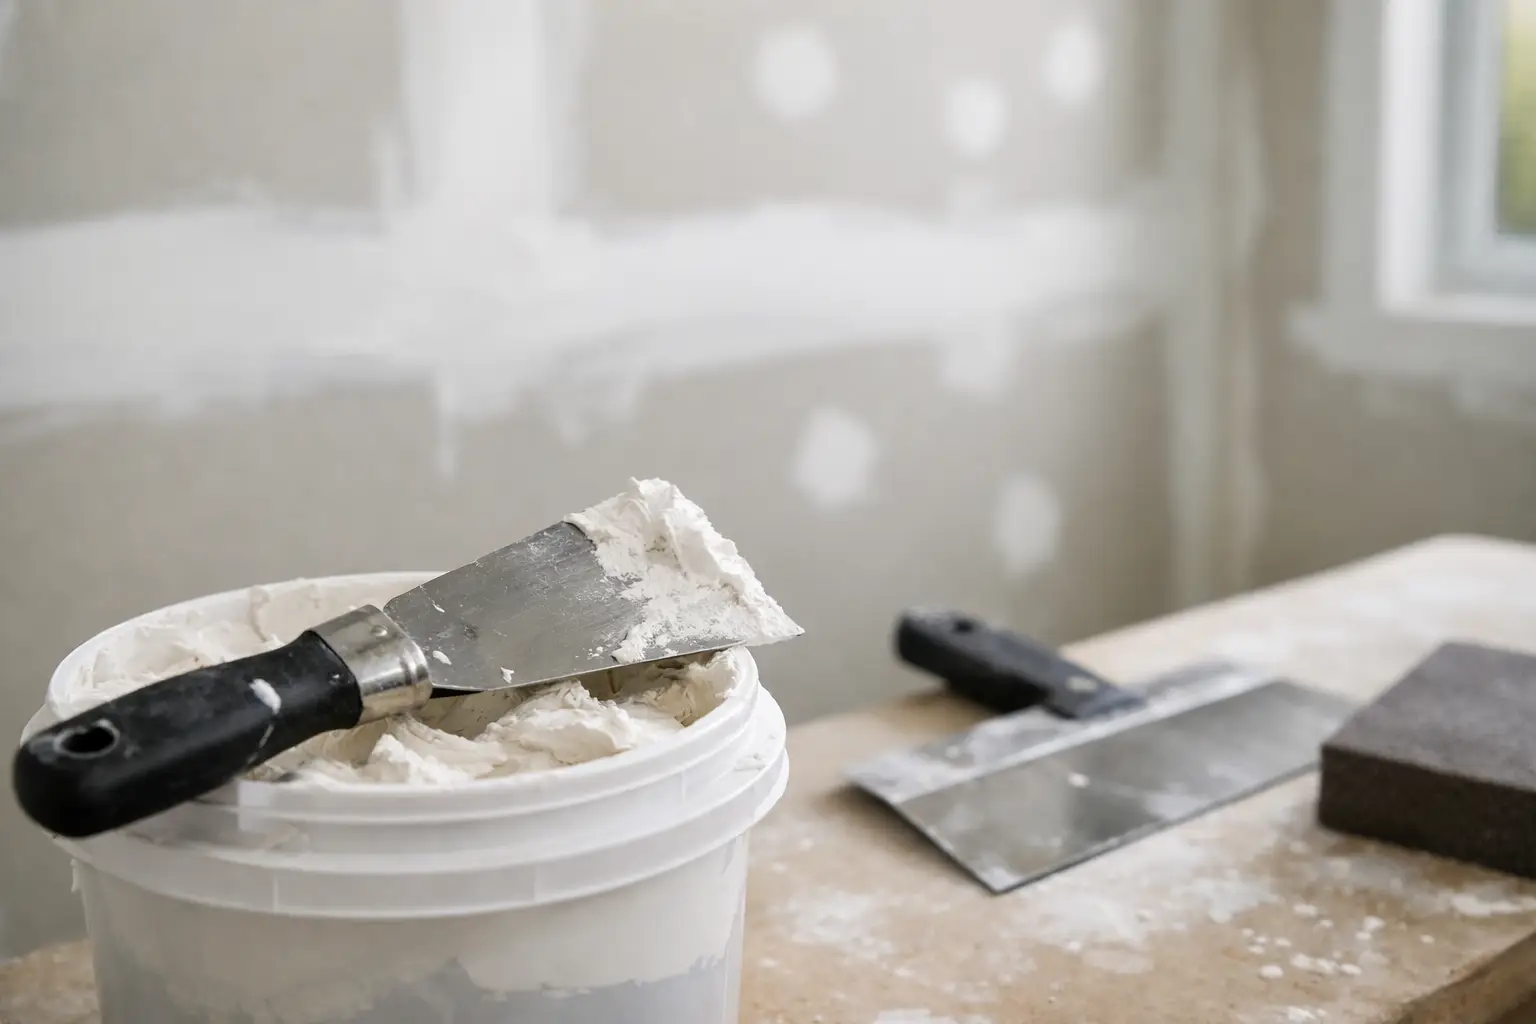
The quality of the finish depends on preparation and patience as much as the materials. For a standard repair, gather the following:
- Utility knife and a 5-in-1 painter’s tool or scraper
- Drywall screws and a drill or screw gun
- Paper drywall tape or fiberglass mesh tape
- Setting-type joint compound and finishing compound
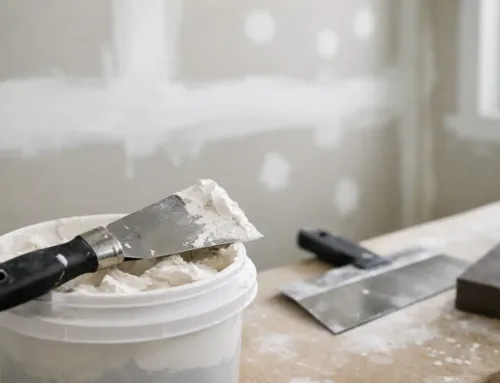
- A 6-inch knife, a 10- or 12-inch taping knife, sanding sponge, primer, and matching paint
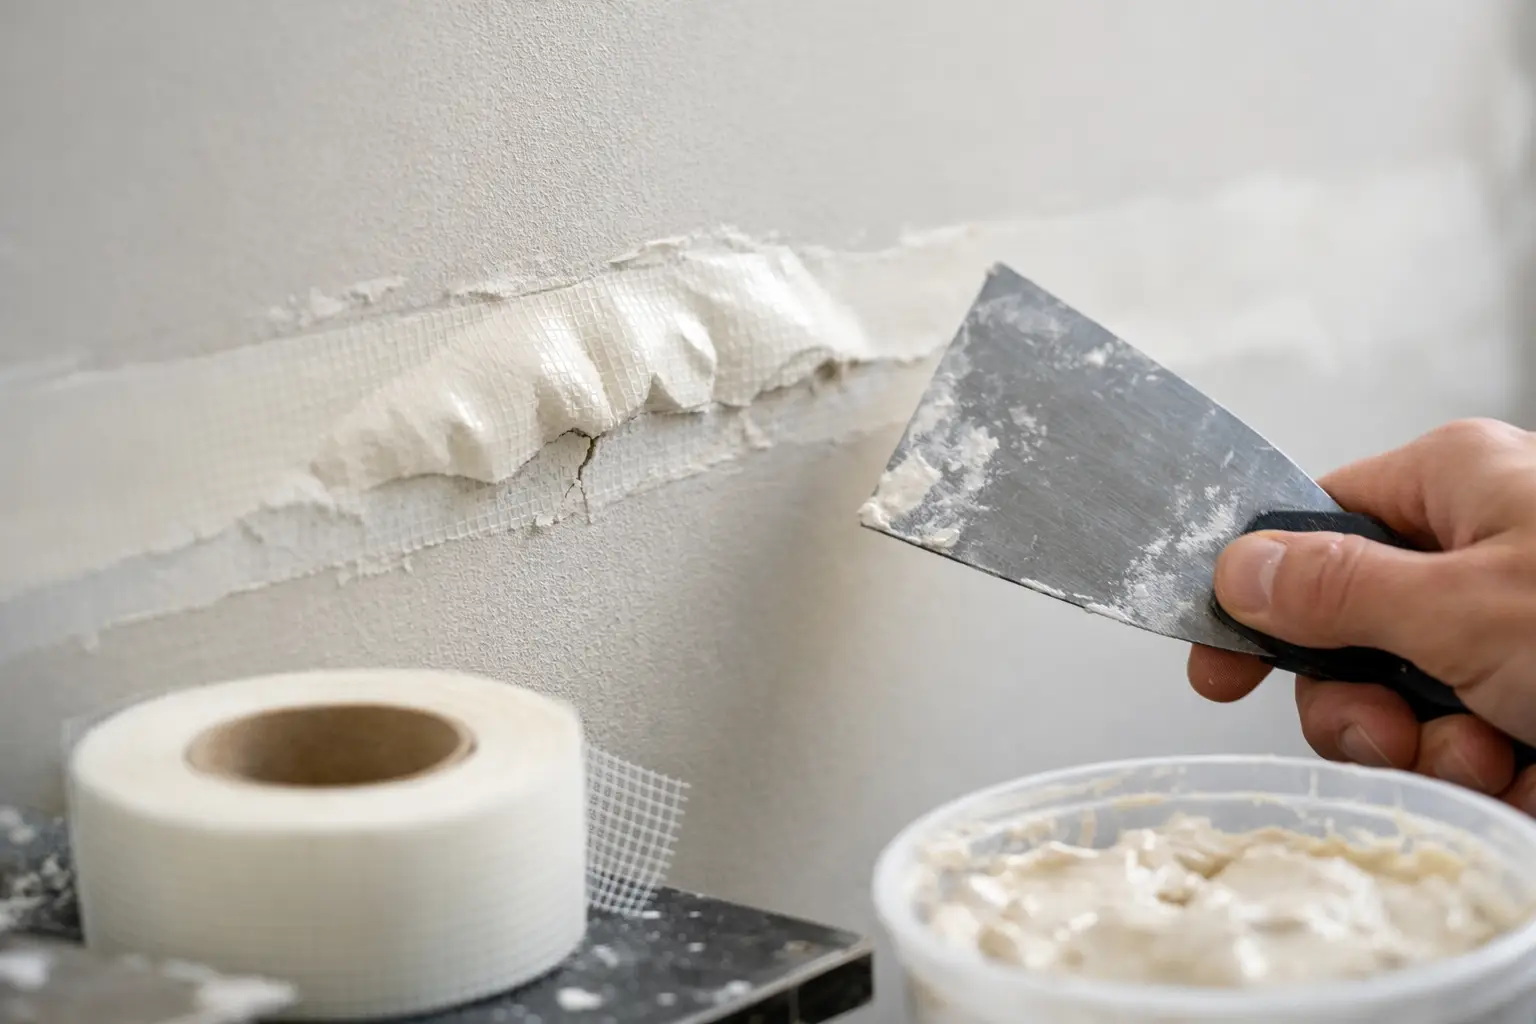
Paper tape generally produces the strongest joint for a repaired seam, particularly on a flat wall or ceiling. It needs to be embedded in compound correctly, but it resists cracking better than mesh tape in many applications. Fiberglass mesh is convenient for small patches and some cracks, yet it should be covered with setting-type compound rather than lightweight premixed mud to reduce the risk of future cracking.
How to Repair Drywall Seams Step by Step
Remove everything that is loose
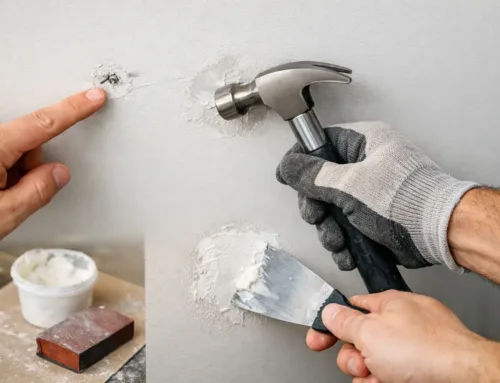
Do not apply new mud over loose tape, cracked compound, or damaged drywall paper. Use a utility knife to cut along both sides of the failed section and pull away tape that has lifted. Scrape off loose compound until you reach a solid surface.
Be deliberate here. Removing more damaged material may feel like creating extra work, but leaving a weak edge under the new repair is one of the fastest ways to get another visible crack. If the drywall face paper tears, trim off any fuzzy or hanging paper rather than trying to bury it under mud.
Secure the drywall before taping
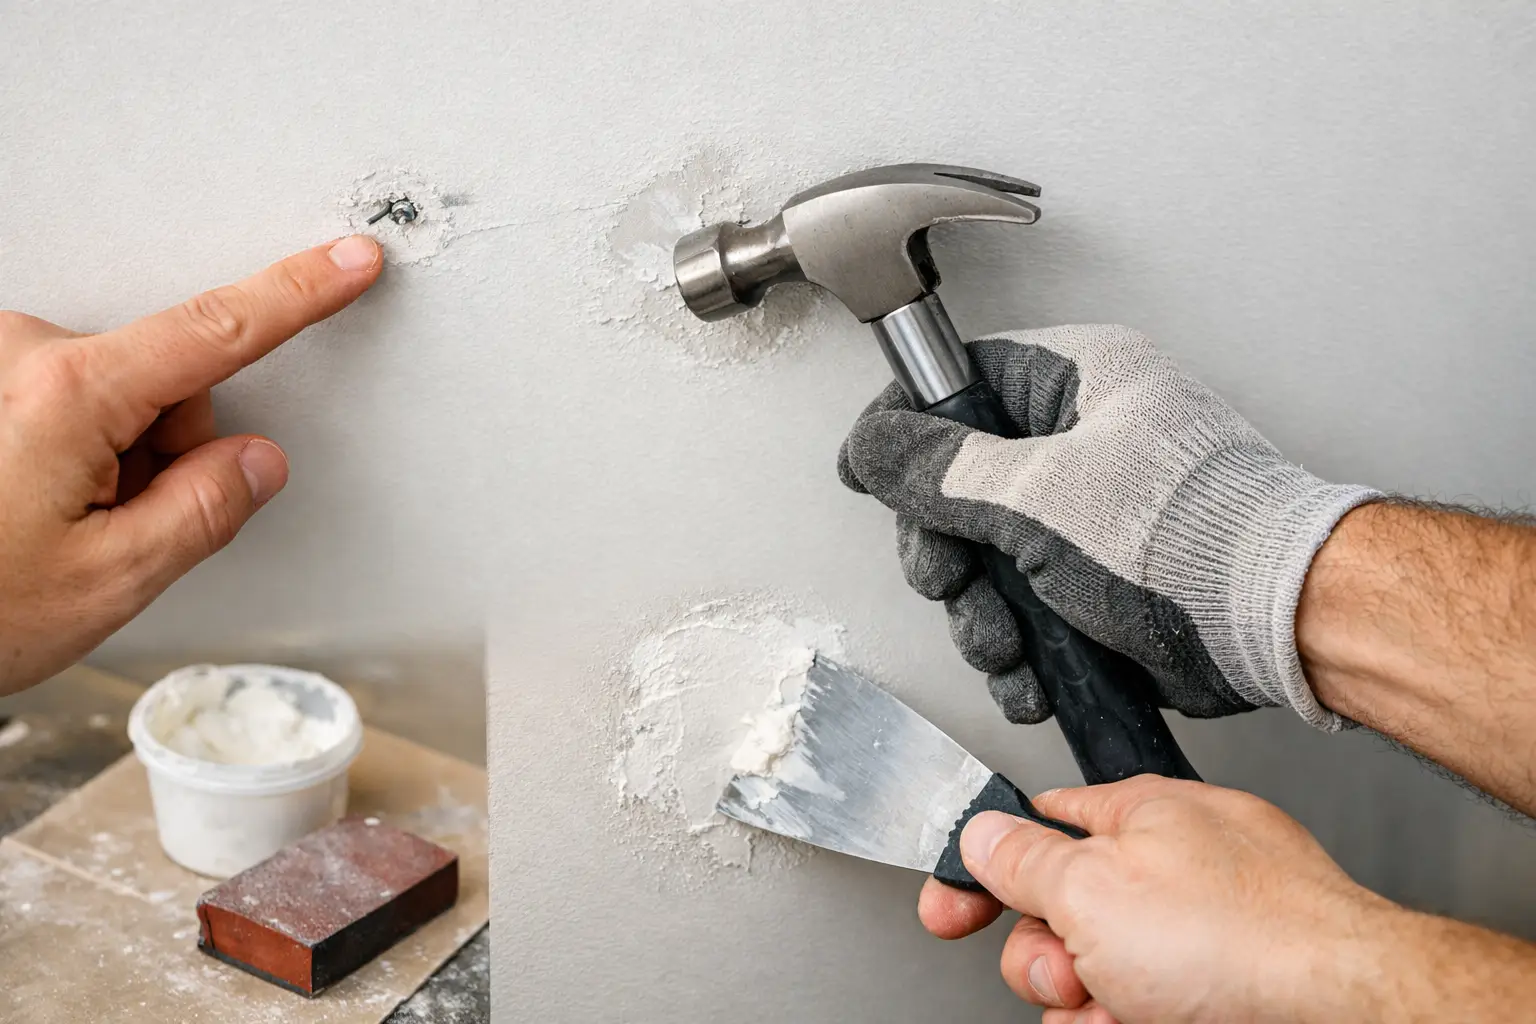
Press lightly along both sides of the seam. If the board moves, add drywall screws into the framing on each side of the joint. Place screws roughly 1 to 2 inches from the seam, driving them just below the surface without breaking the paper.
This step matters most on ceiling seams and seams near doorways, stairwells, or high-traffic areas. Joint compound is a finishing material, not a structural fastener. If the panels are moving, no amount of compound will keep the crack from coming back.
If you cannot locate framing behind the seam, or if the drywall has sagged or pulled away broadly, stop and assess the repair. The issue may require opening the area, adding backing, or replacing a section of board.
Apply fresh tape in a thin bed of compound
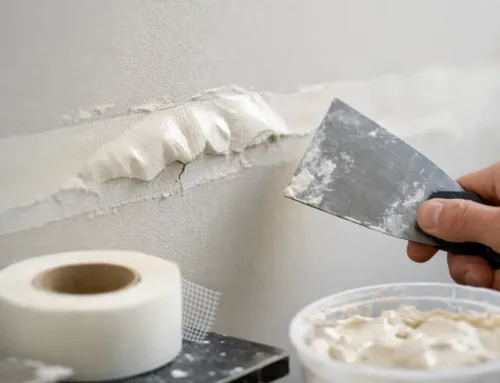
Cover the cleaned seam with an even layer of joint compound. For paper tape, use enough compound to create full contact behind the tape, then press the tape into place with a 6-inch drywall knife. Start near the center and work outward to push out excess compound and air bubbles.
The goal is a flat, fully bonded tape layer, not a thick coat. Too much mud beneath the tape makes it harder to keep the repair level. Too little leaves dry spots that can bubble or separate later.
For inside corners, crease the paper tape along its center fold before embedding it. Corners need a little more care because a flat knife can easily pull tape out of alignment or leave one side too heavy.
Build the repair with wider coats
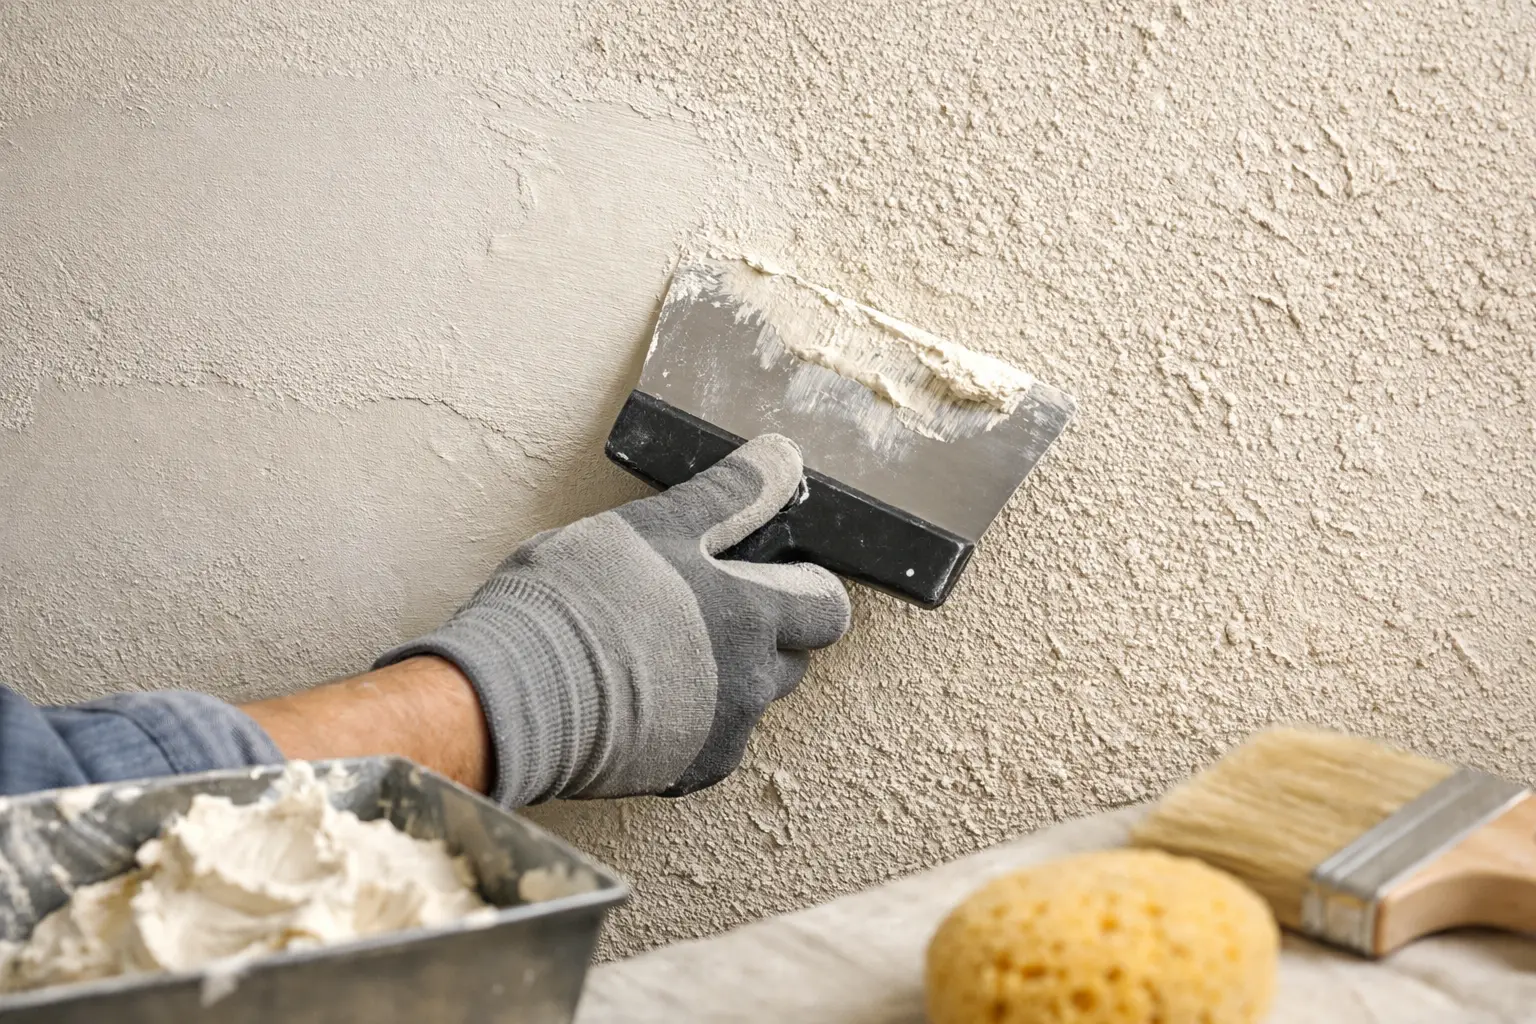
After the tape coat dries, apply a second coat that extends several inches beyond each side of the seam. Use a wider knife and keep the center of the joint relatively thin while feathering the edges into the surrounding wall.
Let it dry fully, then apply a final, wider skim coat if needed. A repaired seam should gradually disappear into the wall instead of leaving a raised stripe. On a smooth wall, this often means feathering the final coat 10 to 12 inches wide or more, depending on lighting and how uneven the surrounding surface is.
Thin coats dry more evenly, shrink less, and are easier to sand. Rushing on a heavy coat is a common reason seams end up wavy, cracked, or noticeably wider after paint.
Sand, prime, and inspect in good light
Sand only enough to remove knife lines and high spots. A fine-grit sanding sponge works well for small repairs. Do not aggressively sand the center of the seam, where it is easiest to expose tape.
Wipe away dust and apply a quality drywall primer before painting. Primer reveals flaws that joint compound and sanding dust can hide. Check the area from the side with a work light or lamp, because overhead lighting often exposes ridges that are not obvious when you stand directly in front of the wall.
If you can still see a line or depression after priming, apply one more thin finish coat, feather it wider, and repeat the process. This is normal finish work, not a failure. Clean, seamless results come from building the surface gradually.
Repairing Seams on Textured Walls and Ceilings
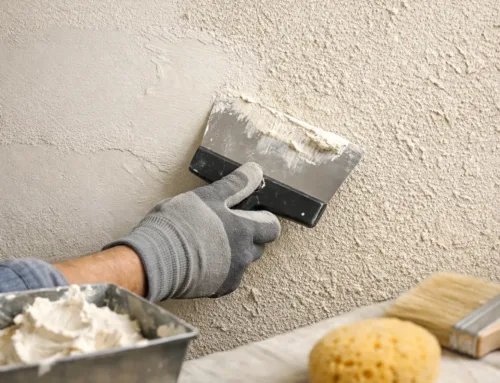
Texture matching changes the job. A smooth seam repair can be feathered and sanded until it disappears, but orange peel, knockdown, skip trowel, and popcorn surfaces must be recreated after the joint is repaired. Even a structurally sound repair can stand out if the texture pattern, thickness, or paint sheen does not match.
Small orange peel repairs may be manageable with practice, but ceiling texture is less forgiving. Popcorn ceilings also require caution in older homes, where the material may need testing before disturbance. Never sand or scrape an unknown older ceiling texture without taking the proper safety steps.
For a visible ceiling seam or a textured wall in a main living area, professional finishing is often the better value. The repair itself may be straightforward, but blending it into the rest of the room is where craftsmanship shows.
When a Drywall Seam Needs Professional Repair
Call a drywall professional when tape is separating across a long stretch, a ceiling seam is sagging, the crack keeps returning, or there are signs of moisture damage. The same applies when a crack runs from a door or window corner, which can point to movement that needs more than a cosmetic patch.
A professional can determine whether the drywall needs to be re-secured, patched, skim coated, or replaced. They can also match the existing finish and leave the area ready for primer and paint without the wide ridges, sanding scars, and flashing that make many seam repairs visible.
At TDM Drywall, more than 32 years of hands-on experience goes into the details that hold up over time: solid prep, proper taping, careful feathering, and texture blending that does not call attention to the repair.
A drywall seam repair should disappear once the room is painted. Taking the time to fix the cause, not just the crack, is what gives the wall or ceiling its best chance to stay smooth for years.
Seams that keep cracking no matter how often they are patched? Call TDM Drywall at 734-341-3334 or request a free estimate online.