
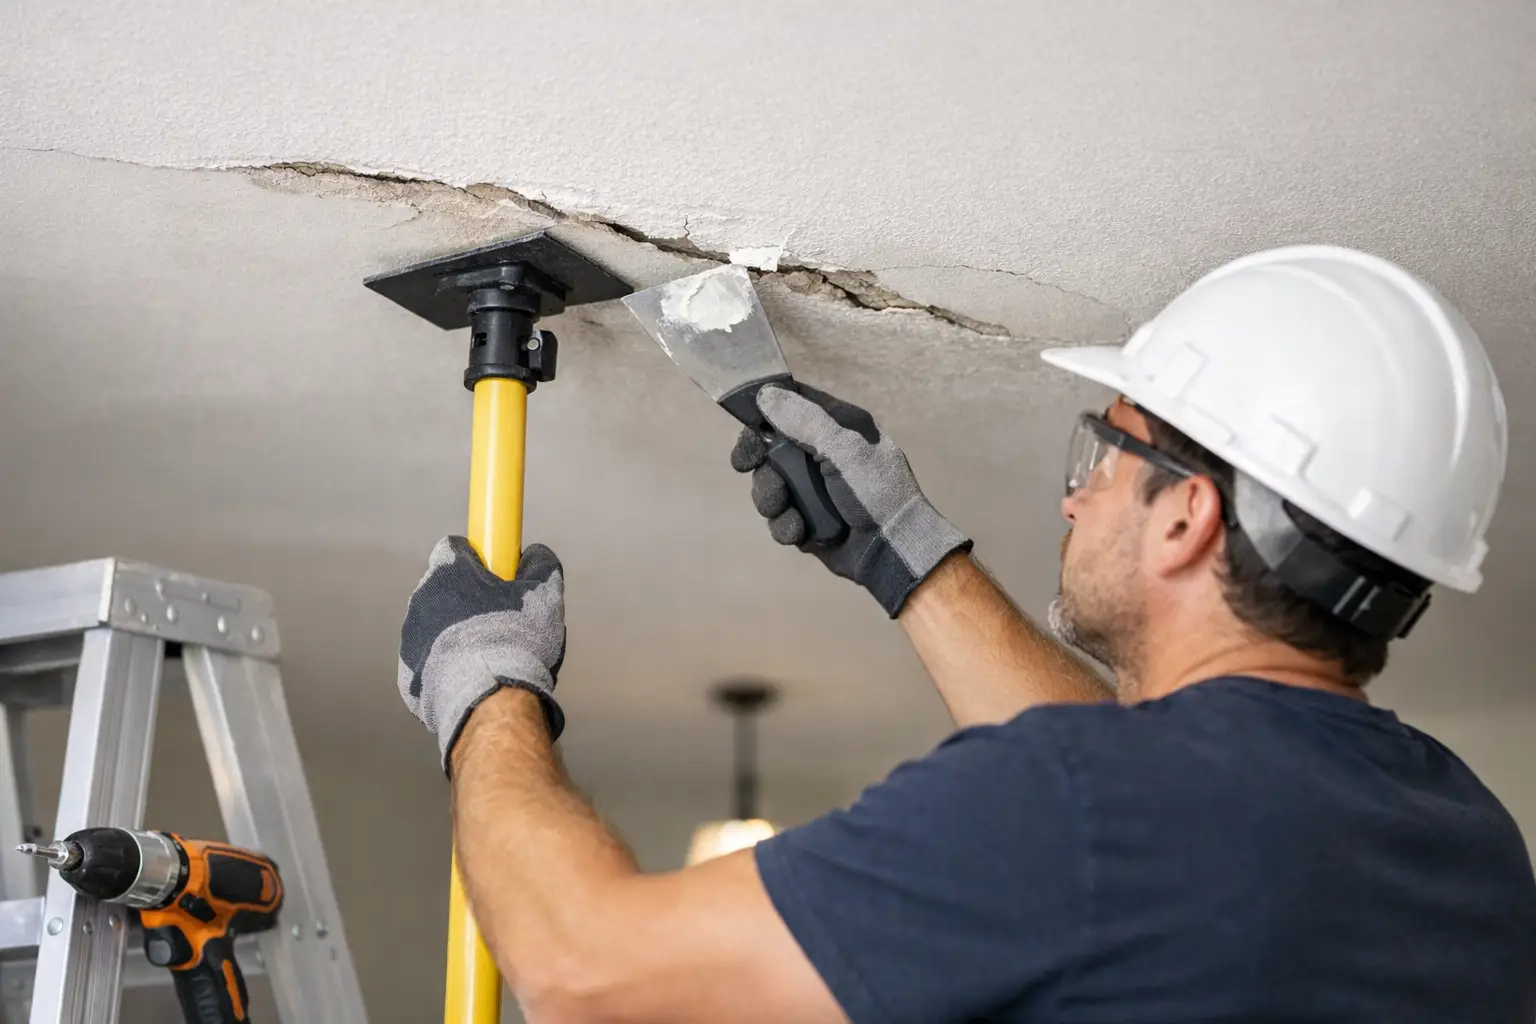
A ceiling that sags between framing members or pulls away at the seams is more than a cosmetic issue. To repair sagging drywall ceiling damage correctly, the first job is finding out why it moved. Loose fasteners, excess weight, moisture, improper installation, and framing movement can all leave a ceiling looking wavy, cracked, or ready to come down.
For homeowners in Monroe and Southeast Michigan, this problem is especially common after a roof leak, plumbing leak, ice dam, or long period of humidity. A quick patch may hide the visible damage for a while, but it will not hold if the drywall, framing, or moisture source has not been addressed first.
When a Sagging Ceiling Is a Safety Concern
Not every low spot means the entire ceiling is in danger of falling. A small seam crack or a shallow dip can sometimes be repaired with additional screws, joint work, and refinishing. But drywall that is visibly bowing, soft to the touch, stained, or pulling loose from multiple fasteners deserves immediate attention.
Stay out from directly beneath a badly sagging area, especially if the ceiling feels wet or appears to be separating from the joists. Move furniture and valuables away from the area. If water is active, shut off the source when possible and contact a qualified professional to assess the leak and the ceiling condition.
Drywall becomes surprisingly heavy when saturated. A 4-by-8 sheet can hold a great deal of water, and the paper facing loses strength as it gets wet. In that situation, adding a few screws through damaged material is not a dependable fix. A crew often needs to remove and replace the affected drywall once the structure is dry.
What Causes Drywall Ceilings to Sag?
The repair method depends on the cause. In older homes, installers may have used too few fasteners on ceilings, or the original nails may have loosened over time. Nail pops and long cracks along seams are common clues. Modern drywall screws provide a stronger hold, but even screws can fail if they miss framing or were spaced too far apart.
Water damage is another major cause. Roof leaks, overflowing bathrooms, failing plumbing connections, condensation in attic spaces, and ice dam damage can all weaken drywall. A brown ring or yellow stain usually points to moisture, but a ceiling can also be damp without dramatic staining. If there is any doubt, correct the source of the moisture before new drywall goes up.
Sometimes the issue is weight. A second layer of drywall, heavy texture, or old plaster material can strain a ceiling that the original installer never designed or fastened to support it properly. Homes with plaster ceilings may also develop sagging when the plaster keys behind the surface break loose from the wood lath. That calls for a different repair approach than standard drywall.
Framing movement can contribute as well. Seasonal expansion, settling, truss uplift, or a previous renovation can create cracks and separation where the ceiling meets walls. These conditions may be repairable, but a contractor needs to identify them before applying a finish coat. Otherwise, the same crack may return after a fresh paint job.
How to Repair a Sagging Drywall Ceiling
A sound repair begins with a close inspection. Check whether the affected area is dry and whether the drywall is still firm. Look for loose tape, fastener pops, stains, mold-like spotting, cracked seams, and gaps at the wall line. If the ceiling is beneath an attic, inspect for roof leaks, poor ventilation, or wet insulation. If it is below a bathroom or kitchen, check plumbing fixtures and supply lines above it.
Minor sagging with dry, solid drywall
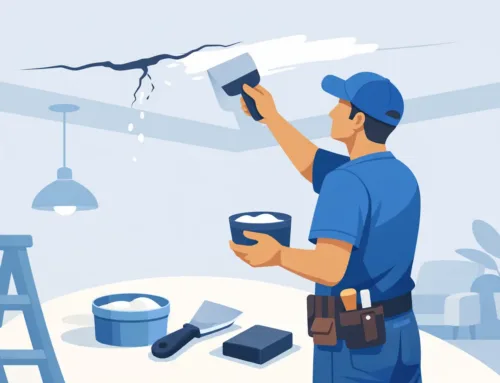
If the drywall is dry, intact, and only slightly loose, it may be possible to resecure it to the ceiling joists. A contractor locates the framing and installs drywall screws through the sheet and into solid wood or metal framing. The crew needs to place the screws properly and set them just below the paper surface without tearing it.
This is not a case for randomly driving screws into the ceiling. Missing the joists leaves the drywall unsupported, while breaking the paper face weakens the hold. Once the sheet is secure, the crew tapes and finishes the screw heads, cracks, and seams with joint compound. Several thin coats, proper drying time, careful sanding, and primer are what create a flat result that does not show through paint.
Sagging or damaged sections from water
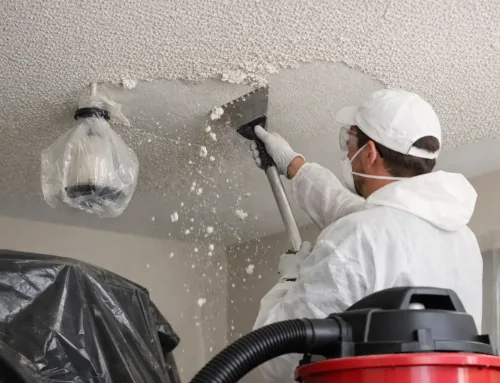
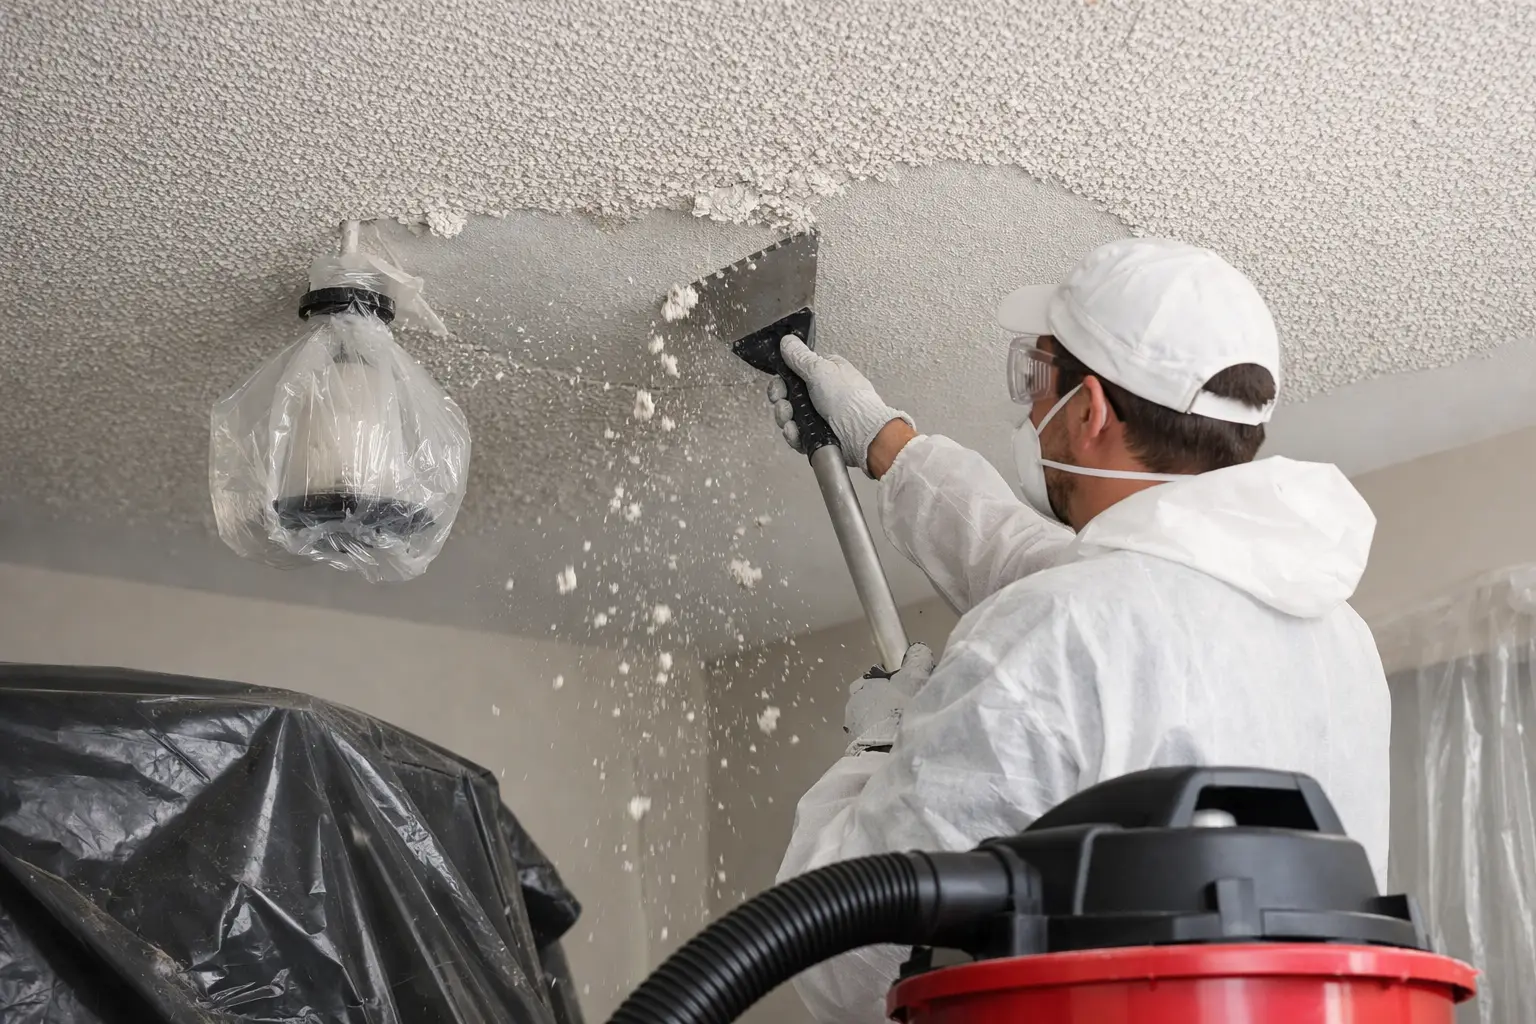
When drywall is soft, swollen, crumbling, or stained from a leak, removal is often the best option. The crew cuts the damaged section back to solid material and supports it with sound framing or added backing where needed. The area above must be dry before replacement begins.
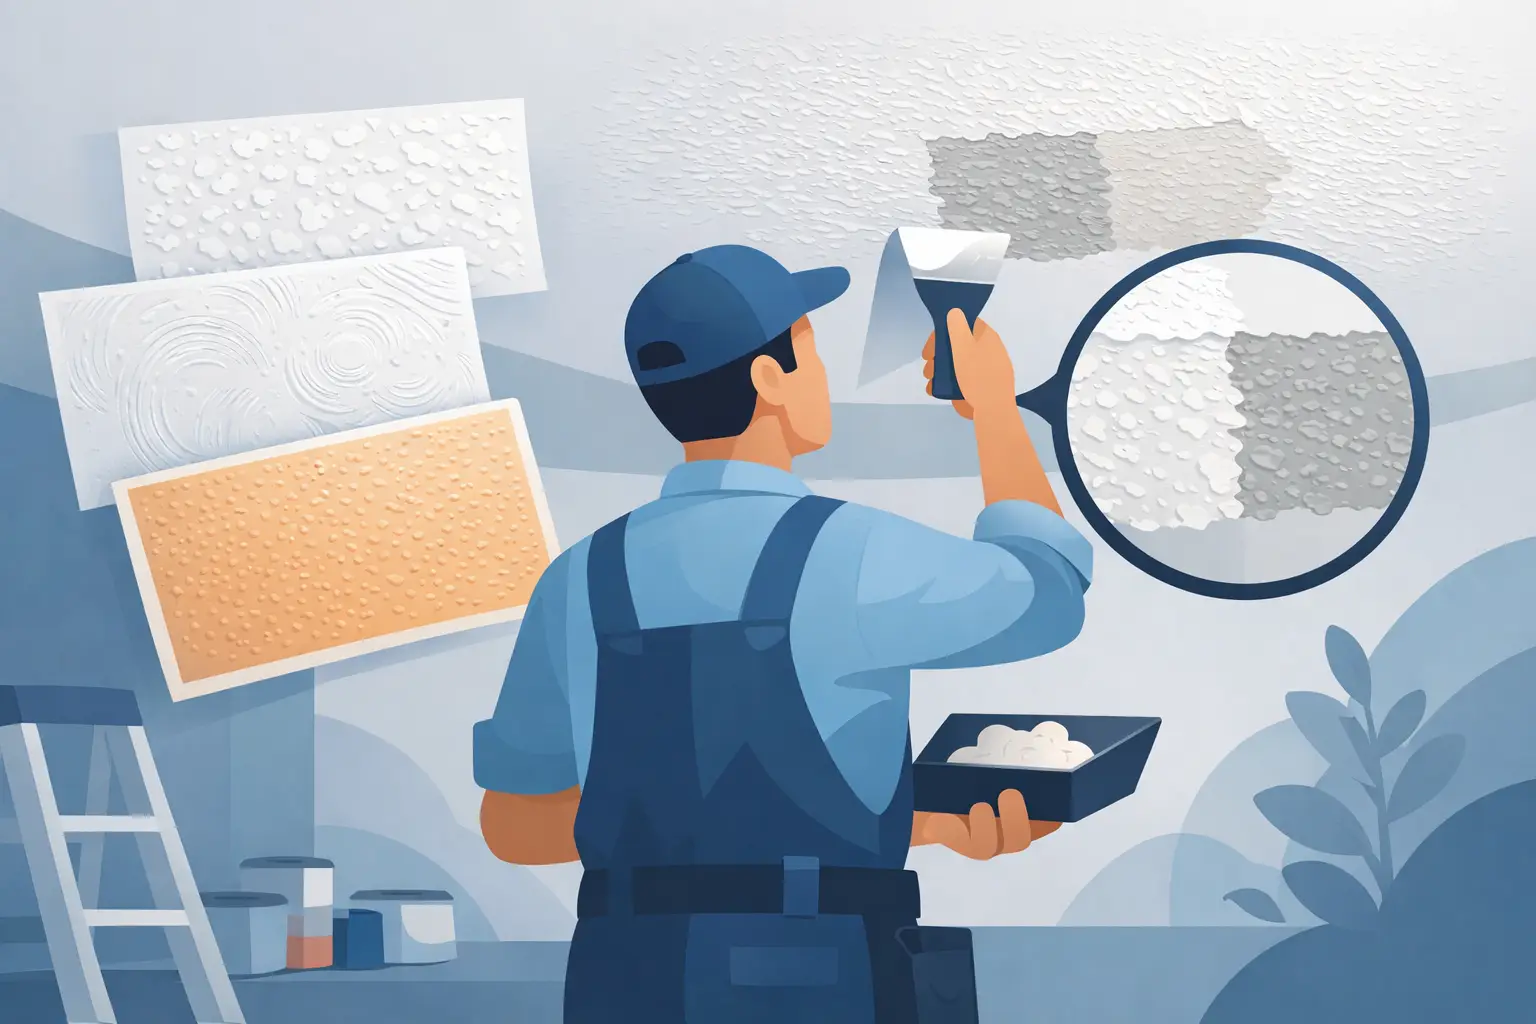
The crew then fits, screws into place, tapes, and finishes a new drywall patch to blend with the surrounding ceiling. Texture matching matters here. Smooth ceilings require precise feathering, while knockdown, orange peel, stipple, or popcorn surfaces need a repair that matches the existing pattern. A patch can look structurally sound and still look unfinished if the texture and sheen do not blend.
Large areas that have pulled loose
A ceiling with widespread sagging, several failed seams, or numerous loose fasteners may need partial or full replacement. This is often the more cost-effective long-term choice when the original installation was poor or the material has gotten repeatedly wet.
Replacement gives the installer a chance to inspect the framing, correct any backing issues, use proper screw spacing, and install clean new board. It also prevents the uneven surface that happens when a crew forces old sagging drywall back into place. The trade-off is more demolition and finishing work, but it delivers a straighter, more durable ceiling.
Why Simply Screwing It Back Up Can Fail
Homeowners sometimes try to pull a sagging ceiling tight with a row of screws. That can work on a small, dry section that has loosened from framing. It is not the right fix for water-weakened drywall or for a ceiling with damaged framing, deteriorated plaster, or widespread installation problems.
Driving screws through wet drywall can create a temporary improvement while leaving compromised material overhead. Covering a stain with joint compound and paint can also trap the visible evidence without solving the leak. The damage may return, and mold growth can become a concern if moisture remains in the cavity.
There is also the finish issue. Ceiling repairs are highly visible because light from windows and fixtures grazes across the surface. Uneven patches, raised tape, sanding marks, and mismatched texture stand out quickly. Professional finishing is often what separates a repair that is merely closed up from one that nobody ever needs to revisit.
When to Call a Drywall Professional
A professional inspection is the practical choice when the sagging area is large, water damaged, cracking across several seams, or near electrical fixtures. It is also wise to call for help when the ceiling has a textured finish, is made of plaster, or needs to match an existing surface in a prominent room.
TDM Drywall brings more than 32 years of hands-on experience to ceiling repairs, replacement, water-damage restoration, and texture matching throughout Monroe and the Downriver area. The goal is not to cover a problem quickly. It is to identify the cause, stabilize the ceiling, and leave behind a clean, seamless finish that holds up.
Protecting the Ceiling After the Repair
Once the repair is complete, keep an eye on the area through the next season and after heavy rain. A recurring stain, new crack, or soft spot is a sign that moisture or movement is still present. Addressing it early is far easier than waiting for the drywall to sag again.
A repaired ceiling should disappear into the room, not keep asking for your attention. Fix the cause, use the right repair method, and insist on finish work that looks clean from every angle. Learn more about our ceiling repair services.