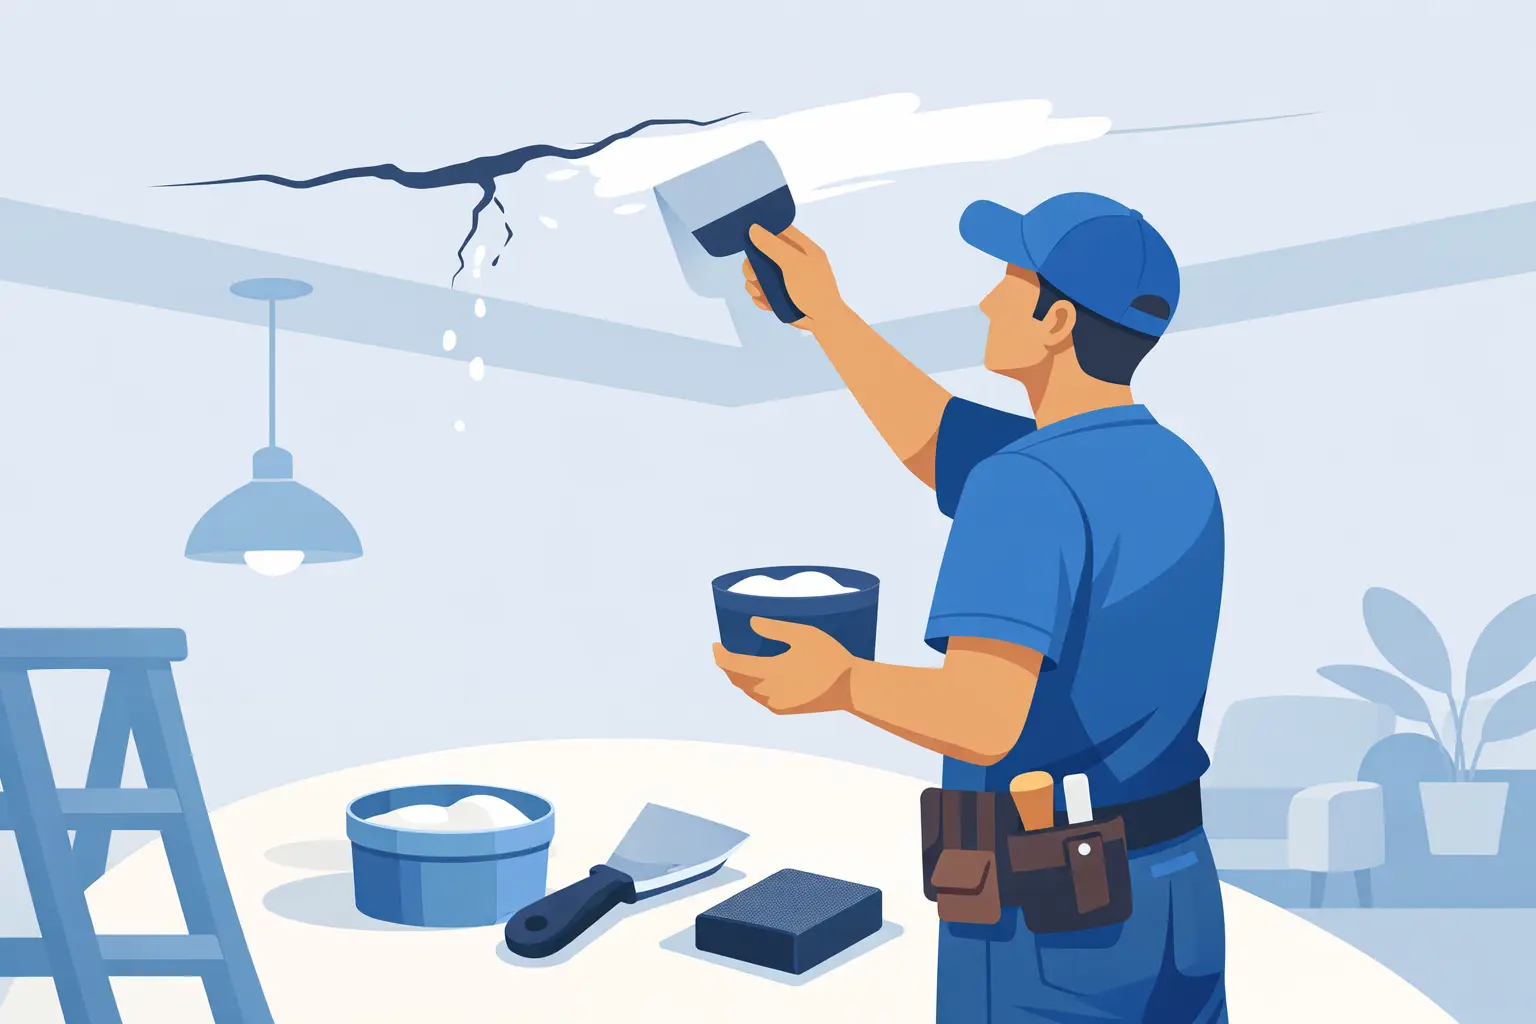
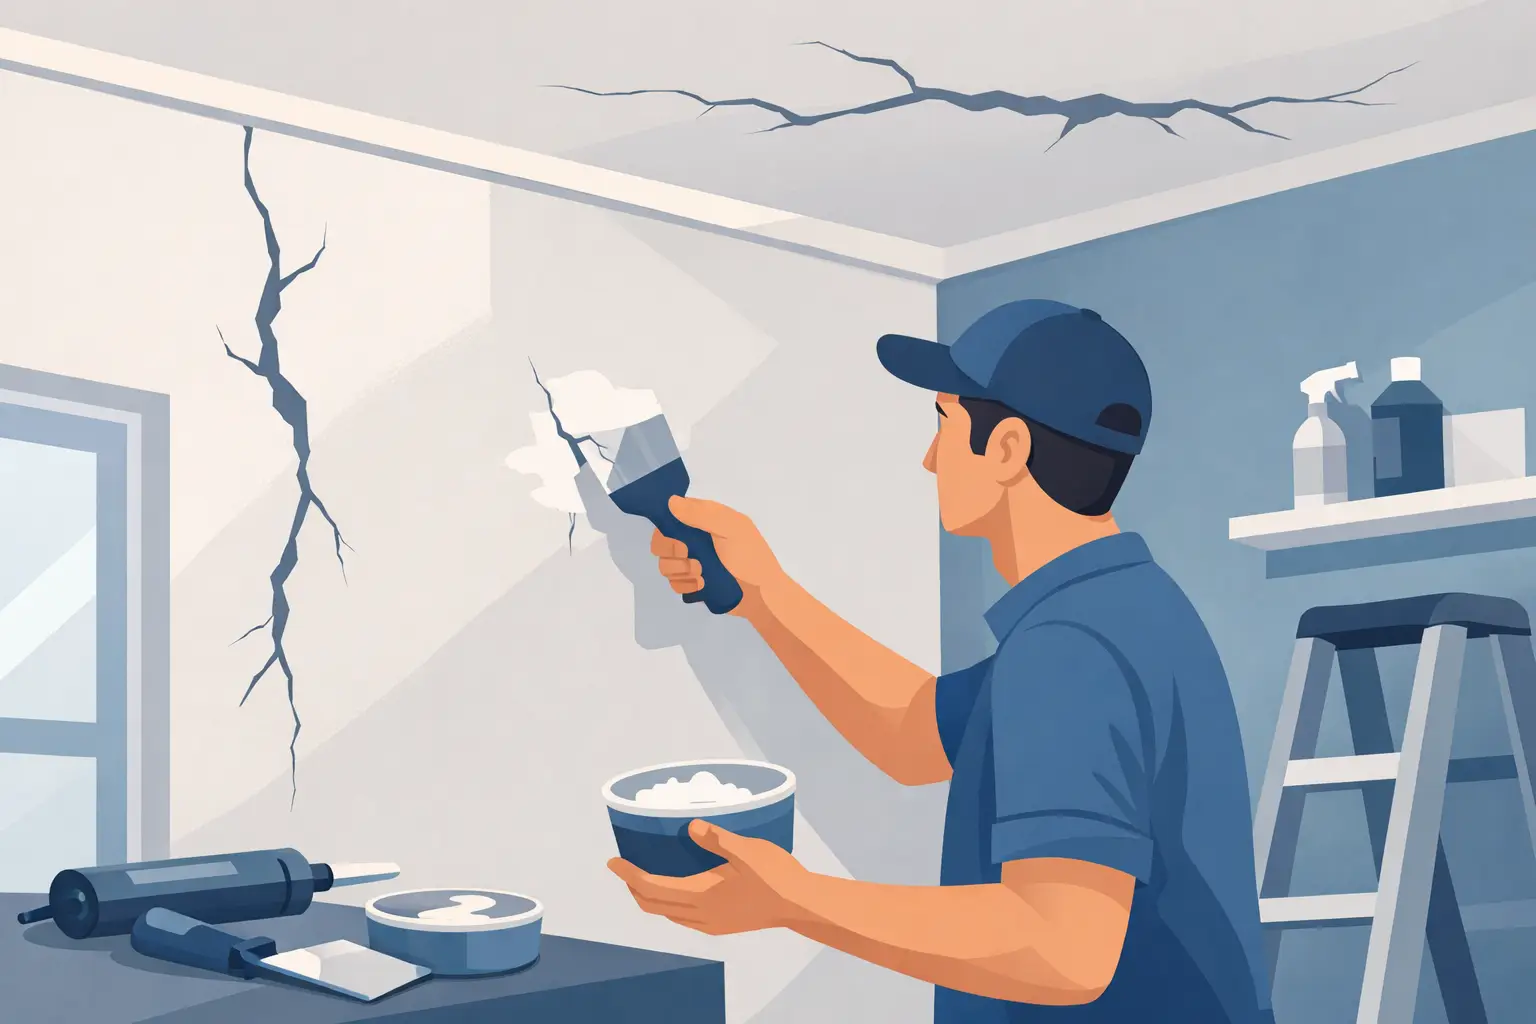
A ceiling crack always gets your attention fast. It may start as a thin line over a doorway or run across the middle of a room, and suddenly all you can see is that flaw every time you look up. If you’re asking, how do you repair a ceiling crack, the right answer depends on what caused it, how wide it is, and whether the damage is still moving.
Some cracks are cosmetic and fairly straightforward to fix. Others are a sign of settling, moisture problems, loose drywall tape, or movement in an older plaster ceiling. The repair itself is only part of the job. A lasting result comes from fixing the crack the right way the first time, with the right materials and enough prep to keep it from showing back up a few months later.
How do you repair a ceiling crack the right way?
The basic process is simple on paper. You remove any loose material, reinforce the crack, apply compound in thin coats, sand it smooth, then prime and paint. Where homeowners run into trouble is skipping reinforcement or trying to fill the crack with spackle alone.
A ceiling moves more than most people realize. Seasonal humidity, framing movement, and minor settling all put stress on that surface. If the repair is only a quick surface fill, the crack often comes back. That is why a proper repair usually involves drywall tape or mesh, not just patching compound pressed into the gap.
The exact method also changes based on the ceiling material. Drywall ceilings and plaster ceilings can look similar once painted, but they do not repair exactly the same way. A newer drywall seam crack is a different job than an older plaster crack with crumbling edges.
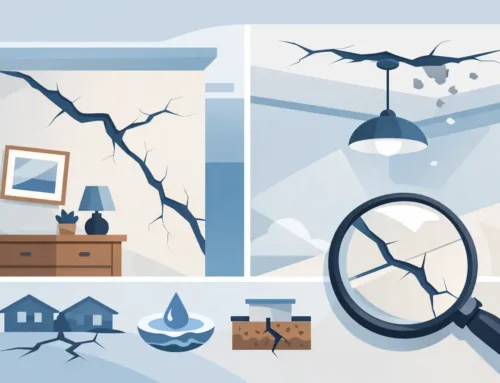
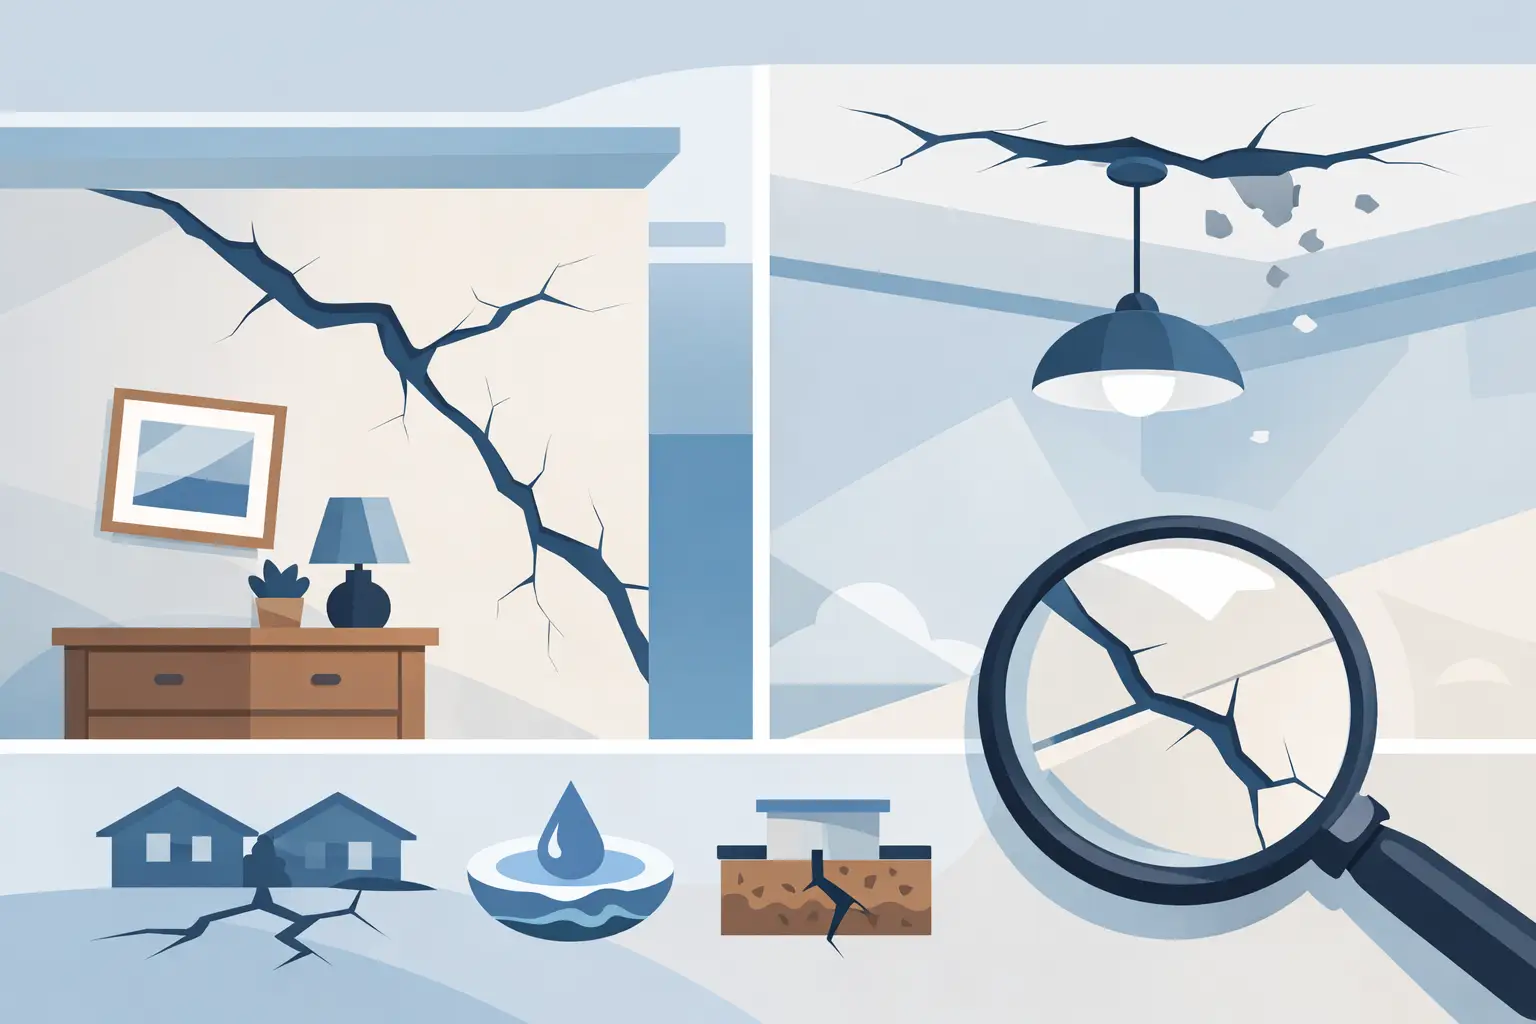
Start by figuring out what kind of crack you have
Hairline cracks are often cosmetic, especially if they follow a drywall seam. These are commonly caused by minor settling or tape failure. If the crack is narrow, clean, and there are no signs of sagging or staining, the repair may be limited to the surface area.
Wider cracks deserve a closer look. If the ceiling is bowing, if the crack has uneven edges, or if sections feel loose when pressed gently, there may be more going on above the surface. Water damage is another major warning sign. A brown stain, soft drywall, or peeling paint means the leak issue must be corrected before any patching starts.
With plaster ceilings, the key question is whether the plaster is still bonded well to the lath behind it. If it has separated, patching the visible crack alone will not hold for long. In those situations, a more involved repair or partial replacement may be the better value.
What you need before repairing a ceiling crack
For a typical drywall ceiling crack, the materials are straightforward: utility knife, putty knife or taping knife, drywall tape, joint compound, sanding sponge or fine sandpaper, stain-blocking primer if needed, and matching ceiling paint. A ladder and drop cloth also matter more than people expect. Ceiling work is messy, and it is harder to get clean results if you’re overreaching or trying to protect furniture as you go.
One thing worth mentioning is compound choice. Lightweight spackle can work for tiny surface blemishes, but for an actual crack repair, standard joint compound is usually the better option because it feathers more smoothly and works well with tape. If speed matters, setting-type compound can be useful, but it takes a little more skill because it hardens fast.
Step-by-step ceiling crack repair
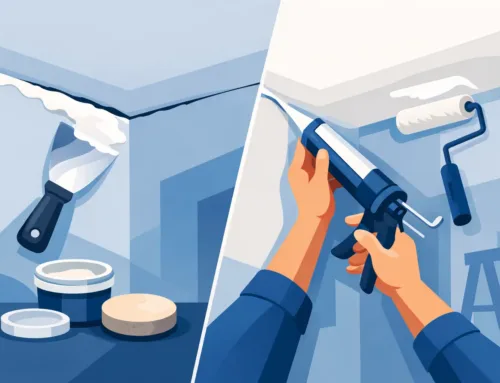
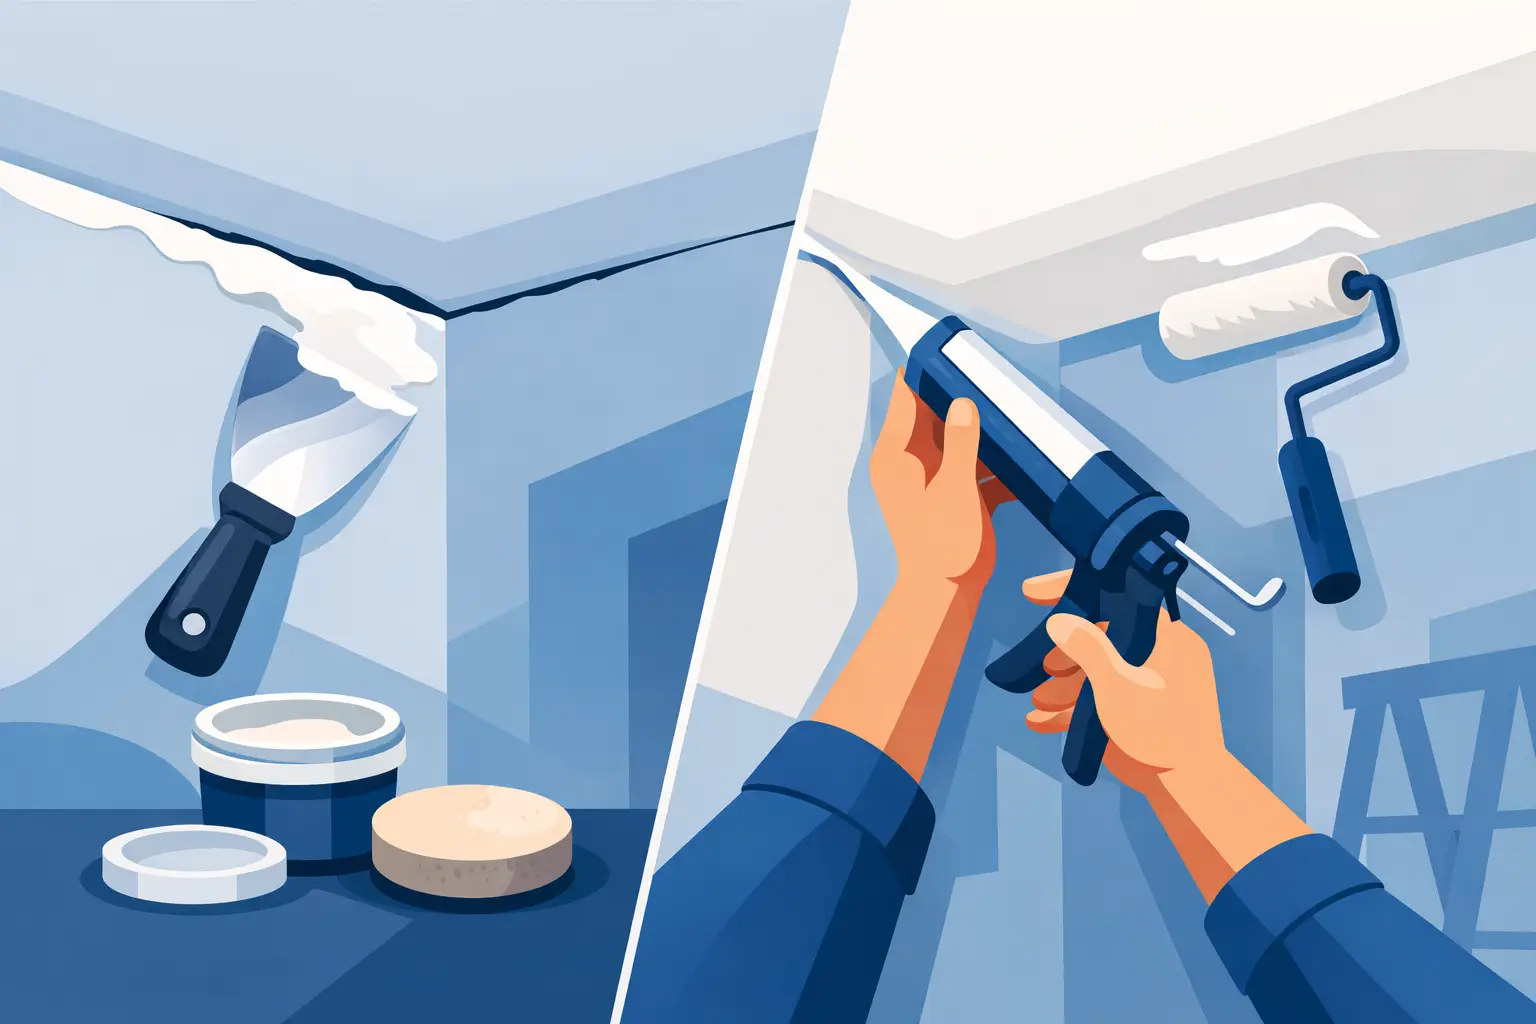
Begin by opening the crack slightly with a utility knife. That sounds backward, but it helps remove weak material and gives the compound a better surface to bond to. Then scrape away anything loose, including peeling paint, old tape, or crumbly plaster. If dust is left in the crack, wipe it down so the repair material can adhere properly.
Next, apply a thin bed of joint compound over the crack and embed drywall tape into it. Paper tape often gives the strongest, smoothest result on a straight ceiling crack, though mesh tape may be used in some situations. The important part is full reinforcement across the damaged area, not just covering the line itself.
Once the tape is in place, apply a thin coat of compound over it and feather the edges outward. Let that coat dry fully before adding another. Most good ceiling repairs take two to three coats, sometimes more, because each layer should stay thin. Heavy coats tend to shrink, crack, or leave visible ridges.
After the final coat dries, sand lightly until the patch blends into the surrounding surface. Then prime the repair before painting. Primer is not optional here. Without it, the patched area may flash through the finish coat and leave a dull or uneven spot on the ceiling.
Why ceiling crack repairs often fail
The most common mistake is treating the crack like a nail hole. A ceiling crack usually needs reinforcement, not just filler. If there is movement underneath, simple patching rarely lasts.
The second issue is poor feathering. Since ceilings catch light across a broad flat surface, even a small hump or edge in the patch can stand out once painted. That is why professional repairs focus so much on blending, not only on covering the crack.
The third problem is ignoring the cause. If the crack came from water damage, framing movement, or a loose drywall panel, the visible repair is only a temporary cover-up until the underlying issue is corrected.
When a ceiling crack is more than a cosmetic problem
Not every ceiling crack is serious, but some deserve immediate attention. If the crack suddenly appears and grows quickly, if doors or windows nearby start sticking, or if the ceiling looks like it is sagging, it is smart to pause the patching and have the area evaluated.
Water is another clear dividing line. A stained ceiling may look dry today, but hidden moisture can weaken drywall, soften joint compound, and lead to recurring damage. The crack repair should come after the leak source is addressed and the damaged material is fully dry.
In older homes around Monroe and Southeast Michigan, plaster ceilings can also present a different challenge. What looks like a simple crack may involve aged plaster keys breaking loose over time. In that case, a proper repair may take more than tape and mud. It may require securing loose areas, rebuilding sections, or replacing part of the surface for a clean and durable finish.
DIY or professional repair?
If the crack is short, hairline, and clearly cosmetic, a careful homeowner can often handle it. The catch is finish quality. Ceiling repairs are unforgiving because light highlights every bump, edge, and sanding mark. Many do-it-yourself repairs technically fill the crack but still leave a visible patch.
That is where experience matters. A professional knows how wide to feather the repair, how to match the surrounding texture, and when a crack is actually pointing to a larger issue. For builders, remodelers, and homeowners who want the ceiling to look clean again without repeated patching, that difference matters.
TDM Drywall has seen all versions of this problem, from minor seam cracks to larger repairs tied to water damage or failing plaster. The goal is not to just make the crack disappear for today. It is to leave a repair that blends in and holds up.
How do you repair a ceiling crack and keep it from coming back?
A lasting repair starts with honest diagnosis. If the crack is caused by normal minor movement, tape and compound may solve it. If the ceiling has moisture damage, loose substrate, or repeated settling stress, the repair needs to account for that. Sometimes that means a wider repair area. Sometimes it means replacing a section rather than patching over weakness.
Paint choice and prep also matter. Even a well-finished patch can stand out if the ceiling color has aged or if the texture is not matched correctly. Smooth ceilings need careful sanding and priming. Textured ceilings need a repair approach that recreates the original look instead of leaving a flat patch in the middle of a patterned surface.
If you are looking up at a crack and wondering whether it is a quick fix or something more, trust what the ceiling is showing you. A clean, durable repair is possible, but it usually comes down to doing a little more prep and a little less guessing. When the finish is done right, the best repair is the one you stop noticing entirely.


Leave A Comment