

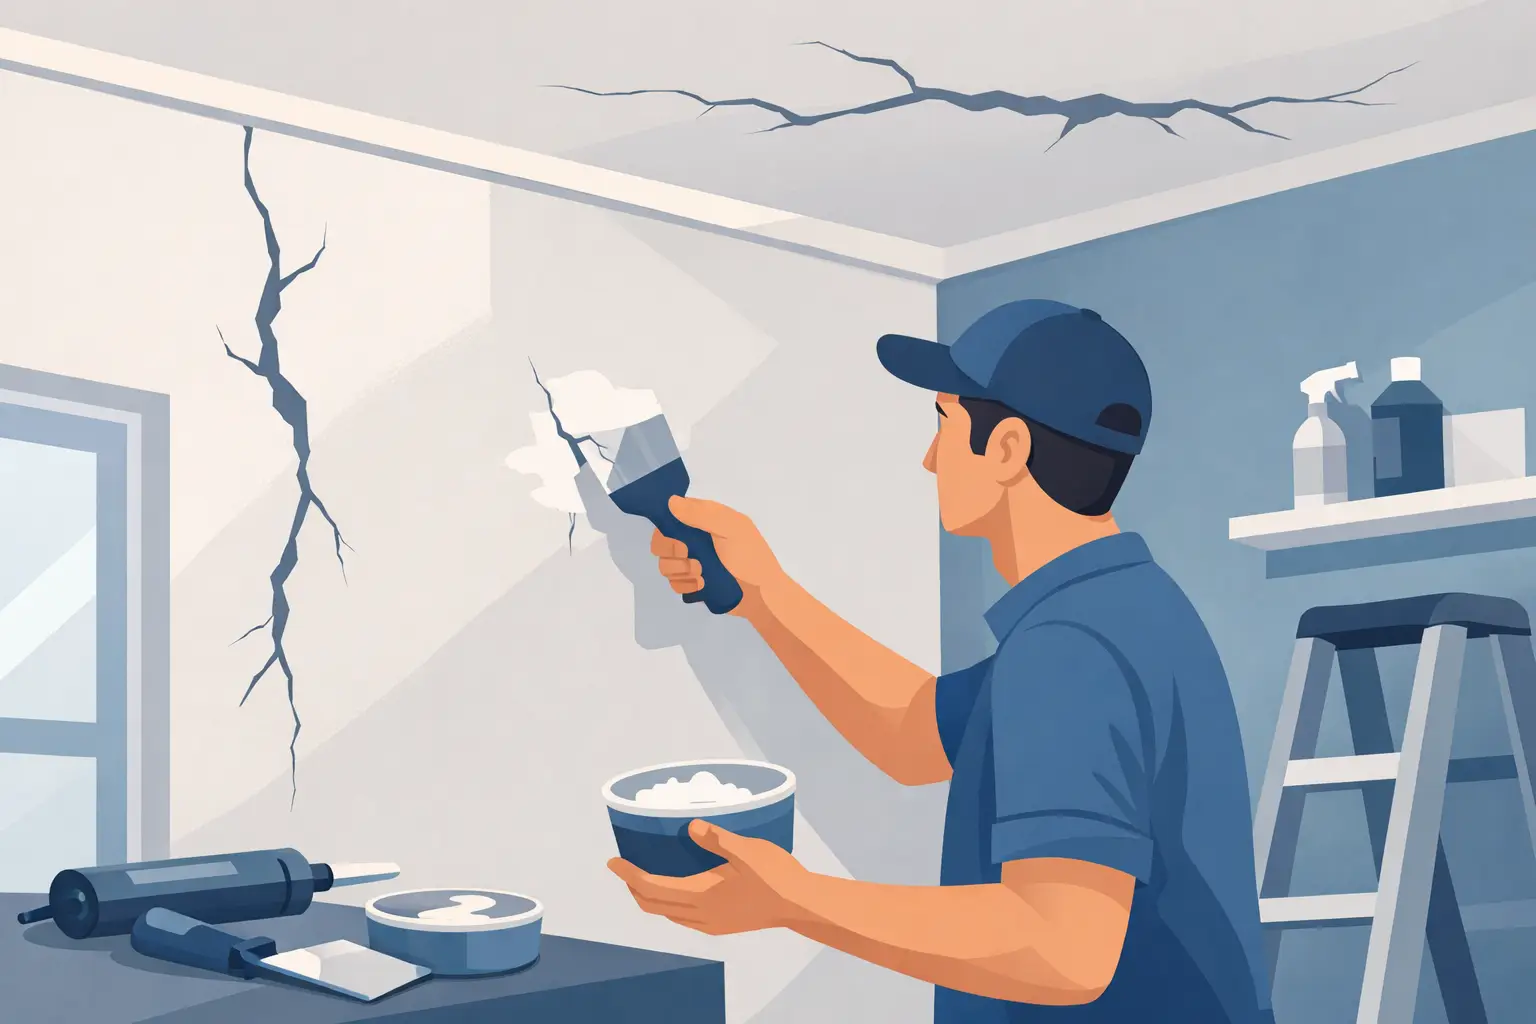
A crack over a doorway or a line running across the ceiling can go from minor annoyance to constant eyesore fast. The right repair depends on what caused the crack in the first place. Some cracks in walls and ceilings are simple cosmetic issues. Others point to movement, moisture, or failing joint tape that needs a more careful fix.
The biggest mistake homeowners make is treating every crack the same way. A little spackle might hide it for a few weeks, but if the surface is moving or nobody reinforced the repair, the crack usually comes back. Good drywall and plaster repair is less about covering the line and more about rebuilding that area so it stays smooth and stable.
This guide covers all three parts of the problem: what causes the crack, what the pattern is telling you, and how to repair it so it stays repaired.
What causes cracks in walls and ceilings?
In most homes, cracks show up because materials move over time. Houses settle, framing expands and contracts with seasonal humidity, and joints in drywall or plaster take stress. That movement is normal to a point. The trouble starts when the movement is excessive, the original finish work was weak, or water gets involved.
In Southeast Michigan, freeze-thaw cycles, humidity swings, and older housing stock all play a role. Homes here often see a mix of natural settling and age-related wear, especially around ceilings, corners, windows, and door openings.
Normal settling and seasonal movement
A home does not stay perfectly still. Lumber shrinks and swells slightly. Trusses and joists shift with temperature and moisture. Foundations settle gradually. When that happens, stress shows up first at drywall seams and taped joints.
These cracks are usually thin and straight. You may notice them where walls meet ceilings, above doors, or along a seam line in a large ceiling. In many cases they are a finish issue rather than a serious structural concern, but they still need proper repair if you want them gone for good.
Poor drywall finishing or weak tape joints
Sometimes the crack is not telling you the house moved too much. It is telling you the original joint was never finished well. If the installer embedded the tape poorly, used too little compound, or patched the surface quickly without addressing the failed joint underneath, the crack comes back.
This is common in fast patch jobs. Someone covers, sands, and paints a crack, but the loose tape or unstable seam is still there. It looks fixed for a short time, then reopens as soon as the wall or ceiling moves again.
Moisture and water damage
Water is the biggest reason a crack becomes more than cosmetic. A roof leak, plumbing leak, ice dam, or long-term humidity problem weakens drywall and plaster, softens joint compound, and stains the surface around the crack.
Ceiling cracks deserve extra attention for this reason. If you see sagging, bubbling paint, discoloration, or soft spots near the crack, moisture may be the real cause. Patching the surface before you correct the leak wastes the money.
Structural movement
Some cracks point to bigger movement in the home itself. Foundation settling, shifting support members, overloaded framing, or long-term structural stress create wider cracks or cracks that keep growing. These concern us more when they run diagonally from door or window corners, appear in multiple rooms, or come with sticking doors, uneven floors, or gaps around trim.
Not every structural issue is severe, and not every diagonal crack means the house is unsafe. Still, this is where experience matters. The pattern, width, and location tell you a lot.
What crack shape and location tell you
Where the crack appears is often just as important as its size. Straight cracks along seams point to tape or joint issues. Spiderweb cracks suggest old plaster stress or impact damage. Diagonal cracks near openings relate to settling or movement. Cracks that reappear in the same place after repair almost always mean the underlying cause is still active.
Cracks in ceilings
Ceilings show stress at seams, especially in larger rooms. Straight cracks form where drywall panels meet, and older homes show plaster cracks as materials age. If the crack follows a taped joint, poor seam finishing or normal movement is the likely issue. For a full walkthrough of that repair, see our guide to ceiling crack repair.
If the ceiling crack is wide, stained, sagging, or running in an irregular pattern, the cause may be moisture or framing movement rather than a simple seam failure. If you are trying to work out whether what you are looking at is urgent, our guide on whether ceiling cracks can be serious covers the warning signs.
Cracks above doors and windows
Openings in walls naturally create stress points. As the house settles, the drywall around those corners cracks, especially if the framing shifts slightly over time. Most of these repair without major reconstruction, but the crew has to treat them correctly. Patch and paint them repeatedly without stabilizing the area and they return.
Cracks where walls meet ceilings
These come from truss uplift, seasonal movement, or normal framing shift. In colder months especially, wood framing moves enough to open a line at the top of the wall. That does not always signal a serious problem, but the repair should allow for some movement rather than burying the line under more mud. We cover that specific repair in how to repair a crack between wall and ceiling.
Cracks in older plaster walls
Plaster behaves differently than drywall. In older Monroe and Downriver homes, plaster cracks from age, vibration, settling, or failure of the plaster keys behind the surface. A plaster crack can look simple on the outside while hiding loose material underneath.
That is why plaster work is rarely one-size-fits-all. Some areas stabilize and skim coat cleanly. Others need more involved plaster repair or replacement to get a solid, lasting finish.
When a crack is minor and when it is not
A thin, stable hairline crack with no staining, sagging, or spreading is usually a minor repair. It may still need professional finishing if you want an invisible result, especially on ceilings or textured surfaces, but it is manageable.
A crack deserves closer attention when it runs wider than about an eighth of an inch, continues to lengthen, reappears after repair, or comes with related symptoms: nail pops in clusters, bowed surfaces, water marks, soft drywall, tape visibly separating, or doors that no longer close properly. Those details matter more than the crack alone.
This is where homeowners get tripped up. A small crack can come from a bigger issue, and a larger-looking crack is sometimes mostly cosmetic. The surface only tells part of the story.
Tools and materials for fixing cracks in walls and ceilings
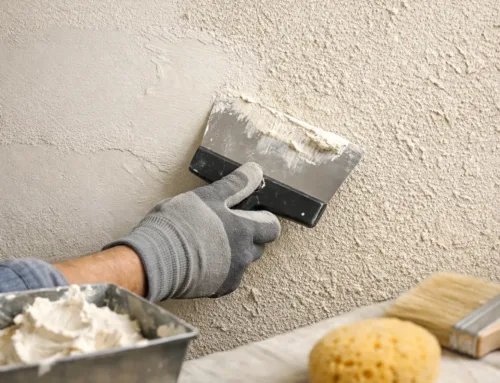
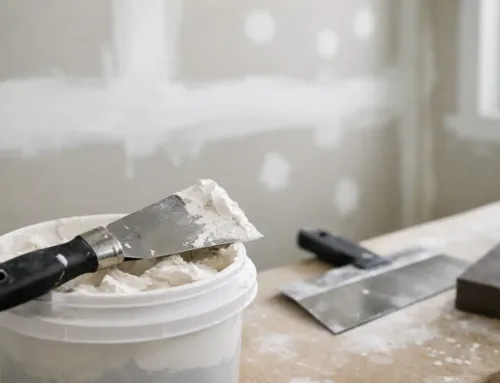
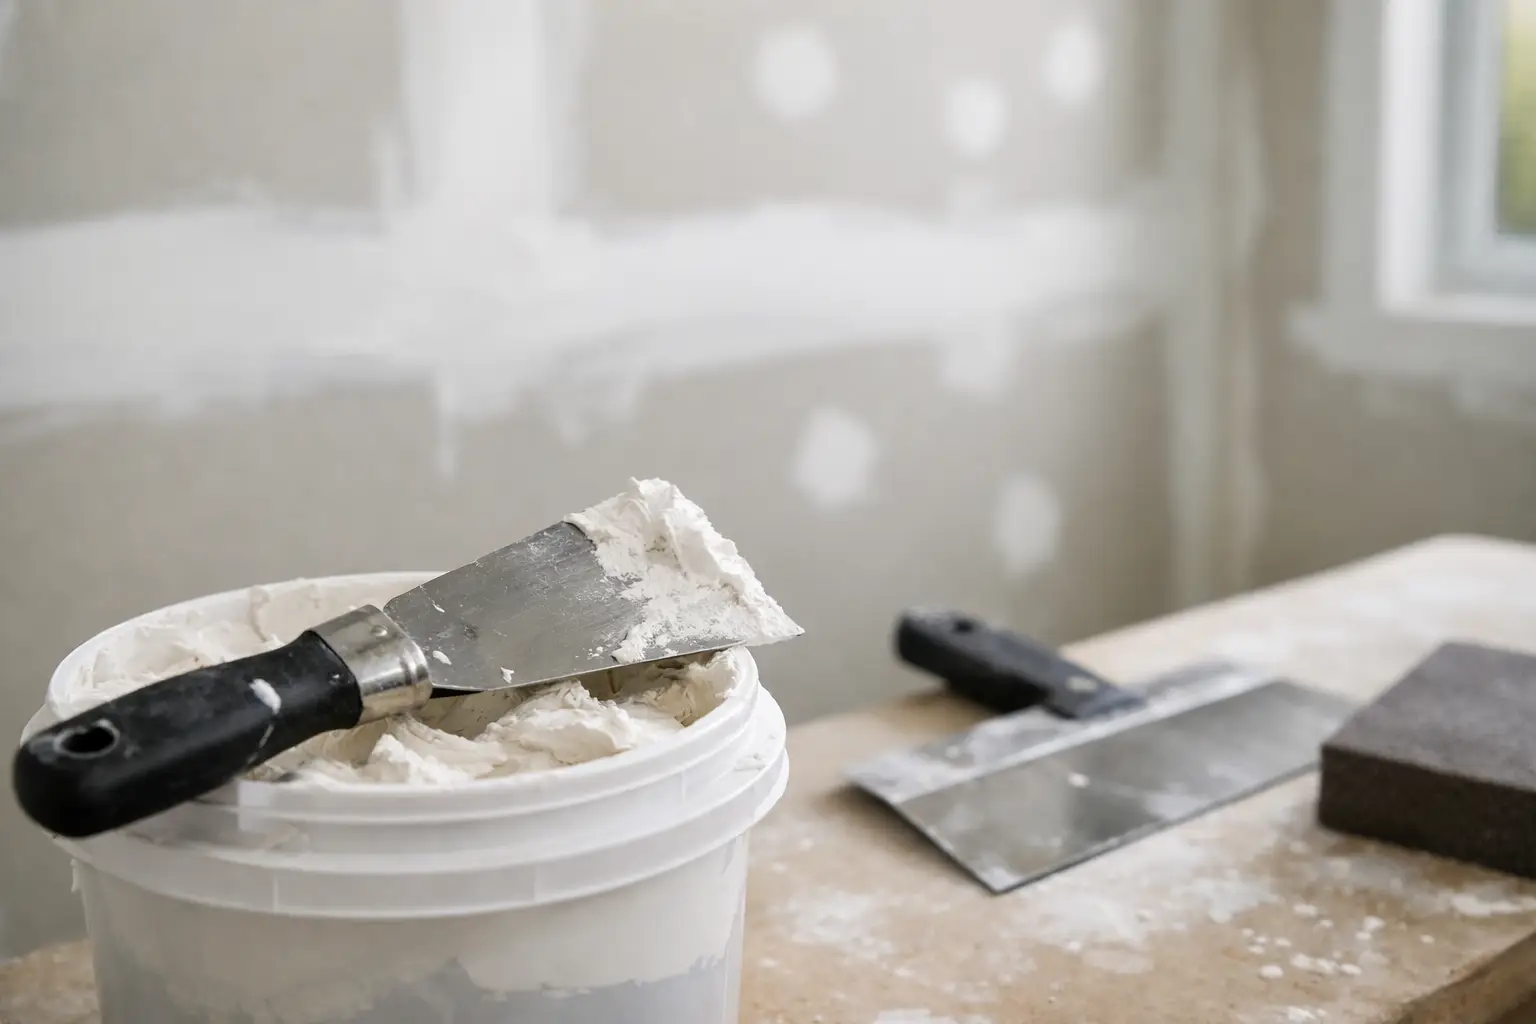
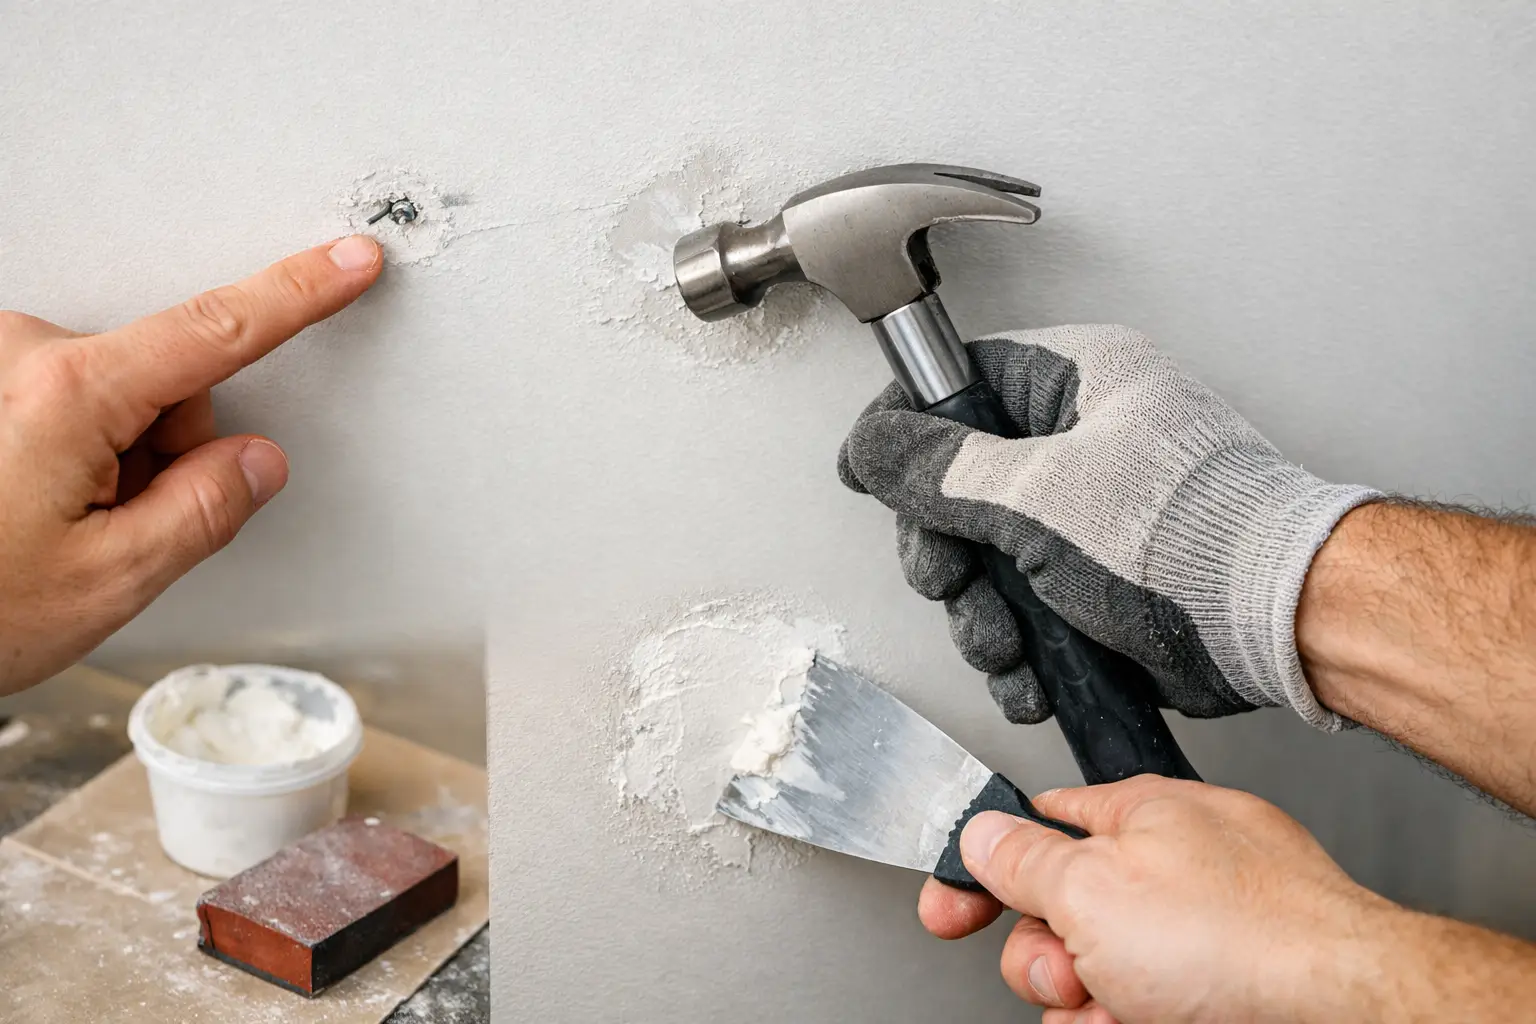
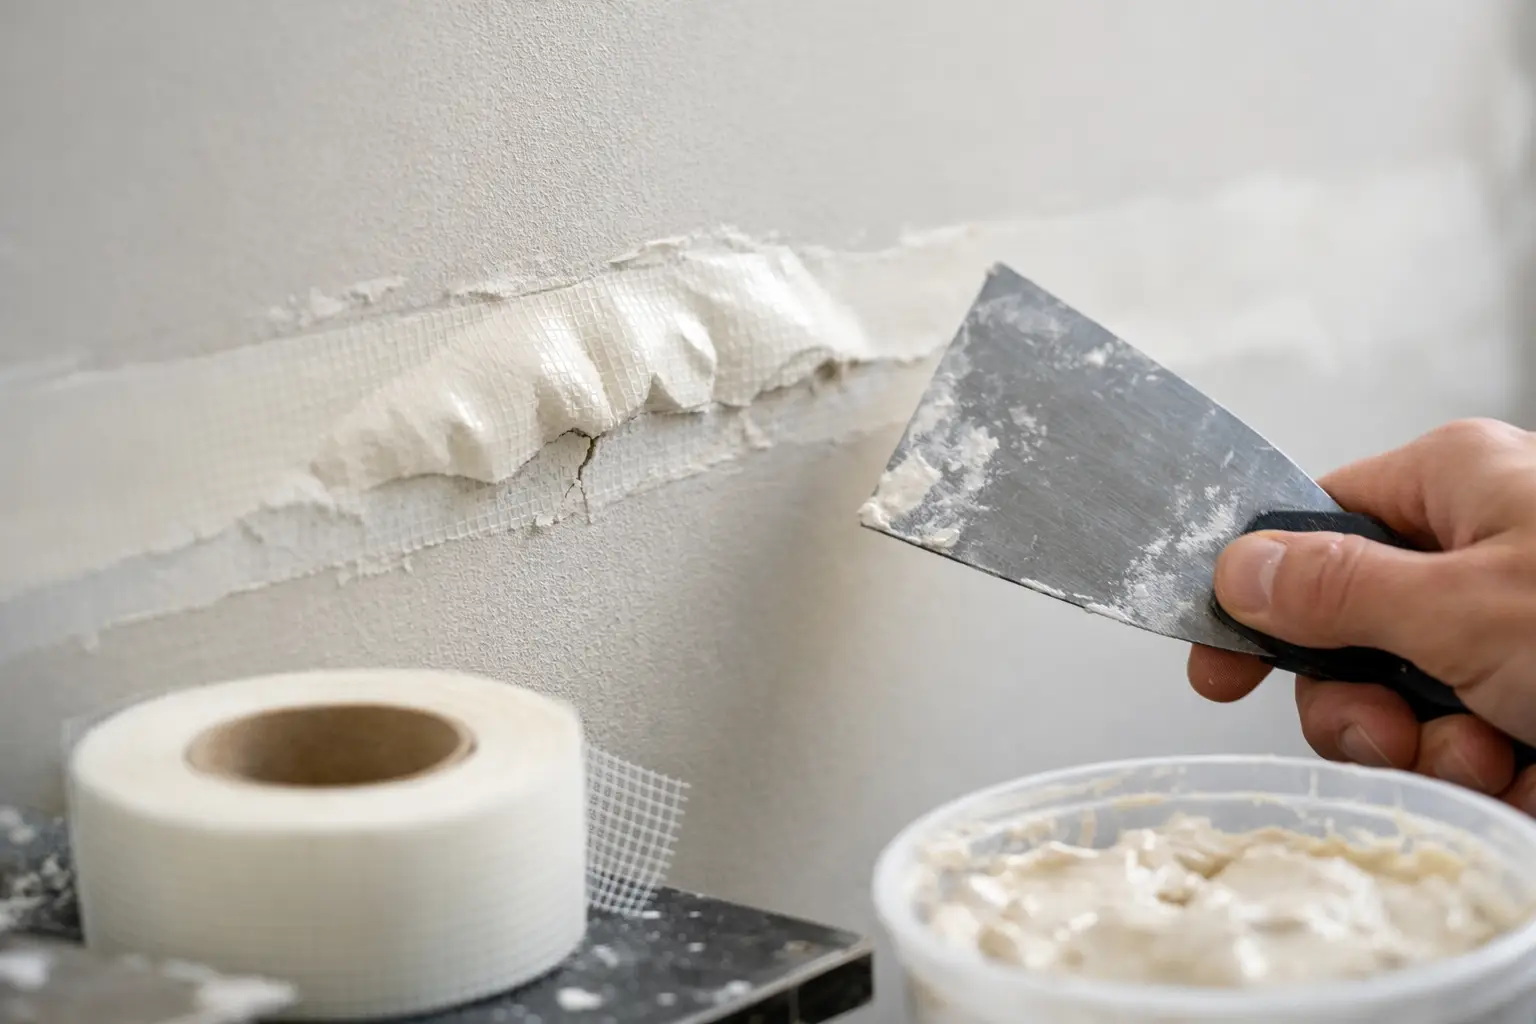
For most basic drywall crack repairs you need a utility knife, sanding sponge, setting-type joint compound or quality patching compound, drywall tape, a putty knife or taping knife, primer, and matching paint. For recurring drywall seam cracks, paper tape is often the better choice because it adds strength and resists future movement better than a quick skim coat alone.
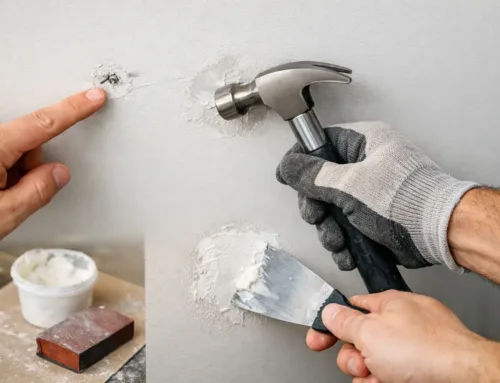
Not every product works for every surface. Lightweight spackle is fine for tiny cosmetic touch-ups, but it is the wrong choice for a seam crack or ceiling crack that needs reinforcement. Setting compound cures harder and performs better where durability matters.
If the surface has texture, that adds another step. Matching orange peel, knockdown, or older hand-applied textures takes a careful hand.
How to fix cracks in walls and ceilings step by step
Start by opening the crack slightly with a utility knife. That sounds backward, but it removes loose material and gives the compound a clean surface to bond to. Leave flaking paint or crumbling mud in place and the repair is only sitting on weak material.
Next, clean out the dust and check for movement. If the drywall feels solid and the crack is truly minor, apply a thin coat of compound over the area. For a simple hairline crack, one or two light coats may be enough. Let each coat dry fully, then sand lightly between coats.
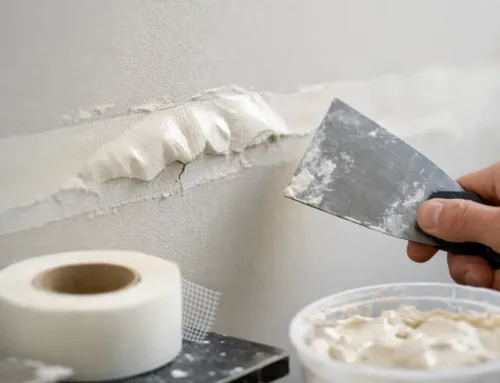
If the crack is more than a hairline or runs along a seam, embed tape into a fresh layer of compound. Keep the first coat tight and flat, then feather out two additional coats wider each time. That gradual buildup is what helps the patch disappear after sanding and painting.
Once the repair is smooth, prime it before painting. Skipping primer is one of the main reasons patched spots flash through the finish and look dull or uneven.
Ceiling cracks need a higher standard
Ceiling cracks follow the same basic process, but gravity works against every repair. Scrape away any loose material first. If the crack runs along a seam, use tape and compound rather than trying to fill it with one heavy coat.
Keep each coat light. Heavy buildup on ceilings sags, shrinks, or leaves visible edges. After sanding, look across the ceiling in natural or side lighting. That low-angle view shows ridges and imperfections you will miss from directly underneath.
If the ceiling has had water damage, fix the source first. A clean patch over an active leak will not last. The same goes for ceilings that feel soft, swollen, or detached. Those areas need replacement, not cosmetic repair.
Why cracks in walls and ceilings keep coming back
The biggest reason is simple: someone fixes the visible line but not the cause. If moisture, movement, loose tape, damaged board, or unstable plaster sits underneath, the crack returns.
The second reason is poor finish work. A lasting repair takes more than filling a gap. It means removing failed tape, reinforcing the joint, replacing damaged sections, blending texture, or skim coating a broader area so the finished surface reads uniform.
That matters even more in high-visibility areas like living rooms, kitchens, entryways, and ceilings with natural light. A patch that is technically closed up but still obvious from across the room is not much of a repair.
Drywall versus plaster repair
Drywall cracks are more predictable. If the board is sound and the framing is not moving excessively, tape and compound repairs hold up well when done properly.
Plaster is different. It is harder, more brittle, and less forgiving. A patch that works on drywall can fail on plaster if the base is unstable. Sometimes the right fix is a localized plaster repair. Other times the best long-term result comes from securing the area and resurfacing it.
For homeowners, that difference matters because the wrong repair wastes time and money. A quick cosmetic patch can look fine at first and then reopen after one heating season.
Texture matching is part of the repair
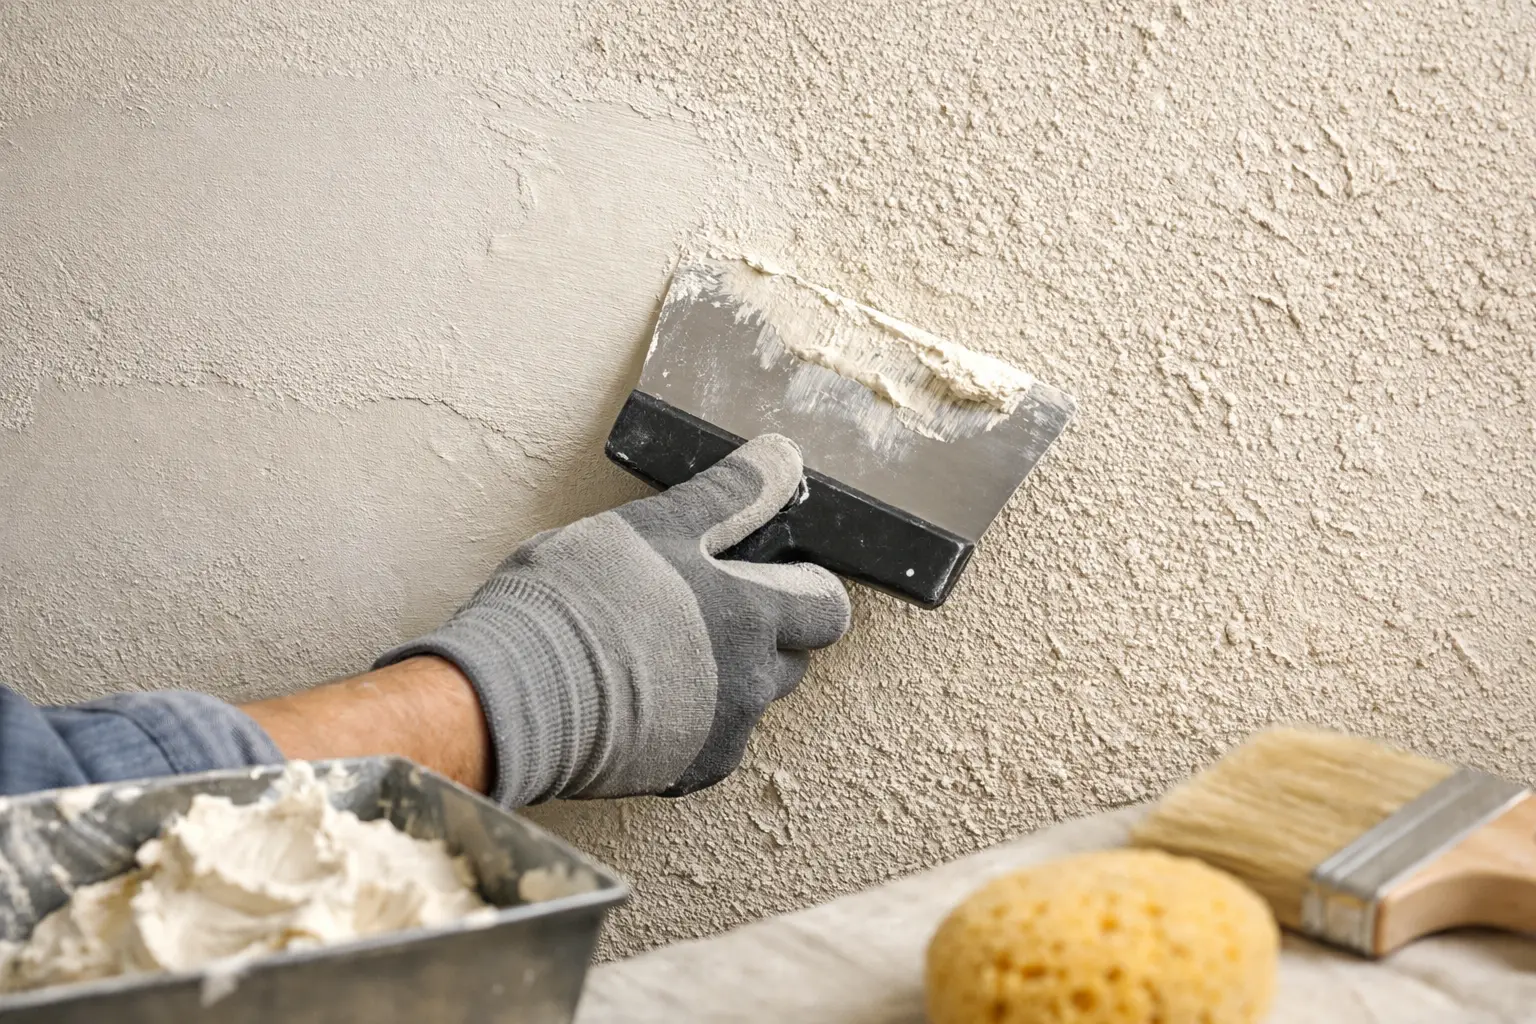
A crack repair is only as good as the finish around it. Smooth walls need clean feathering and careful sanding. Textured walls and ceilings need a patch that blends with the original pattern. If the texture does not match, the eye goes straight to the repair even after fresh paint.
This holds especially true with ceiling textures, knockdown finishes, and older surfaces that have been through multiple rounds of paint. Matching those areas takes more than product knowledge. It takes a feel for application, pattern density, and how the patched spot will look once primed and painted.
Should you fix cracks in walls and ceilings yourself or call a pro?
It depends on the size of the crack, the surface condition, and how much finish quality matters to you. Small hairline wall cracks in stable drywall are reasonable DIY projects if you have basic tools and patience. The key is taking time to prep, tape when needed, and feather your coats instead of rushing.
Larger cracks, ceiling cracks, recurring seam splits, textured surfaces, and plaster repairs are where many do-it-yourself jobs fall apart. The repair might hold, but the finish still looks obvious. Uneven sanding, flashing paint, and poor texture matching are the usual culprits.
If the crack ties to water damage or soft drywall, professional repair is the better call. A crew may need to remove and replace damaged material before finishing work begins.
Getting a clean finish after the crack is repaired
The patch is only half the job. To make the repair disappear you have to smooth, prime, and paint the surface correctly. On flat walls that means feathering wide enough to blend with the surrounding area. On ceilings it means checking the repair from multiple angles before painting.
A well-done crack repair should not just close the line. It should restore the wall or ceiling so it looks right, performs well, and holds up. If you are not sure what caused the crack, that is the best place to start, because the right repair always ties back to the reason it showed up.
When a crack keeps coming back, the surface is stained, or the finish needs to look seamless, fixing it the right way is usually cheaper than patching the same problem twice.
Our drywall repair services handle both the diagnosis and the finish work for homes and businesses throughout Monroe and the Downriver area.

Leave A Comment