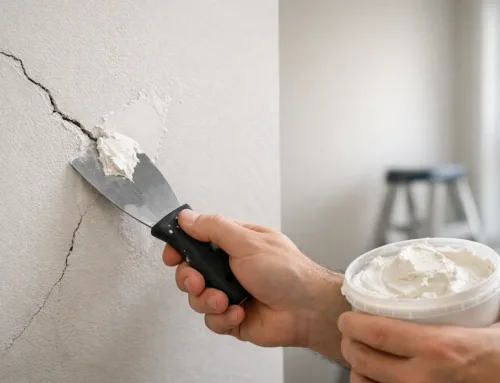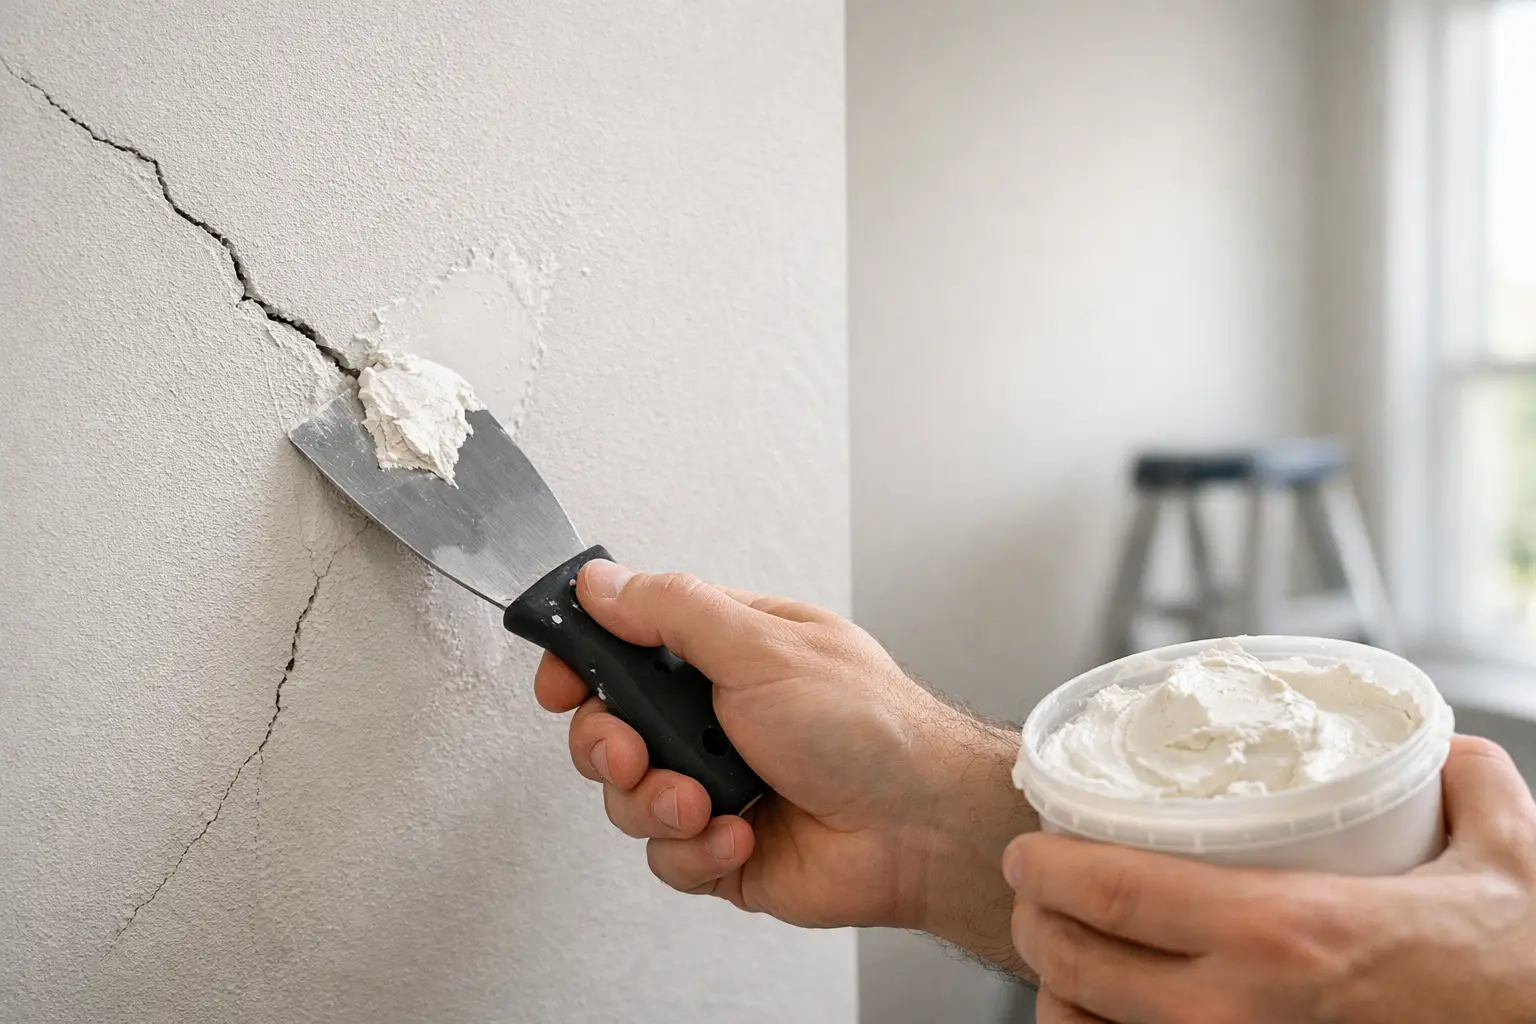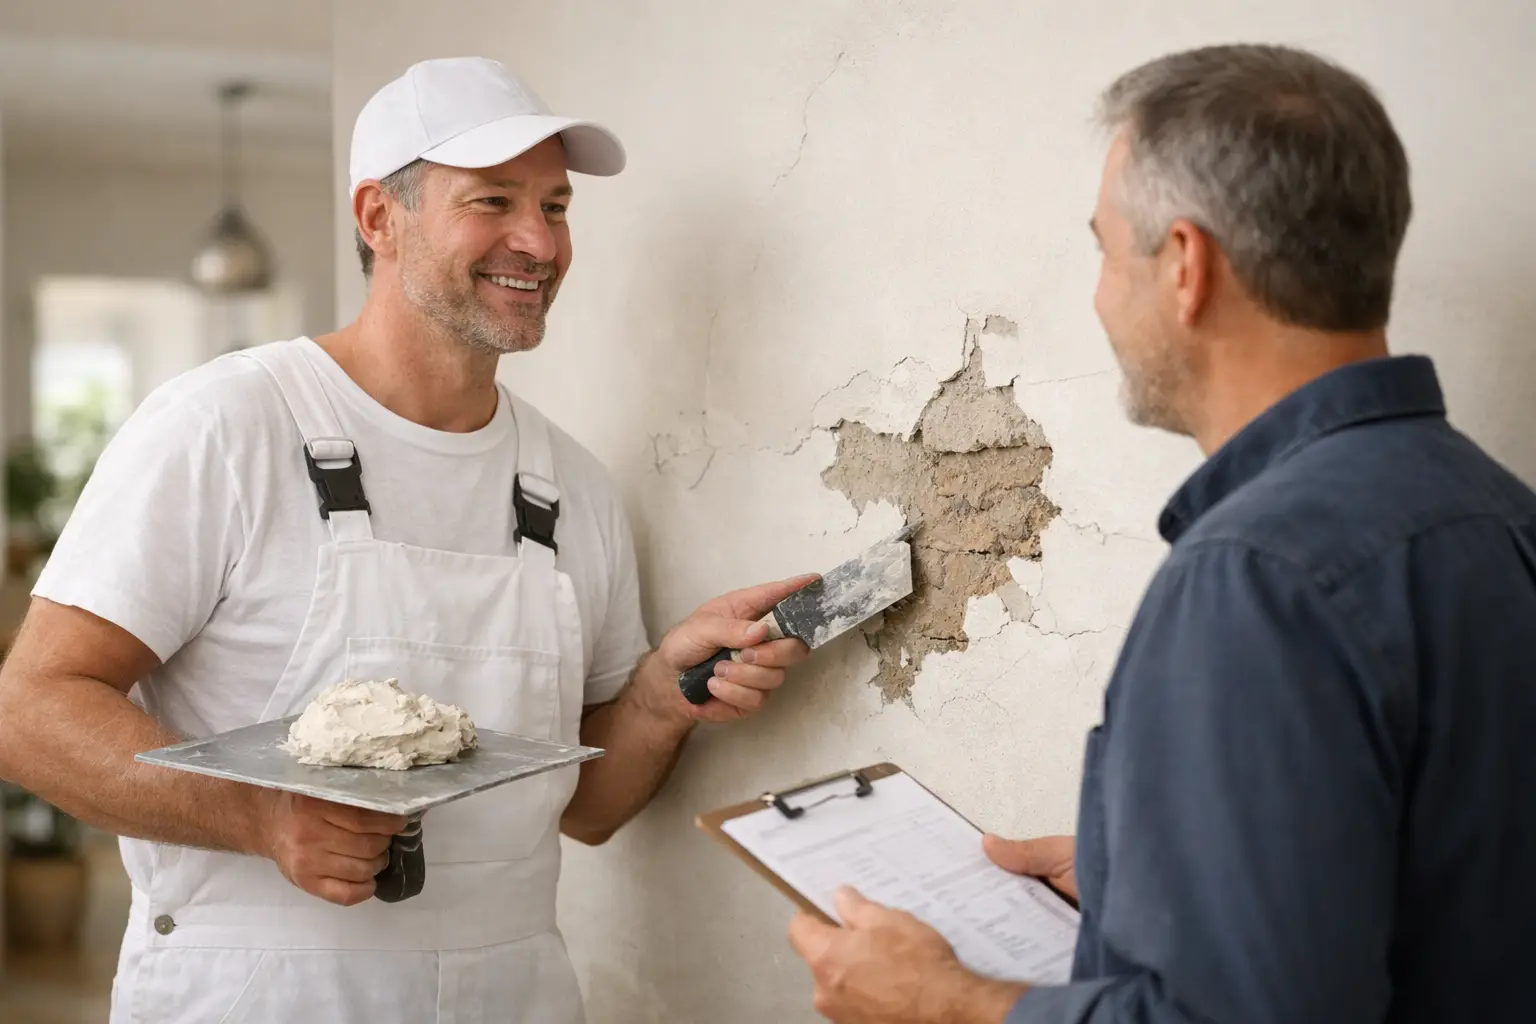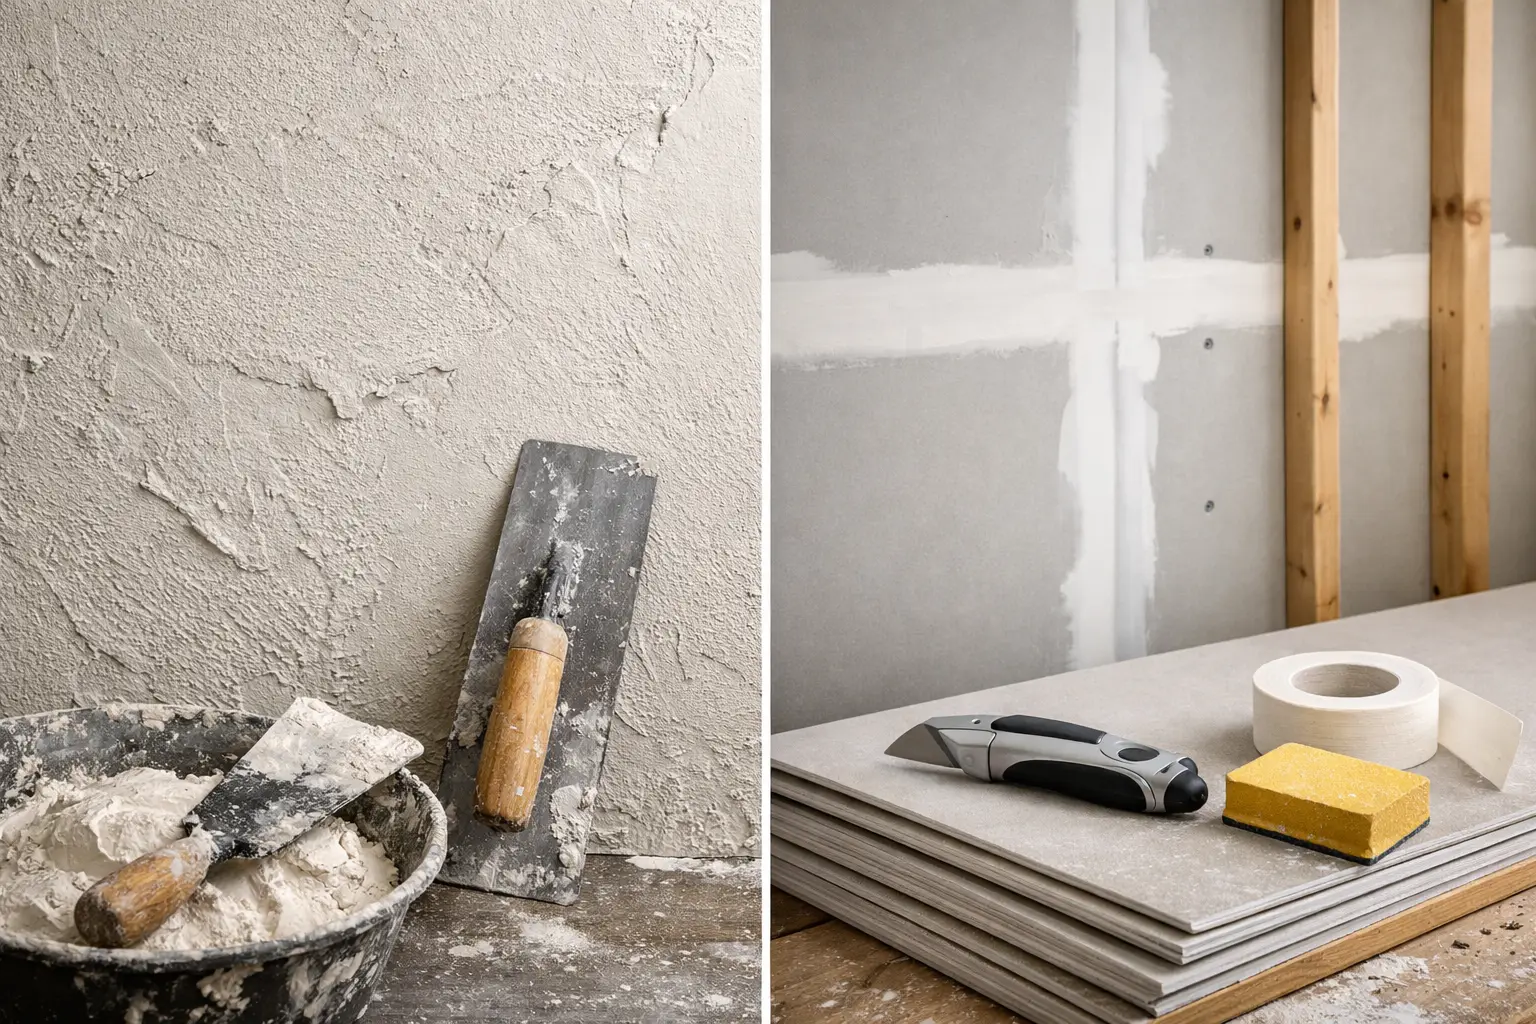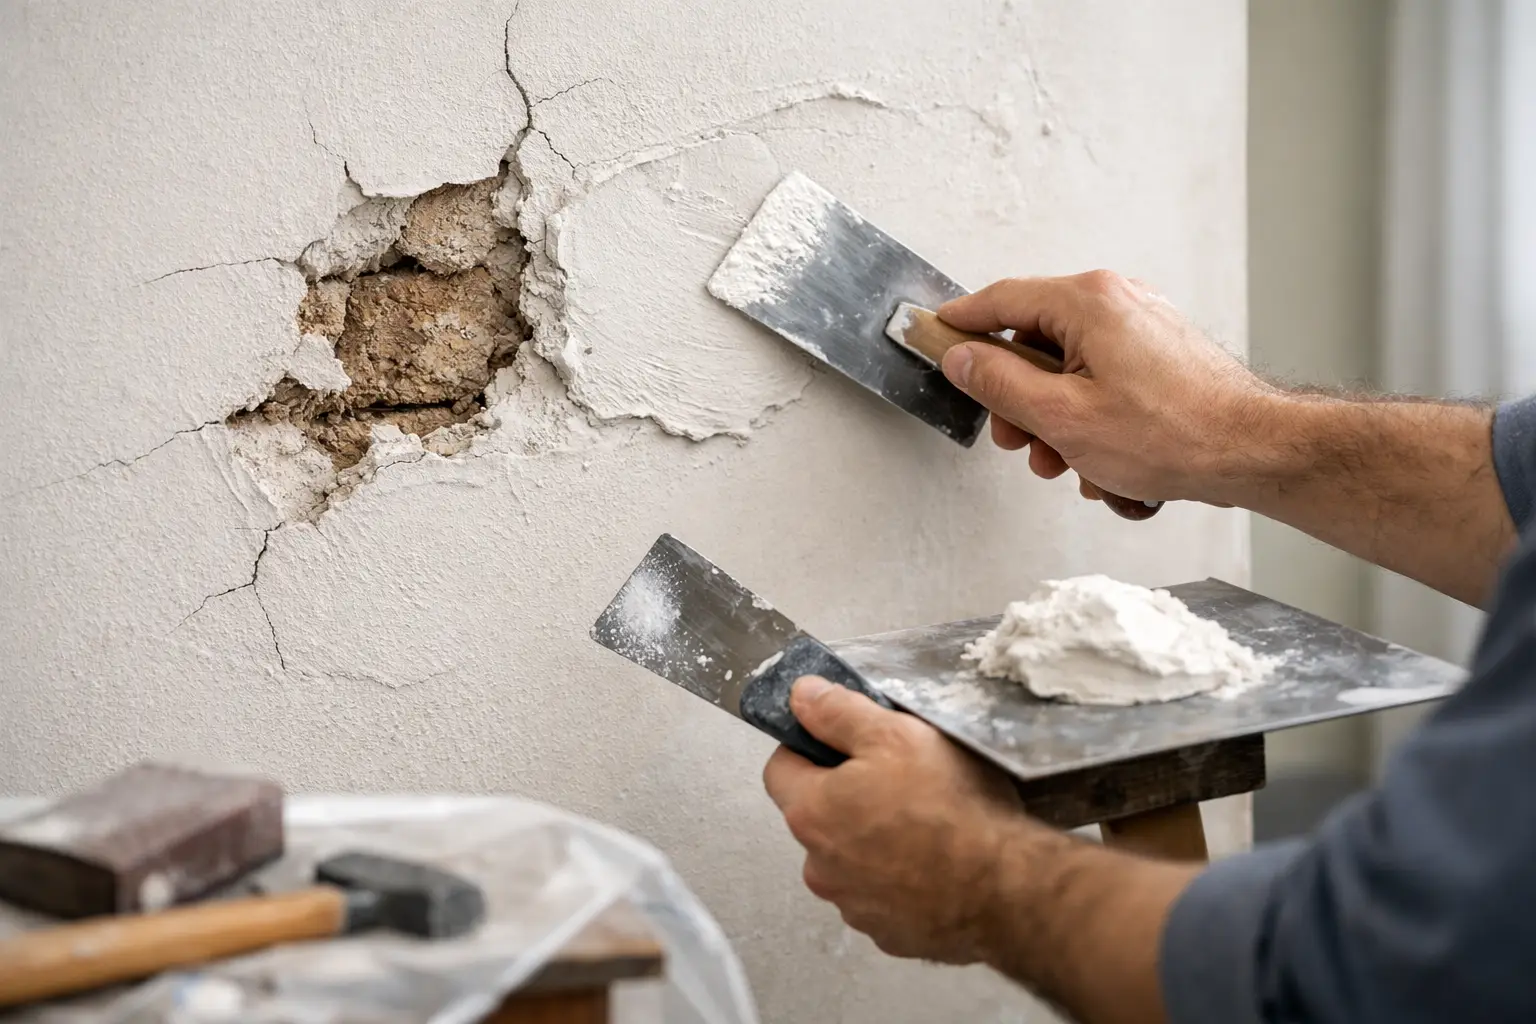
A wall can look fine from across the room and still show every patch, seam, and roller mark once the light hits it. That is usually when homeowners start asking how to skim coat walls and whether it is a realistic DIY job. The short answer is yes, sometimes. The better answer is that skim coating is simple in theory, but getting a flat, clean finish takes patience, the right tools, and a steady hand.
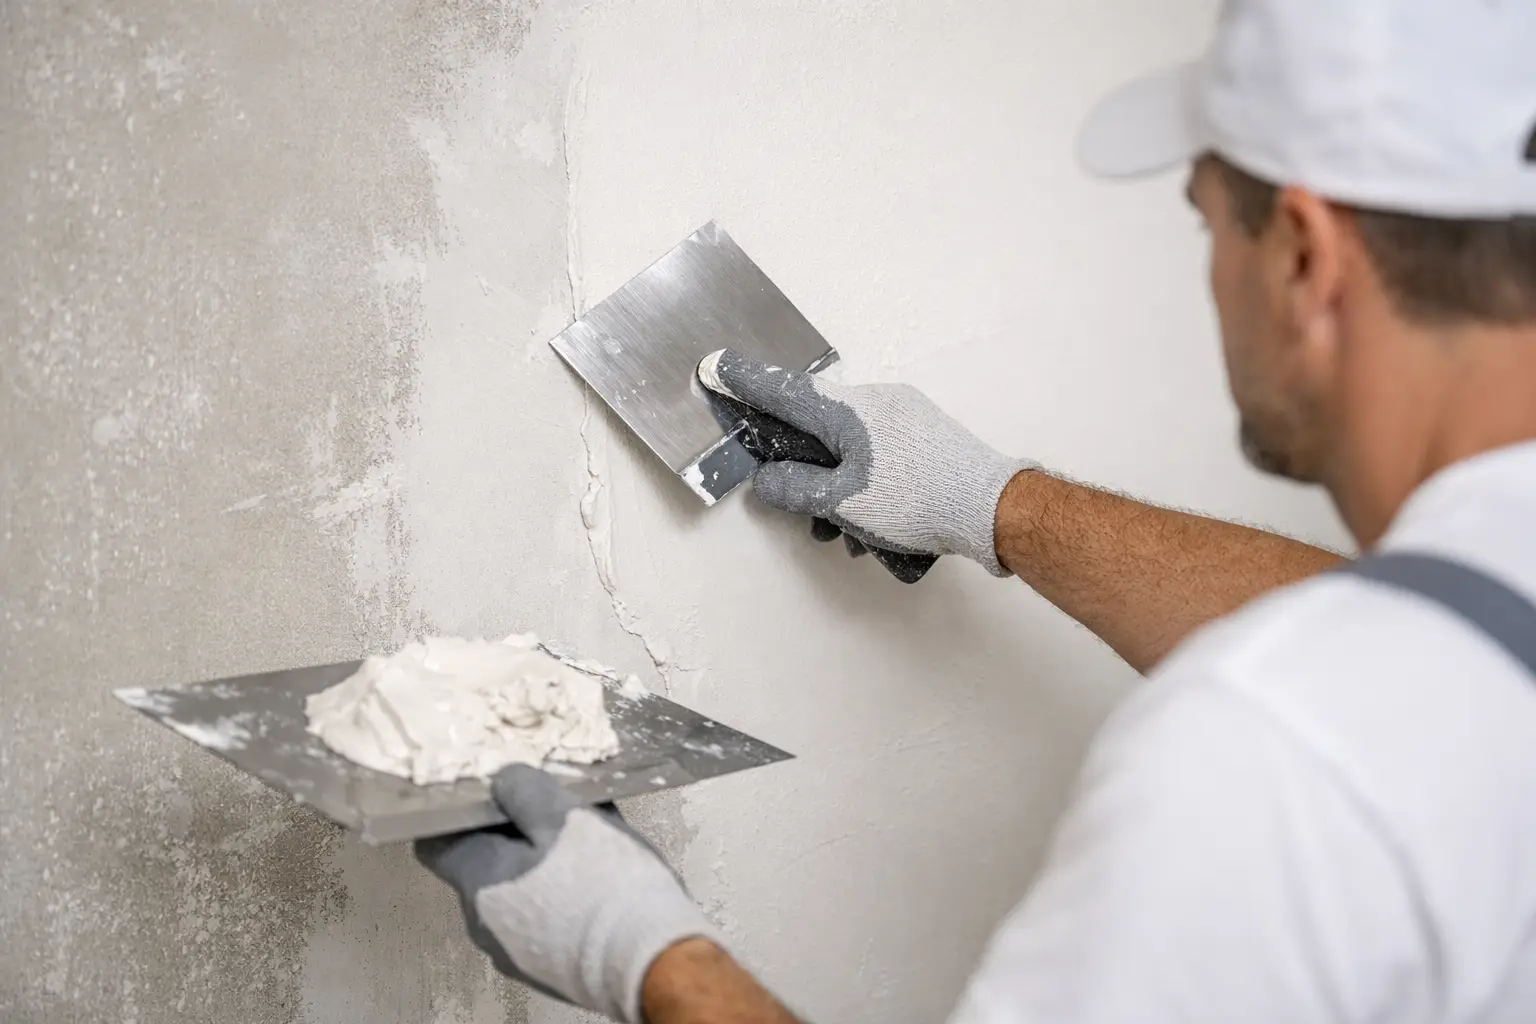
Skim coating is the process of applying a very thin layer of joint compound over a wall or ceiling to smooth out surface defects. It is often used on walls with heavy texture, old repairs, paint damage, minor cracking, or uneven plaster. Done correctly, it gives you a fresh, uniform surface that is ready for primer and paint.
When skim coating makes sense
Skim coating is a good option when the drywall itself is still solid but the surface has seen better days. That includes walls with multiple patch jobs, tape lines showing through, orange peel texture you want to flatten, or old plaster with shallow imperfections. It can also help after wallpaper removal if the facing paper is damaged but the wall is still structurally sound.
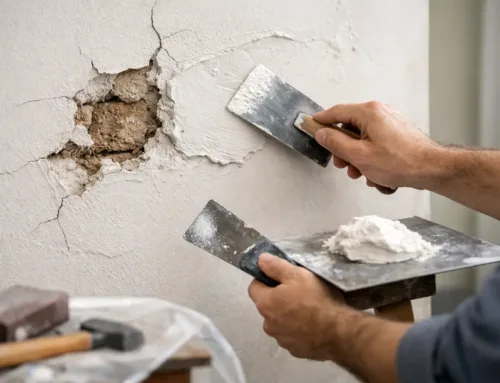
What skim coating does not do is fix major movement, loose drywall, active water damage, or deep structural cracks. If the wall is soft, stained, bulging, or separating at joints, the real issue needs to be repaired first. Putting mud over a failing surface only hides the problem for a short time.
Tools and materials you will need
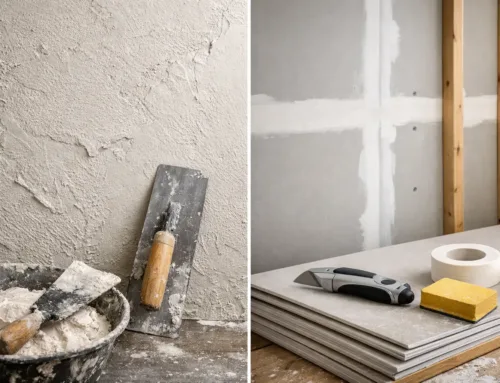
For most skim coat jobs, you will need all-purpose or lightweight joint compound, a mud pan or bucket, a mixing paddle, a drill, a drywall knife or squeegee-style skim blade, a hawk if you prefer one, sandpaper or sanding screens, a pole sander, primer, and basic wall prep supplies like drop cloths, painter’s tape, and a utility knife.
The compound matters. Premixed joint compound is easiest for most homeowners because it gives you more working time and is easier to sand. Some pros prefer topping compound for final coats because it lays down smoother. If you are working over glossy paint, patched areas, or questionable paper surfaces, a high-quality bonding or stain-blocking primer before skim coating can save you trouble later.
How to skim coat walls step by step
The first step is prep, and this is where a lot of skim coat jobs go wrong. Remove loose paint, cut away bubbled drywall paper, scrape off any raised debris, and sand down obvious ridges. Clean the wall so dust and grease do not interfere with adhesion. Then protect floors, trim, and outlets because skim coating is messy work.
Next, check the wall closely in angled light. If you have nail pops, failed tape joints, or damaged corners, fix those before applying a full skim coat. A skim coat is a finishing step, not a substitute for proper drywall repair.
Once the wall is sound, mix the joint compound until it is smooth and creamy. Many pros thin it slightly with water for skim coating, but not too much. You want it loose enough to spread easily and tight enough to stay on the blade without sliding off. Think of a thick yogurt consistency rather than soup.
Apply the first coat in thin passes. Start at the top of the wall and work down, holding the blade at a shallow angle. Spread the mud evenly, then pull it tight to leave behind only a thin layer. The goal is not to build thickness. The goal is to fill shallow low spots and cover the surface consistently.
Do not chase perfection on the first coat. You will likely have lines, edges, and a few misses. That is normal. Let it dry fully before deciding what the wall needs next. Depending on humidity, temperature, and how heavy the coat was, drying can take anywhere from several hours to a full day.
After the first coat dries, scrape off ridges and lap marks with your drywall knife. Light sanding is fine, but heavy sanding at this stage usually creates more dust than progress. Then apply a second thin coat, often in the opposite direction from the first. That crosshatch approach helps even out shallow imperfections and gives you a flatter result.
Some walls are ready after two coats. Others need a third, especially if you are covering texture or dealing with older walls that have years of paint buildup and repairs. This is where experience matters. Adding more mud is not always the answer. Sometimes the better move is to stop, scrape high spots, and keep the coats tighter.
Getting a smooth finish without overworking it
A common mistake is trying to make the wall perfectly smooth while the compound is still wet. Overworking the mud drags material, creates lines, and slows you down. A better approach is to spread it cleanly, pull it tight, and leave it alone. Let drying and follow-up coats do the rest.
Pressure also matters. Too much pressure removes too much compound and leaves dry skips. Too little pressure leaves heavy edges and buildup. There is a feel to it that comes with repetition, which is why skim coating looks easier than it is.
If you are working in a room with strong side lighting, be extra careful. Windows and bright fixtures reveal every wave and knife mark. A wall that looks smooth under overhead light can still show flaws once the sun hits it. That is one reason professionally skim-coated walls tend to look more uniform in living rooms, hallways, and open commercial spaces.
Sanding, priming, and paint prep
Once the final coat is completely dry, sand lightly to knock down tool marks and minor imperfections. You are not trying to reshape the wall at this stage. You are refining it. A sanding pole with fine grit works well for broad surfaces, and a hand sponge is useful around corners and tight spots.
After sanding, remove dust thoroughly. Then prime the wall before painting. Fresh joint compound is porous and will absorb paint unevenly if it is not sealed first. A quality drywall primer creates a more consistent finish and helps your topcoat look the way it should.
If the wall still shows obvious dips, seams, or flashing after priming, that is your chance to touch up before final paint. Primer often reveals flaws that are easy to miss on bare compound.
DIY vs. hiring a professional
If you are skim coating a small wall with mild surface wear, a DIY approach can make sense. A guest bedroom, closet, or simple repair area is a reasonable place to learn. The materials are affordable, and the process is manageable if you can accept a learning curve.
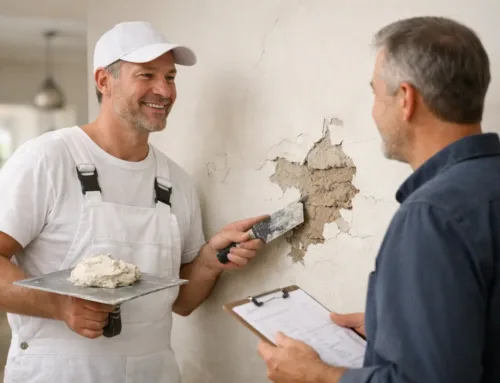
If you are dealing with large rooms, high ceilings, damaged plaster, heavy texture, or walls that need to look truly flat in natural light, hiring a pro usually saves time and frustration. The finish is what people notice, and skim coating is one of those jobs where the difference between acceptable and excellent is very visible.
For homeowners in older Southeast Michigan homes, this comes up often. Layers of old paint, patched plaster, moisture history, and uneven framing can make a wall harder to straighten than it first appears. In those cases, a contractor with repair and finishing experience can tell whether the wall needs a skim coat, a targeted repair, or partial replacement.
Mistakes that cause callbacks and redos
The biggest problem is coating over a bad substrate. If the wall has peeling paint, damaged paper, or moisture issues, the skim coat may blister, crack, or fail to bond. Another common issue is applying coats too thick. Thick mud shrinks more, dries slower, and tends to leave more sanding work.
Skipping primer is another costly mistake. So is poor dust control. Fine drywall dust gets everywhere, and if it settles into fresh paint or HVAC systems, the cleanup becomes part of the project.
There is also the finish-quality issue. Many first-time skim coat jobs look decent until they are painted with eggshell or satin. Sheen highlights defects. If you want a wall to look clean for years, the surface prep has to be right before color ever goes on.
A well-done skim coat can completely change a room. It makes paint look better, helps repairs disappear, and gives walls that solid, finished look people expect but rarely notice until it is missing. If you are weighing whether to tackle it yourself or bring in an experienced drywall finisher, be honest about the condition of the wall and how perfect you need the result to be. A smooth wall is never an accident.
If you’d rather bring in a pro, our plaster repair services include skim coating for homes and businesses throughout Monroe and the Downriver area.