
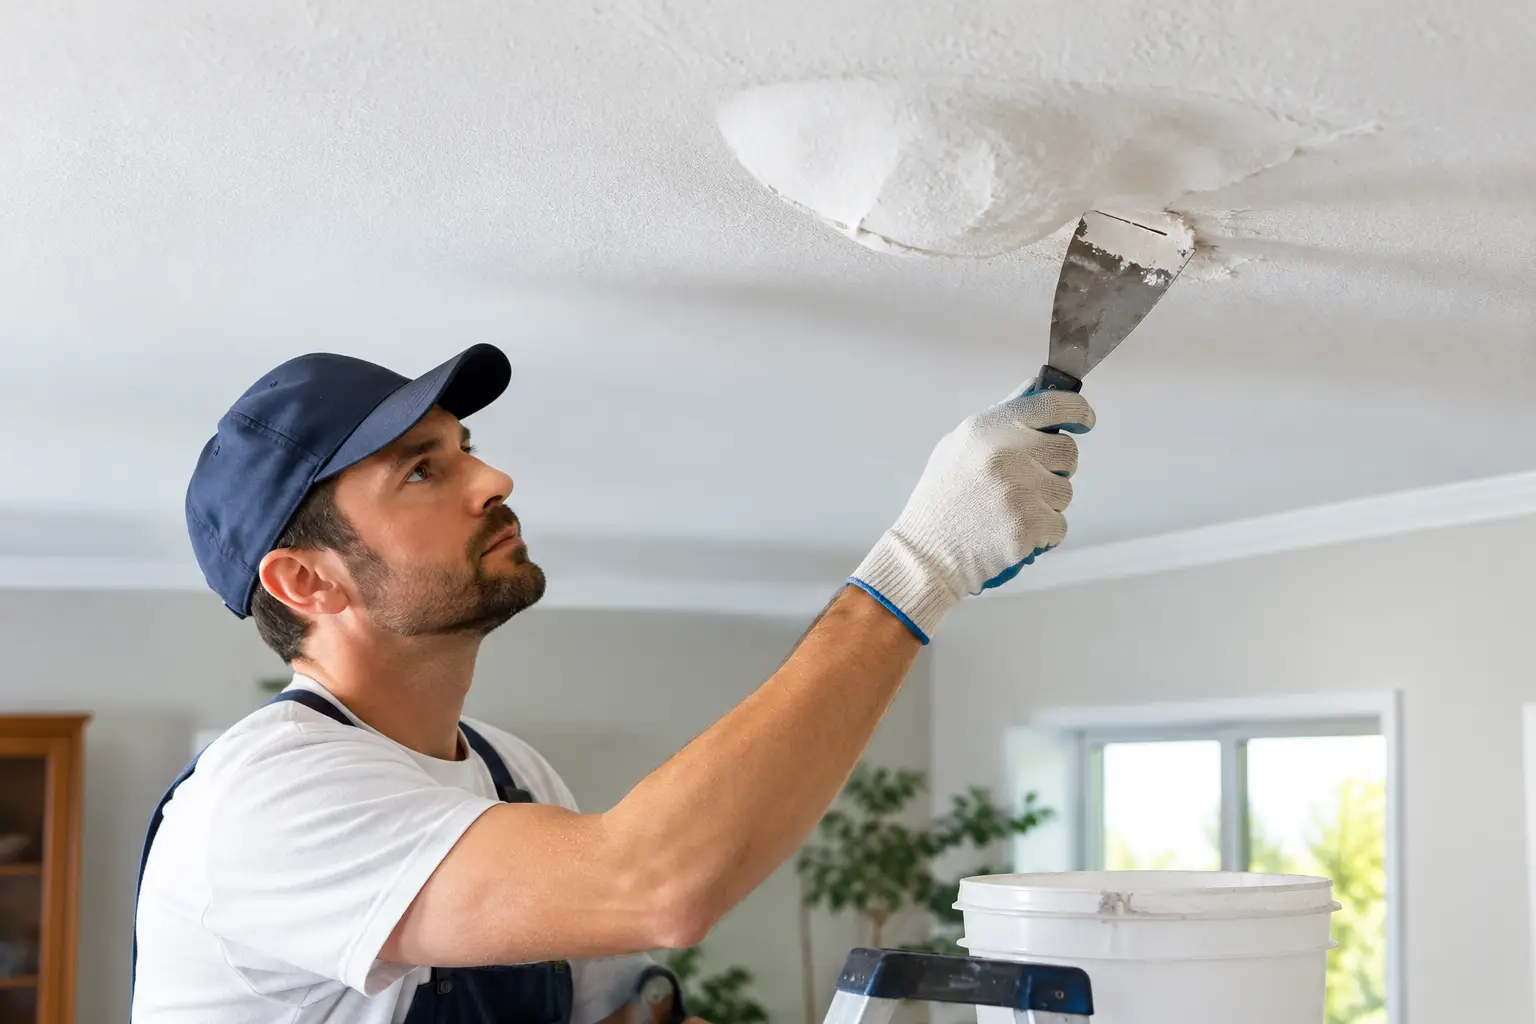
A ceiling blister can look like a minor paint problem from across the room. Up close, it is often a warning that moisture, failed adhesion, or damaged drywall is working behind the finish. Repairing ceiling blisters correctly means addressing what caused the surface to lift before applying patching compound and paint. Otherwise, the same spot can bubble, stain, or sag again.
For homeowners and property managers, the goal is not just a ceiling that looks better this week. It is a clean, solid, paint-ready repair that holds up after the furniture is moved back and the room returns to normal use.
Why Ceiling Blisters Form
A blister occurs when paint, joint compound, texture, or the drywall paper beneath it separates from the ceiling surface. The raised area may feel soft, hollow, or tight like a small balloon. In more serious cases, the ceiling can discolor, crack around the edges, or begin to droop.
The most common cause is water. A slow plumbing leak above a bathroom, a roof leak after heavy rain, ice dam damage, condensation from an unvented bathroom, or a leaking HVAC line can all introduce enough moisture to compromise the ceiling. The water source may be active, but it can also be old damage that was painted over before the materials had dried completely.
Not every blister is caused by a leak. Paint can lose adhesion when it is applied over dust, grease, old glossy paint, or a damp surface. In older homes, layers of paint and prior repairs can separate over time. Poor ventilation, high indoor humidity, and temperature swings can make those weak areas show up on a ceiling first.
The distinction matters. A small adhesion failure may need a focused surface repair. Water-damaged drywall may need removal and replacement, especially when the board has softened, sagged, or developed mold.
First, Rule Out an Active Moisture Problem
Do not scrape or patch a ceiling blister until you have a reasonable answer for where the moisture came from. A repair can look finished while water continues to damage the framing, insulation, drywall, and paint above it.
Look at what is directly above the affected ceiling. If the area sits below a bathroom, check for leaking supply lines, drain connections, toilet seals, shower plumbing, and overflowing fixtures. Below an attic or roofline, inspect for roof damage, wet insulation, condensation, or signs of a venting issue. Below another occupied unit or commercial space, coordinate with the owner or property manager promptly.
Fresh staining, a cool or damp surface, a growing bubble, peeling paint, or a musty smell suggests moisture may still be present. If a ceiling is actively leaking, place a container below the drip, protect the floor, and contact the appropriate plumber, roofer, or maintenance professional. Avoid puncturing a large, water-filled ceiling bubble yourself. Wet drywall can release unexpectedly, and the material may be heavier than it appears.
Once the source is repaired, the area needs time to dry thoroughly. This can take days or longer depending on how much water entered the assembly, the room conditions, and whether insulation is wet. Covering damp materials with compound or paint traps the problem instead of solving it.
When a Ceiling Blister Is Safe to Repair
A localized repair is often possible when the blister is small, fully dry, and the drywall underneath remains firm. The surrounding ceiling should not be soft, sagging, crumbling, or broadly stained. There should also be no evidence of continuing leaks or widespread texture separation.
In those limited situations, repairing ceiling blisters generally involves removing every loose layer back to a stable edge. That may include peeling paint, failed joint compound, damaged texture, and loose drywall face paper. The exposed area is then sealed as needed, filled in thin coats, sanded smooth, primed, and painted.
This work sounds simple, but ceilings are unforgiving. A patch that is not feathered wide enough can show through paint as a raised ring. Skipping a sealer over torn drywall paper can cause bubbling or staining in the new finish. If the ceiling has knockdown, orange peel, popcorn, or another texture, the repair also has to blend with the existing pattern instead of looking like a flat island overhead.
Signs the Drywall Should Be Replaced
Some ceiling blisters are surface-level. Others mean the drywall has lost its structural integrity. Replacement is usually the better long-term choice when the board is soft to the touch, sagging between framing members, crumbling at the edges, or deeply stained over a wide area.
Drywall replacement may also be warranted if the paper facing has separated extensively. Once the face paper lets go in multiple places, trying to skim coat the entire area can become more labor-intensive than installing a sound section of new drywall. The same is true for heavy texture that has released after water exposure.
Mold concerns require added care. A small amount of surface discoloration may be manageable once the moisture source is corrected, but visible mold, persistent odors, or damage affecting insulation and framing should be evaluated before cosmetic repairs begin. The priority is creating a dry, healthy assembly, not hiding the evidence with paint.
For property owners, this is where an honest assessment saves money. The least expensive patch is not always the affordable option if it fails within a season. A properly replaced and finished section gives the ceiling a stable base again.
What a Professional Ceiling Repair Includes
A professional repair begins with protecting the room. Floors, furniture, and nearby surfaces should be covered before scraping, sanding, or cutting into a damaged ceiling. Clean containment matters, especially in furnished homes, occupied rentals, offices, and retail spaces.
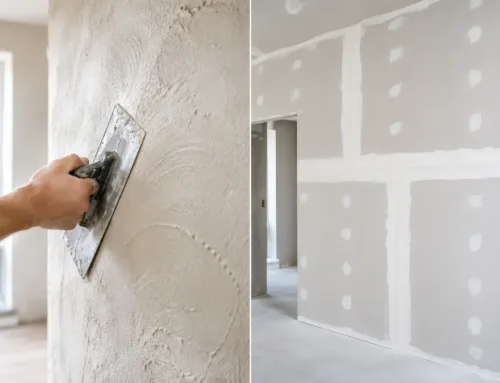
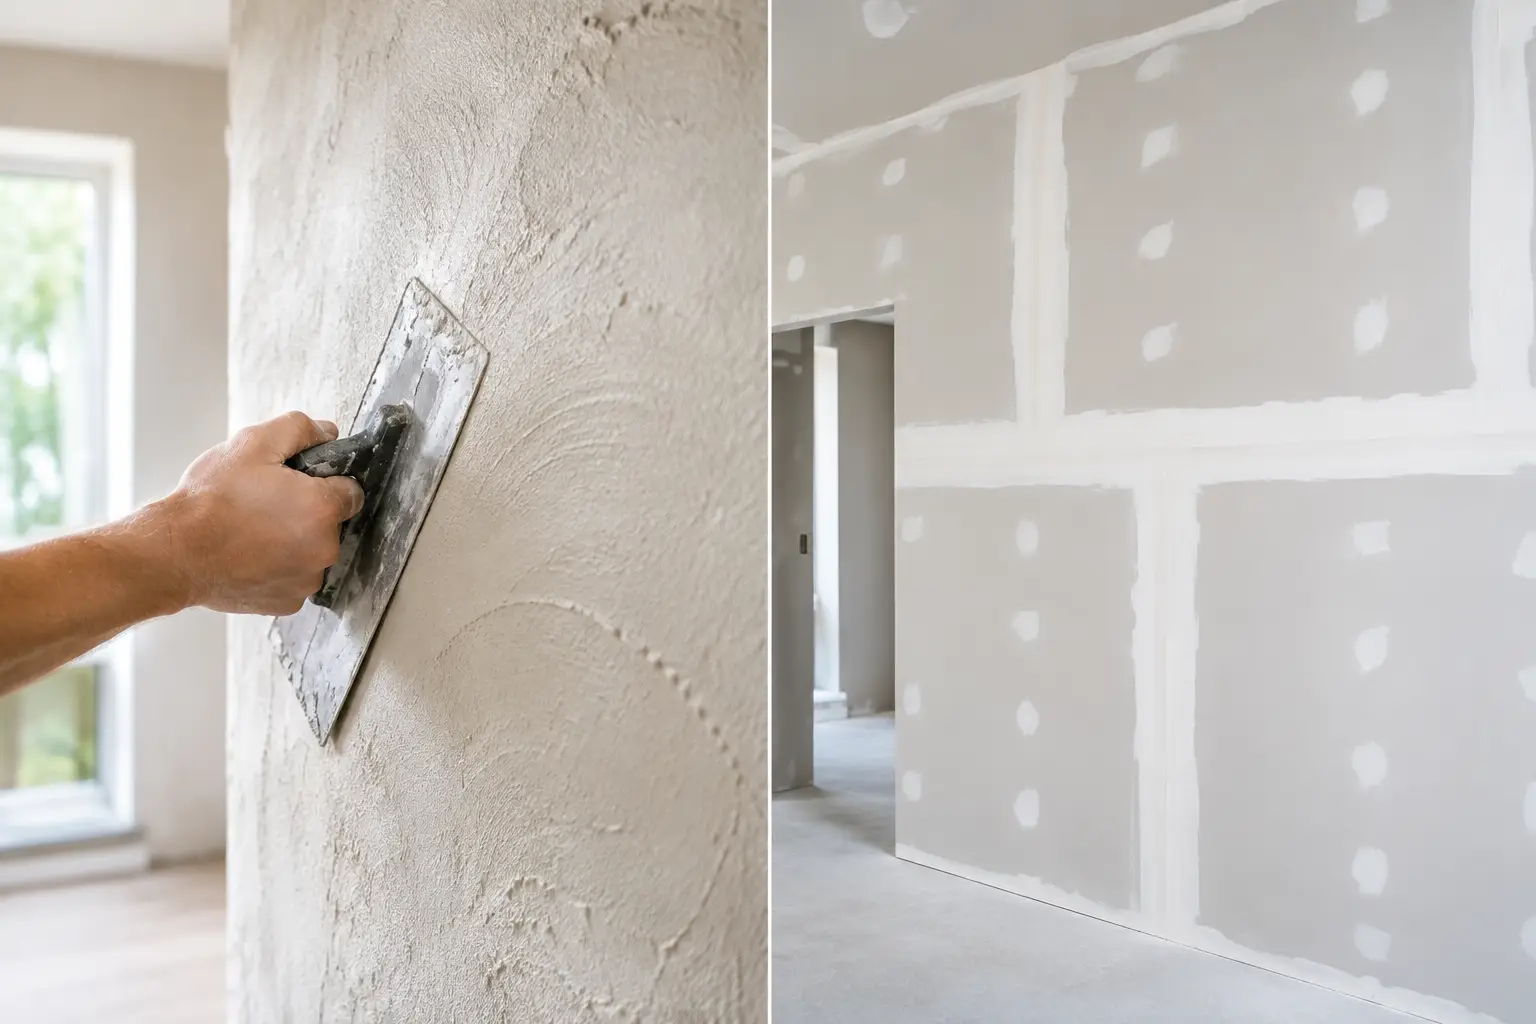
After removing unsound material, the repair area is stabilized. Depending on the condition of the ceiling, that can mean sealing damaged paper, installing a drywall patch, reinforcing a seam, or replacing a larger section. New joints receive tape and multiple coats of compound, with drying time between coats so the finish does not shrink or crack later.
The final stages make the difference between a repair and a result that disappears into the room. The patch is sanded and feathered into the surrounding ceiling, then the texture is matched as closely as possible. Primer helps create an even surface for paint and blocks old staining when the proper product is used. A paint-ready finish should look flat, consistent, and solid under normal room lighting.
TDM Drywall has more than 32 years of hands-on experience with ceiling repair, water-damaged drywall replacement, skim coating, and texture matching. For homes and properties in Monroe and Southeast Michigan, experienced workmanship is especially valuable when a ceiling has older plaster, layered paint, or a texture that needs to blend cleanly with the rest of the room.
Avoid These Common Repair Mistakes
The most common mistake is painting over a blister without scraping it back. Paint may temporarily disguise the raised spot, but it cannot reattach loose material. The failure usually returns, often larger than before.
Another mistake is patching before the ceiling is dry. Joint compound and paint are finishing materials, not moisture barriers. If water remains in the drywall or above it, the repair may blister, stain, or crack.
Homeowners also sometimes sand aggressively around a damaged area in an effort to make it disappear. This can widen torn paper, expose more weak material, and create a larger patch than necessary. Older ceilings deserve extra caution, particularly if their paint history is unknown. When in doubt, have the material and the repair scope evaluated before disturbing it.
Finally, do not underestimate color and sheen. Even a well-finished patch can stand out if the ceiling paint does not match. Flat ceiling paint is forgiving, but differences in age, color, and application can still show. In some rooms, repainting the full ceiling after the repair produces the most consistent finish.
A Better Standard Than “Good Enough”
A ceiling blister is rarely just an appearance issue. It is a chance to catch water intrusion, ventilation trouble, or a failing finish before the repair becomes larger and more disruptive. Address the cause, remove everything loose, and rebuild the surface on dry, stable materials. That approach may take a little more care upfront, but it is what gives a ceiling the clean, durable finish it should have.