
A wall can look nearly perfect until one bad anchor pull, doorknob hit, or plumbing repair leaves a hole staring back at you. If you’re looking up how to patch drywall holes, the real question is usually this: can you make the repair disappear, or will it always show? The answer depends on the size of the hole, the condition of the surrounding wall, and how careful you are with the finish work.
At a glance, drywall patching sounds simple. Fill the hole, sand it, paint it, done. In practice, the difference between an obvious patch and a clean, durable repair comes down to prep, reinforcement, and patience between coats. That matters even more in older homes, on ceilings, and on walls with texture that needs to blend in rather than stand out.
How to patch drywall holes based on size
The first step is matching the repair method to the damage. Small nail holes and pinholes usually need lightweight spackle or joint compound. Medium holes from anchors, knobs, or minor impact damage often need a patch material plus compound. Larger holes, especially anything wider than a few inches, usually need a cut-out repair with backing support and a new piece of drywall.
This is where many DIY repairs go sideways. People tend to use too much filler on a hole that really needs support behind it, or they try to patch over loose paper and crumbling edges. A repair is only as strong as what it’s attached to.
Small holes and dents
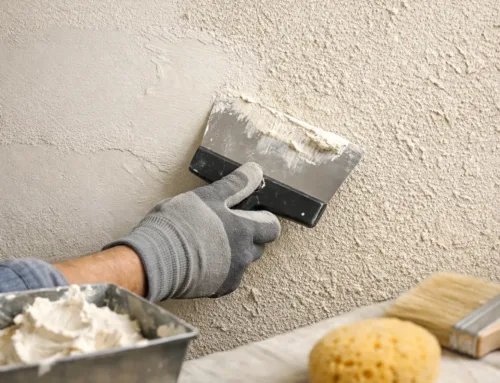
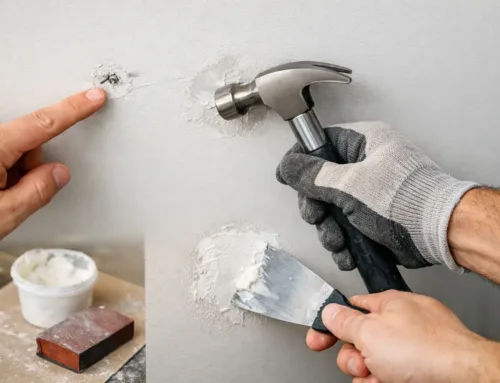
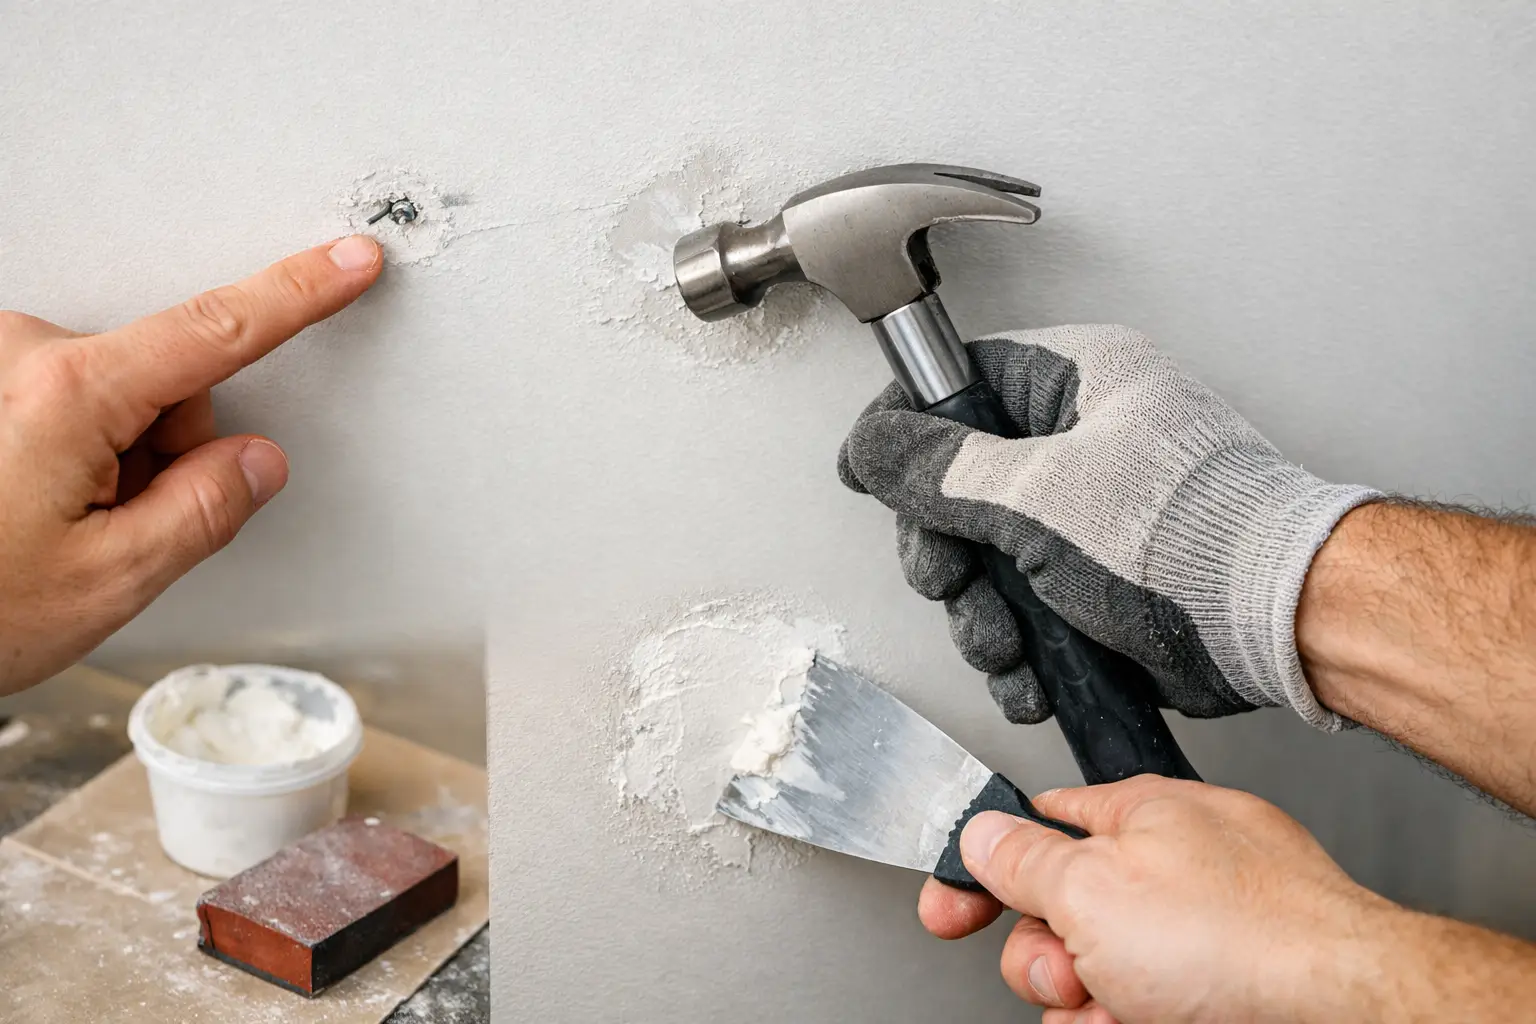
For tiny holes, start by scraping away any loose paint or raised drywall paper with a putty knife. If the edge is pushed inward, lightly tap or trim it so the surface is flat around the damage. Apply a thin coat of spackle or joint compound, press it in firmly, then pull the knife clean across the area.
Let it dry fully before sanding. If the hole was deeper than it looked, a second light coat is often better than trying to build it all at once. Once smooth, spot-prime and paint. On flat painted walls, small repairs can blend well. On walls with sheen, touch-up paint may still flash if the finish doesn’t match exactly.
Medium holes from anchors or impact
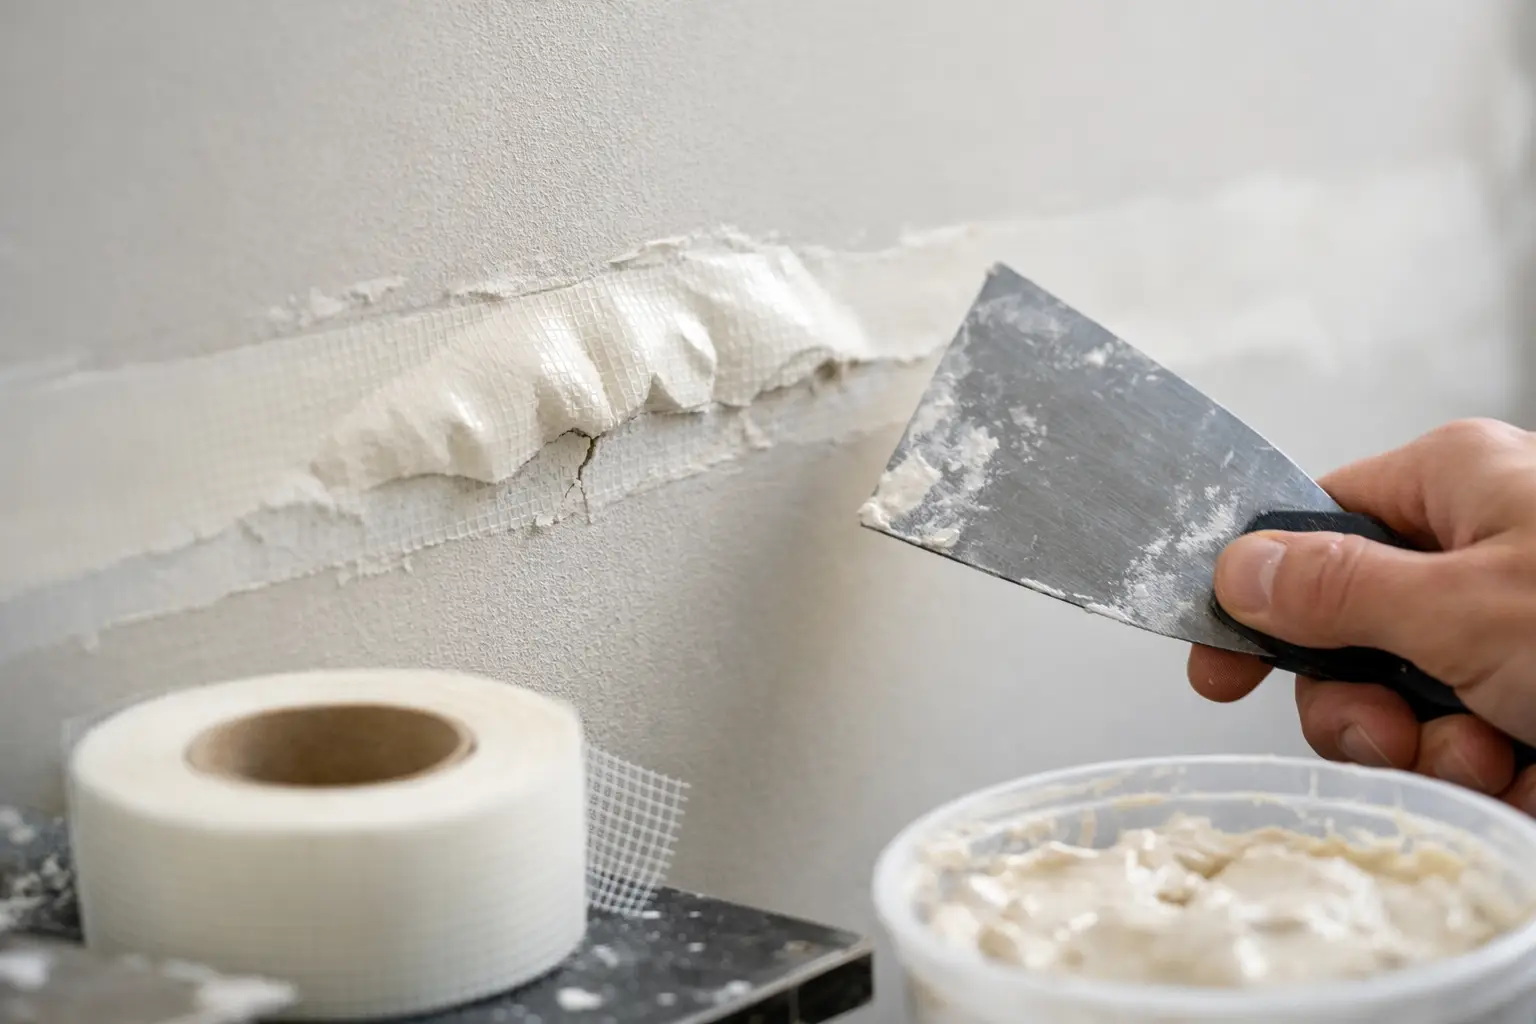
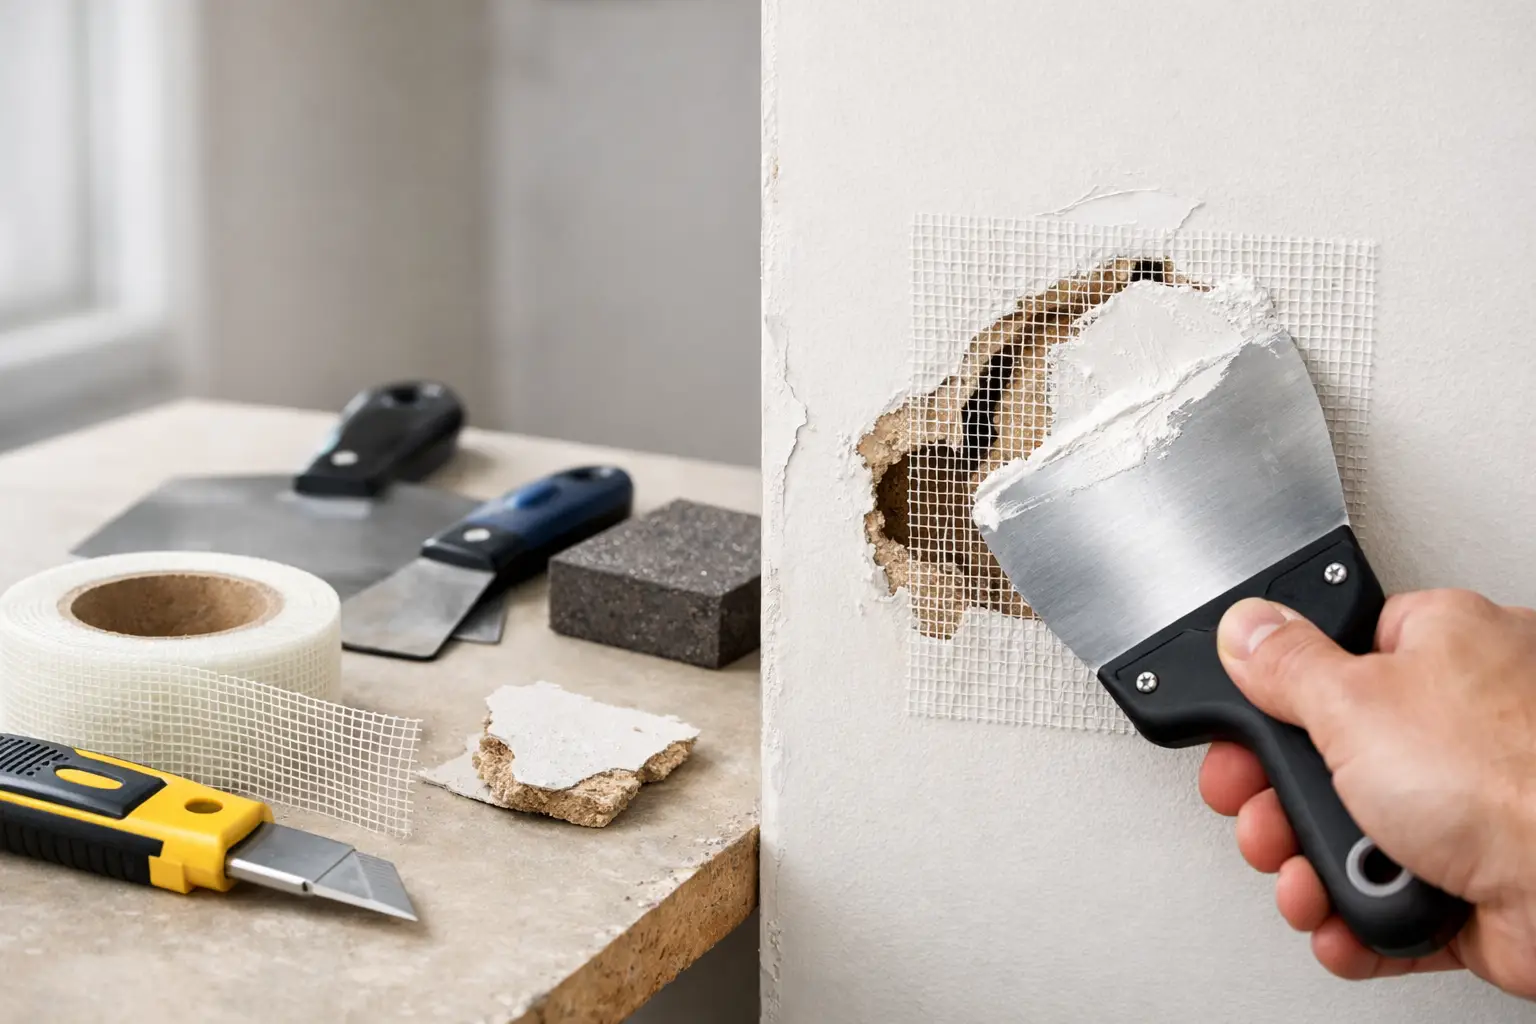
A hole the size of a quarter or a little larger needs more than a quick smear of mud. After cleaning up the edges, use a self-adhesive patch or mesh tape if the opening is shallow and the surrounding drywall is solid. Cover it with joint compound in thin coats, feathering wider with each pass.
The trade-off is speed versus finish quality. Mesh patches are convenient, but if they are overbuilt with too much compound, they can leave a visible hump in certain lighting. On a high-visibility wall, a cleaner cut-out patch often looks better.
Larger drywall holes
When the hole is several inches wide, the best repair is usually to cut a square or rectangle around the damage. That gives you clean edges and lets you install a new drywall piece securely. If there is no stud behind the opening, add wood backing strips inside the wall and screw them in place through the existing drywall. Then screw the new patch piece to that backing.
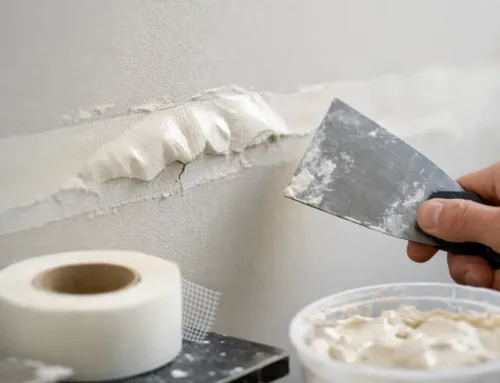
Tape the seams, apply joint compound in multiple coats, and feather out far enough that the patch blends into the wall plane. This is the stage where finish skill matters most. A structurally sound patch is one thing. A patch that vanishes after paint is another.
The basic process for a clean drywall patch
No matter the size, good drywall repair follows the same sequence. Clean the area, stabilize the damage, patch or fill appropriately, build the surface in thin coats, sand carefully, then prime before painting. Skipping primer is one of the most common mistakes. Fresh compound absorbs paint differently than the surrounding wall, so even a smooth repair can stand out if it is not sealed first.
Dry time also matters. If compound feels dry on top but still holds moisture underneath, sanding can drag the surface and later coats can shrink. That is why rushed repairs often reveal rings, dips, or tape lines a week after painting.
If you’re working on a ceiling, the same rules apply, but gravity makes the repair less forgiving. Thick compound sags, poor sanding is more noticeable, and patched ceiling texture can be tough to match. Water-damaged areas also need extra attention. If the drywall has softened, stained badly, or started to crumble, patching over it is not enough. The damaged section may need to be removed and replaced.
Tools and materials make a difference
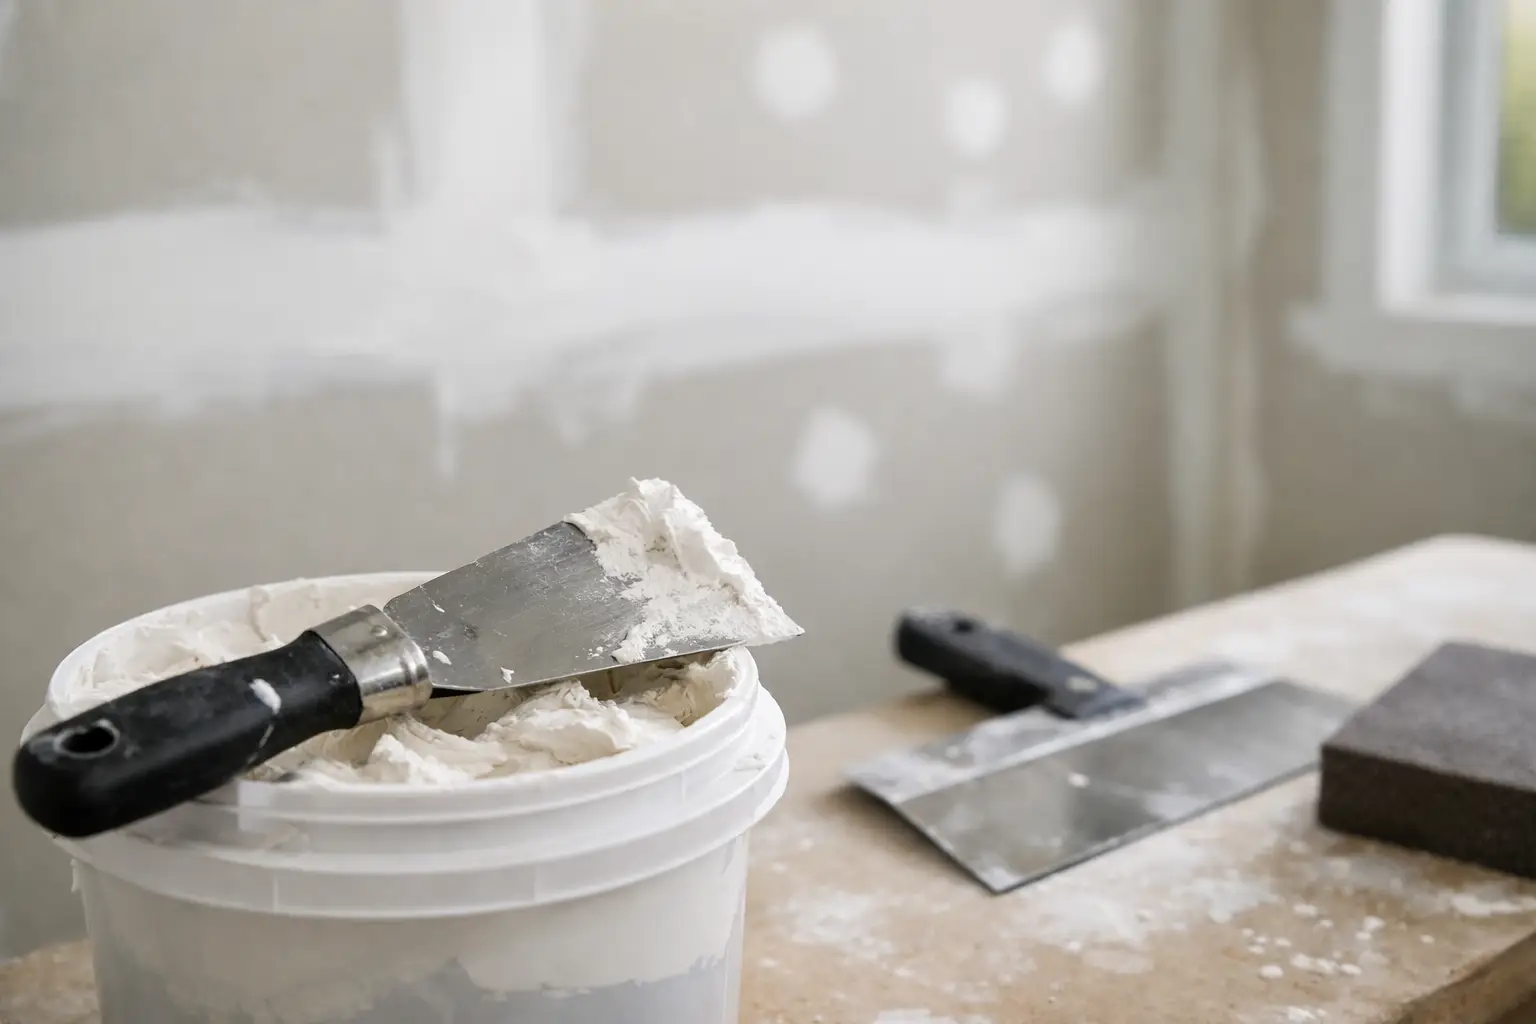
You do not need a truck full of equipment to patch drywall, but the right tools help. A good putty knife, sanding block, utility knife, drywall saw, joint compound, tape, and primer cover most repairs. For larger holes, add drywall screws, a small drywall piece, and backing material.
Material choice affects the final look. Lightweight spackle is easy for small holes, but it is not the right answer for every repair. All-purpose joint compound works well for many patches, while setting-type compound can be useful when you need a harder, faster-setting repair. The downside is that setting compounds move quickly, so they are less forgiving for beginners.
The same goes for sanding. Over-sand and you fuzz the drywall paper or hollow out the patch. Under-sand and every ridge shows after paint. The goal is a flat transition, not just a filled hole.
How to patch drywall holes without making them obvious
If your goal is a repair nobody notices, focus less on the hole itself and more on the surrounding finish. Feather compound wider than you think you need. Use several light coats instead of one heavy one. Check the wall from an angle with side lighting before priming. What looks smooth head-on can show every flaw once daylight or lamp light hits it.
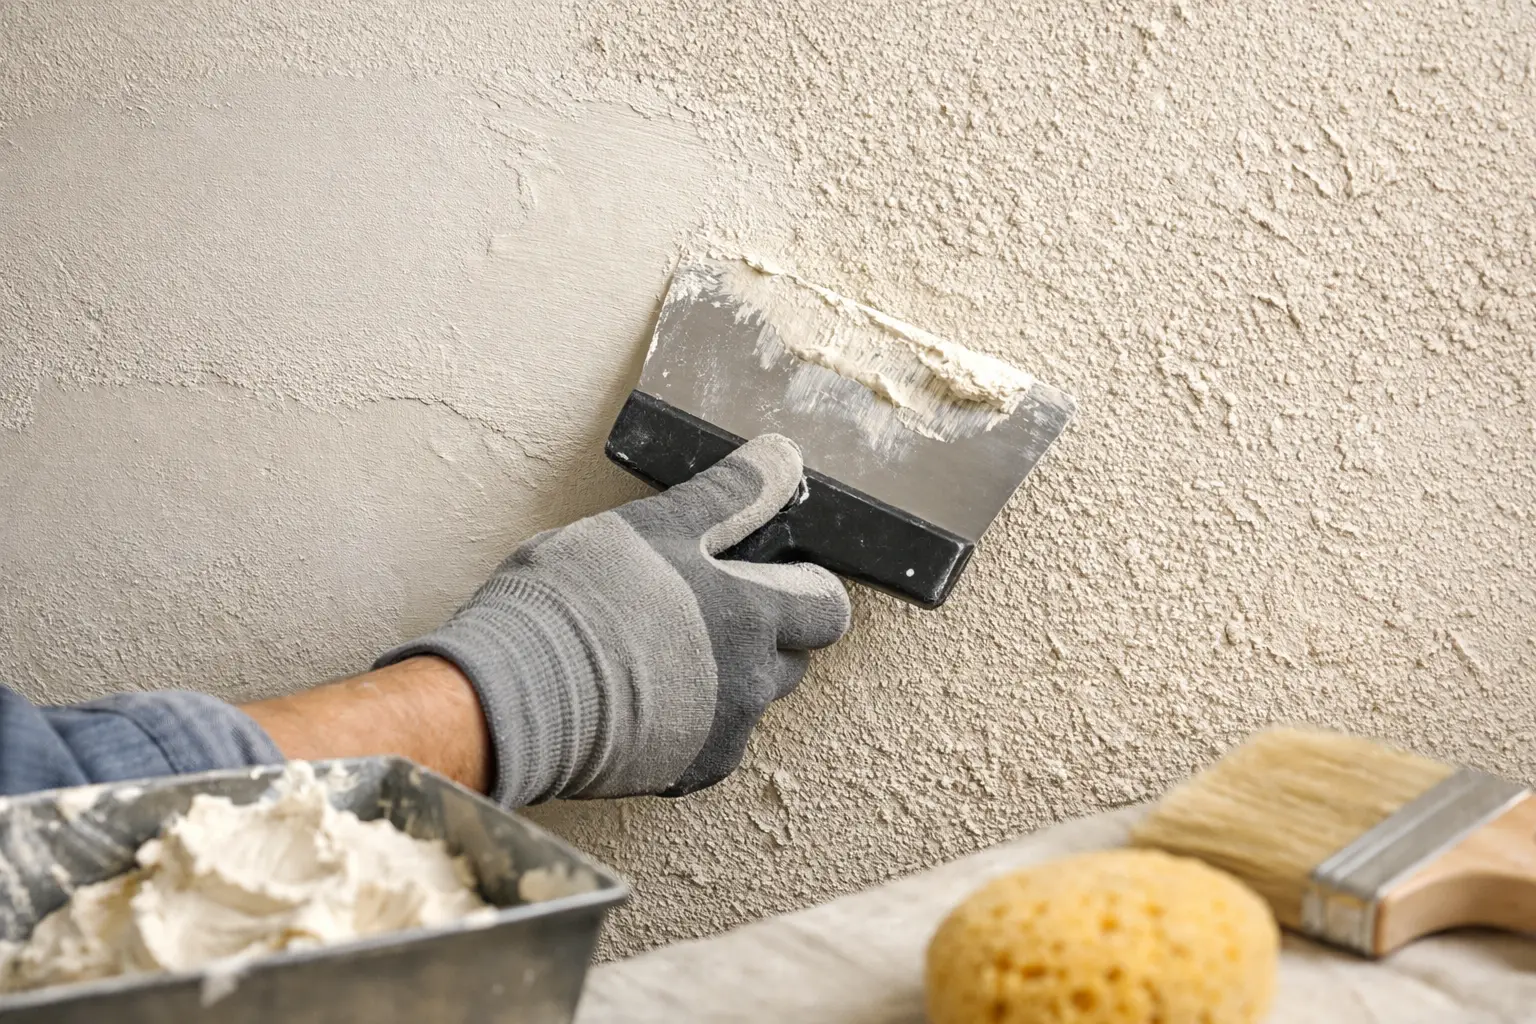
Texture is another factor. Smooth walls demand flatter finishing because there is nothing to hide behind. Orange peel, knockdown, and older plaster-style textures create a different challenge: even if the patch is flat, the surface pattern has to match. That takes practice, and it is often the part that separates a decent repair from a seamless one.
Paint matching can be just as tricky. Even when you know the original color, age and sheen changes can make a touch-up stand out. Sometimes the patch is perfect and the paint is what gives it away. In those cases, repainting the full wall or ceiling plane often produces the best result.
When DIY works and when it makes sense to call a pro
Small holes and simple dings are realistic DIY repairs if you have the time to do them carefully. Medium holes are possible too, especially in low-visibility areas. But once the damage is larger, the surface is textured, the wall has water damage, or the patch sits in a prominent area, professional repair usually saves frustration.
That is especially true in older Southeast Michigan homes, where walls may have layers of past repairs, plaster transitions, or uneven surfaces that are not obvious until you open them up. In those cases, the patch itself may be straightforward, but getting the finish to blend takes experience.
A professional also helps when speed matters. Homeowners, landlords, and builders often need a repair done cleanly and on schedule, without repeated sanding, dust, and repainting attempts. Companies like TDM Drywall handle that work every day, which means the repair is built for durability and finished to match the surrounding wall as closely as possible.
Common drywall patch mistakes to avoid
Most bad patches come from a few predictable mistakes. Filling unsupported holes with compound alone is one. Applying coats too thick is another. Others include sanding before the compound is fully dry, skipping primer, and failing to remove loose drywall paper around the damage.
There is also a judgment call on whether to patch or replace. If a wall has multiple damaged spots, widespread moisture issues, or repeated failed repairs, patching each area one by one may cost more time and produce a worse final appearance than replacing a section properly. Doing the job right is not always about using more material. Sometimes it means recognizing when the surface needs a cleaner reset.
A drywall repair does not have to be complicated, but it does have to be done in the right order, with the right method for the size and type of damage. If you take your time, many small holes can be handled successfully. And if the repair needs to disappear into the wall instead of merely covering the damage, that is where skilled finish work earns its value. A good patch fixes the hole. A great patch makes it easy to forget it was ever there.
If you’d rather leave it to a professional, our drywall repair services cover patches of every size for homes and businesses throughout Monroe and the Downriver area.