
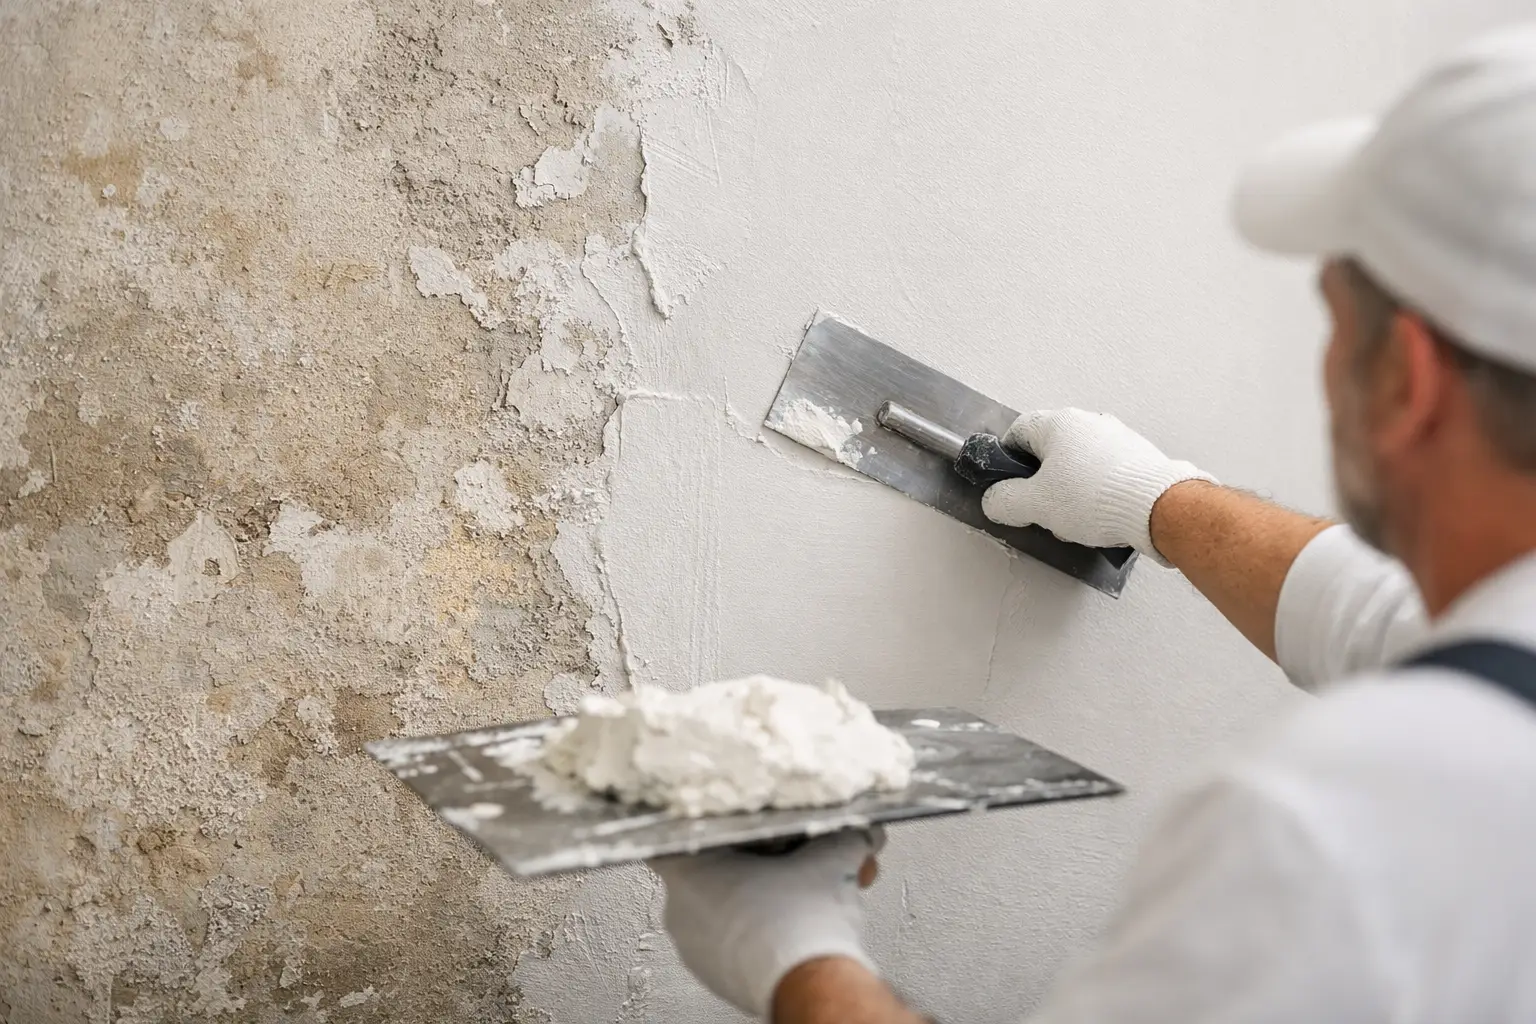
A plaster wall can look rough for many reasons: old repairs, hairline cracking, uneven paint buildup, worn texture, or years of settling in an older home. So, can plaster walls be skim coated? In many cases, yes. A properly applied skim coat can create a smooth, paint-ready surface without removing sound plaster. The key is making sure the existing wall is stable, clean, and properly prepared before any new material goes on it.
Skim coating is not a shortcut for damaged plaster. It is a finish process that works best when the underlying wall has already been repaired correctly. When it is done right, it can make a room feel cleaner, brighter, and much more updated. When it is done over loose plaster, moisture damage, or failing paint, the new finish may crack, bubble, or release from the wall.
Can Plaster Walls Be Skim Coated Successfully?
Yes, plaster walls can be skim coated successfully when the plaster is still firmly attached to the lath or masonry behind it. Skim coating involves applying very thin layers of joint compound or a compatible plaster material across the surface. Those layers fill shallow imperfections and create a consistent plane for primer and paint.
This is especially useful in Southeast Michigan homes where original plaster walls are often still solid but show decades of patching and cosmetic wear. Full removal is not always necessary or practical. If the wall is structurally sound, skim coating can preserve the character and durability of plaster while giving the room a modern, smooth finish.
The condition of the wall determines whether skim coating is the right answer. A few hairline cracks, old nail holes, shallow gouges, and uneven texture are usually good candidates. Large areas that sound hollow when tapped, crumble under light pressure, or pull away from the wall need repair before a finish coat can be considered.
When a Skim Coat Is a Good Option
A skim coat is often the right choice when the problem is mostly at the surface. For example, a room may have many small repairs that remain visible through paint, a heavy roller texture, or old wallpaper adhesive that has left the wall uneven. In these situations, a thin, carefully finished coat can provide a far better result than repeatedly spot-patching and repainting.
It can also help after removing dated wall texture. Plaster does not always accept repairs the same way drywall does, and matching a decades-old surface can be difficult. Rather than chase one patch after another, coating the full wall may produce the most consistent appearance.
Homeowners often ask whether skim coating will cover cracks. It can cover very small, stable cracks after they have been properly prepared. It will not stop an active crack caused by movement, loose plaster, framing issues, or moisture. Those conditions need to be addressed first, or the crack is likely to return through the new finish.
Problems That Must Be Fixed First
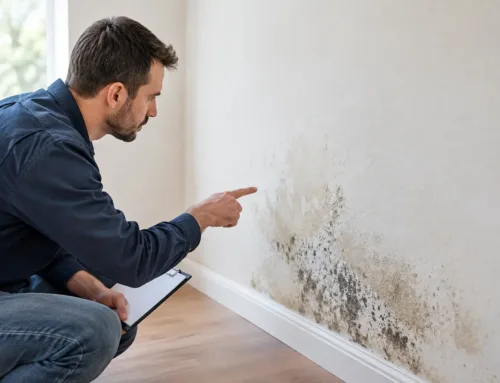
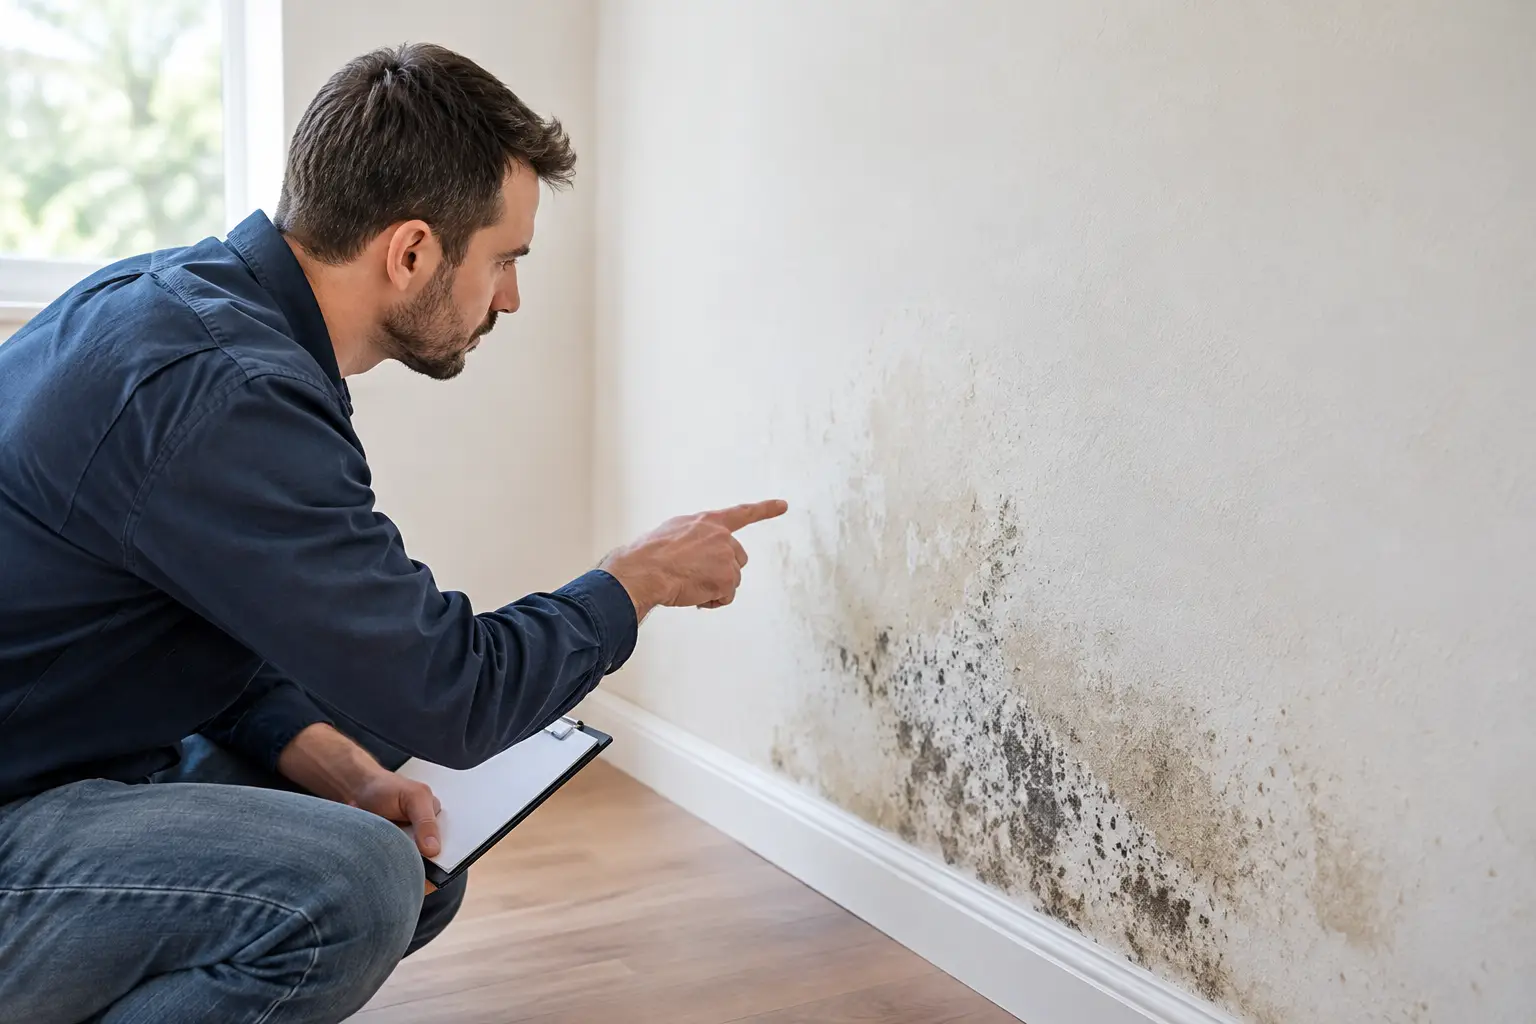
Before skim coating old plaster, a contractor should inspect more than the visible surface. Water staining, soft areas, peeling paint, efflorescence, and repeated cracking can point to issues beneath the finish. A beautiful skim coat cannot correct a leak from a roof, plumbing line, window, or exterior wall.
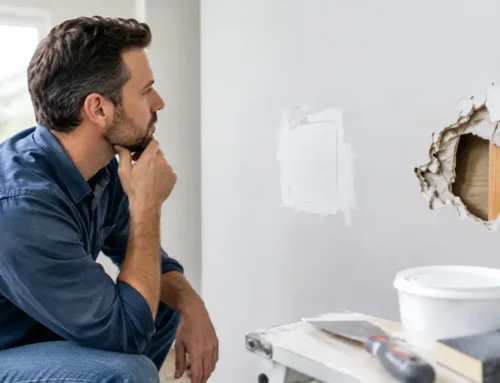
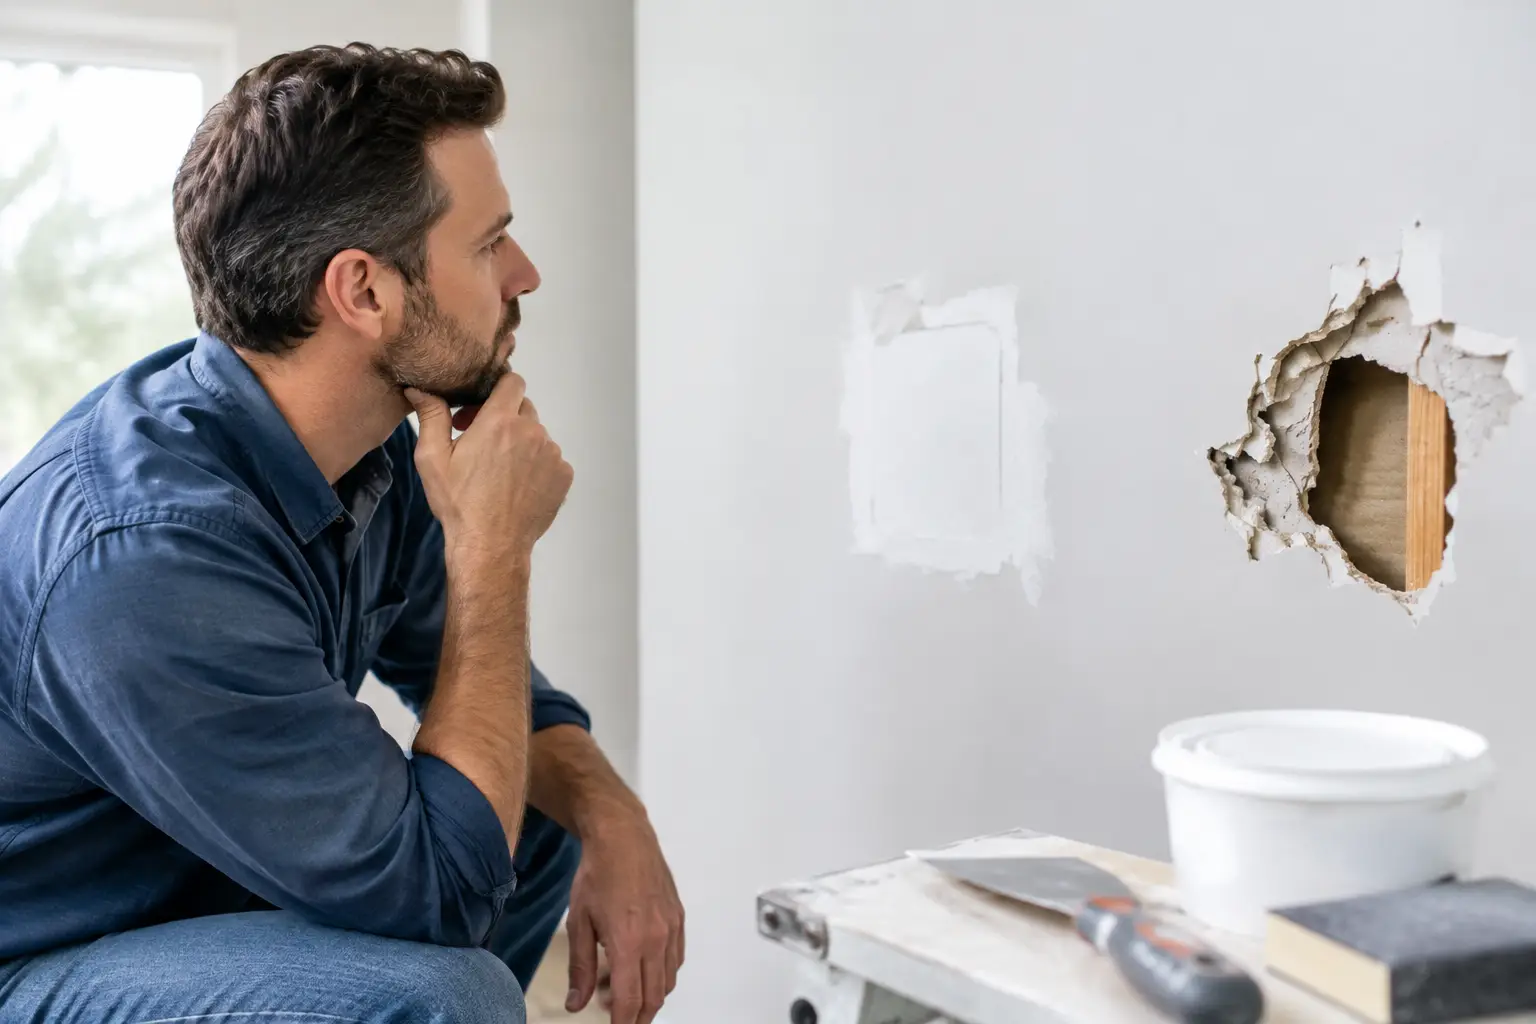
Loose plaster is another common concern. Sometimes it can be reattached with plaster repair methods and fasteners designed to stabilize the wall. In other cases, the damaged section needs to be removed and rebuilt. The right repair depends on how widespread the failure is and what is behind the plaster.
Paint can also create an adhesion issue. Many older plaster walls have multiple layers of glossy paint, wallpaper paste, or residue from past repairs. Those surfaces may need cleaning, scraping, sanding, and priming before skim material will bond reliably. If there is any concern about lead-based paint in an older home, the work should be handled with appropriate testing and safe containment practices rather than aggressive dry sanding.
How Plaster Walls Are Skim Coated
The process starts with preparation, not compound. Loose material is removed, cracks are opened and repaired as needed, and damaged areas are stabilized. The wall is then cleaned so dust, grease, and residue do not interfere with adhesion. Depending on the condition of the surface, a bonding primer may be used before coating begins.
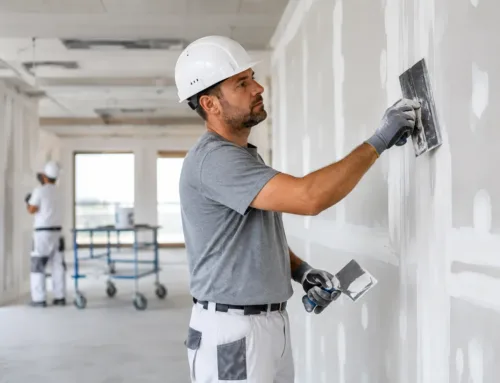
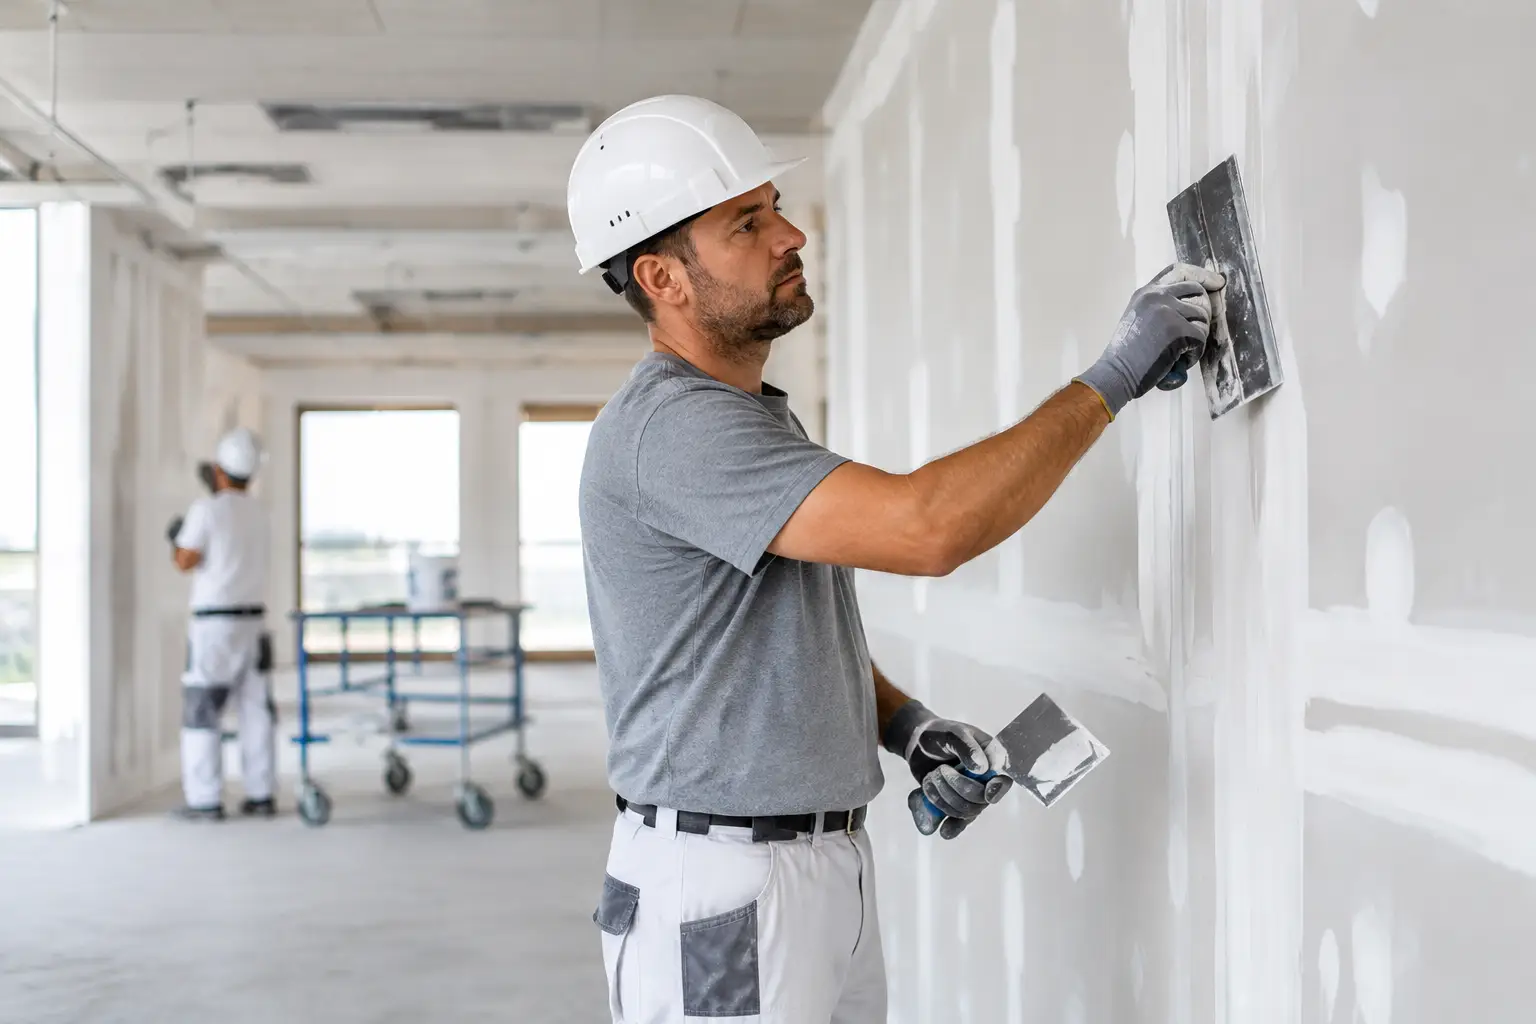
A professional applies thin coats instead of trying to make the wall flat in one heavy pass. The first coat fills low spots and blends repairs. After drying, it is lightly sanded or scraped to remove ridges. Additional thin coats refine the surface until the wall is even and smooth.
Drying time matters. Temperature, humidity, coat thickness, and airflow all affect how quickly material dries. Rushing the next coat or sanding too aggressively can create problems that show up later under primer and paint. Once the finish is ready, the wall is cleaned, primed, and prepared for the final paint color.
The goal is not merely to make the wall feel smooth when you run a hand across it. Good skim coating also looks smooth in side lighting, near windows, and under ceiling fixtures. Those are the conditions that reveal trowel marks, patch edges, and uneven texture.
Choosing the Right Material for the Wall
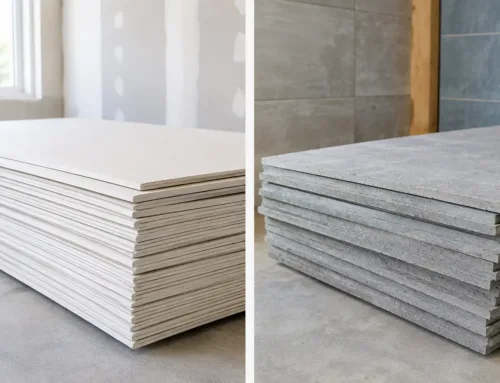
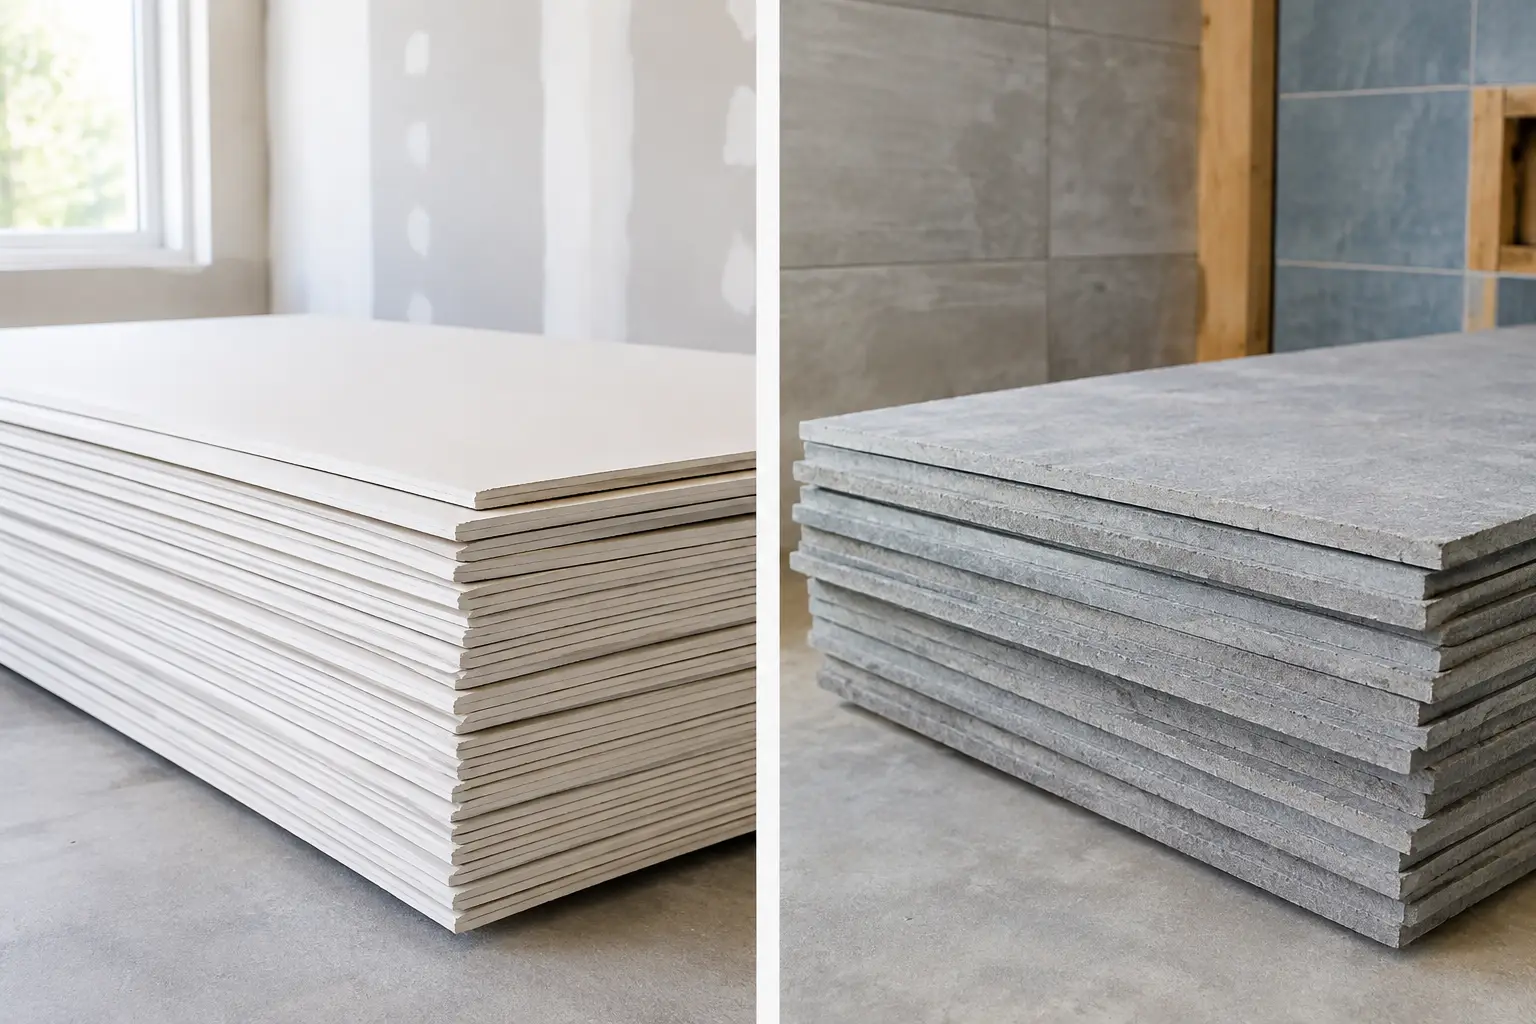
Drywall joint compound is commonly used for skim coating because it is workable, sands well, and provides a smooth paint surface. However, material selection depends on the wall condition and repair needs. Some plaster repairs call for setting-type compounds, patching plaster, or other products that provide more strength than lightweight finishing compound.
Compatibility matters most around repaired areas. A wall with old lime plaster, patched gypsum plaster, bare masonry, and painted surfaces may require different preparation from one section to the next. Using the same material everywhere without evaluating the surface can lead to uneven bonding and visible differences after painting.
DIY Skim Coating vs. Hiring a Professional
Skim coating looks simple until the light hits the wall. A homeowner can often handle a small closet repair or a limited patch with patience and the right tools. A full room, tall stairwell, ceiling, or heavily repaired plaster wall is a different level of work. It requires consistent trowel control, careful prep, dust management, and the ability to identify problems before they become expensive rework.
There is also a trade-off between time and finish quality. DIY materials may be affordable, but sanding an entire room creates fine dust, and correcting ridges or uneven coats can take several rounds. A professional drywall and plaster contractor can assess whether skim coating is appropriate, repair the wall first, and leave a clean, paint-ready finish without turning the project into weeks of trial and error.
For property managers, remodelers, and commercial clients, professional work also helps keep schedules moving. Reliable communication, clean containment, and a consistent finish matter when painters, flooring crews, tenants, or other trades are waiting on the next phase.
What to Expect From a Properly Skim-Coated Wall
A quality skim coat should make repairs blend into the surrounding wall and reduce the visual distractions caused by old texture or surface damage. After primer and paint, the wall should read as one continuous surface rather than a collection of patched areas.
It is fair to expect some preparation work, drying time, and light sanding. It is not realistic to expect skim coating to repair active water damage, significant structural movement, or plaster that is no longer attached. An honest assessment at the beginning protects the finish and helps avoid paying twice for the same wall.
With more than 32 years of hands-on drywall and plaster experience, TDM Drywall approaches older walls with the care they require. The right repair and finish plan can preserve sound plaster, improve the look of the entire room, and provide durable results that are ready for paint. If your walls are rough but still solid, a professional inspection is the practical first step toward a clean, seamless finish that lasts.