
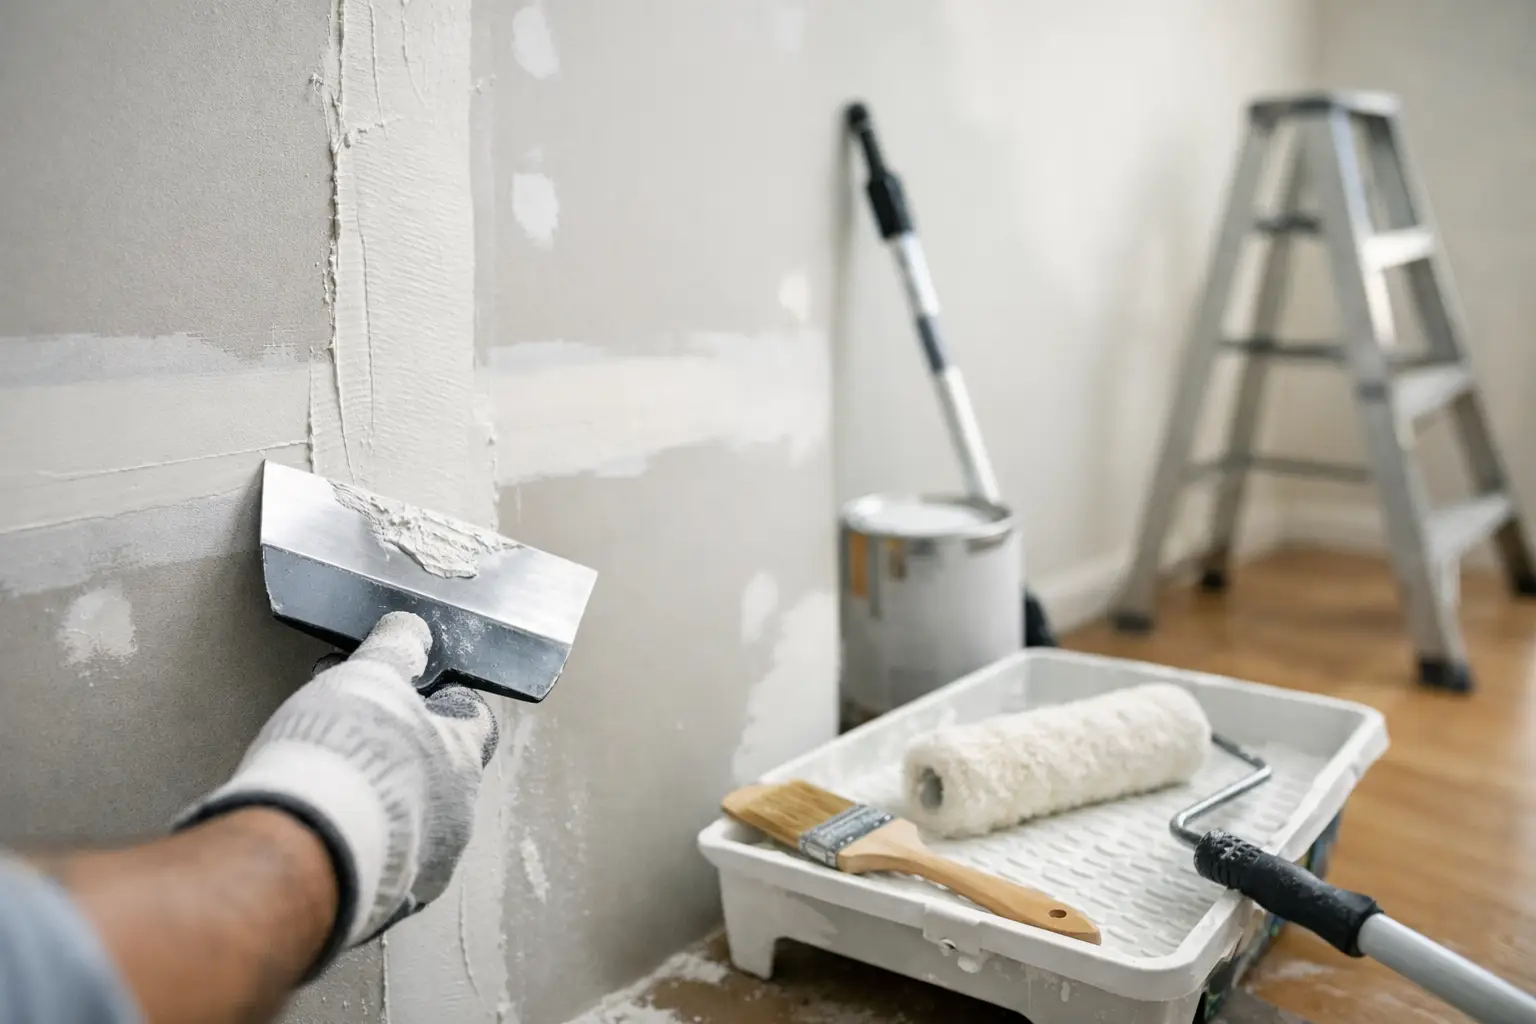
A remodel can have beautiful flooring, new cabinets, and updated lighting, yet still feel unfinished if the walls show seams, patches, or uneven texture. Drywall finishing for remodels is the stage that turns newly framed spaces, moved doorways, and repaired walls into clean surfaces ready for paint. It is also where experienced workmanship makes the difference between a project that looks complete and one that keeps drawing attention to its flaws.
For homeowners, builders, and property managers, the goal is simple: walls and ceilings that look smooth, match the surrounding surfaces, and hold up over time. Reaching that result takes more than applying joint compound and sanding. It requires proper preparation, careful sequencing, and an eye for details that turn obvious once paint and lighting go in.
Why Drywall Finishing Matters in a Remodel
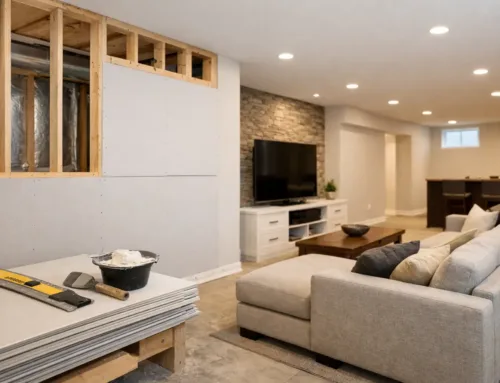
Remodels rarely involve a single, untouched room. A kitchen renovation may require new drywall around removed soffits, electrical work, plumbing changes, or cabinet layout adjustments. A basement finish may involve every stage of drywall installation. In an older home, a wall opening or repair can bring new board into contact with decades-old plaster, orange peel texture, or previously patched drywall.
That is why finishing is not a one-size-fits-all service. A finisher has to tape, coat, sand, and blend new drywall until the transitions disappear. Existing walls may need skim coating or targeted repairs to correct uneven areas before the finish work starts. Ceilings need the same attention, especially where new and old sections meet.
The final paint color often exposes what unfinished surfaces hide. Flat paint can reveal broad sanding marks in afternoon sunlight. Satin and semi-gloss finishes highlight even small ridges around joints or corners. A paint-ready wall should look consistent from several angles, not just straight on in dim light.
A Good Finish Starts Before the First Coat
The best drywall finish begins with sound installation and a clear plan for the space. Boards need secure fastening, joints need to land where framing can support them, and outside corners need to run straight and protected. If framing bows or a ceiling moves, more compound will not solve the underlying issue.
Before finishing starts, confirm what is staying and what is changing. Trim removal, recessed lighting, new vents, plumbing access, and electrical boxes all affect the drywall schedule. Finishing a wall before another trade cuts into it creates unnecessary repair work and delays painting.
On a remodel, the right sequence usually matters as much as the finish itself. Drywall typically goes up after rough electrical, plumbing, and mechanical work passes inspection, then gets finished before final flooring, cabinetry, and trim. Every project is different, though. In an occupied home, a contractor may phase the work to keep certain rooms usable and reduce disruption.
What Professional Drywall Finishing for Remodels Includes
Drywall finishing is a multi-step process, not a quick sanding job. Once the drywall hangs, the finisher tapes the joints and covers the fasteners, then lays on additional coats of compound, feathering each one wider than the joint itself. That gradual transition lets seams disappear under paint.
Corners, window returns, bulkheads, ceiling lines, and patch boundaries require special care. These are the areas where a rushed job shows first. A clean inside corner runs straight without excess buildup. An outside corner reads crisp and holds up to impact. A repair blends into the wall instead of leaving a raised outline around the damaged area.
Sanding is necessary, but more sanding is not always better. Over-sanding exposes tape, creates dips, and leaves the surface uneven. The goal is a smooth, consistent finish with minimal dust and no visible transitions. Experienced finishers use lighting, touch, and visual checks to catch imperfections before the painter does.
On many remodels, a Level 4 finish suits standard painted walls and ceilings. A Level 5 skim coat becomes the better choice where smooth walls, large windows, dark paint, or higher-sheen paint will expose minor surface variations. The right level depends on the room, lighting, paint selection, and expectations for the final appearance.
Texture Matching Is Part of the Finish
Texture matching becomes especially important when a remodel touches only part of a room. A new wall section may need to blend with orange peel, knockdown, hand texture, or a lightly textured ceiling. Even a small patch stands out when the texture pattern, thickness, or spray direction misses the existing surface.
This work requires more than choosing a texture product. The surrounding wall needs proper repair and feathering first. Then the finisher adjusts the texture until it blends into the existing pattern, before any primer or paint. In many cases, a broader blend area produces a cleaner result than texturing only the repaired spot.
Common Remodel Issues That Need More Than a Patch
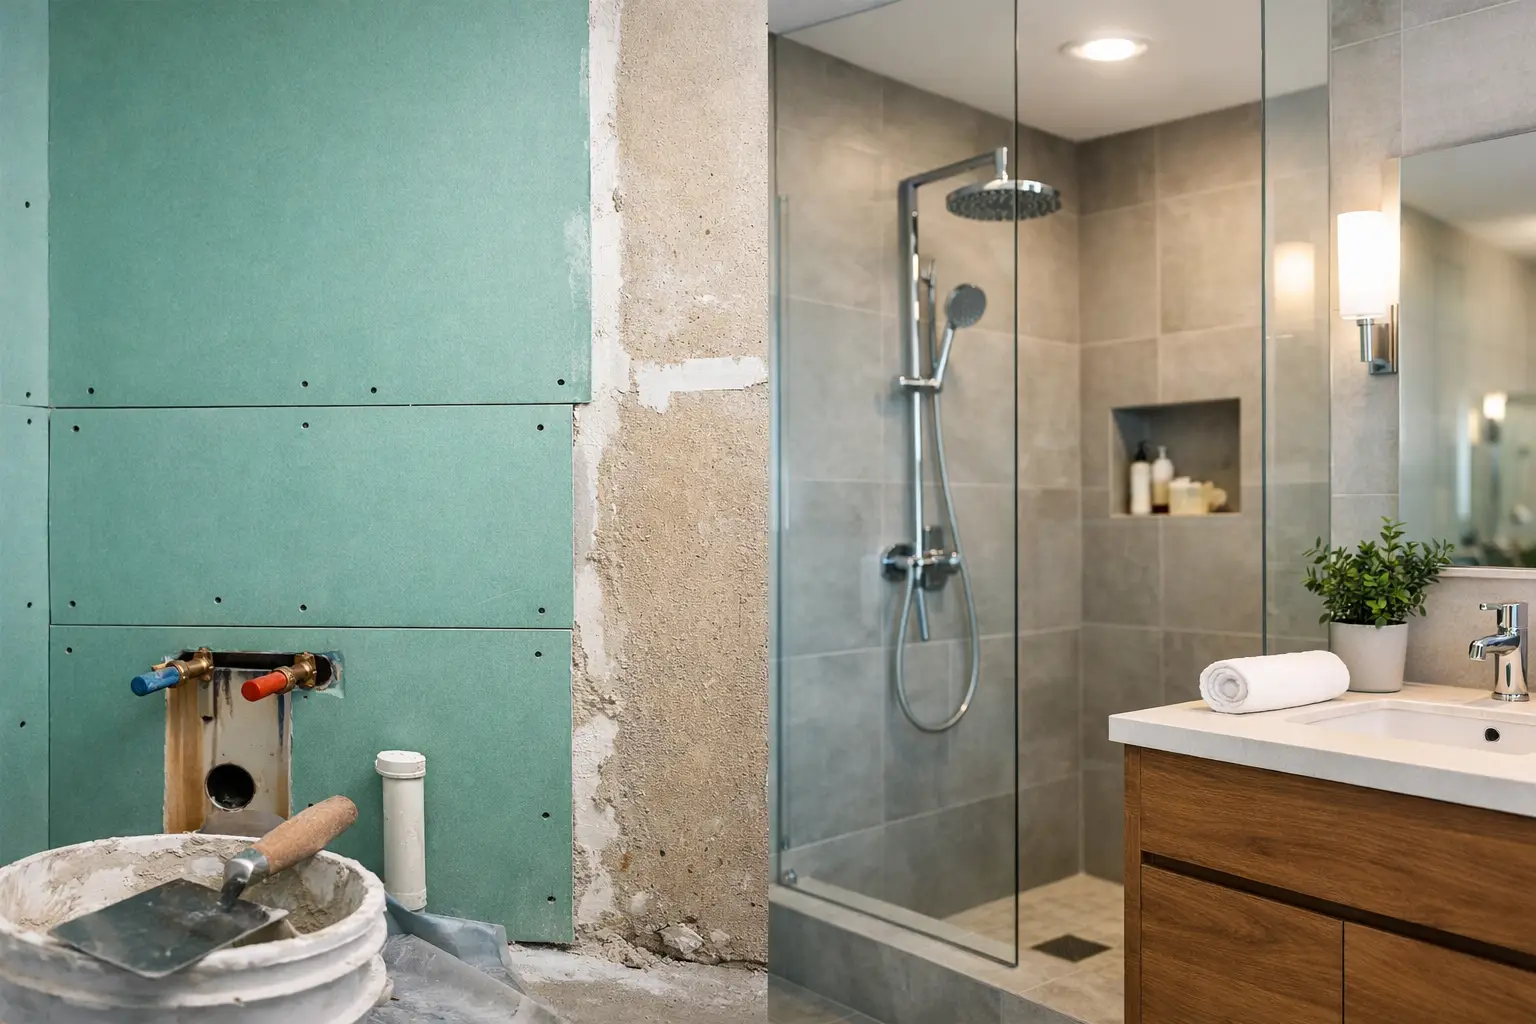
A remodel often uncovers problems that sat hidden behind cabinets, old paneling, wallpaper, or a dropped ceiling. Water stains may point to a past or active leak. Soft drywall may need replacement rather than surface repair. Cracked plaster may need stabilization before it can blend into an updated room.
Settling cracks and recurring seams deserve a careful look too. Some cracks are cosmetic and the finishing process handles them. Others trace back to movement, loose framing, moisture, or a structural concern that comes first. Covering a recurring crack without correcting the cause buys only a temporary improvement.
Popcorn ceiling removal and ceiling repair add another layer of planning. Ceiling surfaces tend to show flaws because they catch light across a wide area. Once the texture comes off, the ceiling may need skim coating for a uniform surface. In an older home, testing may also make sense before anyone disturbs existing textured materials.
Keeping the Work Area Clean and Manageable
Drywall finishing creates dust, particularly during sanding. A professional approach protects floors, furniture, nearby rooms, and HVAC openings. In an occupied home, containment and daily cleanup matter. They protect the rest of the property and make the remodeling process easier to live with.
There is a balance to strike. Full containment earns its cost on a large renovation, water-damage replacement, or major ceiling work. A small repair needs a lighter setup. The right approach fits the scope of work while still respecting the home or business hosting it.
Communication matters just as much when a project involves several trades. The drywall schedule has to account for drying time between coats, temperature and humidity, inspections, and the painter’s calendar. Rushing compound before it dries properly leads to cracking, poor adhesion, or a finish that will not hold up.
How to Prepare for a Better Paint-Ready Result
Homeowners can help a remodel move smoothly by making finish decisions early. Decide whether walls will run smooth or textured, identify areas where existing texture needs to match, and settle on paint sheen before final finishing starts. Dark colors and glossier paints demand more surface preparation than light colors with a flat finish.
Walk through the project before painting starts. Look at walls and ceilings from different areas of the room and under natural or angled light. Confirm that someone has addressed every access hole, old fixture, removed cabinet, and changed opening. Now is the moment to raise concerns, before primer and finish paint make corrections harder.
On remodels in Monroe, Downriver, and Southeast Michigan, TDM Drywall brings more than 32 years of hands-on experience to repairs, replacement, installation, skim coating, texture matching, and paint-ready finishing. As a licensed and insured family-run contractor, the focus stays on clear communication, clean workspaces, and workmanship that blends naturally with the rest of the property.
A remodeled room should not look like a collection of changes. It should look like it always belonged together. Plan the finish, address hidden issues, and use skilled drywall work, and paint gets the smooth foundation it needs to make the entire project feel complete.
Our drywall installation services cover hanging, taping, and finishing on remodels, leaving walls and ceilings smooth and ready for primer, for homes and businesses throughout Monroe and the Downriver area.