
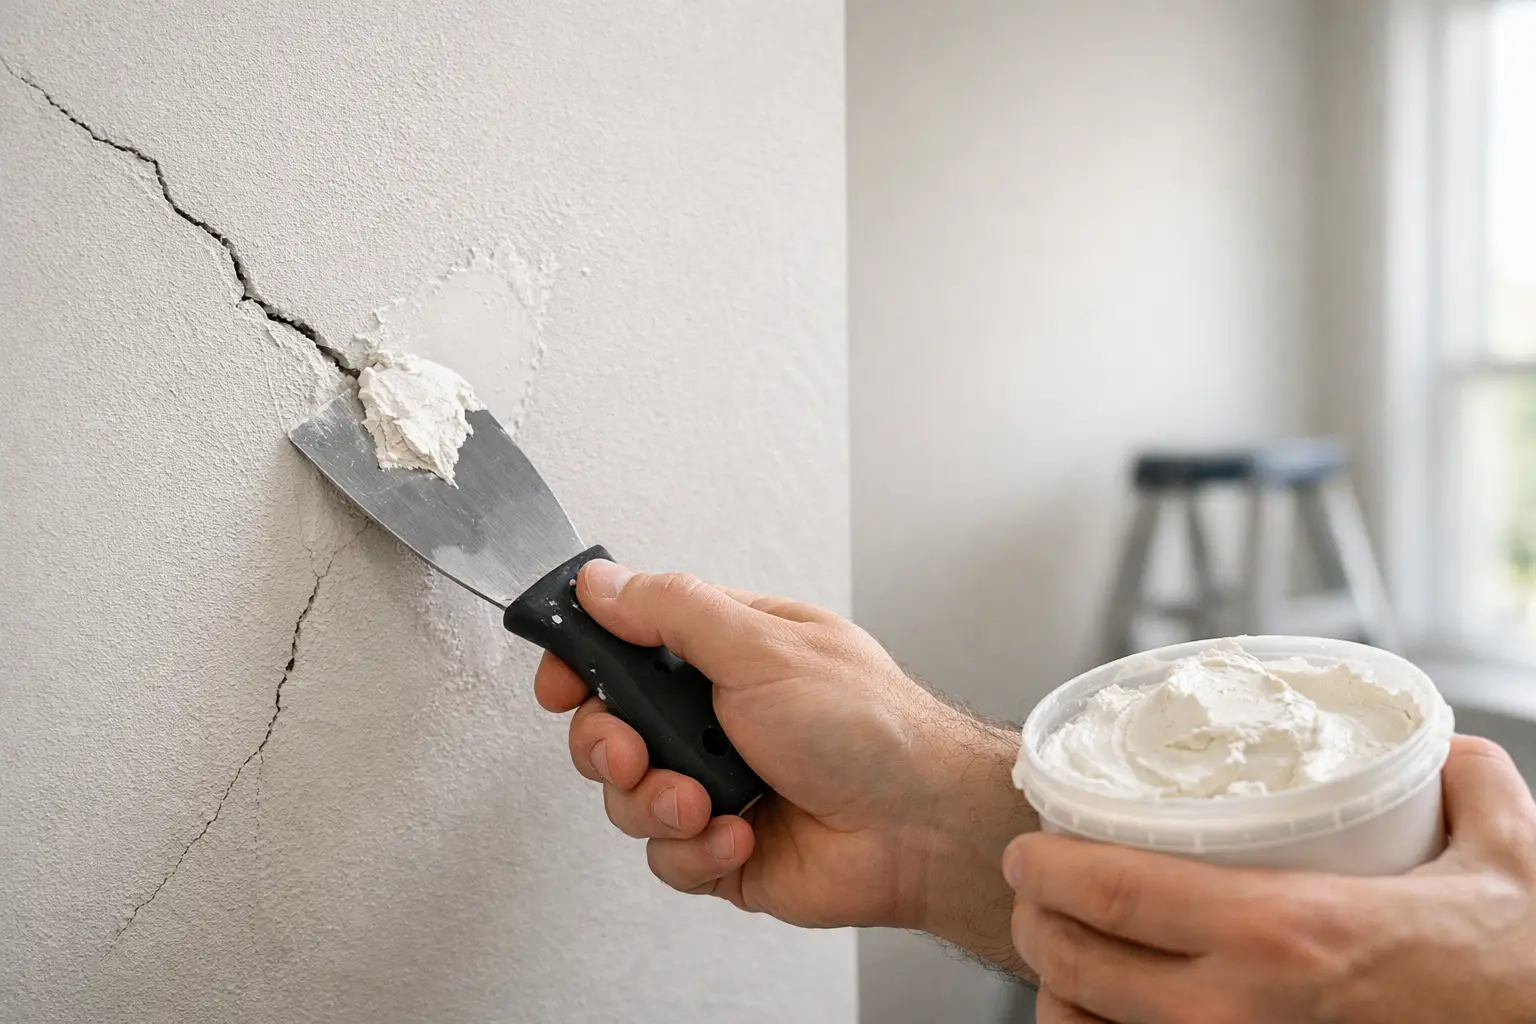
A hairline crack above a doorway can be a normal part of an older plaster home settling. A widening crack that returns after every repair is different. Knowing how to patch plaster cracks starts with identifying whether the plaster surface is still firmly attached to the wall or ceiling behind it. A repair is only as durable as the surface beneath it.
Plaster is not drywall. It is a hard, layered finish applied over wood lath, metal lath, masonry, or a plaster base. When it cracks, the visible line may be minor, but movement, loose plaster keys, moisture, or structural shifting can be the real cause. The goal is not simply to fill the crack. It is to stabilize the area, reinforce the repair, and leave a smooth, paint-ready finish that blends with the surrounding wall.
First, Decide Whether the Crack Is a Simple Repair
Small, thin cracks that do not move or spread are often good candidates for a careful DIY repair. These are common around door and window corners, at wall-to-ceiling transitions, and in older homes where seasonal temperature and humidity changes cause slight movement.
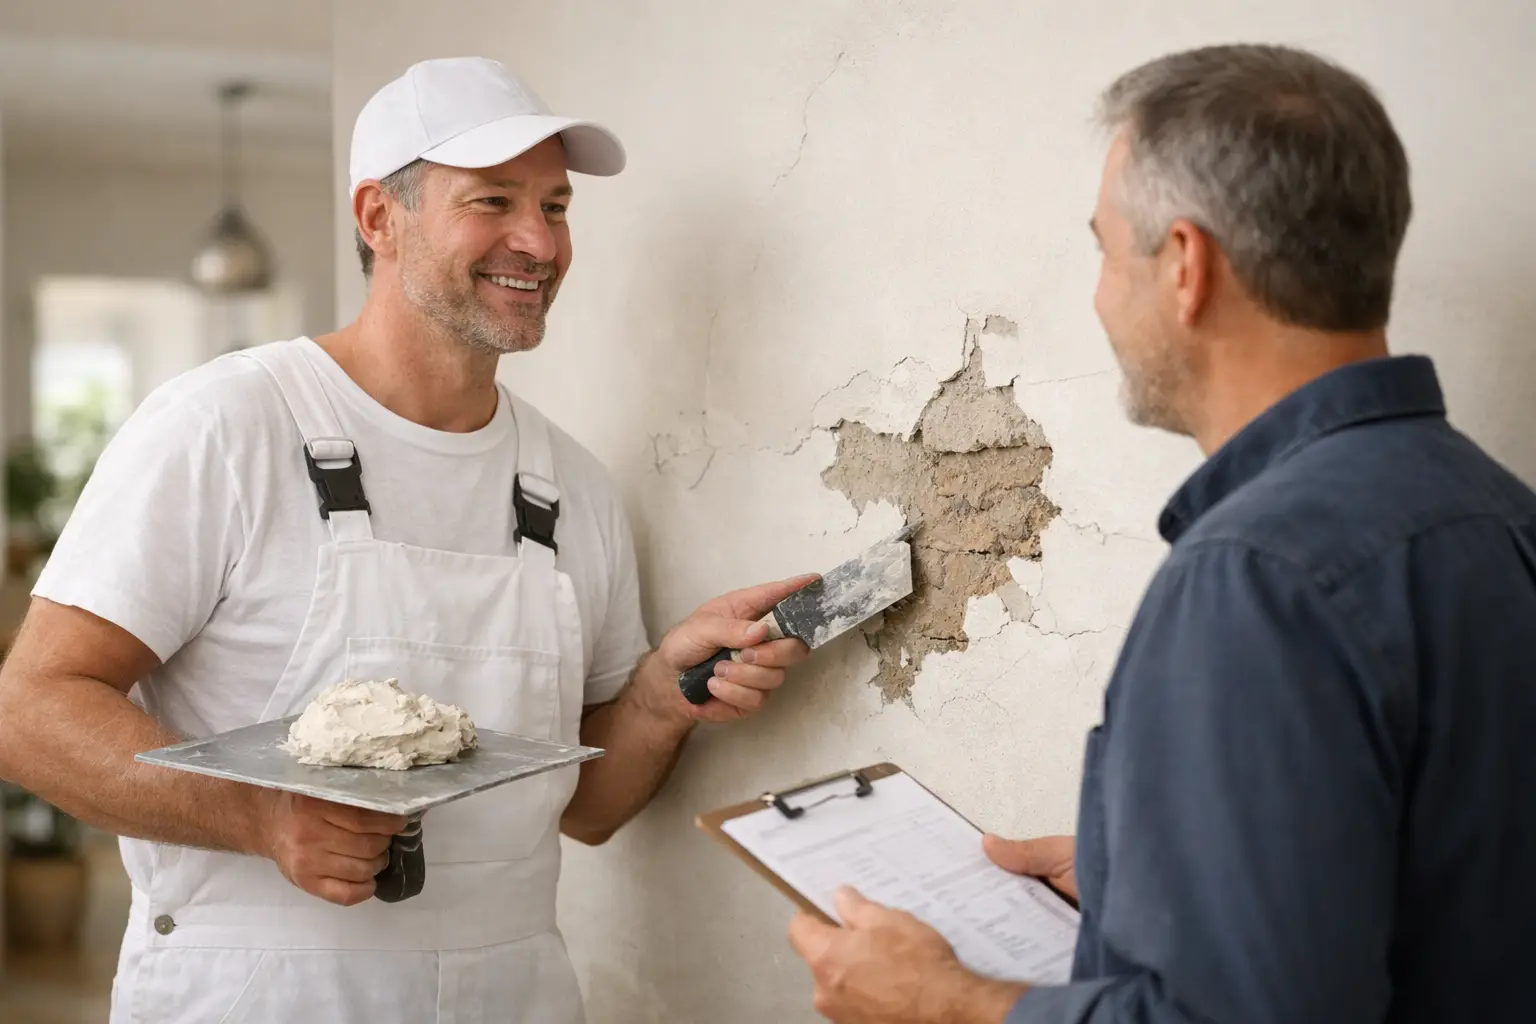
Look closely before applying any compound. A crack that is wider than about 1/8 inch, runs across a ceiling, branches in several directions, or has stained edges deserves more investigation. Press gently on both sides of the crack. If the plaster flexes, sounds hollow, crumbles, or separates from the lath, filling the line alone will not solve the problem.
Water stains, bubbling paint, and soft plaster are also warning signs. Fix the roof leak, plumbing issue, condensation problem, or exterior water entry first. Patching wet or weakened plaster only hides damage temporarily and can trap a larger repair behind a fresh coat of paint.
For older homes in Monroe and Southeast Michigan, it is also common to find cracks caused by years of settling. Most are repairable, but a crack that suddenly appears or noticeably grows should be evaluated before cosmetic work begins. When movement is ongoing, the right repair may involve reinforcing a broader section of wall or ceiling rather than treating one narrow line.
How to Patch Plaster Cracks for a Lasting Finish
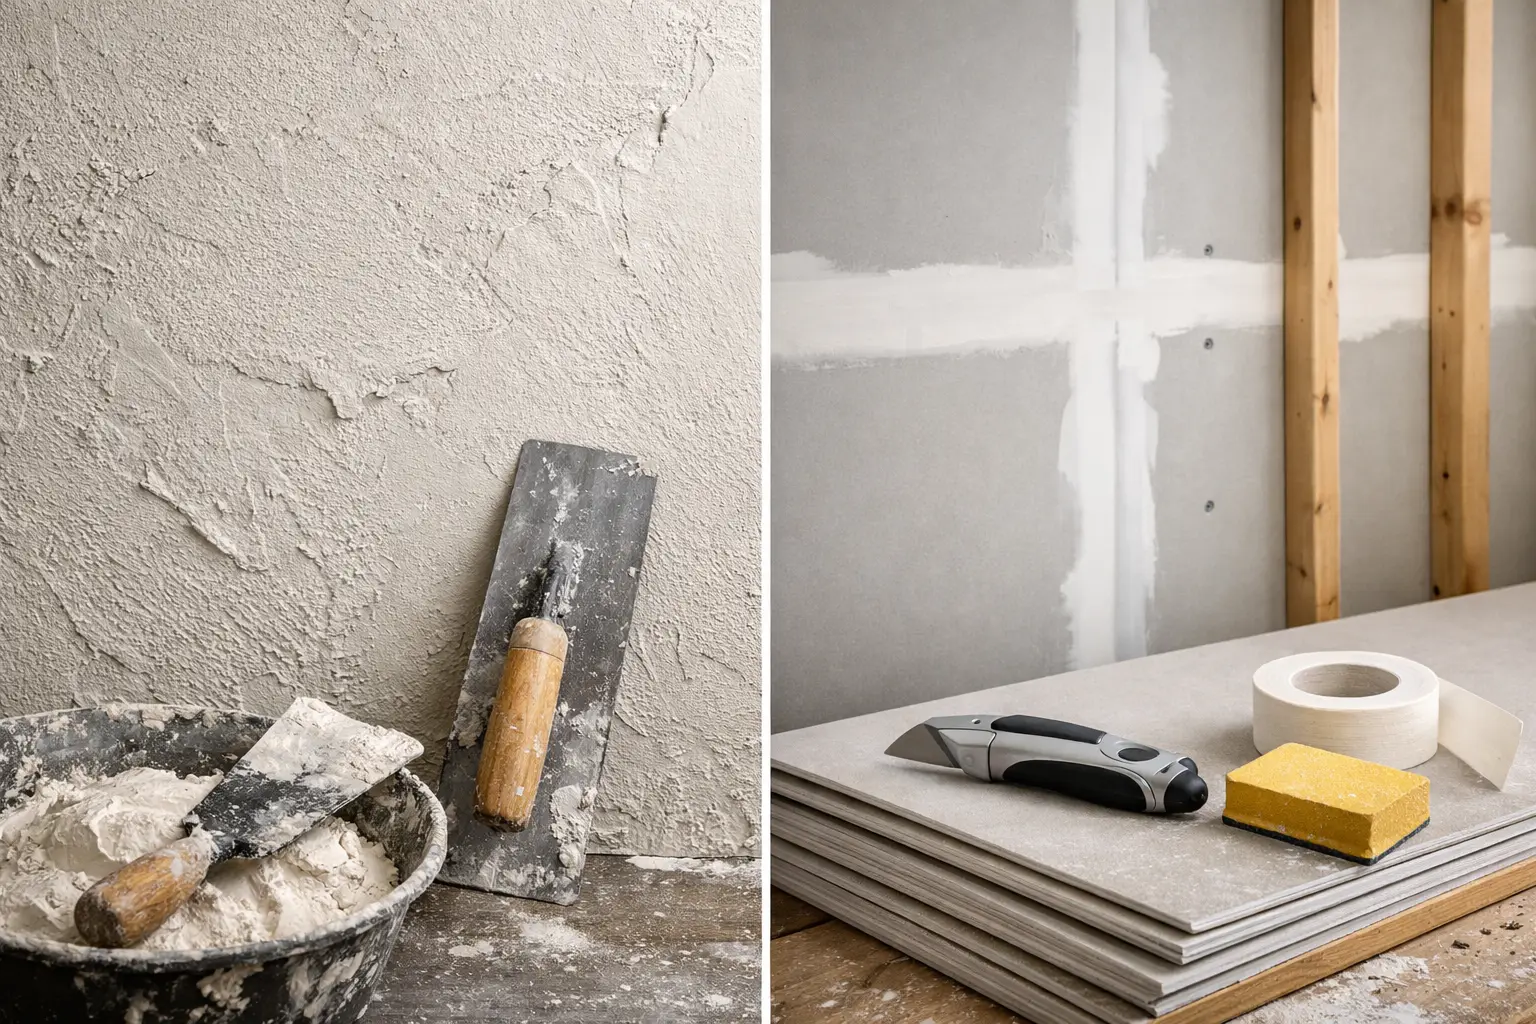
For a stable, non-water-damaged crack, use a quality setting-type joint compound or a plaster repair compound, fiberglass mesh tape, a utility knife, a 4- to 6-inch taping knife, fine-grit sanding tools, primer, and matching paint. Wear eye protection and a dust mask. If the home was built before 1978, use extra caution around old painted surfaces because sanding can create hazardous lead-paint dust. Testing and proper containment may be necessary before disturbing the area.
Open and clean the crack
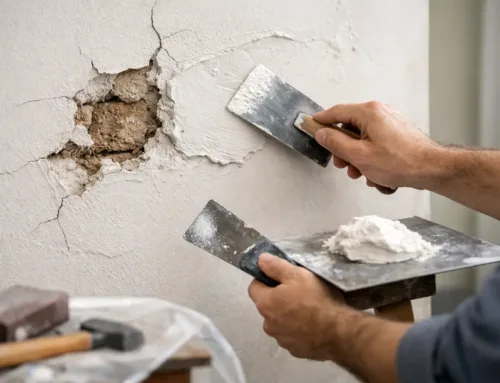
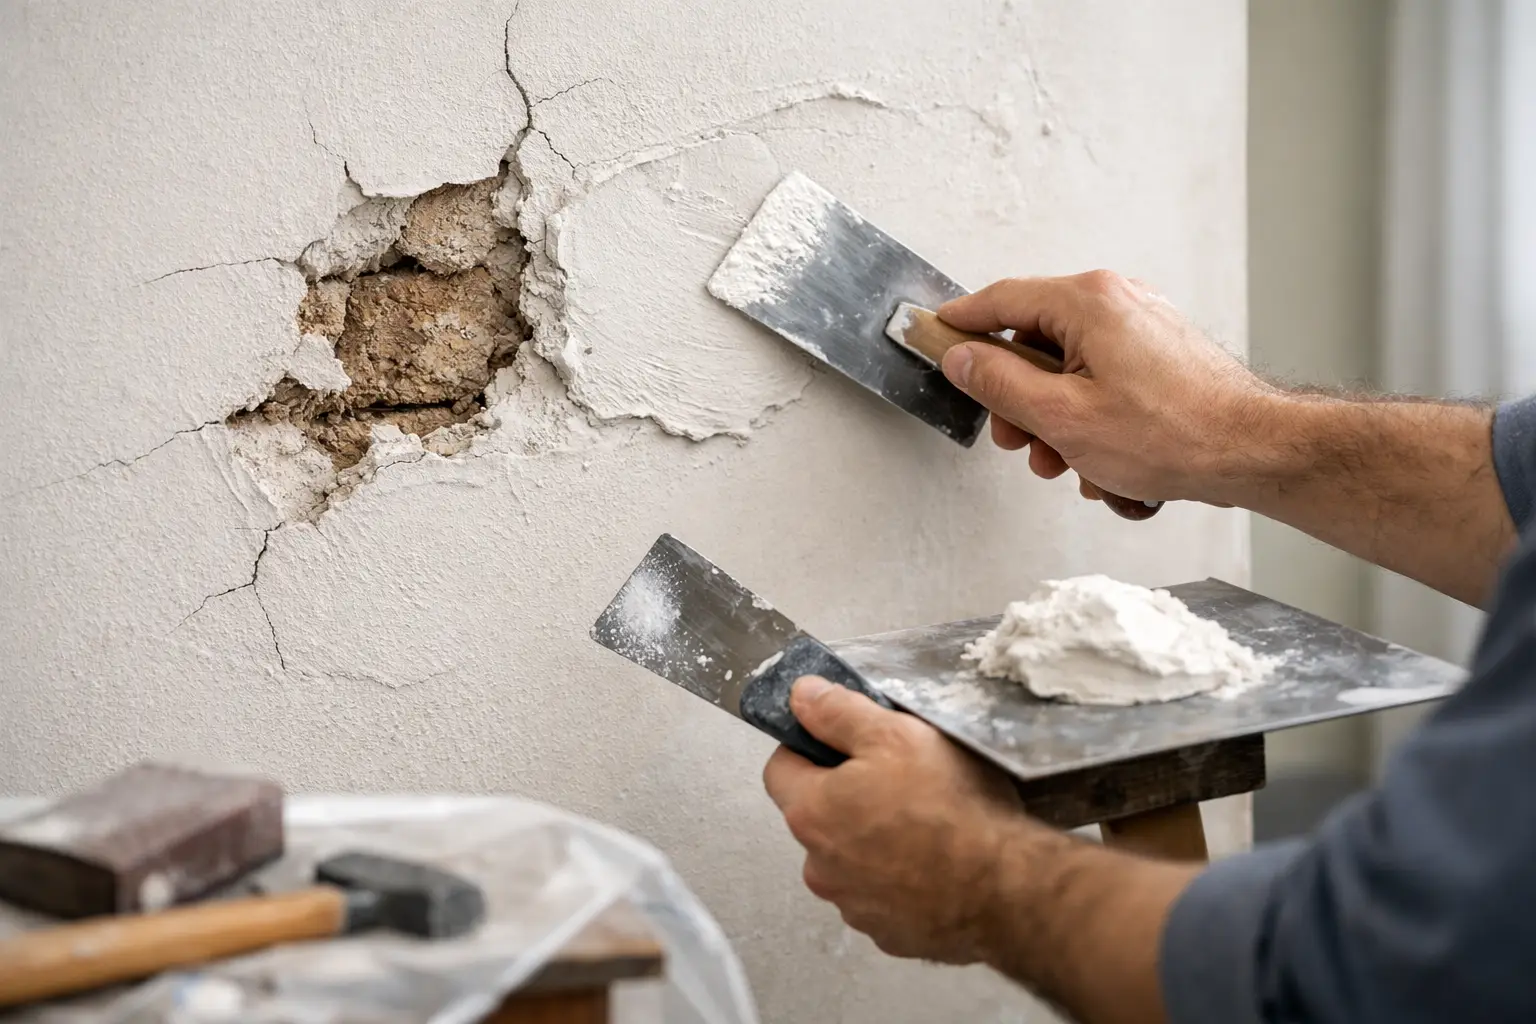
Start by using a utility knife, painter’s tool, or the corner of a stiff putty knife to gently widen the crack into a shallow V-shape. This step can feel backward, but it gives the repair material a clean surface to grip. Do not aggressively dig into the wall. The purpose is to remove loose material and create room for compound, not to turn a narrow crack into a large hole.
Vacuum the dust from the crack and wipe the area with a dry cloth. If loose plaster flakes away beyond the original crack, keep removing only the material that is no longer secure. A solid edge is essential. Compound applied over chalky, loose plaster will eventually pull away with it.
Stabilize loose plaster before filling
If the plaster is slightly loose but otherwise in good condition, it may need to be secured before patching. Professionals often use plaster washers and screws driven into framing or lath, or specialized plaster adhesive systems that reattach the plaster to the substrate. This is especially useful on ceilings, where loose plaster is a safety concern.
Do not assume every hollow-sounding area can be saved with a surface repair. Large sections that have detached from the lath, sagging ceiling plaster, or plaster that drops when touched may need to be removed and rebuilt. Trying to save severely failed material can create more mess and cost later.
Apply compound and reinforce the crack
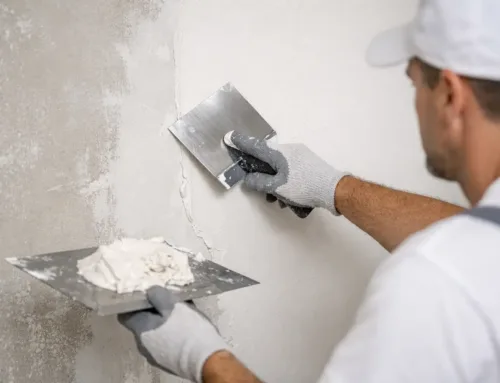
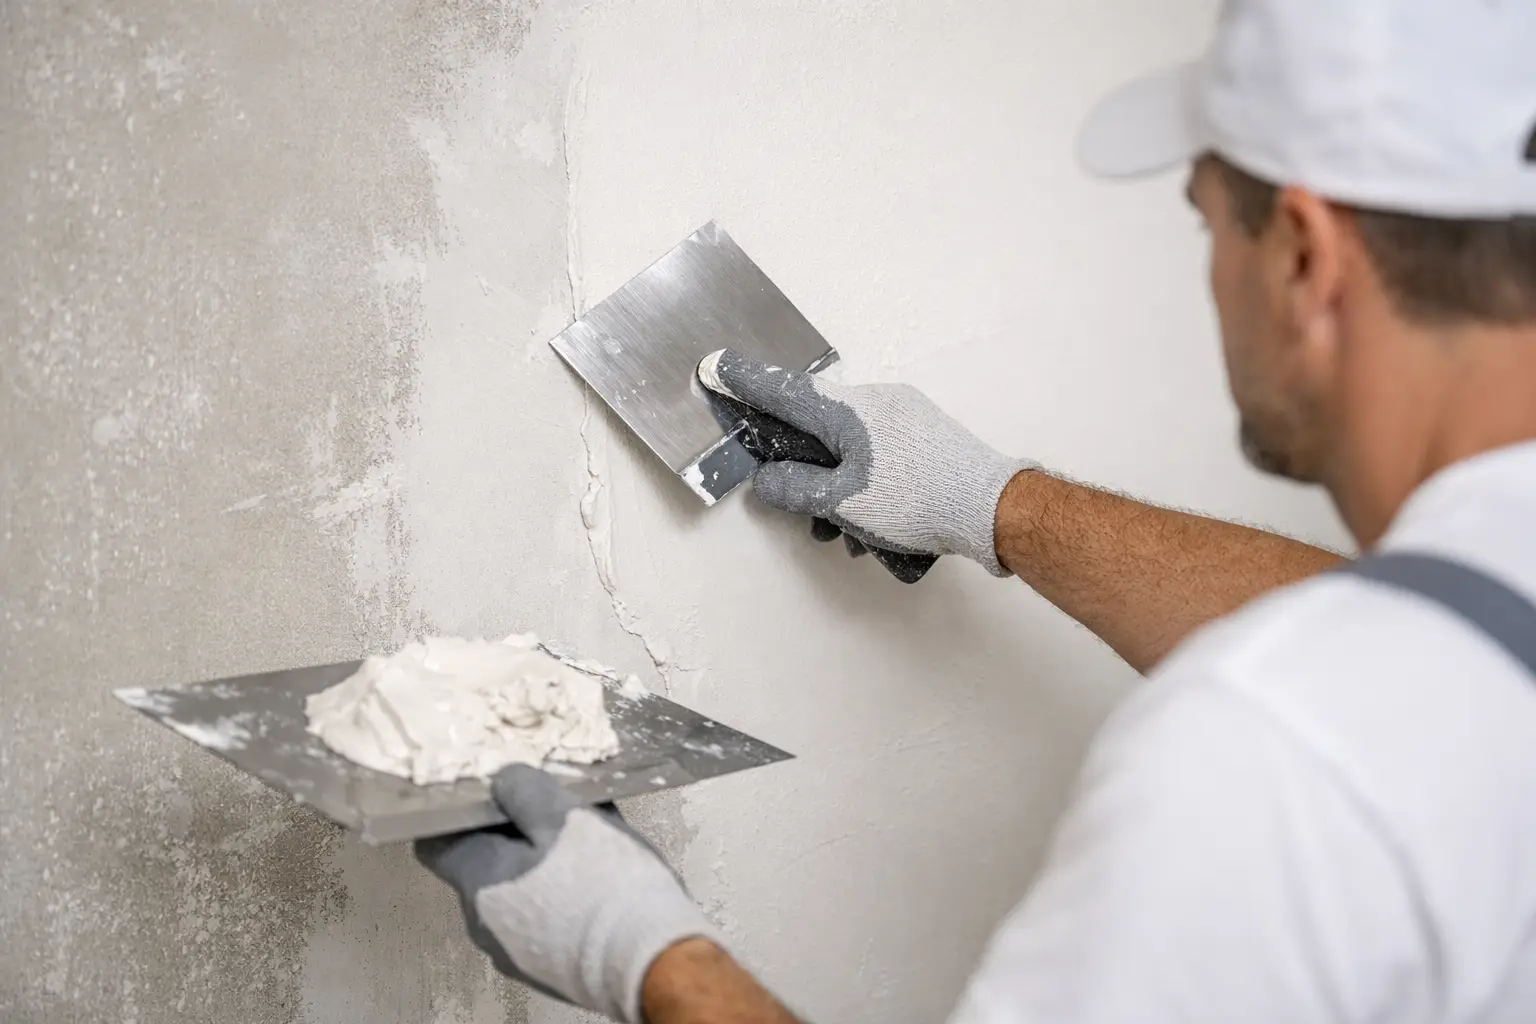
Fill the V-shaped crack with a thin, firm coat of setting-type compound. Press it in rather than skimming it over the surface. Then apply fiberglass mesh tape centered over the crack while the first layer is still workable, or bed the tape into a fresh, thin layer of compound.
Mesh tape provides reinforcement across the crack, helping the repair resist minor movement. For very fine cracks in stable plaster, some professionals may use paper tape instead because it creates a flatter finish. The best choice depends on the crack width, wall texture, and the amount of movement expected. For most homeowners, mesh tape is more forgiving and easier to place over an irregular plaster surface.
Cover the tape with a thin coat of compound, extending it several inches beyond the crack on each side. Keep the knife at a slight angle and feather the edges. A thick patch may seem faster, but it takes longer to dry, is harder to sand, and often leaves a visible hump after painting.
Build the repair in thin coats
Let the first coat dry or set completely according to the product instructions. Apply a second, wider coat with an 8- to 10-inch knife, feathering it farther into the surrounding wall. Depending on the depth of the crack and the texture of the original plaster, a third finish coat may be needed.
This gradual widening is what makes a crack repair disappear. The center is filled and reinforced, while each outer edge becomes thinner until it blends into the existing plane of the wall. Rushing this stage is one of the main reasons patched cracks show through paint.
Lightly sand between coats only as needed. Plaster walls are often uneven by nature, so focus on eliminating ridges and knife lines rather than trying to make every inch perfectly flat. Use a bright work light held at an angle to the wall. It will reveal high spots that ordinary room lighting can hide.
Prime before painting
Once the final coat is smooth and dust-free, apply a quality primer over the repaired area. Primer seals the porous compound and helps the finish paint absorb evenly. Skipping it can leave a dull, flashing patch that remains visible even when the wall color matches.
For a smooth wall, repainting the entire wall from corner to corner usually gives the cleanest result. Spot painting can work if the paint is recent and the color is an exact match, but older paint fades and changes over time. On textured plaster, matching the original texture before priming and painting is often the harder part of the job.
Common Mistakes That Cause Plaster Cracks to Return
The most common mistake is filling a crack with lightweight spackle and painting it the same day. Spackle has a place for small nail holes, but it does not reinforce a crack or correct loose plaster. Another frequent problem is using too much compound in one pass, which creates shrinkage, sanding problems, and a raised patch.
Homeowners also sometimes tape over uncleaned cracks or apply compound directly over peeling paint. Both shortcuts weaken adhesion. If the crack is caused by failed plaster keys, moisture, or building movement, the repair needs to address that condition first.
Ceilings deserve particular care. A thin ceiling crack may be cosmetic, but sagging, broad cracking, or loose material overhead should not be treated as a simple patch. Keep people away from the area until it can be assessed safely.
When It Makes Sense to Call a Plaster Repair Professional
A professional repair is worth considering when the crack keeps returning, the wall has a decorative texture, the ceiling is involved, or the plaster is loose across a larger area. It is also the better route when you need the patch to disappear under a high-quality paint finish. The repair itself may be straightforward, but blending old plaster, matching texture, controlling dust, and leaving the space clean takes practiced technique.
TDM Drywall has more than 32 years of hands-on experience repairing damaged walls and ceilings for homeowners, property managers, builders, and businesses. A proper assessment can determine whether a crack needs a simple reinforced patch, plaster stabilization, water-damage repair, or replacement of a failed section.
A crack repaired with the right preparation should look quiet after the paint dries – no raised tape line, no flashing patch, and no reminder every time the afternoon light hits the wall. That is the standard worth aiming for, whether the repair is a careful weekend project or work best left to an experienced plaster contractor.
For cracks that keep reopening or plaster that has pulled away from the lath, our plaster repair services restore original walls and ceilings and leave them ready for primer, in homes throughout Monroe and the Downriver area.