
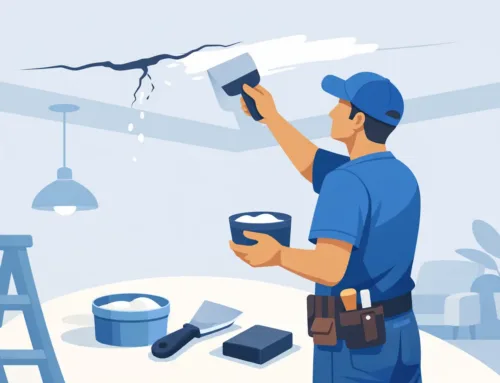
A ceiling crack has a way of taking over the whole room. You can have fresh wall color, clean trim, and good lighting, but one line running across the ceiling still grabs your eye. If you are wondering how to fix cracks in ceiling before painting, the main thing to know is this: paint alone will not solve it. The crack has to be repaired properly first, or it will usually show back up through the new finish.
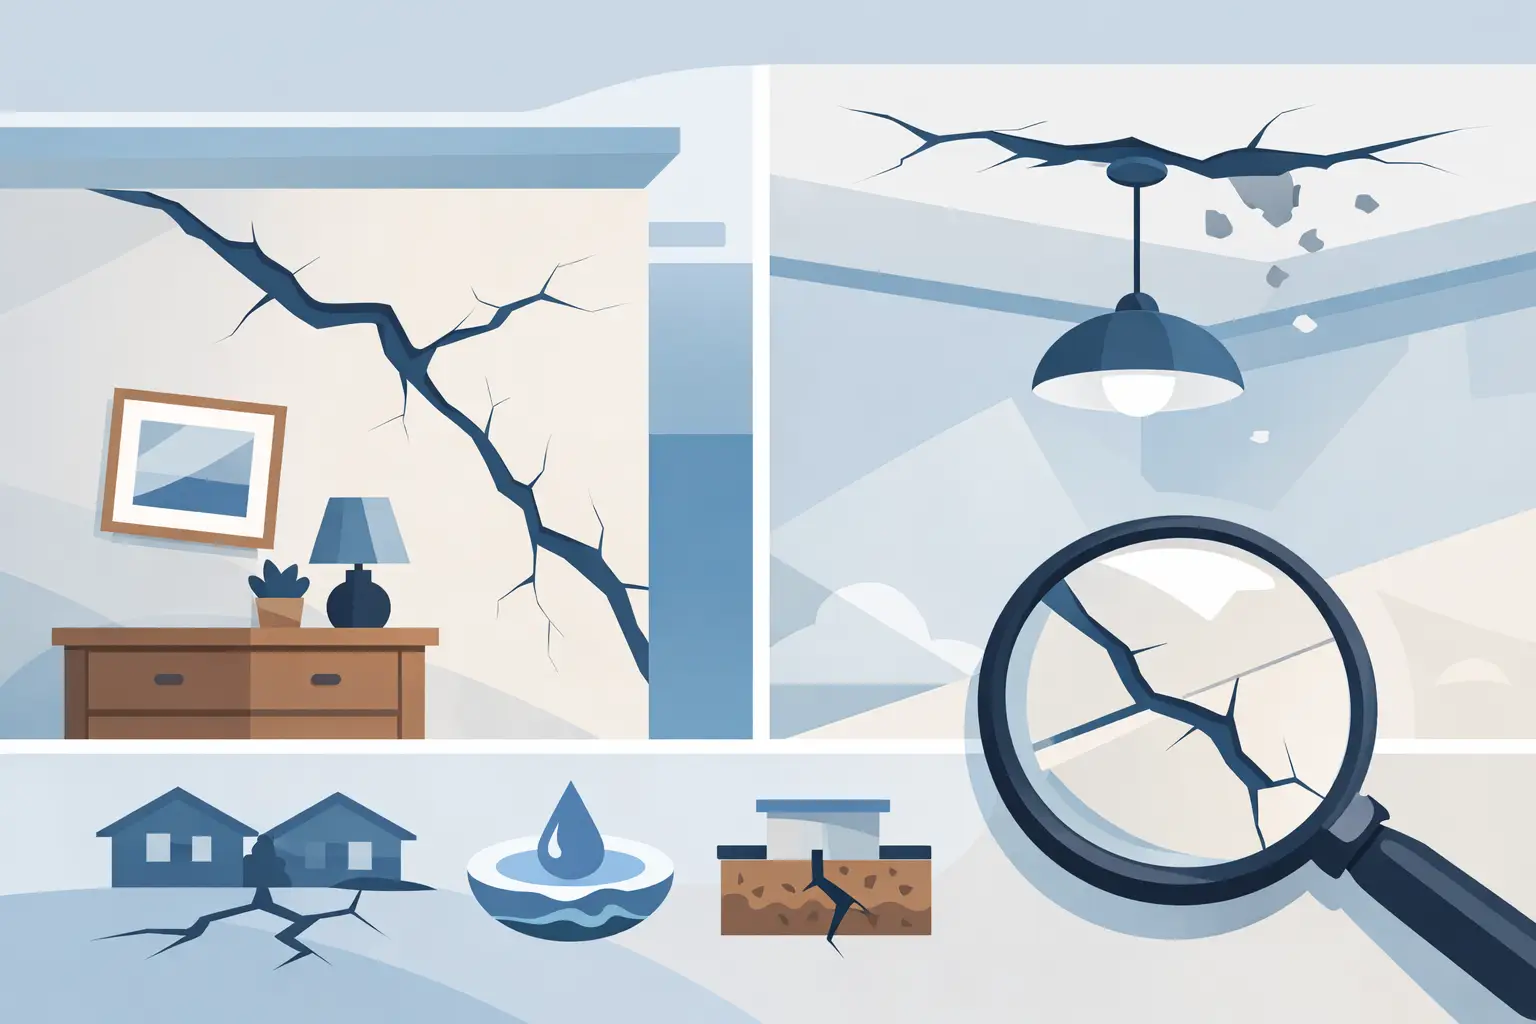
Some ceiling cracks are cosmetic. Others point to movement, moisture, or a failing joint. The difference matters because the best repair depends on what caused the crack in the first place. A quick patch might look fine for a few weeks, but if the ceiling is shifting or the drywall tape has let go, the repair needs to be built to hold.
How to Fix Cracks in Ceiling Before Painting the Right Way
The first step is figuring out what kind of crack you have. A thin hairline crack along a drywall seam is common in older homes and in places that have seen seasonal movement. Wider cracks, sagging areas, brown water stains, or soft drywall are different problems. Those usually call for more than filler and paint.
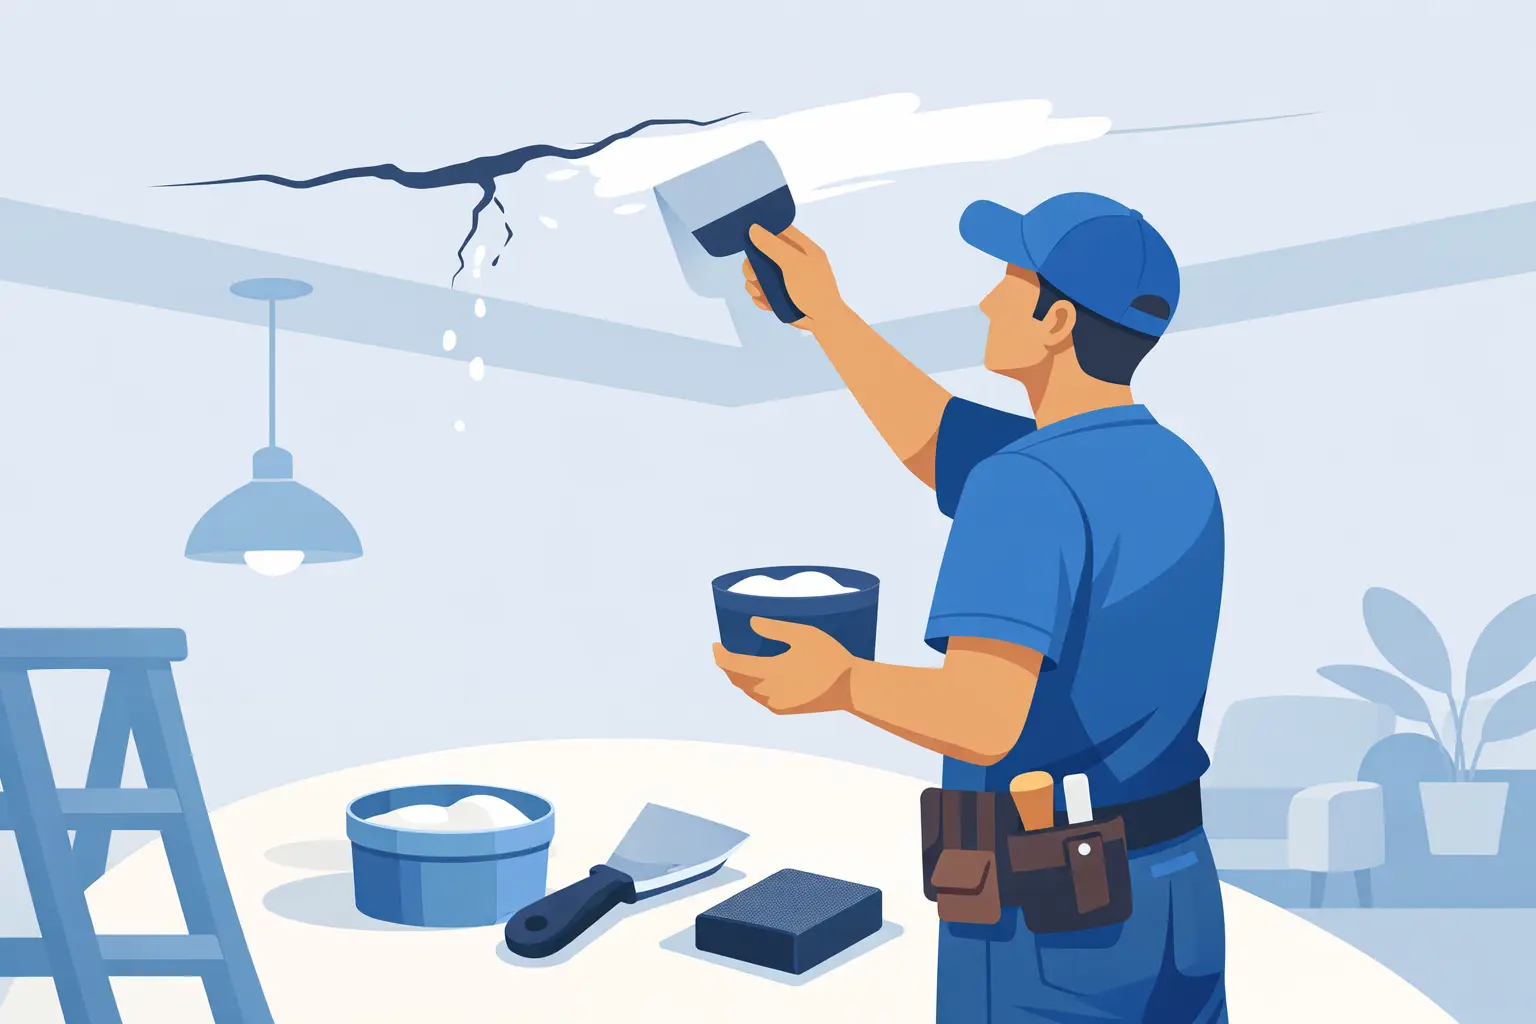
For a standard drywall ceiling crack, the repair usually involves opening the crack slightly, removing loose material, reinforcing the area with tape, applying joint compound in thin coats, sanding smooth, priming, and then painting. Skipping the reinforcement step is one of the biggest reasons ceiling crack repairs fail.
If the ceiling is plaster instead of drywall, the process can change. Plaster cracks may need a different patching approach, especially if the plaster has separated from the lath underneath. That is one of those cases where it pays to slow down and assess the condition before you start spreading compound.
Start by checking for warning signs
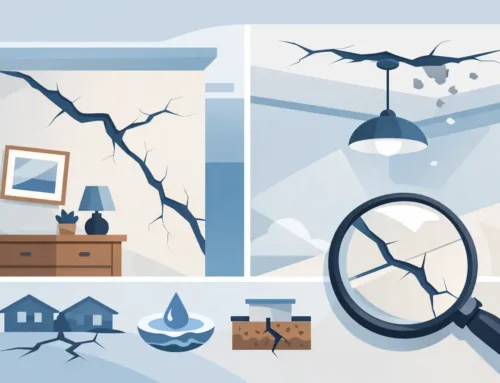
Before any repair, look closely at the area. If you see staining, active moisture, bubbling paint, sagging drywall, or a crack that keeps widening, fix the underlying issue first. A roof leak, plumbing leak, or structural movement can ruin a cosmetic repair fast.
Also pay attention to the crack pattern. A straight crack along a seam often points to failed tape or joint movement. Spiderweb cracking can suggest an older skim coat or paint failure. A single crack around a door opening, soffit, or stairwell may be tied to framing movement. None of this means the repair cannot be done, but it does affect how durable the final result will be.
Use the right materials
For most drywall ceiling crack repairs, you will want a utility knife, drywall sanding sponge or fine sandpaper, joint compound, drywall tape, primer, and ceiling paint. Paper tape often gives a stronger repair over a crack than mesh, especially on seams, but it does take a cleaner application. Setting-type compound can also help in some cases because it hardens faster and shrinks less than lightweight premixed mud.
The trade-off is ease versus durability. Lightweight patch products are simpler for small cosmetic fixes. A taped repair with proper compound work takes more time, but it is usually the better choice if you want the ceiling to stay smooth after painting.
Repair the Crack Before You Think About Paint
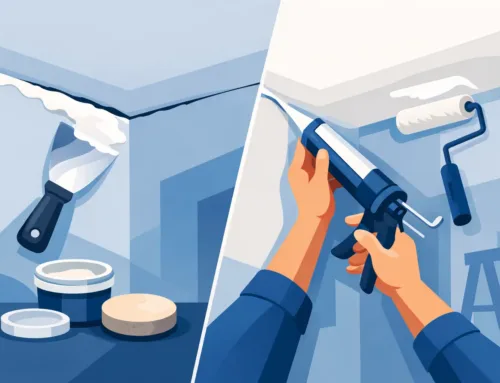
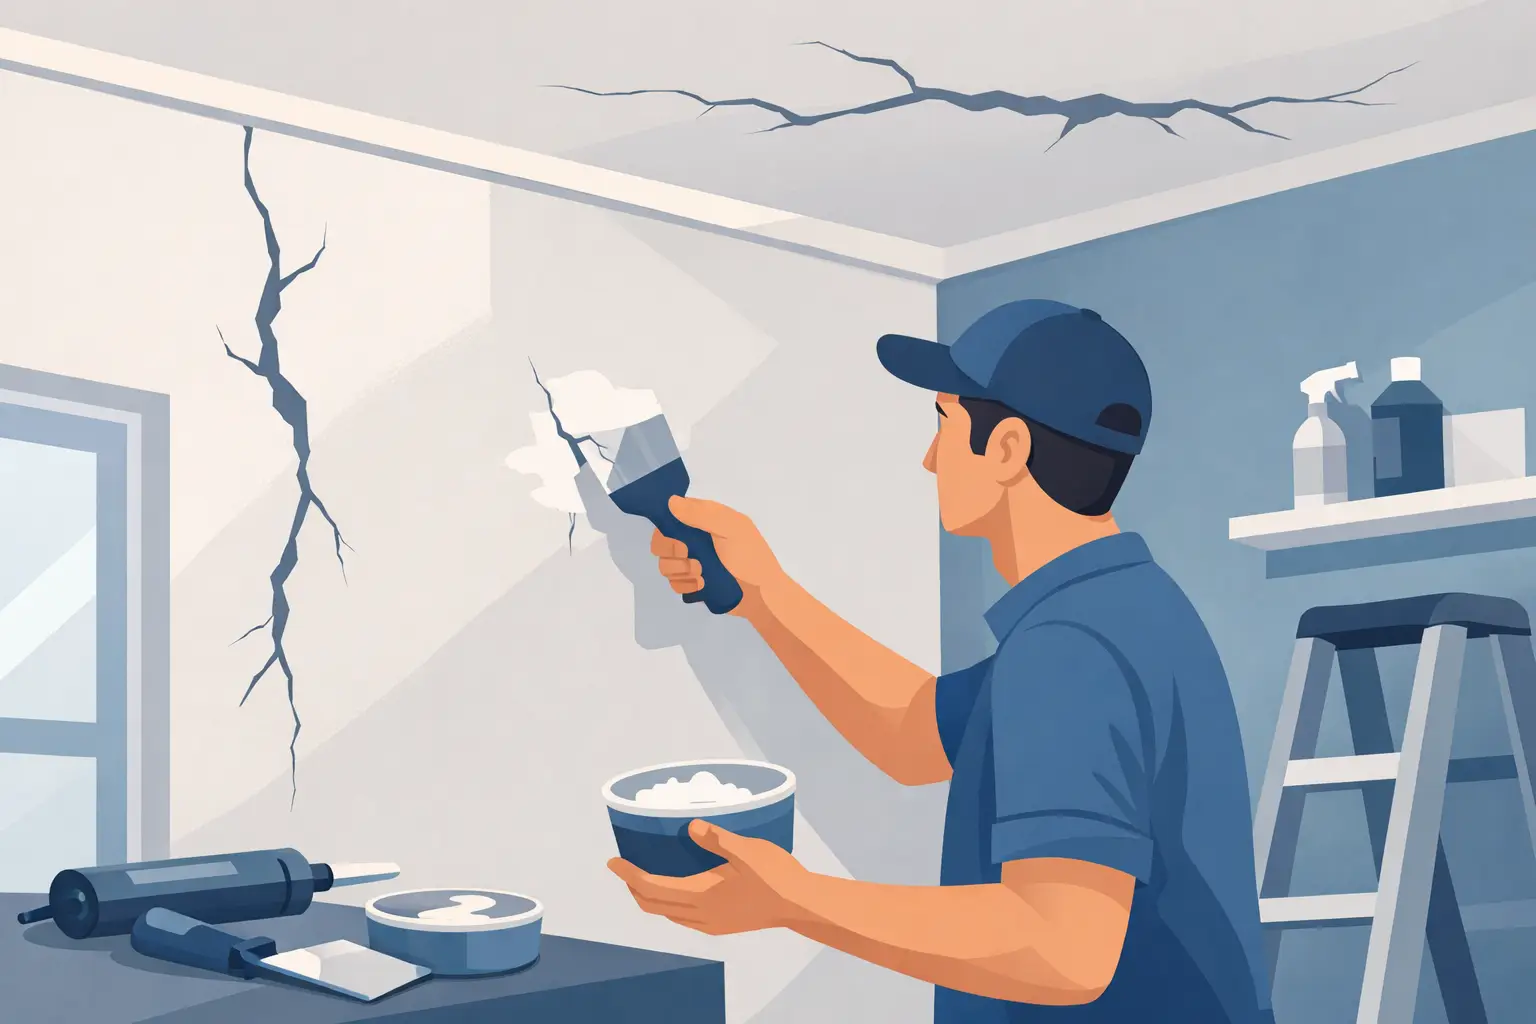
Start by scraping away any loose paint, loose drywall compound, or failed tape. If the crack is very tight, open it slightly with a utility knife so the new material can bond. This part feels backward to a lot of homeowners, but trying to fill a sealed hairline without removing weak edges often leads to another visible crack later.
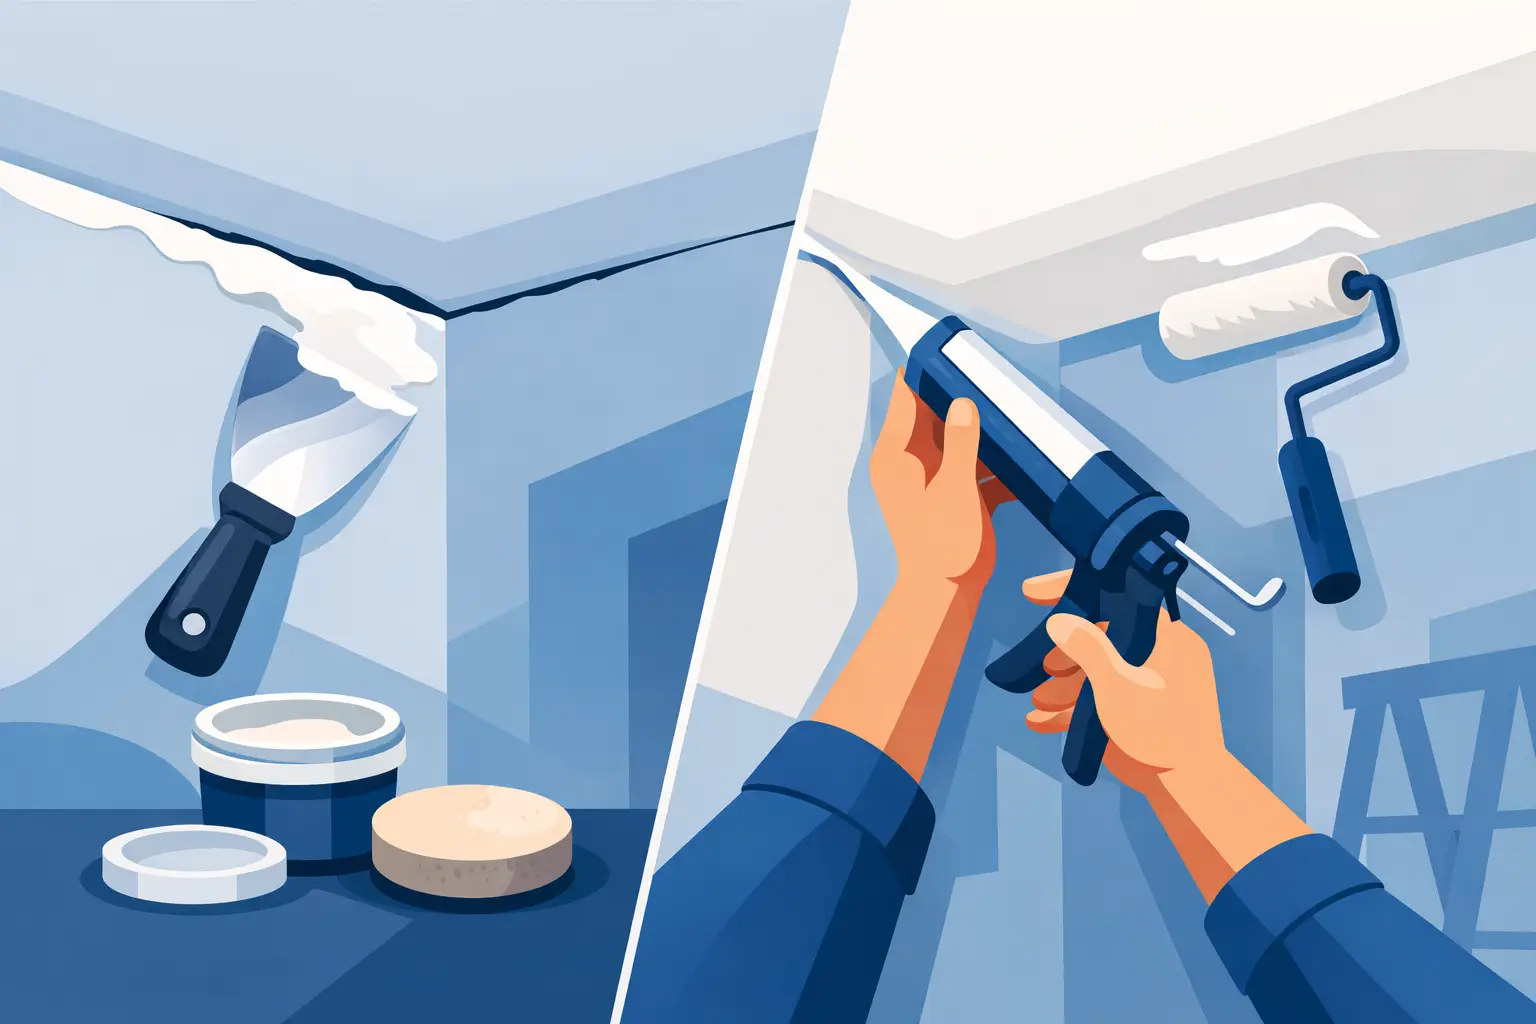
Once the area is clean, apply a bed of joint compound over the crack and embed tape into it. Press it down evenly so there are no bubbles or ridges. Then cover the tape with a thin coat of compound and smooth the edges out beyond the repair area.
Let that coat dry fully before applying the next one. Ceiling repairs almost always need two or three coats to blend properly. Each coat should get a little wider than the one before it. That feathering is what helps the patch disappear after primer and paint.
Sand with a light touch
When the compound is dry, sand the repair smooth. The goal is not to grind the patch flat at all costs. The goal is to remove ridges, lap marks, and rough spots while keeping the repair area even with the surrounding ceiling.
This is where many do-it-yourself repairs go off track. Over-sanding exposes the tape or creates a shallow dip that becomes obvious when light hits the ceiling. Under-sanding leaves raised edges that telegraph through the paint. A work light held at an angle can help you spot those imperfections before you prime.
Prime the repaired area
Fresh drywall compound is porous. If you paint directly over it, the patched section can flash through with a dull spot or uneven sheen. Primer seals the repair so the finish coat lays down more evenly.
For stain-prone ceilings or previous water damage, use a stain-blocking primer. For a standard dry repair, a quality drywall primer is usually enough. Either way, priming is not the place to cut corners if you want the ceiling to look consistent after painting.
When a Ceiling Crack Needs More Than a Basic Patch
Not every ceiling crack is a simple tape-and-mud repair. If the drywall is sagging, the fasteners have popped, or the joint is moving because of framing issues, the repair may need screws added, sections removed, or the surface skim coated more broadly.
Textured ceilings add another layer of difficulty. A smooth ceiling patch is one thing. Matching knockdown, orange peel, or older texture patterns so the repair blends in is a different skill set. The patch can be structurally sound and still stand out badly if the texture is off.
Plaster ceilings are another category where experience matters. In older Southeast Michigan homes, what looks like a simple crack may involve loose plaster keys, previous repairs, or layers of old paint that react differently to patching and sanding. A durable result depends on treating the actual surface you have, not just the crack you see.
Water damage changes the repair plan
If the crack is connected to a leak, the damaged drywall may need to be cut out and replaced rather than patched. Soft board, staining, mold concerns, and delaminated paper all affect whether the ceiling can be repaired in place.
That is why the answer to how to fix cracks in ceiling before painting is sometimes not just patch, sand, and paint. Sometimes the right repair is replacement of the damaged section, followed by finishing work that blends with the rest of the ceiling.
Getting a Smooth Finish Before Painting
A good ceiling repair is not just about filling the crack. It is about making the repair disappear in normal room lighting. That takes patience, thin coats, and careful surface prep.
Flat ceiling paint helps hide minor flaws, but it cannot hide poor finish work. If the patch is raised, hollow, rough, or poorly blended, paint will not cover the problem. In fact, fresh paint often makes the defect easier to see.
This is especially true near windows, kitchen lighting, and recessed fixtures. Side lighting exposes every hump and edge. If the room has strong natural light, the finish work has to be tighter than average to look clean.
Should You Repair It Yourself or Call a Pro?
That depends on the crack, the ceiling type, and how visible the room is. A small, stable hairline crack in a low-traffic room may be manageable for a careful homeowner. A seam crack that keeps returning, a damaged textured ceiling, or any ceiling with signs of moisture or movement is usually better handled by someone who does this work every day.
The real value in professional repair is not just speed. It is knowing when a crack is cosmetic, when it needs reinforcement, and how to finish the surface so it blends with the surrounding ceiling. For homeowners and property managers, that usually means fewer callbacks, less mess, and a repair that holds up after painting.
For builders and remodelers, finish quality matters just as much as the repair itself. A patched ceiling that flashes, shadows, or shows a visible seam can pull attention away from the whole room. That is why craftsmanship matters on the prep side, long before the paint goes on.
If you are dealing with ceiling cracks and want the repair done cleanly and correctly, TDM Drywall approaches that work the same way we approach every wall and ceiling repair – find the real cause, use the right materials, and leave a finish that looks like the damage was never there.
A ceiling should disappear into the room, not keep drawing your eye back to a crack that was never properly repaired.

Leave A Comment