
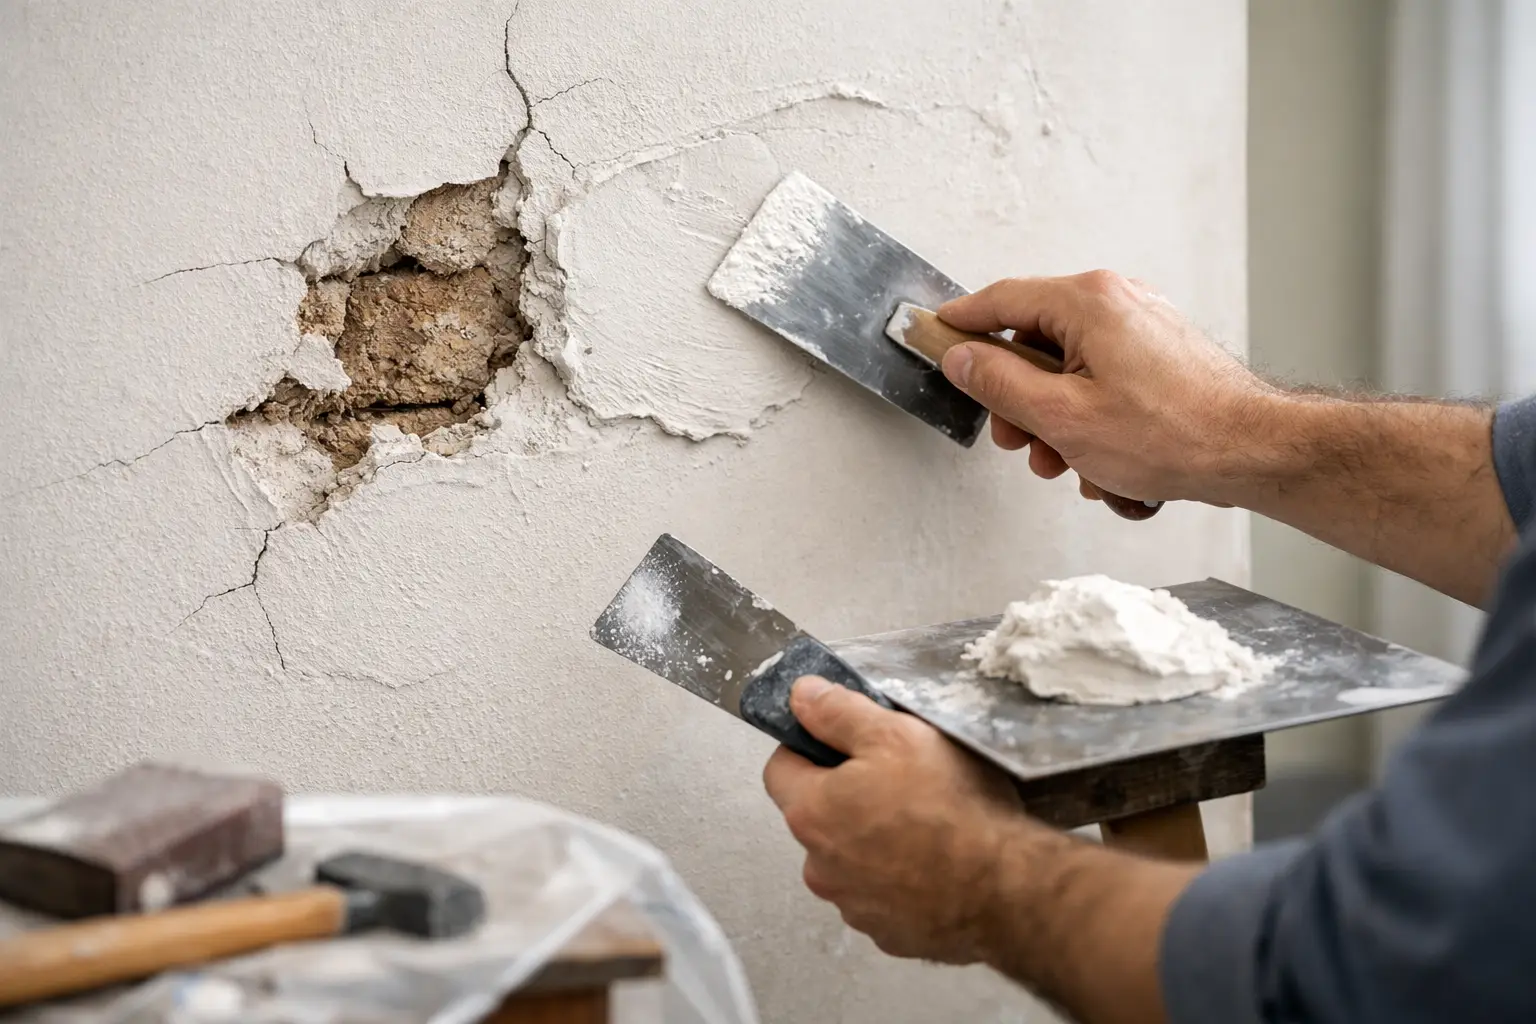
Old plaster has a way of telling on a house. A small crack over a doorway, a soft spot near a window, or a patch that keeps showing through fresh paint usually means more is going on than simple cosmetic wear. If you are looking up how to repair plaster walls, the first thing to know is this – good results depend on matching the repair to the actual problem.
That matters in Southeast Michigan homes, where age, settling, humidity, and past repairs all show up in plaster differently. Some damage is straightforward and worth handling yourself. Some is better left to a contractor with the tools and experience to stabilize the wall, blend the finish, and keep the repair from coming back.
How to Repair Plaster Walls Starts With the Damage Type
Plaster is not drywall. It is harder, less flexible, and often installed over wood lath or an older base system that can loosen over time. Because of that, the right repair for one wall can be the wrong repair for another.
Hairline cracks are usually the simplest. These often come from seasonal movement or normal settling and may only need prep, filler, and a careful finish coat. Wider cracks are different. If the plaster has separated from the base, or if the crack keeps reopening, surface patching alone will not hold up for long.
Then there are soft, bulging, or crumbling areas. Those often point to water damage, impact damage, or failed plaster keys behind the surface. In that case, the repair may require reattaching loose plaster, removing weak material, or replacing sections altogether.
Before you patch anything, press gently around the damaged area. If it feels solid, that is a good sign. If it moves, sounds hollow, or drops dust when touched, the issue is deeper than the top coat.
What You Need Before You Start
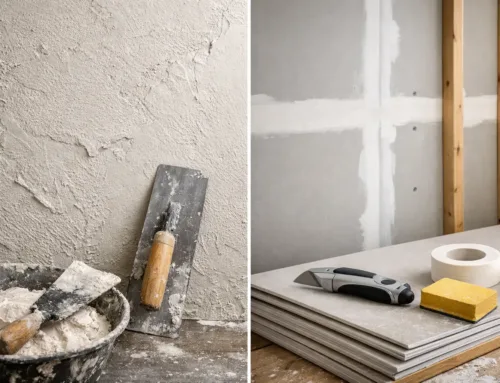
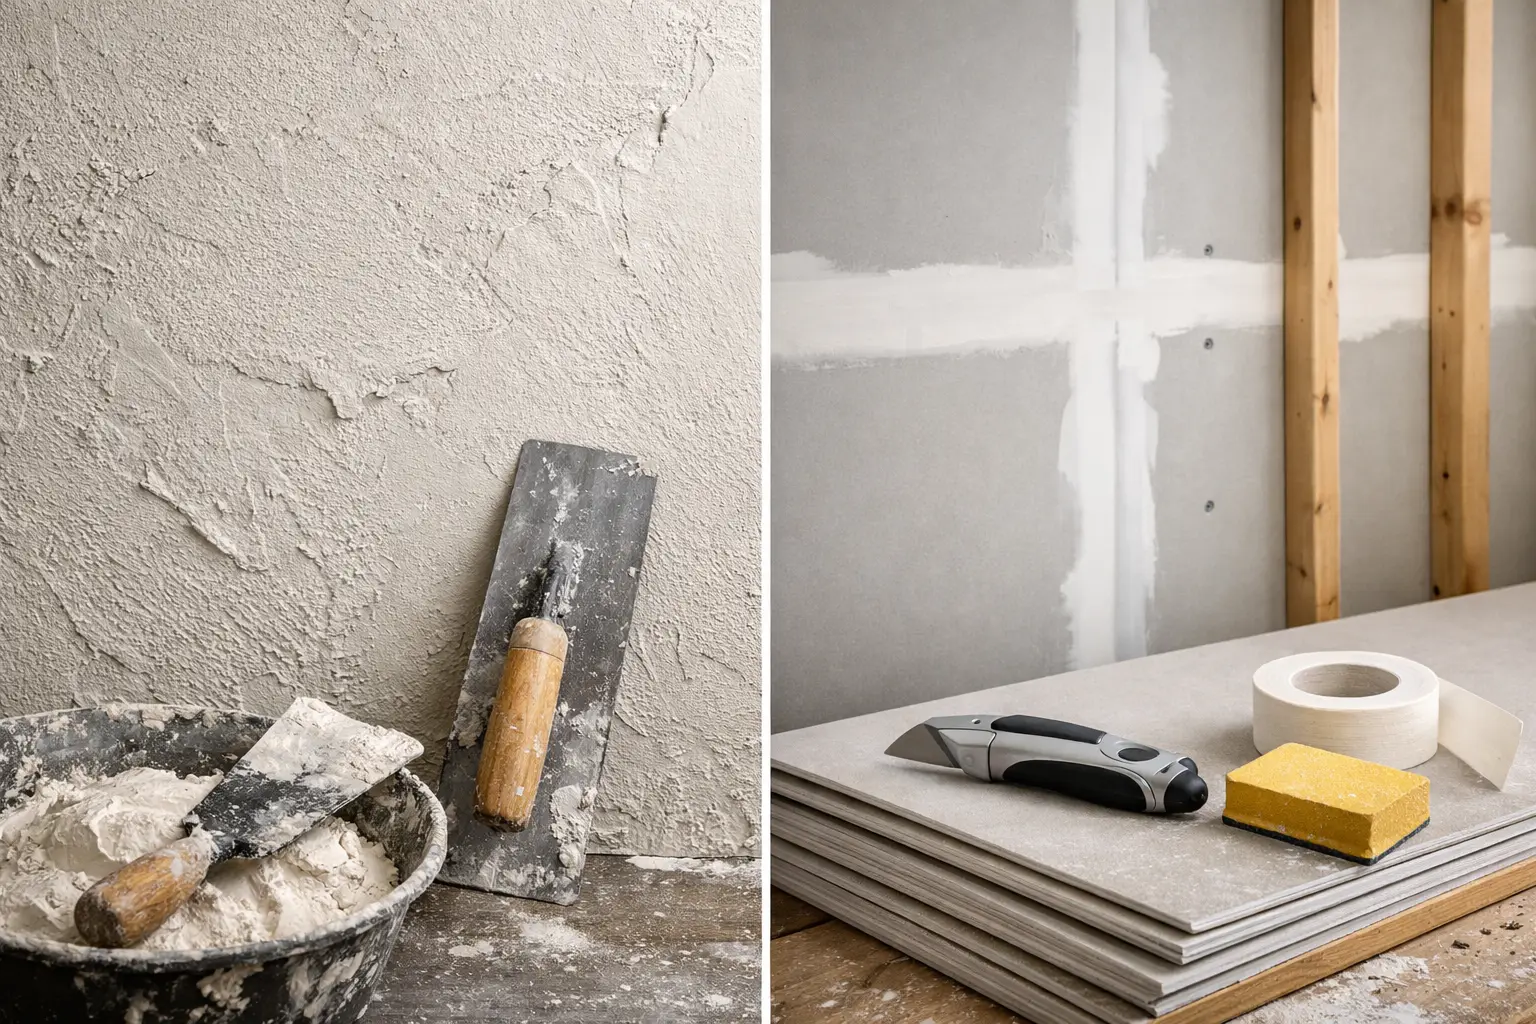
For minor plaster wall repair, keep the setup simple and clean. Most homeowners can handle a basic crack or small damaged section with a utility knife, putty knife, joint compound or patching plaster, sandpaper, primer, and paint. For deeper or recurring cracks, you may also need mesh tape. For loose plaster, plaster washers and screws can help secure the surface before patching.
The material matters. Standard lightweight spackle can work on tiny cosmetic flaws, but it is not the best choice for every plaster repair. For anything larger, stronger setting compounds or plaster-specific patch products usually give a more durable result.
Dust control matters too. Older homes can hide years of paint layers and previous repairs, so work carefully and keep the area protected.
Repairing Hairline and Small Cracks
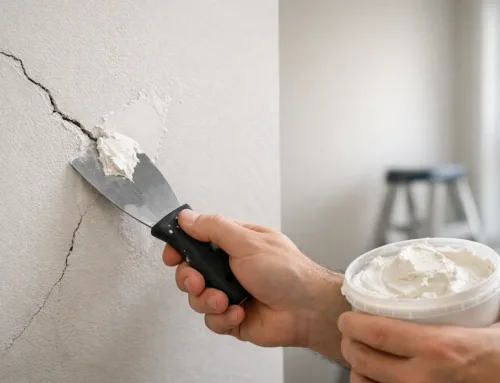
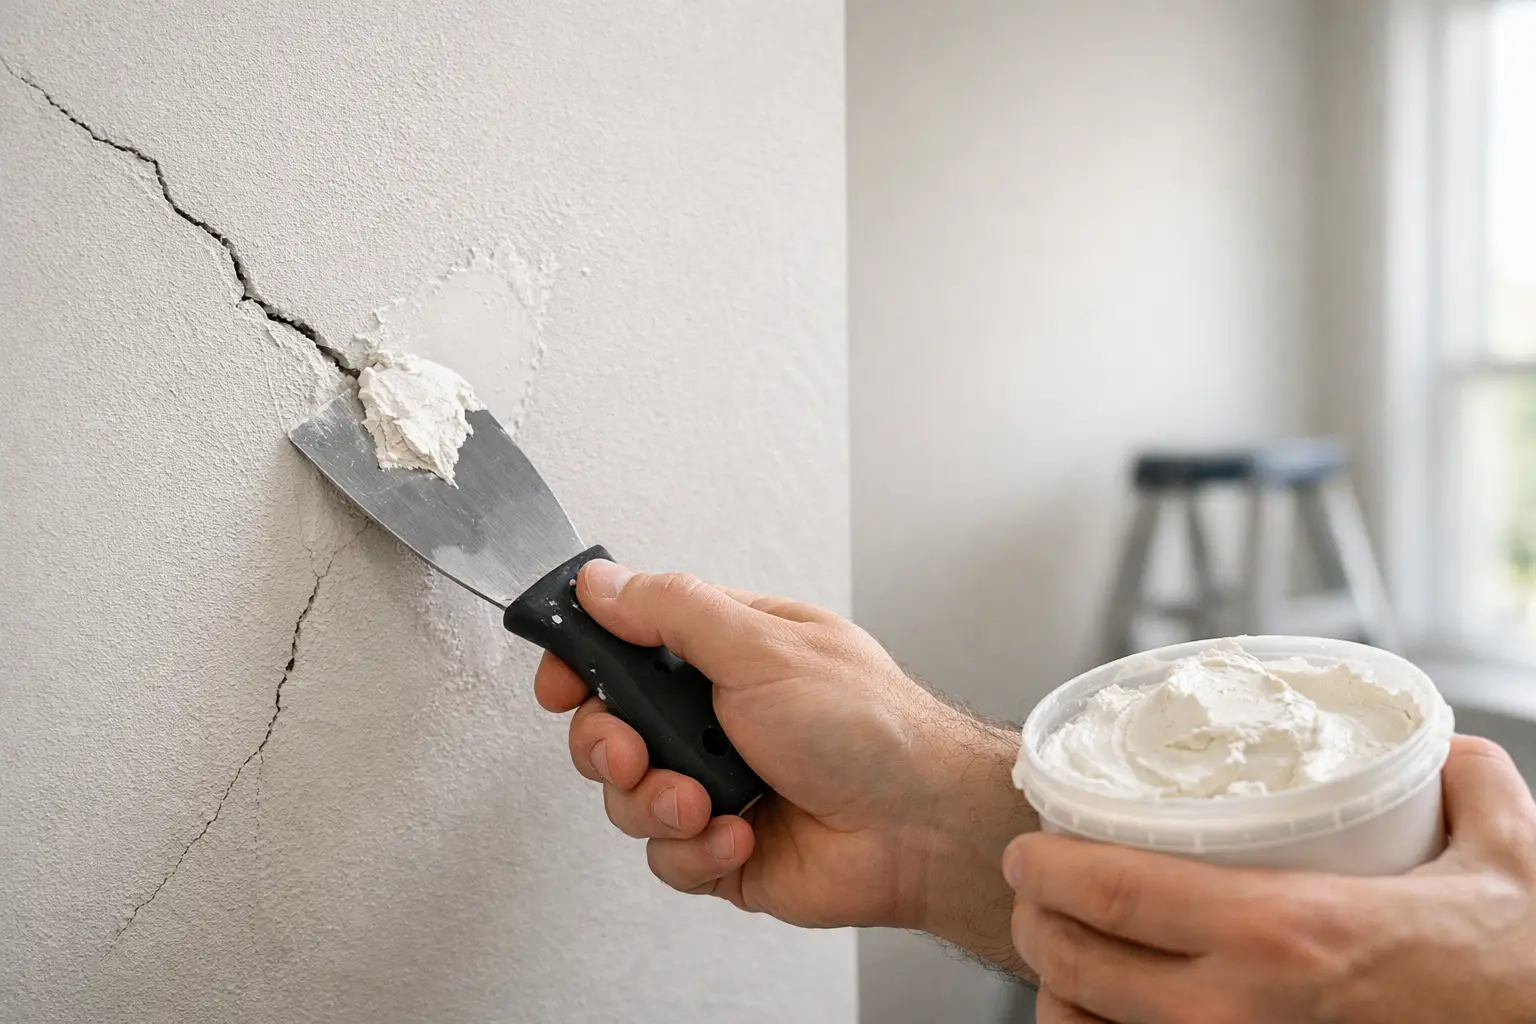
If the crack is narrow and the surrounding plaster is solid, start by opening the crack slightly with a utility knife. That may seem backward, but it gives the repair material something to grip. If you only skim over the top, the patch can fail quickly.
Once the crack is opened and any loose debris is brushed out, apply a small amount of compound with a putty knife and press it firmly into the gap. For slightly wider cracks, mesh tape can help bridge movement, followed by a thin coat over the tape.
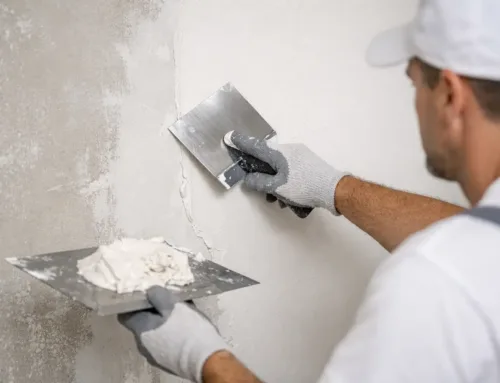
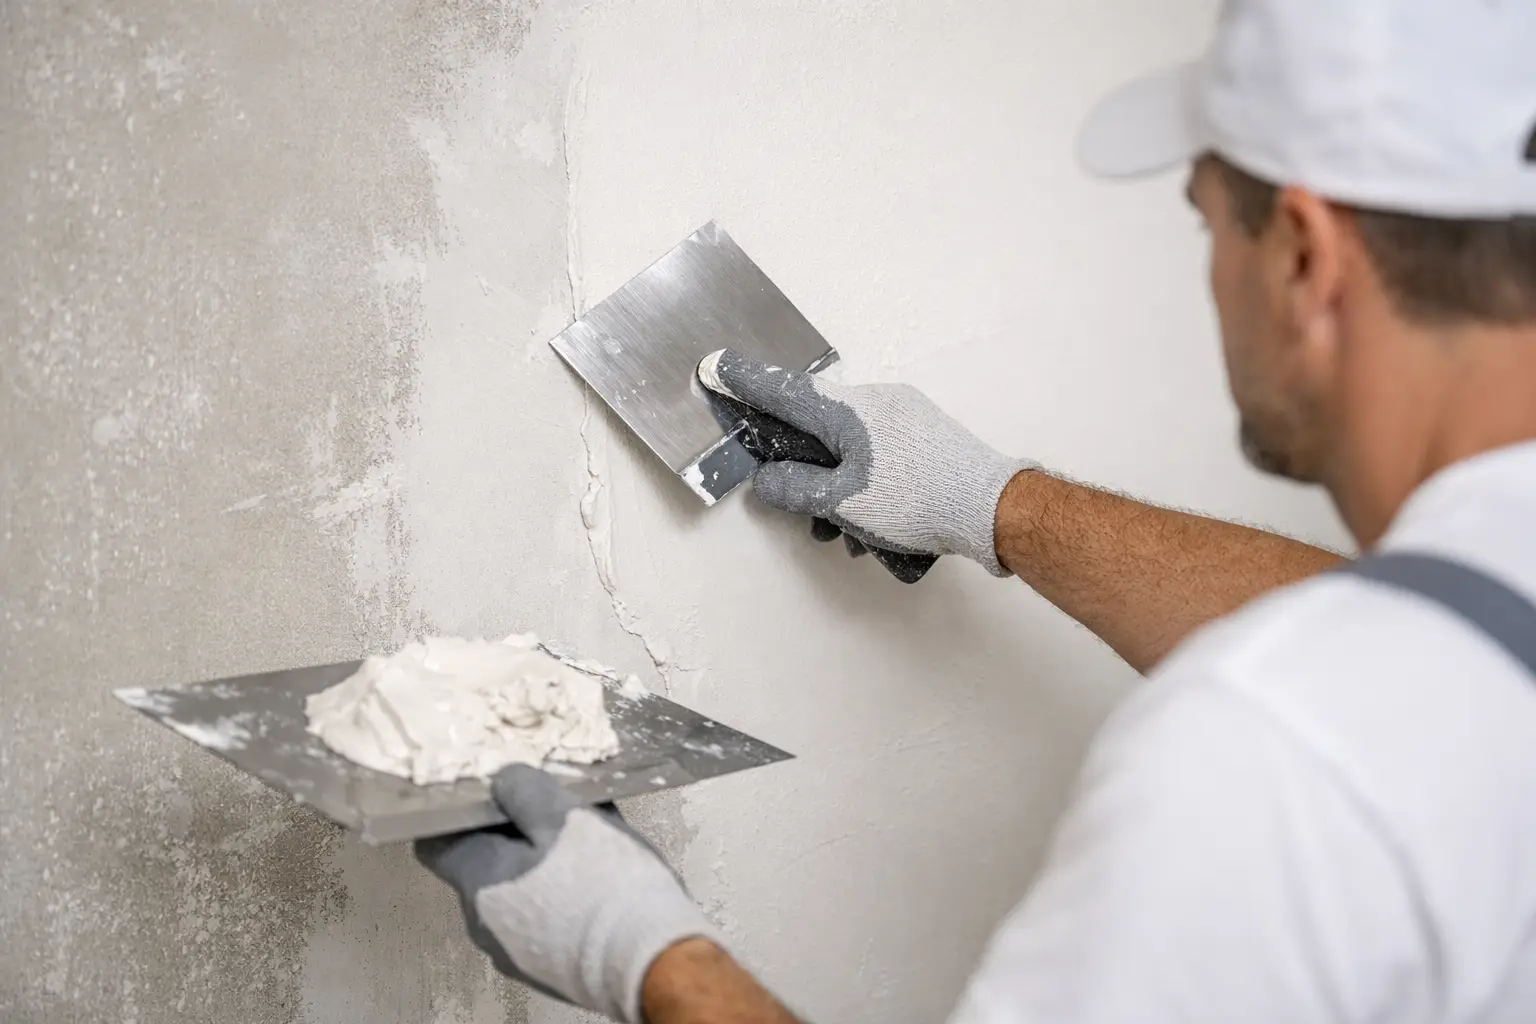
Let the first coat dry fully, then apply a second thin coat to feather the repair into the surrounding wall. This is where a lot of patch jobs go wrong. Heavy buildup leaves a visible hump, especially once the wall is painted. Two or three thin coats usually look better than one thick one.
After drying, sand lightly, prime the repair, and paint. Primer is not optional here. Fresh patch material absorbs paint differently than the old wall, and skipping primer often leaves a dull flash or uneven finish.
Fixing Larger Damaged Areas
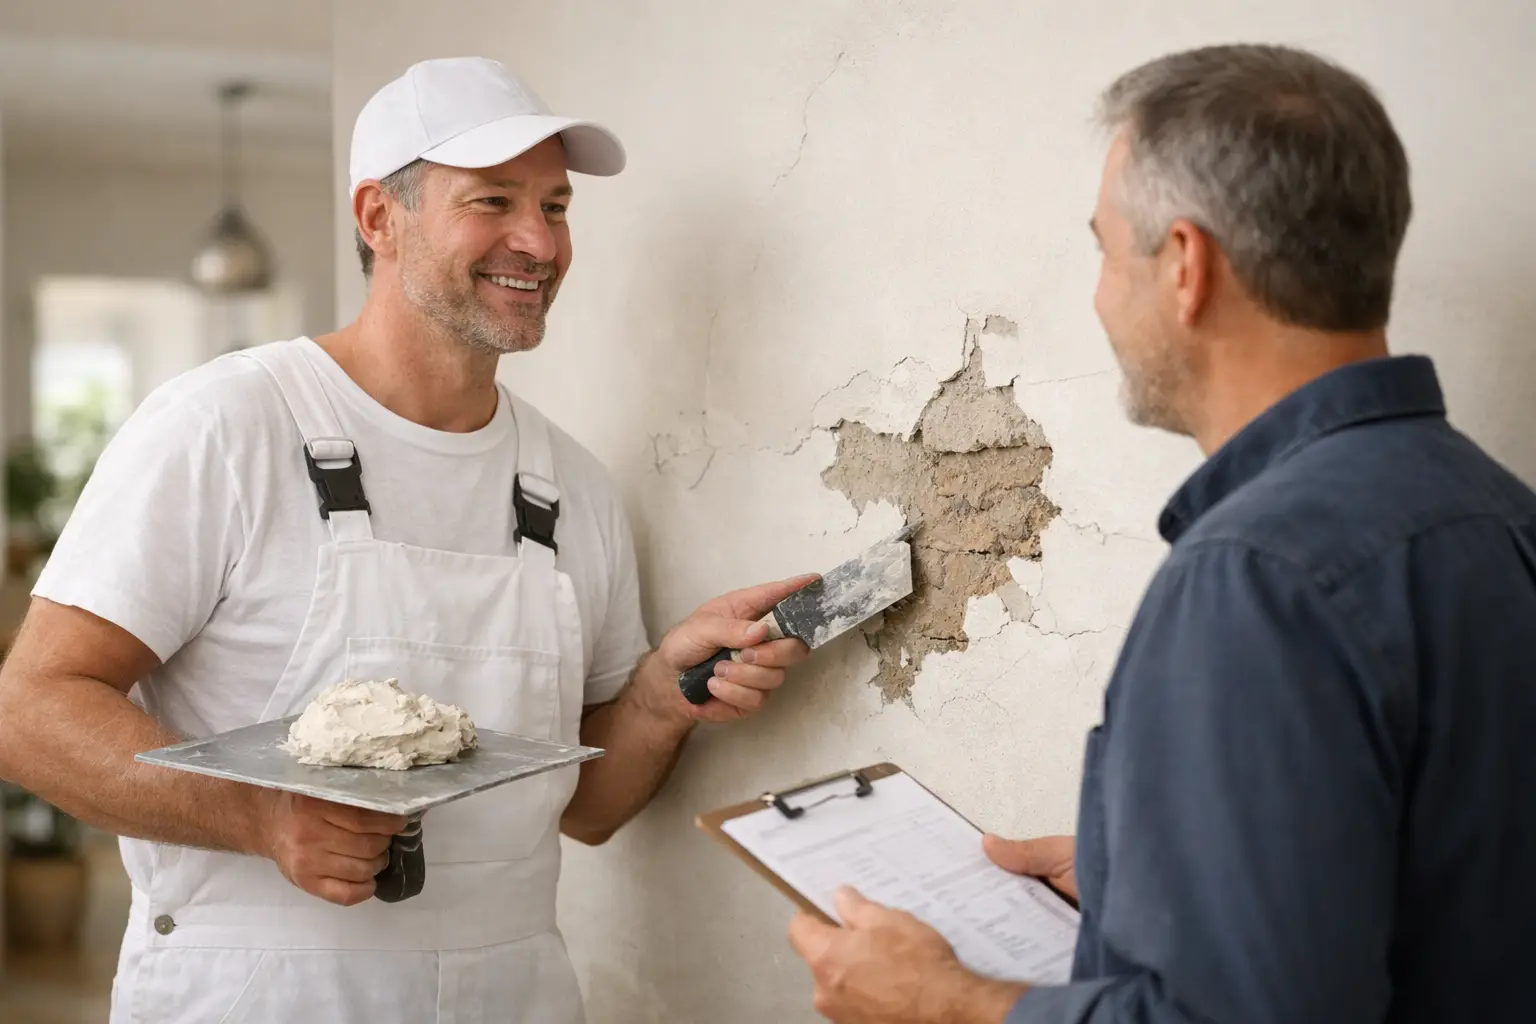
A chipped corner, a hole from impact, or a section of cracked plaster that has broken loose takes more than a quick skim coat. Start by removing all weak material. If it crumbles easily or lifts off with little effort, it is not a sound base for repair.
From there, the right method depends on depth. Shallow damage can usually be filled in layers with patching material, letting each layer firm up before adding the next. Deeper voids may need a base fill first, then a finish coat after the patch has set.
Feathering the edges is what separates a repair that disappears from one you notice every time the light hits it. On smooth walls, that blending has to be especially precise. On textured plaster, the patch has to match not just the plane of the wall, but the surface character too.
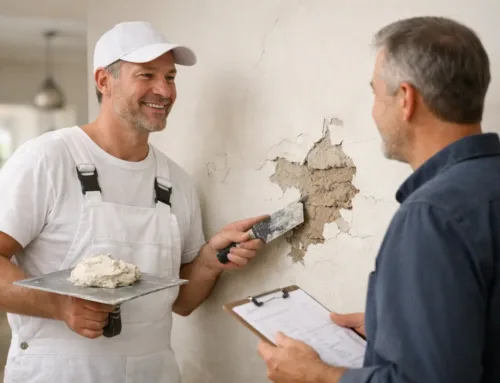
This is one reason many property owners call in a pro for visible areas like entryways, stairwells, and living rooms. The repair itself is one part of the job. Making it look like it was never there is the part that takes practice.
How to Repair Plaster Walls That Are Loose or Bulging
Loose plaster is where things get more technical. If the wall surface has separated from the lath or base behind it, patching the face will not solve the real problem. You need to resecure the plaster first.
One common method uses plaster washers and screws to pull the loose section back snugly to the framing or lath. After that, the surface can be filled, skim coated, sanded, primed, and painted. Done correctly, this can save an original plaster wall without tearing out large areas.
The catch is that not every bulge should be forced back into place. If moisture caused the damage, or if the plaster has badly deteriorated, partial removal and replacement may be the better route. That is where experience matters. Over-tightening or patching over instability can create a bigger repair later.
Water Damage Changes the Repair Plan
Plaster and water are a bad combination. Stains, bubbling paint, sagging areas, and soft patches all point to moisture that needs to be addressed before any finish work begins. If the leak source is still active, the best patch in the world will fail.
Once the area is dry and the cause of the moisture is fixed, assess the plaster honestly. Slight staining with solid plaster underneath may only need sealing, patching, and repainting. Soft, crumbly, or sagging sections usually need removal and rebuild.
Ceilings deserve extra caution. Damaged ceiling plaster can become a safety issue if it starts separating overhead. In those cases, a professional inspection is the smart move.
When DIY Works – and When It Does Not
There is nothing wrong with handling a small plaster repair yourself if the wall is stable, the damage is minor, and the finish area is forgiving. A closet, spare room, or small crack above a baseboard is a reasonable place to start.
But there are times when DIY costs more than it saves. Repeated cracking, widespread delamination, ceiling damage, water-damaged plaster, and high-visibility finish work usually call for a contractor. The same goes for older homes where new patches have to blend with original textures or existing finishes.
That is often the difference between a repair that looks acceptable from across the room and one that truly disappears. For homeowners and builders alike, dependable finish work matters because plaster flaws do not stay hidden once paint goes on.
Getting a Smooth Finish That Lasts
The best plaster repair is not just about filling damage. It is about stability, surface prep, proper materials, and finish matching. Skip one step, and the wall may crack again, flash under paint, or stand out from every other surface in the room.
A lasting repair usually comes down to patience. Let each coat dry. Keep layers thin. Sand lightly instead of aggressively. Prime before painting. And if the wall has multiple old repairs, uneven texture, or broad surface wear, a full skim coat may make more sense than spot patching.
That is a common decision in older Monroe and Downriver homes. Sometimes the individual crack is not the whole issue. Sometimes the wall has reached the point where broader resurfacing gives a cleaner, more durable result.
If you are weighing how to repair plaster walls in your home or on a project, trust what the wall is telling you. Small cracks and minor chips can often be handled with the right prep and a steady hand. But if the plaster is loose, water-damaged, or hard to blend, getting expert help early usually means a cleaner repair, less mess, and a better finish that holds up.
Our plaster repair services cover everything from small cracks to full section rebuilds for homes and businesses throughout Monroe and the Downriver area.