

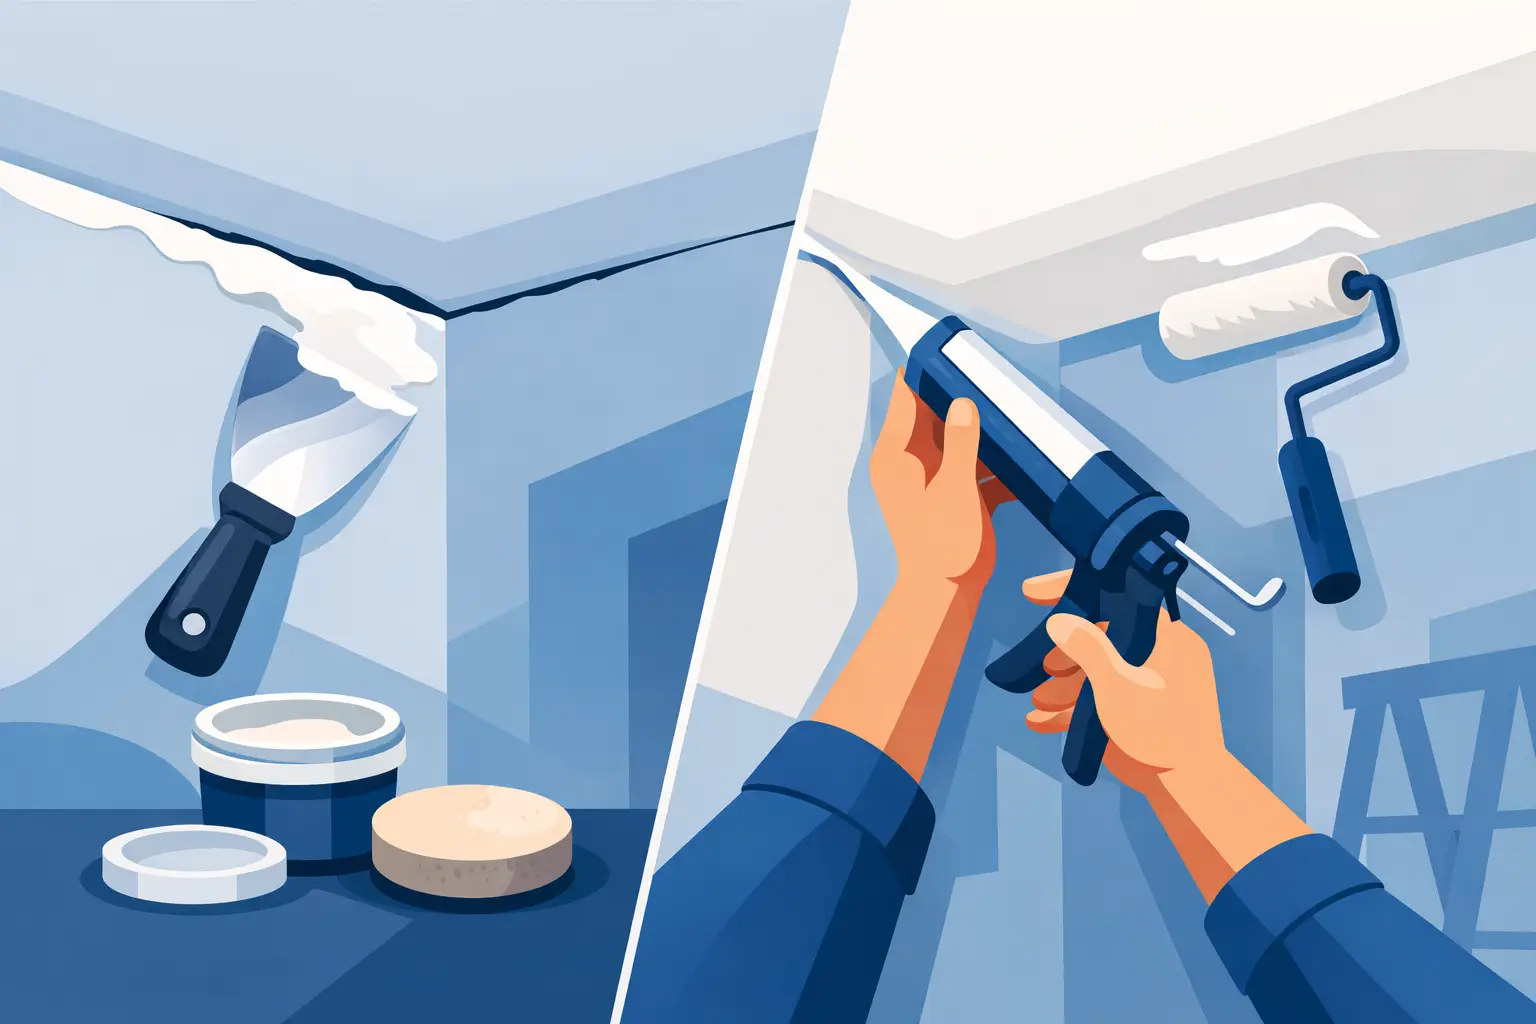
That narrow line where the wall meets the ceiling tends to get noticed at the worst time – right after painting, during a home sale, or when guests look up and ask what happened. If you need to repair a crack between wall and ceiling, the right fix depends on more than just filling the gap and hoping it stays put.
Some cracks are cosmetic. Others point to movement, poor tape adhesion, settling, humidity changes, or an earlier patch that someone rushed. The goal is not just to make the crack disappear for a week. It is to repair it in a way that holds up, blends in, and does not leave you with a flashing patch line every time the light hits the ceiling.
Why cracks form where the wall meets the ceiling
This joint is one of the most common places for cracks to show up because two surfaces are meeting at a stress point. Houses naturally expand and contract with seasonal temperature and humidity changes. In Southeast Michigan, that movement is not unusual. Older homes can shift a bit over time, and newer additions can move differently than the original structure.
Drywall finishing issues can also play a role. If a crew taped the corner poorly, used the wrong compound, or left too little support behind the joint, a hairline crack can appear and keep coming back. In plaster homes, the situation can be a little different. Age, vibration, or weakening keys behind the surface can drive plaster cracks.
Water is another factor. If the crack has staining, bubbling paint, or softness around it, you may not be dealing with a standard settlement crack at all. In that case, the surface repair has to wait until you correct the moisture issue.
When a wall-to-ceiling crack is minor and when it is not
A thin, straight hairline crack with no sagging, staining, or spreading is often a repair issue rather than a structural one. That kind of crack is common near inside corners, and a crew can often address it with proper prep, retaping if needed, and refinishing.
If the crack is wide, keeps reopening, runs with other nearby cracks, or comes with nail pops, bowing, or door alignment problems, it deserves a closer look. The drywall repair itself may still be straightforward, but the reason behind the movement matters. You do not want to patch over a symptom and leave the underlying problem untouched.
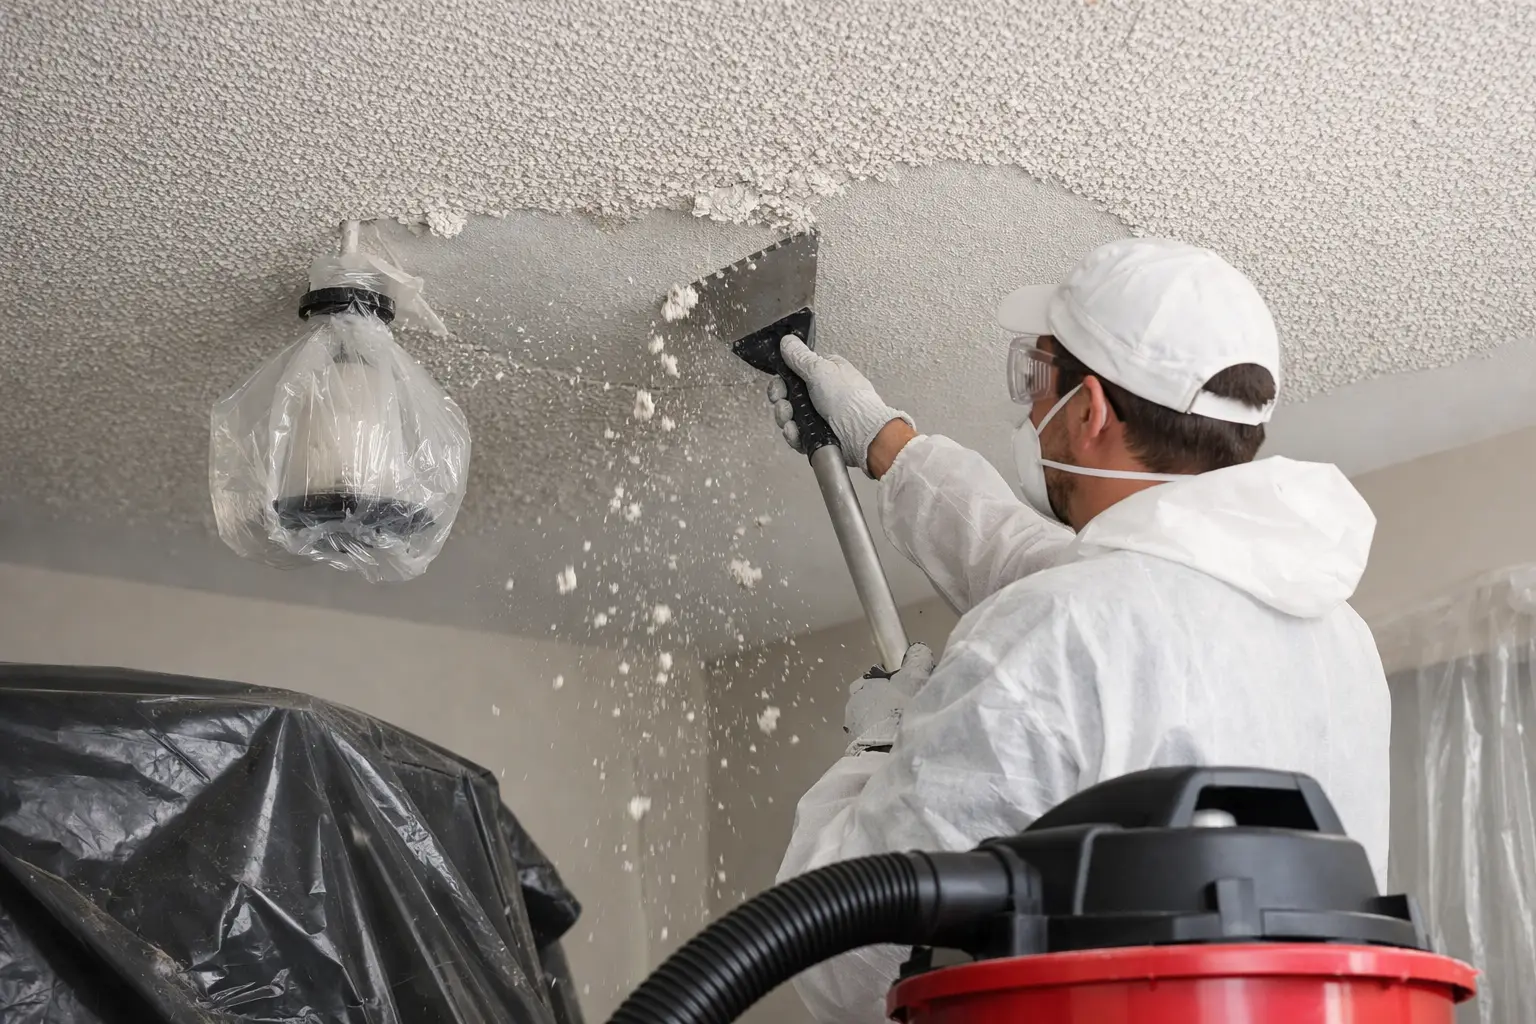
The same goes for textured ceilings. A crack in a smooth ceiling is one thing. A crack running through orange peel, knockdown, or another finish is harder to hide because the crew has to match the texture, not just cover it.
How to repair a crack between wall and ceiling the right way
The biggest mistake people make is smearing spackle over the line and painting it the same day. That can make the crack look smaller for a short time, but it rarely lasts. A durable repair starts with removing loose material and figuring out whether the original tape has failed.
If the crack is only in paint or a very thin layer of surface compound, opening it slightly, cleaning out dust, and applying a quality flexible paintable caulk may work in some cases. This is usually best for very small cosmetic separation at trim lines or slight movement joints. It is not the best long-term answer for a true drywall corner crack where tape has let go.
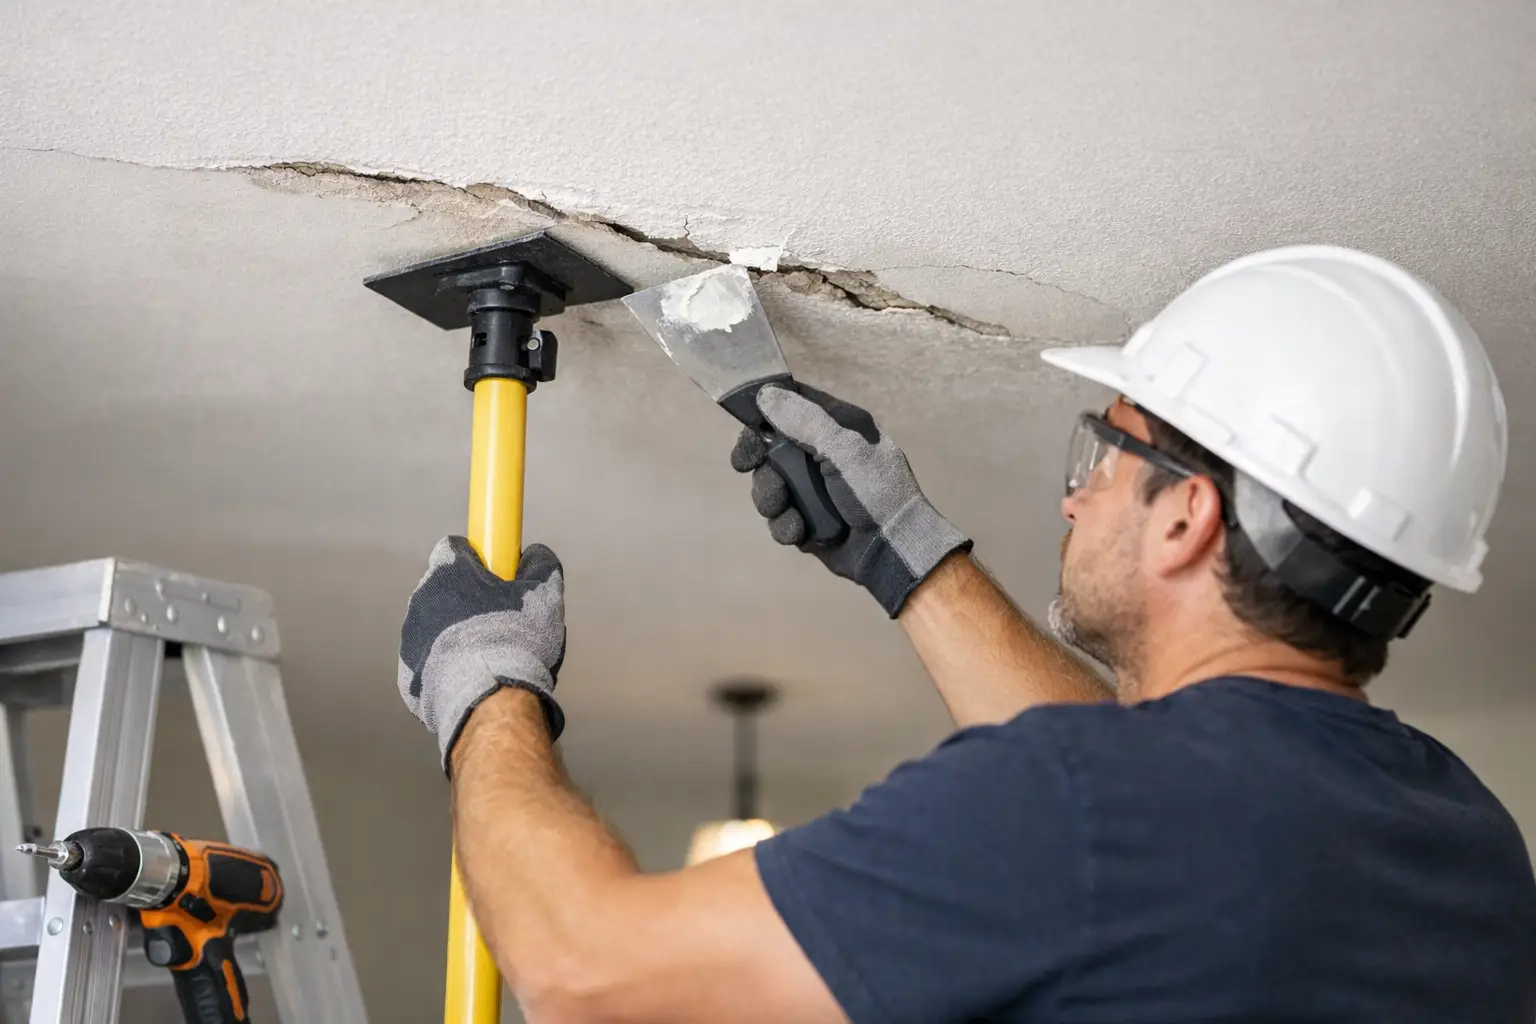
For a more reliable drywall repair, a crew usually needs to cut back or scrape the damaged seam to sound material. If tape is loose, it needs to come out. The next step is retaping the joint, often with paper tape for inside corners, embedding it in joint compound, and building it back in thin coats. Each coat has to dry properly before sanding and recoating. Rushing this step is how you end up with ridges, cracking, and visible patch edges.
Once the repair is smooth, the area needs primer before paint. That matters more than many homeowners expect. Fresh compound absorbs paint differently than the surrounding surface, and without primer, the patch can flash or stand out even after a solid repair on the seam itself.
Why some repairs keep cracking again
Repeat cracking usually comes down to one of three things: the wrong repair method, movement nobody addressed, or poor finishing practice. Surface fillers cannot solve every joint problem. If the seam needs tape, it needs tape.
Thickness is another issue. A crew should build joint compound gradually. Heavy application shrinks more and can leave weak spots. In corners, clean shaping also matters. A repair can be technically solid and still look rough if the angle is wavy or if excess mud sits along the ceiling line.
Paint choice can make a difference too. High-sheen paint tends to highlight flaws, especially near windows or overhead lighting. On ceilings and upper wall lines, even a small imperfection can become obvious when the finish does not blend properly.
DIY or call a professional?
It depends on the crack, the surface, and your expectations for the finished look. A small hairline split in a low-visibility area may be a reasonable DIY project if you are comfortable with prep, patching, sanding, priming, and repainting. The materials are not complicated, but the finish work is where many repairs go sideways.
If the crack is in a main living area, above kitchen cabinets, along a vaulted ceiling, or across a textured surface, a professional repair usually saves time and frustration. Matching existing texture and making a patch disappear are skilled tasks. That is especially true in older homes, where plaster and drywall transitions can be less predictable.
For homeowners getting ready to sell, the standard is even higher. Buyers notice ceiling-line cracks quickly because they draw the eye. A patch that is technically repaired but visibly rough can create the impression that the home has bigger issues, even when it does not.
What professionals look for before repairing the crack
An experienced drywall contractor does not start with compound. First, they assess the area. Is the crack active or stable? Is the tape loose? Is there evidence of water? Is this drywall, plaster, or a previous patch over another repair? Those details shape the repair plan.
Support behind the seam also matters. In some cases, movement happens because the drywall edge is not secure enough. Fastener issues, framing shifts, and poorly finished butt joints near the ceiling can all contribute. If needed, reinforcing the area before finishing gives the repair a better chance of lasting.
Texture, paint condition, and room lighting are part of the evaluation too. A repair in a hallway with flat paint is different from one in a bright living room with angled sunlight. The crew may fix the surface the same way, but the finish strategy changes if the goal is a seamless result.
Repairing a crack between wall and ceiling in plaster homes
Plaster homes need a little more care. The visible crack may be narrow, but the material around it can be brittle. Aggressive scraping can break away more than expected, and standard drywall methods do not always translate perfectly.
A crew can stabilize and skim some plaster cracks. Others need mesh, bonding products, or a wider repair area to blend the surface correctly. If the wall or ceiling has older texture or uneven hand-applied finish, the work becomes less about a quick patch and more about preserving the look of the room.
That is one reason many property owners prefer an experienced repair contractor instead of a general patch job. The challenge is not just closing the crack. It is getting the repaired area to match the rest of the surface without looking like a repair.
Getting a clean finish that lasts
A good repair should disappear into the room. That takes more than filling a line. It takes sound prep, the right materials, enough drying time, careful sanding, proper priming, and paint blending that does not leave a halo around the patch.
This is where craftsmanship shows. At TDM Drywall, the goal is not only fixing the damaged seam but delivering a clean, durable result that fits the surrounding wall or ceiling. That matters whether the problem is a simple crack, a failed corner joint, or a more visible issue tied to water damage or older plaster.
If you are looking at a crack where the wall meets the ceiling, trust what your eyes are telling you. Small cracks are common, but a repair that holds and looks right usually comes down to doing the prep work properly, not taking shortcuts. A little patience now saves you from staring at the same line again after the next season changes.
Our ceiling repair services handle this exact kind of joint repair for homes and businesses throughout Monroe and the Downriver area.




Leave A Comment