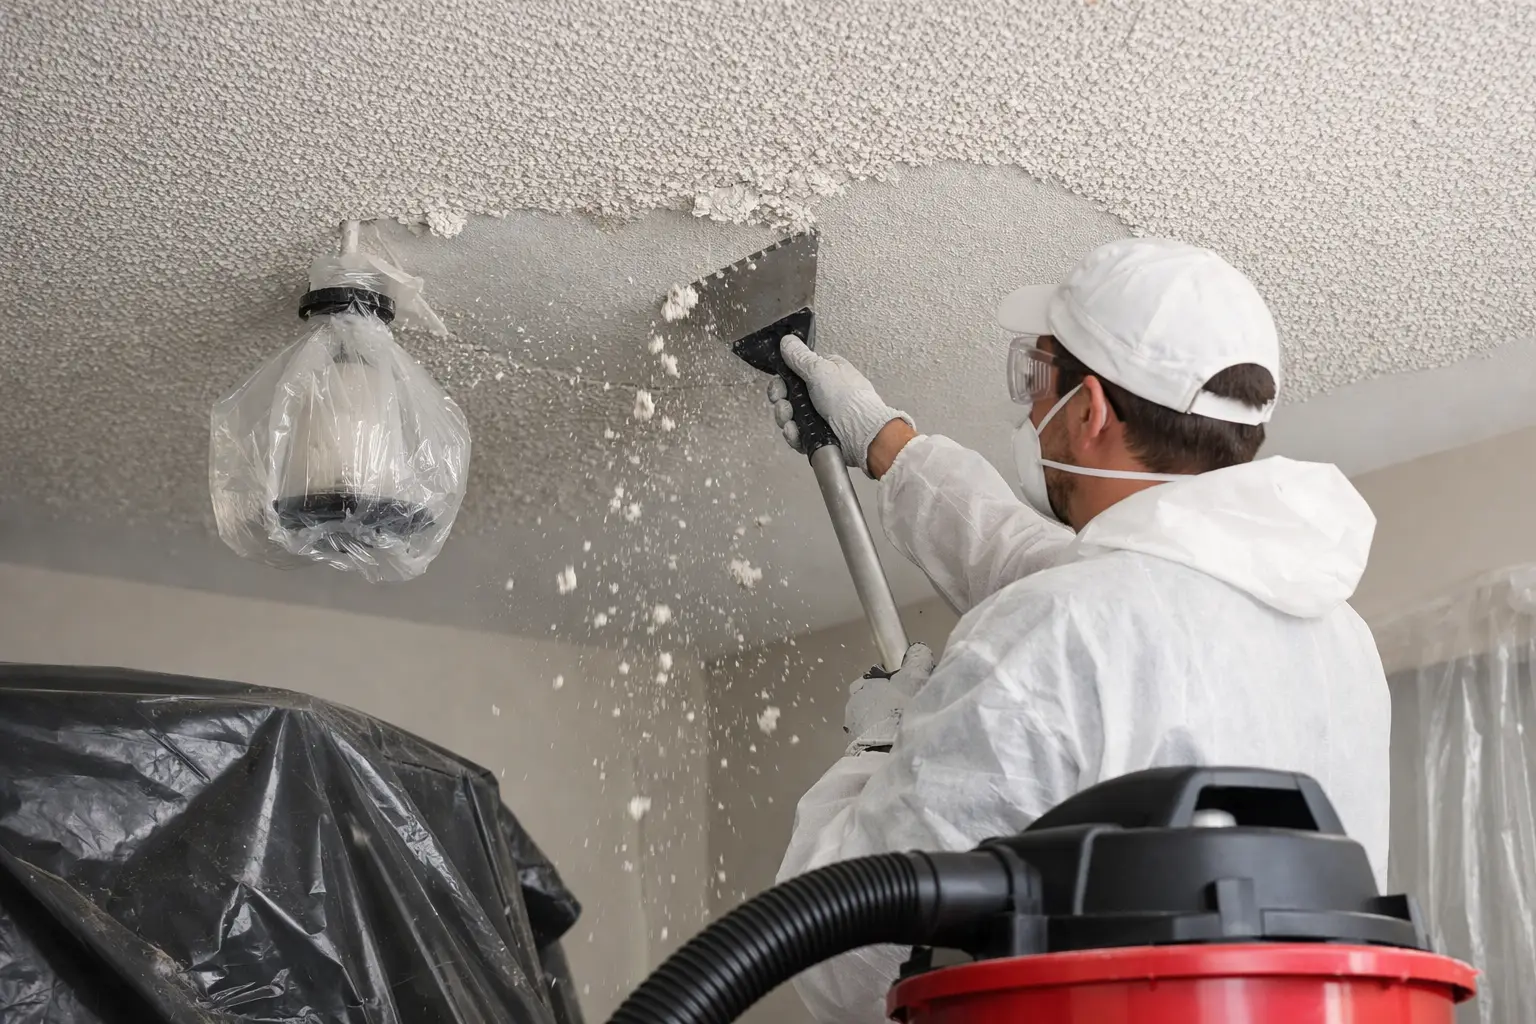
A popcorn ceiling can make an otherwise well-kept room feel dated, especially when the texture has yellowed, collected dust, or been damaged by a leak. Knowing how to remove popcorn ceiling starts with more than picking up a scraper. The condition of the ceiling, the age of the home, and the finish you want afterward all determine whether this is a manageable project or a job better handled by an experienced drywall contractor.
For many Southeast Michigan homes, the biggest challenge is not getting the texture down. It is leaving behind a ceiling that is smooth, sound, and ready for paint without exposing old repairs, joint seams, or water damage.
Start With Safety Before Removing Popcorn Ceiling
If your home was built before the mid-1980s, have the ceiling texture tested for asbestos before disturbing it. Some popcorn ceiling products contained asbestos, and scraping or sanding suspect material can release hazardous fibers into the air. A professional test is a small step compared with the risk and cost of improper removal.
Do not assume a ceiling is safe because it has been painted, looks clean, or has never caused a problem. Only a qualified lab test can confirm what is in the texture. If asbestos is present, stop there and contact a properly qualified abatement professional. This is not a material to scrape, sand, or bag up as a typical home improvement project.
Also consider lead-safe practices in older homes if paint may be disturbed around ceiling edges, trim, or nearby walls. Turn off power to ceiling fixtures, remove light covers where practical, and protect electrical boxes before any wet work begins.
Decide Whether Scraping Is the Right Method
Scraping is common, but it is not always the best answer. An unpainted popcorn ceiling usually softens with water and comes off relatively easily. A heavily painted texture may resist moisture and require far more scraping, sanding, and repair work. In that situation, covering the ceiling with new drywall can sometimes provide a straighter, cleaner result with less disruption to the existing surface.
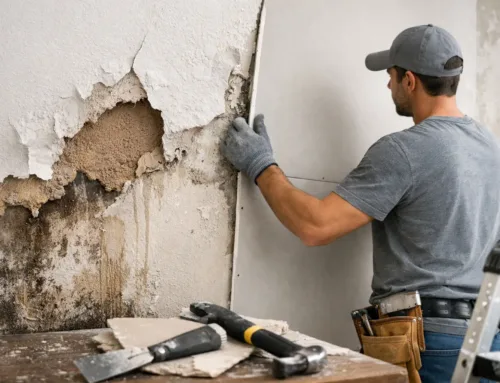
The ceiling underneath also matters. Older ceilings often have cracks, loose tape, uneven joints, stains, or previous patchwork hidden under texture. Once the popcorn finish is removed, those flaws become visible. If the room has had a roof leak, plumbing leak, or recurring moisture issue, the source must be fixed before finishing the ceiling. New compound and paint will not solve an active water problem.
A contractor may recommend skim coating after removal, installing new drywall over a badly damaged surface, or repairing isolated areas before the final finish. The right path depends on the ceiling’s condition, not just the desire for a smooth look.
How to Remove Popcorn Ceiling Step by Step
Begin by moving furniture out of the room whenever possible. Cover any remaining furniture with plastic, then protect floors, walls, cabinets, and vents. Plastic sheeting and drop cloths are worth the effort because wet ceiling texture spreads quickly and dries into a stubborn mess. Remove or mask fixtures, cover outlets and switches, and seal off door openings to keep dust from traveling through the home.
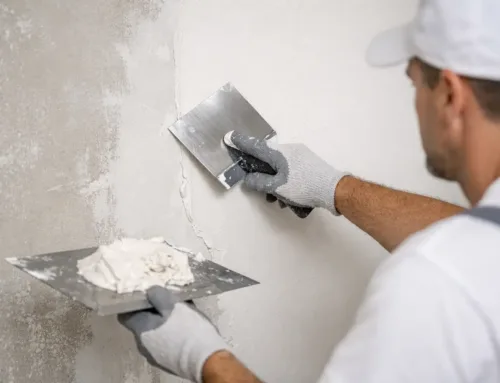
Work in small sections, usually about four feet by four feet. Lightly mist the texture with water using a pump sprayer. The goal is to dampen the material, not soak the drywall beneath it. Let the water sit for several minutes, then test a small area with a wide drywall knife or ceiling scraper.
When the texture is properly softened, it should release with gentle, controlled passes. Keep the scraper as flat as possible to avoid gouging the drywall paper. Deep cuts, torn paper, and exposed joint tape create more repair work later. If the texture does not loosen, apply a little more water and wait. Forcing a dry scraper is one of the fastest ways to damage a ceiling.
Collect the wet material as you go rather than allowing it to build up across the floor. Change out debris bags carefully and keep the work area contained. Even when a ceiling tests clear of asbestos, cleanup is a major part of doing the job properly.
Painted popcorn ceilings can be more difficult. Water may not penetrate the paint film, and scraping can pull off damaged drywall paper or reveal weak areas. Some homeowners try sanding the texture down, but that creates significant fine dust and can leave an uneven surface. In many cases, professional skim coating or drywall overlay is the more dependable choice.
Repair the Ceiling Before You Finish It
Once the texture is removed, allow the ceiling to dry fully. This is the point where the real condition of the surface becomes clear. Look for loose tape, nail pops, cracks, stains, dents, and low or high spots. Address these issues before primer goes on.
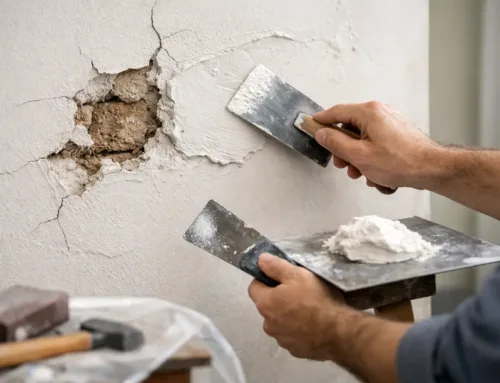
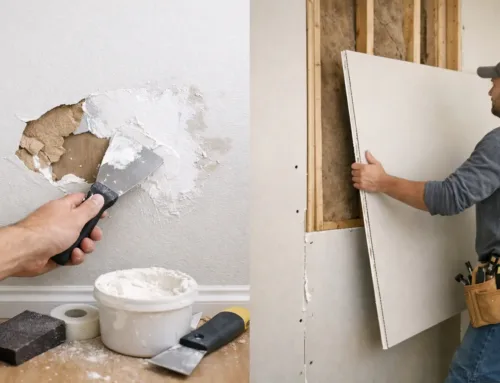
Small scraper marks can often be filled with joint compound and sanded smooth. Larger damaged sections may need new tape, patching, or drywall replacement. Water stains require more attention than a coat of paint. The affected drywall must be dry, stable, and free of ongoing moisture before stain-blocking primer and finish work can last.
For a true smooth ceiling, a skim coat is often the difference between an acceptable result and a clean, seamless result. Skim coating applies a thin layer of joint compound across the surface to blend repairs, soften imperfections, and create a uniform base for paint. It takes practiced hand work, proper drying time, and careful sanding. A ceiling may need more than one coat depending on how uneven the original surface is.
This is also where rushed work tends to show. Over-sanded joints, flashing from uneven compound, visible seams, and poor texture transitions become obvious under natural light or recessed lighting. A quality finish is built in the prep work, not hidden by a thick coat of ceiling paint.
Prime and Paint for a Clean Final Result
After repairs and skim coating are dry and sanded, remove dust thoroughly with a vacuum and a lightly damp cloth. Apply a quality primer suitable for new joint compound and repaired drywall. Primer helps create an even surface so the paint absorbs consistently across old drywall, patches, and skim-coated areas.
Flat ceiling paint is a common choice because it helps minimize minor surface variations. Use a roller with the proper nap for a smooth ceiling and maintain a wet edge while painting. Two finish coats generally produce the most even color and coverage.
If you prefer texture rather than a perfectly smooth ceiling, a light knockdown or orange peel finish can be applied after repairs. Texture matching is especially useful when only one room or section is being repaired and nearby ceilings have an existing finish. The goal is not simply to cover a patch, but to make the repaired area belong with the rest of the home.
When It Makes Sense to Hire a Professional
Popcorn ceiling removal is labor-intensive, messy, and highly visible once complete. It is a good candidate for professional help when asbestos testing is needed, the ceiling is painted, there is water damage, the room has extensive cracks, or you want a smooth finish without waves and repair marks.
Experienced drywall finishers can assess whether scraping, skim coating, patching, or replacement will deliver the best value. They also have the containment materials, tools, and finishing experience to keep the project moving without turning the rest of the house into a dust zone. For homeowners in Monroe and the Downriver area, TDM Drywall provides popcorn ceiling removal along with the repair and finishing work needed for a paint-ready result.
A ceiling covers too much visual space to treat the final finish as an afterthought. Whether you scrape it yourself or bring in a professional, take the time to test, protect, repair, and prepare the surface properly. The reward is a cleaner ceiling that makes the entire room feel renewed.